Well its been too long since an update, and im sorry.
I never stop working on things and its hard to find time to update my threads.
Well a good amount of work has happened since the last update.
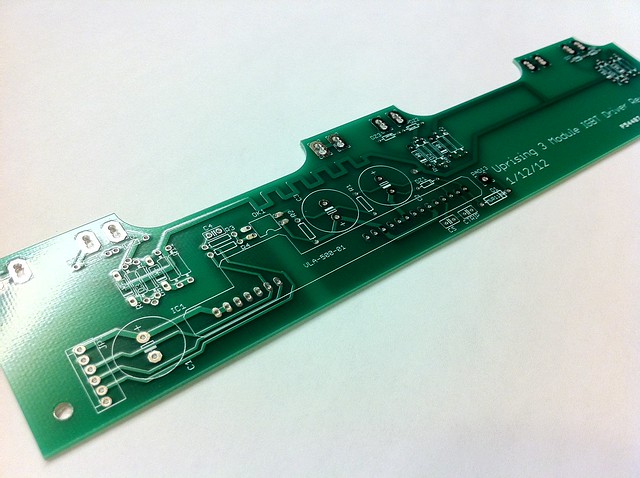
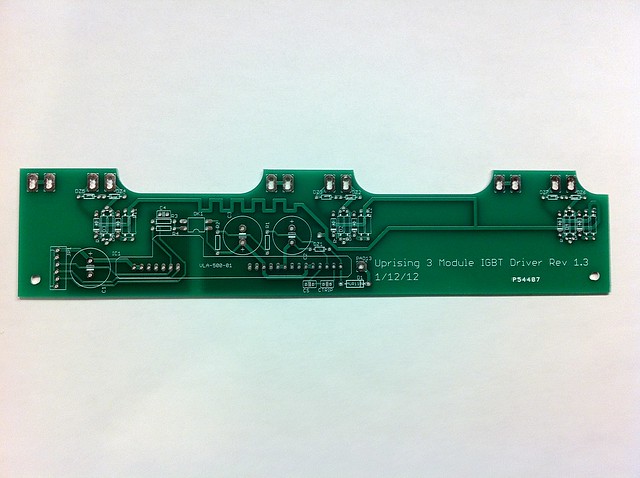
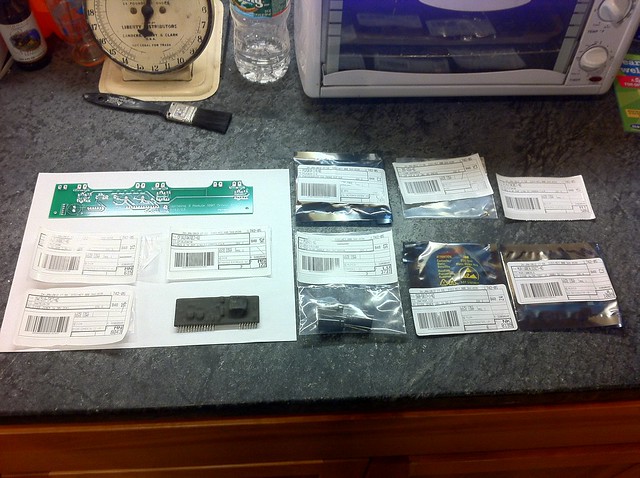
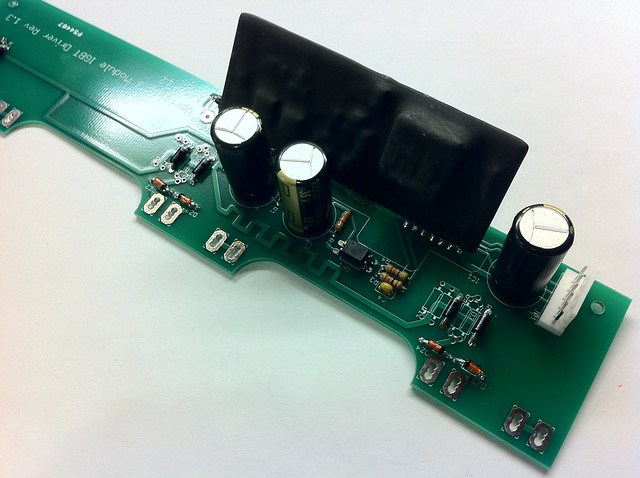
I have updated the driver board and I believe it is ready for production now. Mostly small changes that make it easier to mount and work on the IGBT modules. I have notched the edge of the board that is along the IGBT's so the mounting bolts can be removed now. I have also added diodes to the turn off section of the gate lead. This way, you can have 2 different resistors, one for turn on and one for turn off. I also added holes for 3 parallel gate resistors on the on side and 2 parallel on the off side. My plan is to use carbon composition resistors because they hold their resistance very well, but need to be manually paired to create the value needed. Im using 2 - 16R ones for about 8.3R for turn off and will be trying 3 parallel 10's for 3.33R for turn on. On the previous board, which is running happily in Isaac's snowmachine, is using a 3.1R wire wound resistor. The extra inductance helped a bit with waveform, but I plan to revisit this.
Here are some shots of the New driver board.
 Untitled
 by
AdamBrunette, on Flickr
 Untitled
 by
AdamBrunette, on Flickr
 Untitled
 by
AdamBrunette, on Flickr
 Untitled
 by
AdamBrunette, on Flickr
 Untitled
 by
AdamBrunette, on Flickr
 Untitled
 by
AdamBrunette, on Flickr
As for the Uprising control board:
Eric and I have been working on the software for the controller. Lots of testing and bringing all the pieces together. We hit a roadblock when the original ATmega644p didn't have enough data memory (4k) and couldn't fit the new web interface information. We were trying to fill it 253% full!! We then upgraded the chip to a Atmega1284P which has 4x as much data space. It was a simple upgrade, just had to use some hot air to remove the old chip and some flux to mount the new chip. That took care of the hardware. Then we recompiled the code for the new processor and tried it out. It didnt work....

The status LED is now blinking much faster then it was with the original processor, and I cannot figure out why. Im still working at it though. My plan is to go back to the simple test programs that test each hardware section of the board and see if everything is working properly.
Well I think that's it for now. If anybody has ideas of what happened with the control board, I would love to hear them. Maybe I accidentally cooked it with too much hot air? I doubt it though...
-Adam
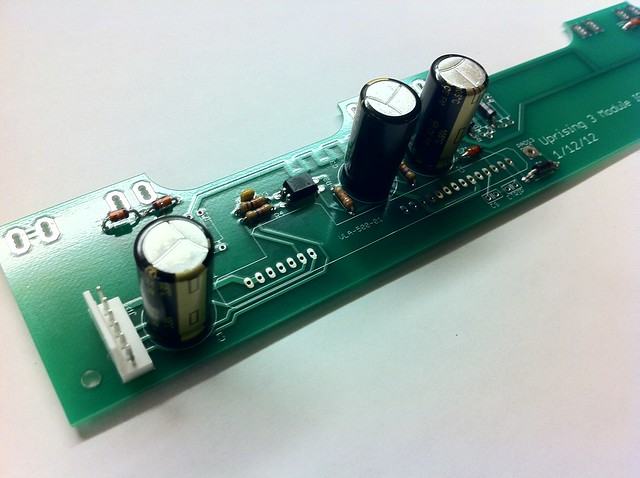
P.S. Here is the new picture of the control board!
 Untitled
 by
AdamBrunette, on Flickr