 08-12-2010, 06:58 PM
|
#21 (permalink)
|
|
Master EcoModder
Join Date: Jan 2008
Location: Sanger,Texas,U.S.A.
Posts: 15,883
Thanks: 23,957
Thanked 7,219 Times in 4,646 Posts
|
Kammback
Quote:
Originally Posted by Weather Spotter

So If I get it, I only need to go back to about 50% for maximum benefit while still leaving room for tail lights?
Also a Kammback or tail should follow the slope of the roof and the blue line (curve it not strait)?
How would I know what angle to bring the sides in at?
Thanks for the help!
If I can get a good mental picture of what I need to do I just might make one!
|
It's best to stay with curves if the project permits.
You can figure the sides as you would the roofline by finding the max width position on the sides of the car and use the template to work your way back.You may have to play with the roof/sides intersection.
The length is up to us.Consider parking ,etc..
|
|
|

|
 Today Today
|
|
|
|
 Other popular topics in this forum...
|
|
|
|
|
08-12-2010, 09:17 PM
|
#22 (permalink)
|
|
Wiki Mod
Join Date: Nov 2009
Location: Midland MI, USA
Posts: 2,042
Thanks: 228
Thanked 304 Times in 210 Posts
|
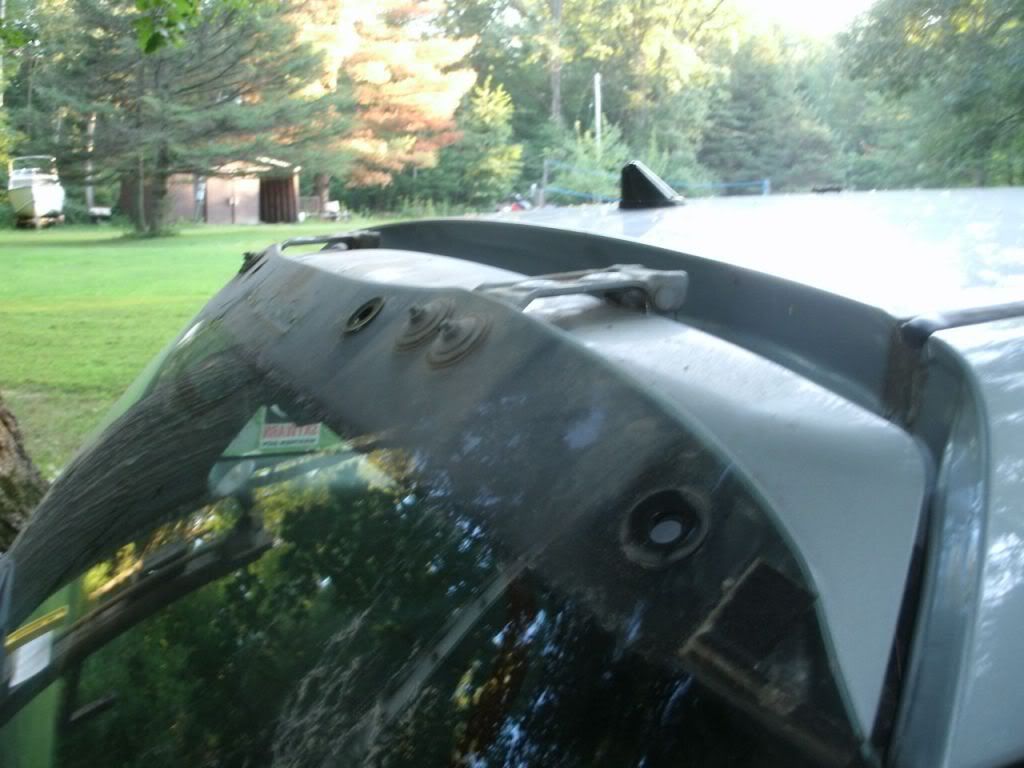
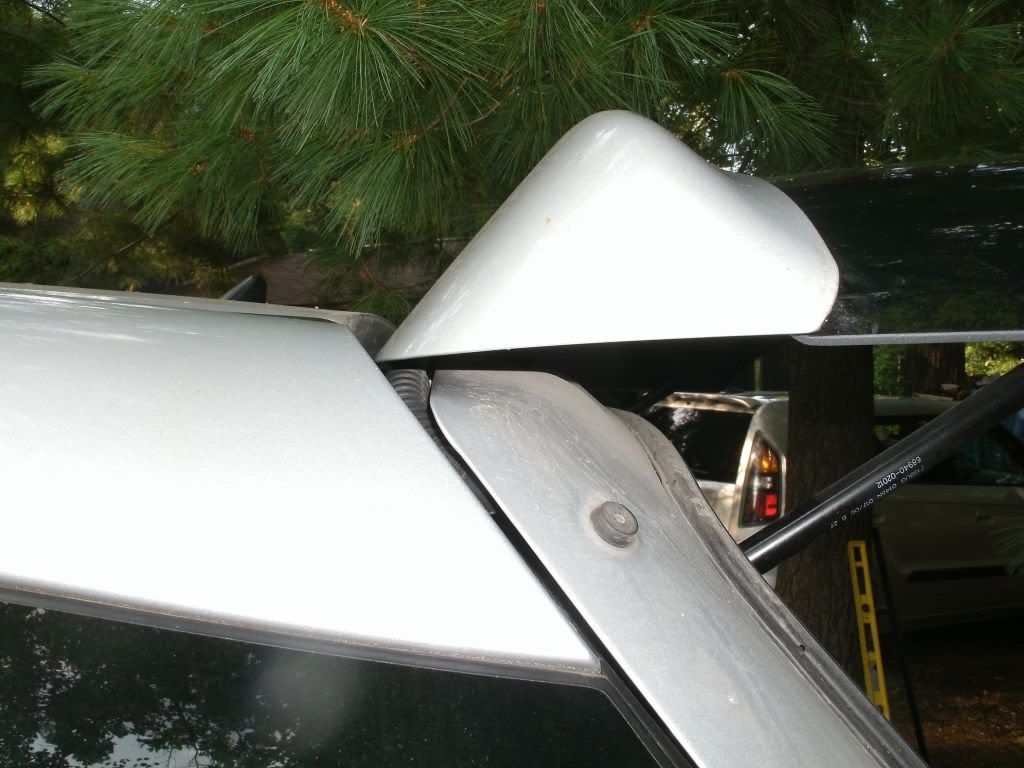
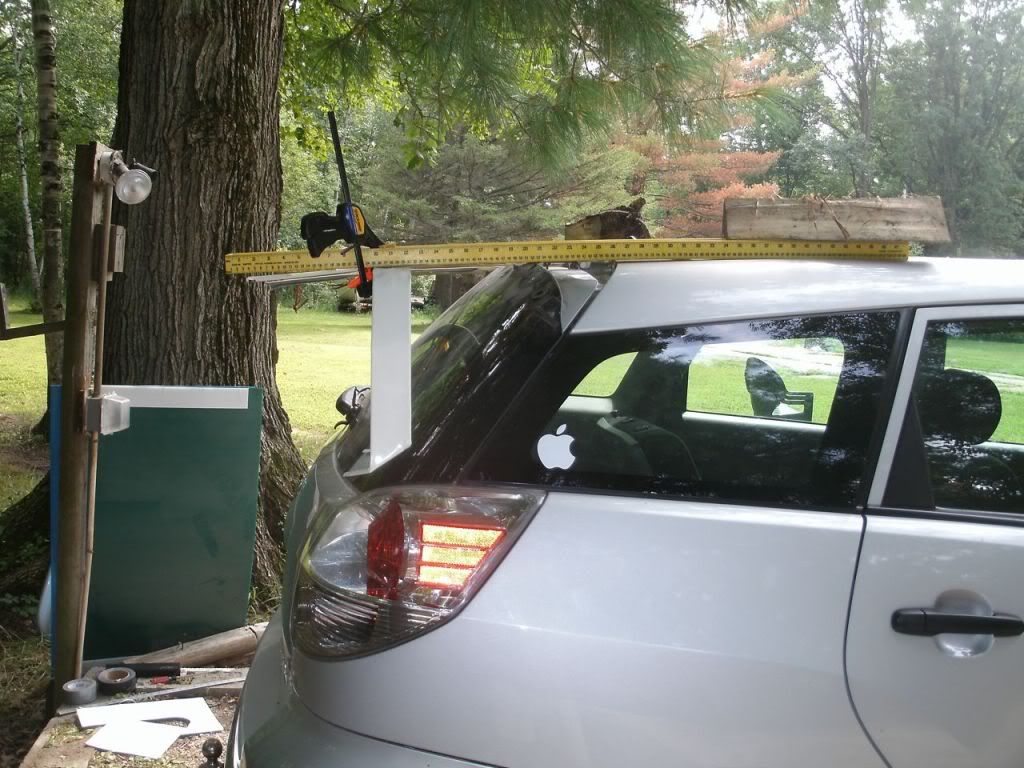
Here is what I did tonight on this project:
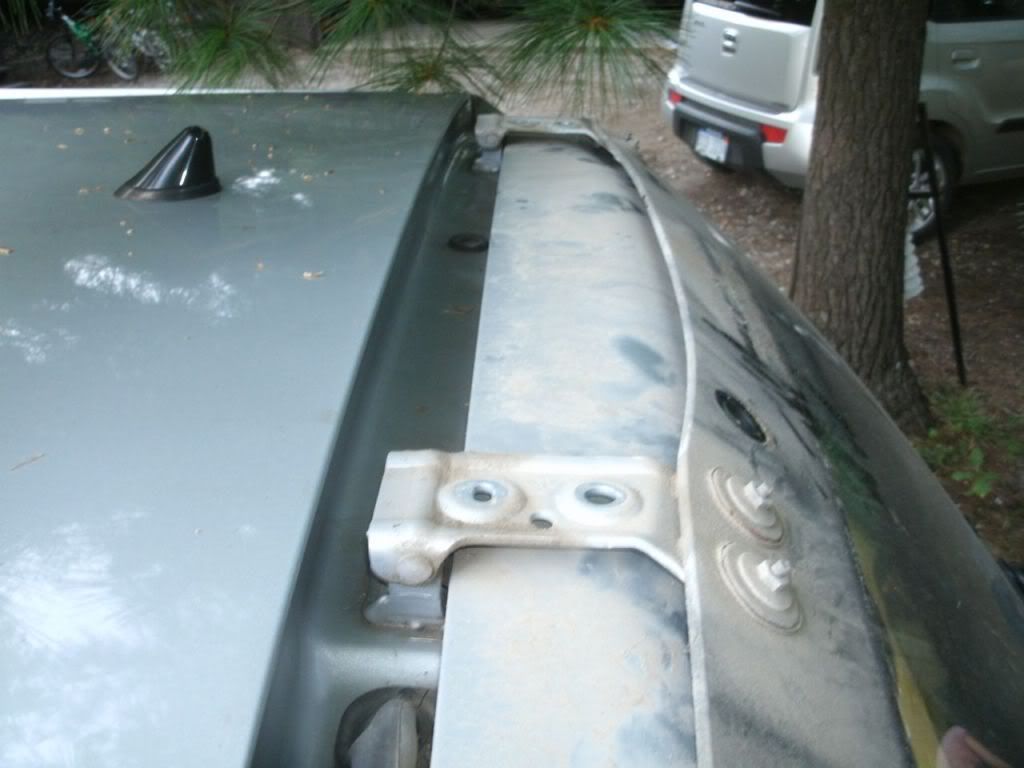
I took off the cap/ spoiler (four nuts and four screws). These bolt holes will make a nice mount point!
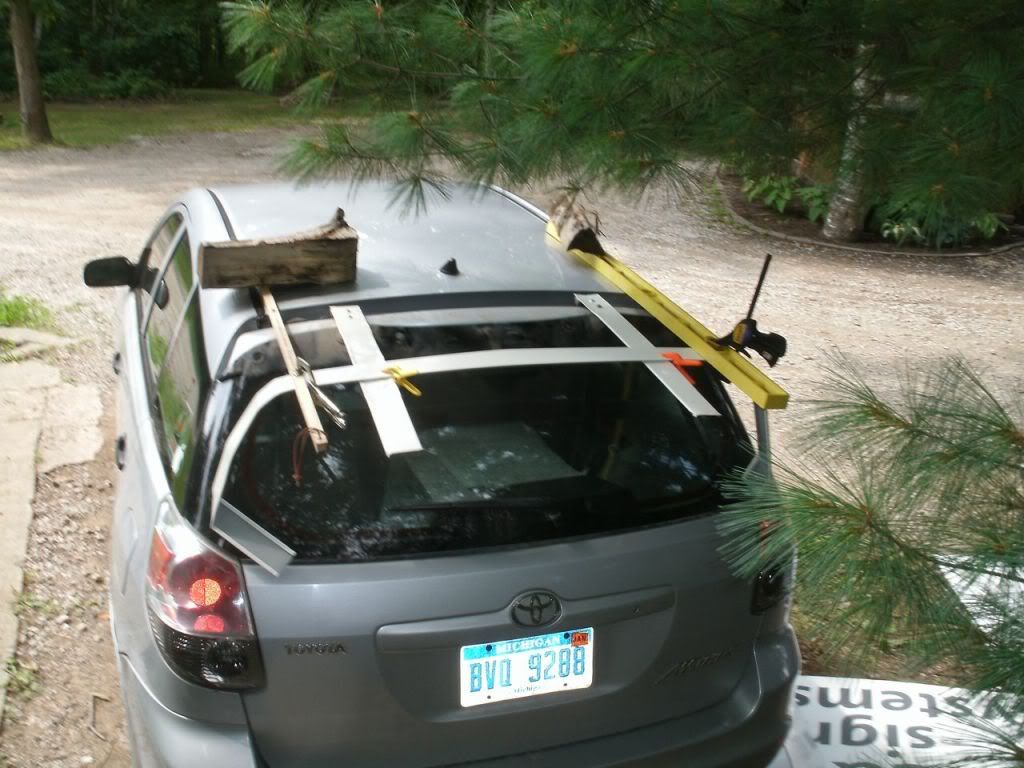
I also made a cardboard Kammback:
I followed the roof line strait back for 26" (out from car) that part is also 38" wide. for the sides I wend down following the car's side curve. Out 8" at bottom, 21" on the long side inside bottom to back top.
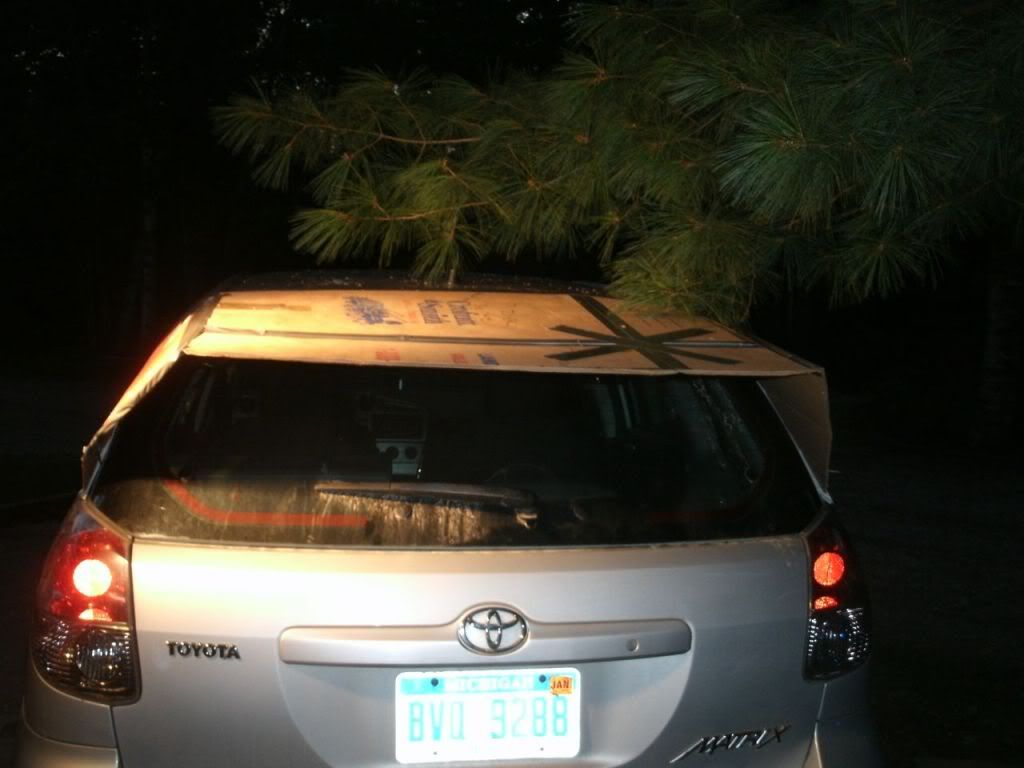

The cardboard sags a little to low (is not exactly following the line of the roof). other than that comments?
How do the angles look? will this help or hurt my cod?
I need to find some used election signs to get some free chloroplast to make the real one, but this helps me get the idea in my head.
__________________

|
|
|
|
|
08-12-2010, 09:27 PM
|
#23 (permalink)
|
|
Wiki Mod
Join Date: Nov 2009
Location: Midland MI, USA
Posts: 2,042
Thanks: 228
Thanked 304 Times in 210 Posts
|
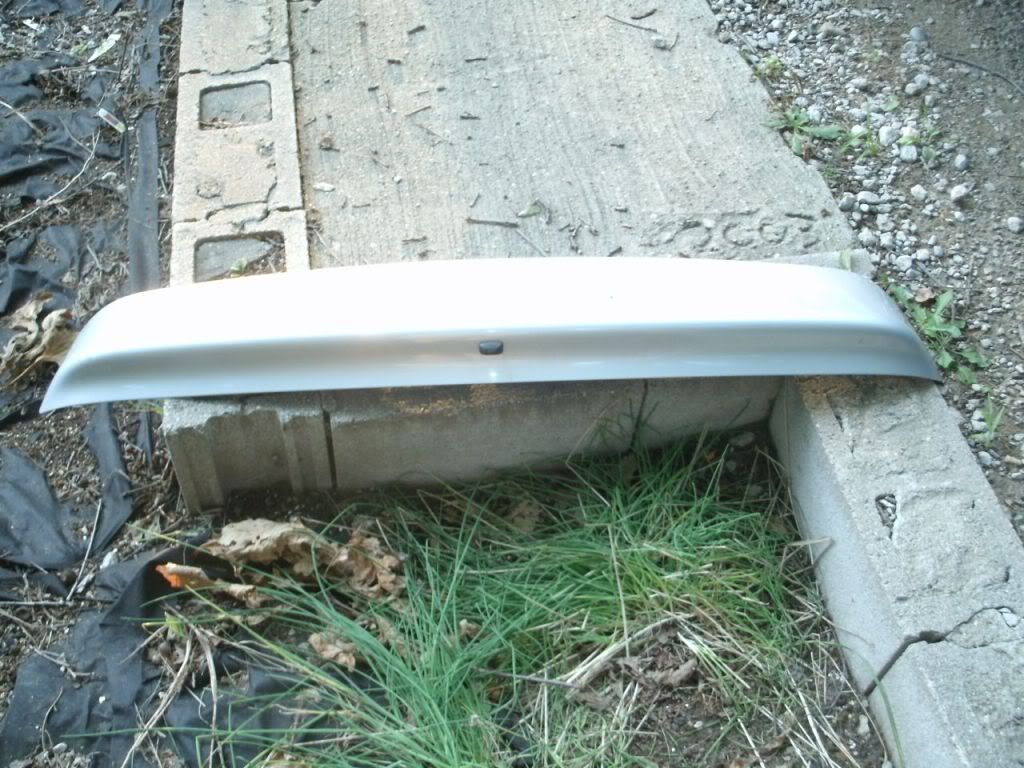
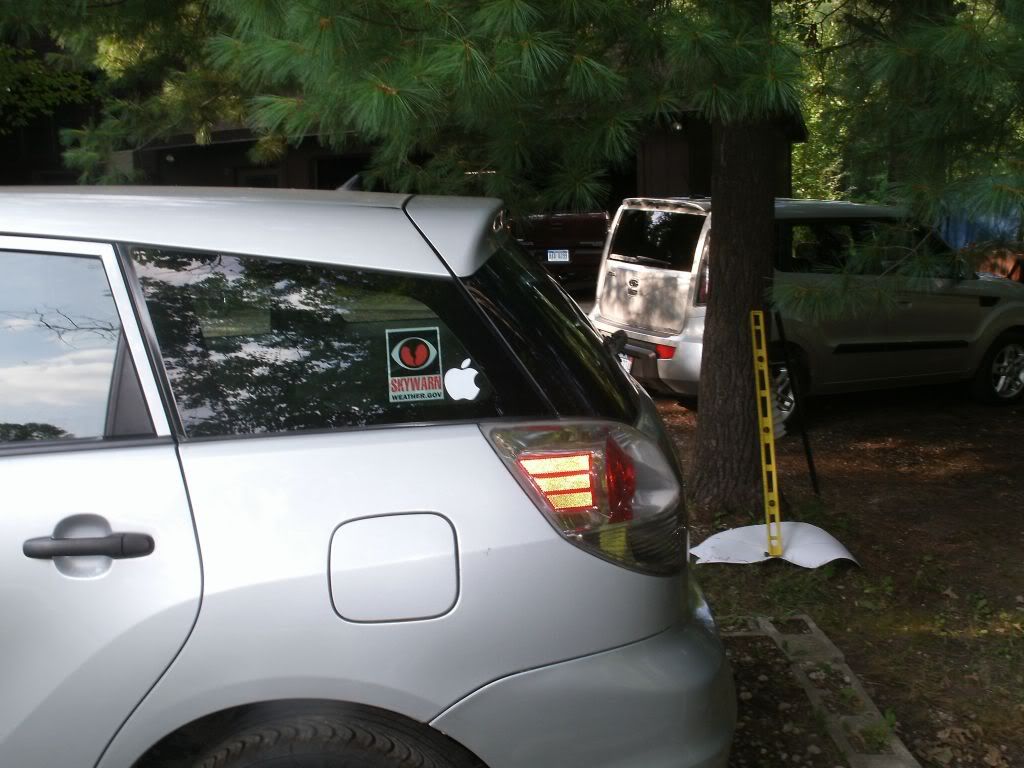
Here is what the cap looked like before:
__________________
|
|
|
|
|
08-12-2010, 10:18 PM
|
#24 (permalink)
|
|
Batman Junior
Join Date: Nov 2007
Location: 1000 Islands, Ontario, Canada
Posts: 22,515
Thanks: 4,062
Thanked 6,959 Times in 3,603 Posts
|
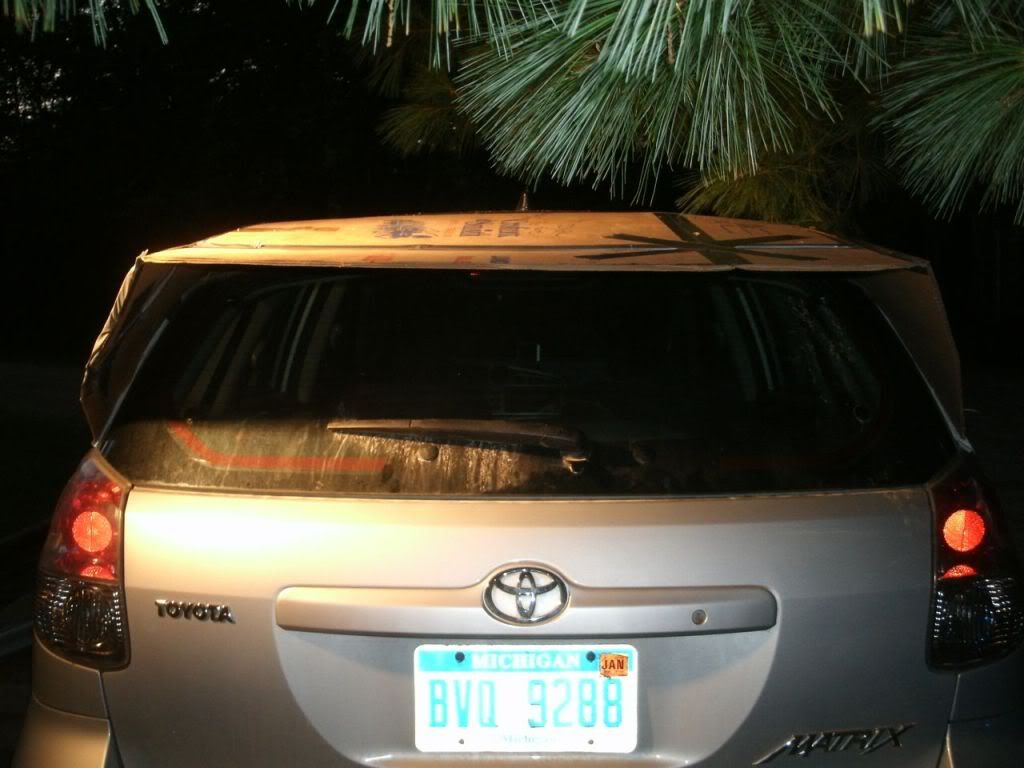
Aside from dealing with the sag, I'd try to radius the "shoulders" of your mod. Aerohead alluded to this already in his comments.
The sharp corner transitions you have made (between "top" and "sides") are easy to fabricate, but more likely to "trip" airflow into turbulence (not good) or vortices (bad). Note that the bodywork that Toyota made at the trailing edge of the roof/sides has fairly generous radii.
|
|
|
|
|
08-12-2010, 10:42 PM
|
#25 (permalink)
|
|
Wiki Mod
Join Date: Nov 2009
Location: Midland MI, USA
Posts: 2,042
Thanks: 228
Thanked 304 Times in 210 Posts
|
I hear you on the radius, light was dimming so I did what I could. I now have a rough size to try to get chloroplast for. I think that I can make it rather rounded. How well does chloroplast bend into radii? Should I use heat?
To attach the bottom I will borrow from Piwoslaw and use clips. I will run them from the back/ side brace under the glass (where the hatch and glass open independently) and then up to the shock mounts.
My idea is to make removable with very little work (and put the old piece back on). It will make for better testing and if I do not like it I can take it off in a min or two.
__________________
|
|
|
|
|
08-13-2010, 03:32 PM
|
#26 (permalink)
|
|
Wiki Mod
Join Date: Nov 2009
Location: Midland MI, USA
Posts: 2,042
Thanks: 228
Thanked 304 Times in 210 Posts
|
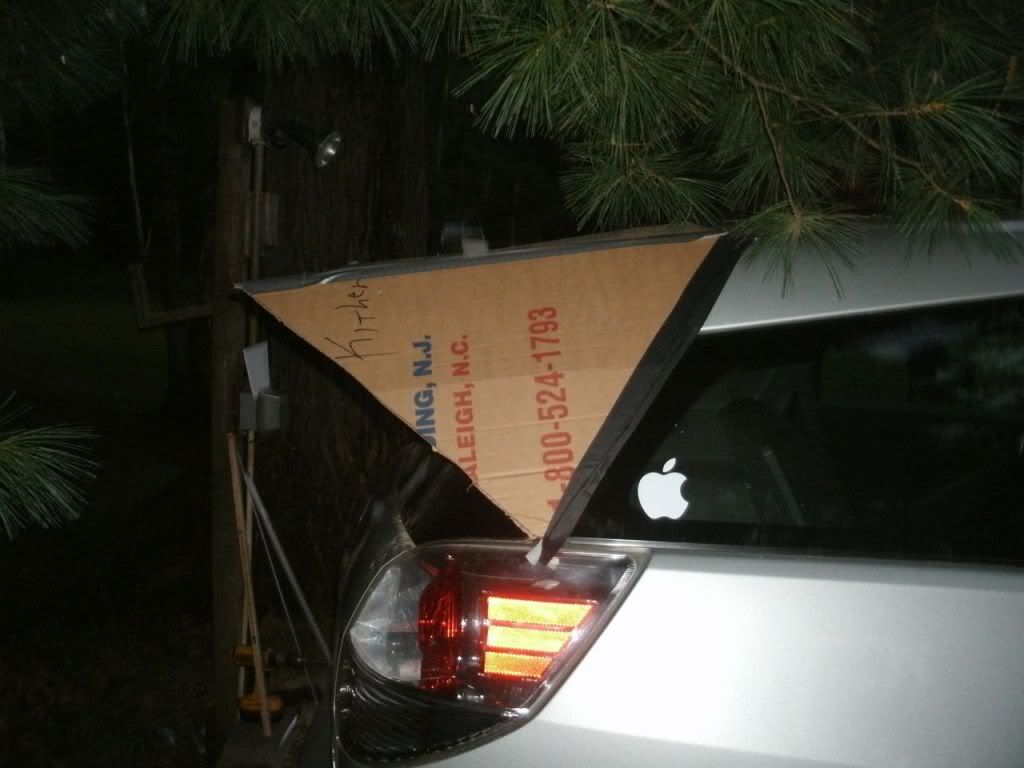
Here is what I have done so far today:
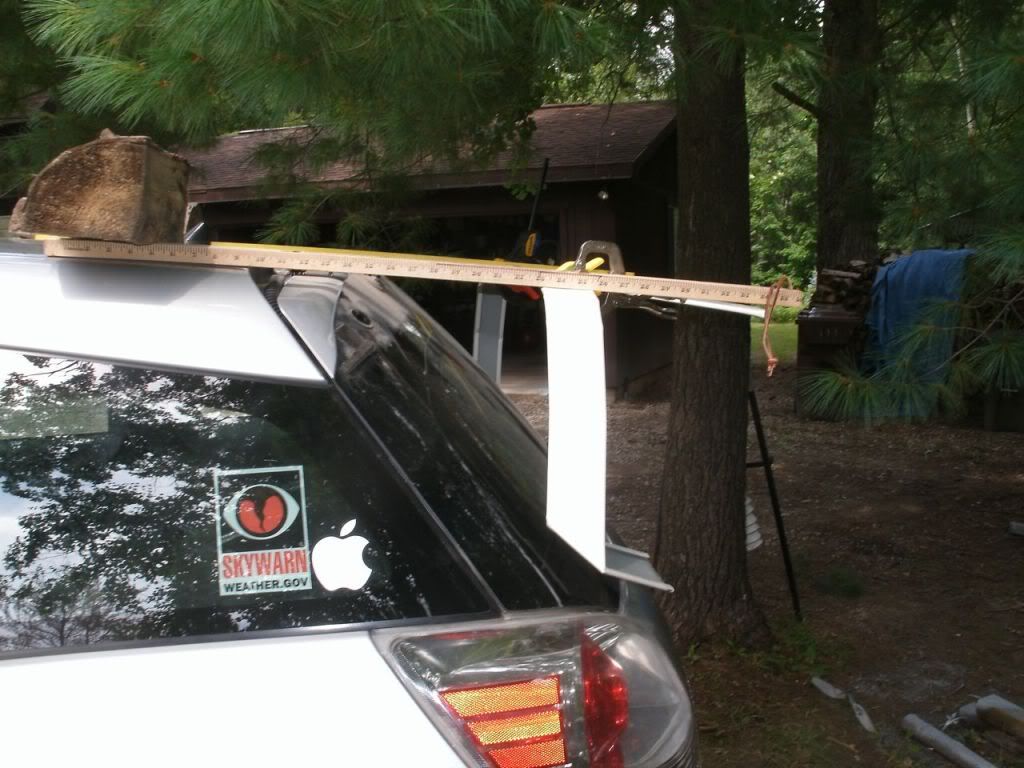
My cardboard template fell off over night, but I can still use it.
I looked at my supply of chloroplast and I did not have enough to make my Kammback, so I went to my local sign shop and got 4 28" x 48" pieces of scrap 4mm chloroplast for $15 ( a full sheet is 4'x8' and costs $30).
how do the angles look? How would you glue two pieces together (I will have one seam)?
__________________
|
|
|
|
|
08-13-2010, 04:09 PM
|
#27 (permalink)
|
|
Master EcoModder
Join Date: Jan 2008
Location: Sanger,Texas,U.S.A.
Posts: 15,883
Thanks: 23,957
Thanked 7,219 Times in 4,646 Posts
|
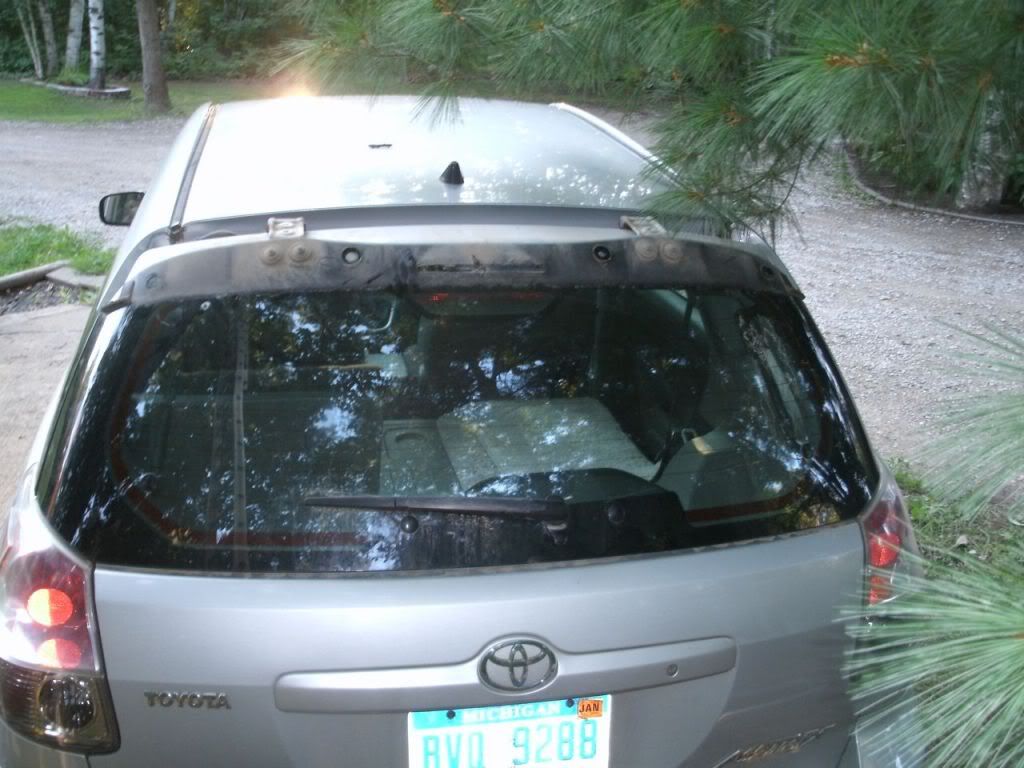
angles
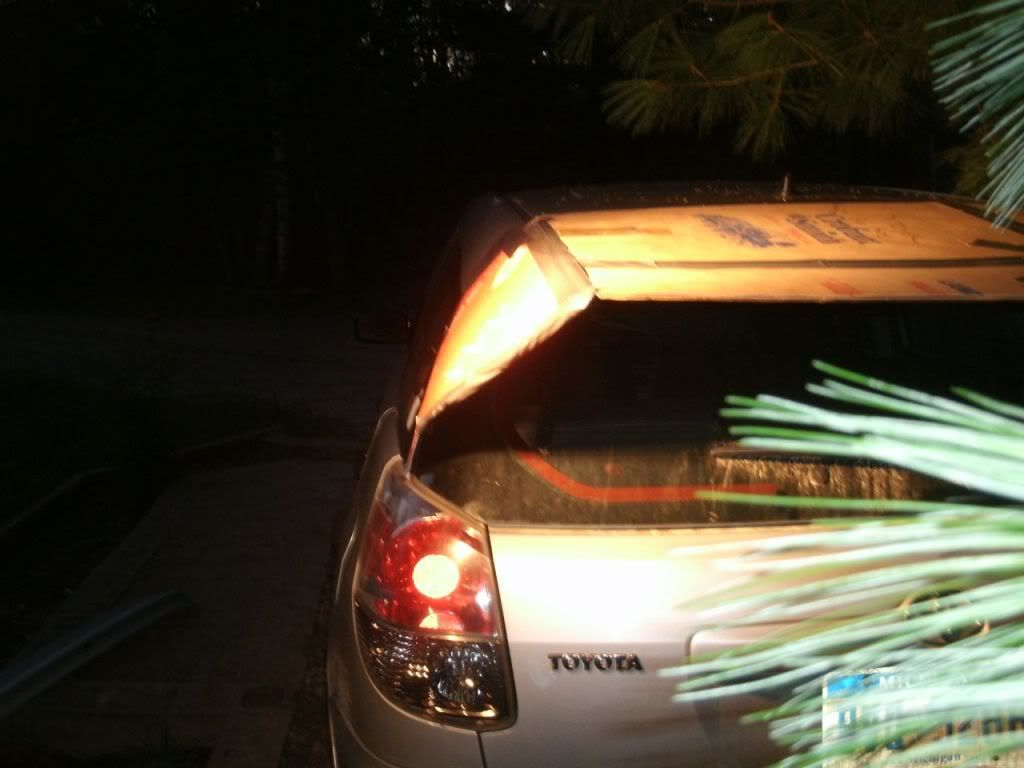
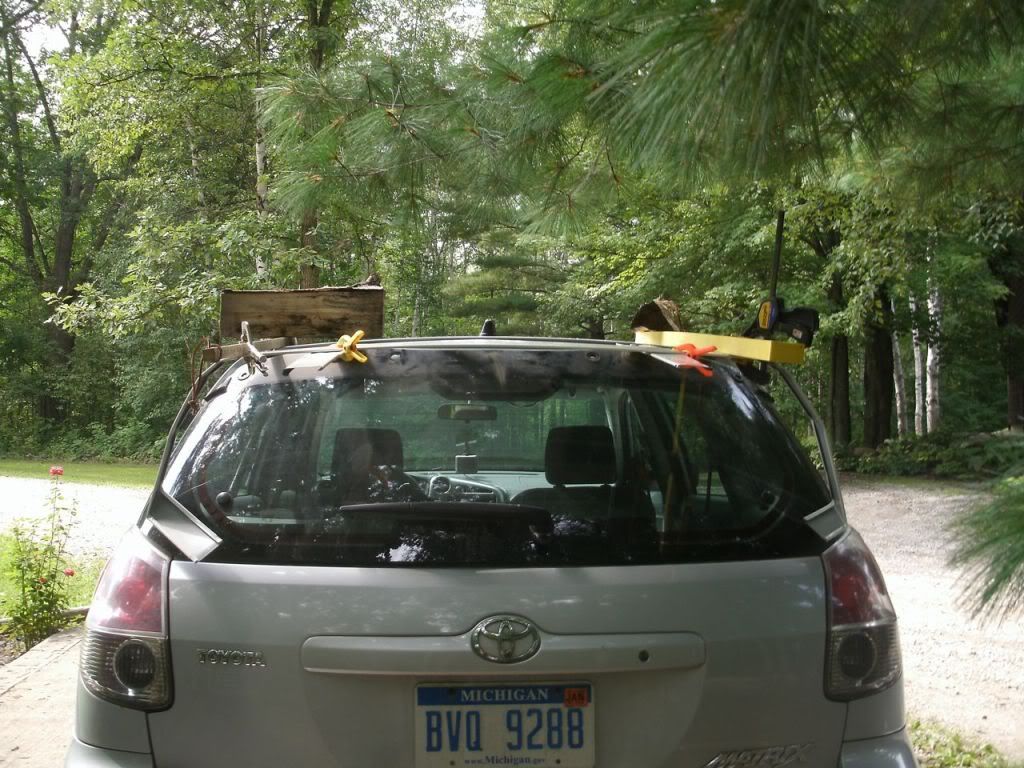
When I look at the view from behind I get the sense that where the top and sides meet at the back of the extension,that it could be narrower,and I'm basing that on what I can see of the 'tumblehome' of the Matrix.It's amount that the sides of the car tumble in at the top toward the center of the car.
A view from the top would be helpful but I realize it was late and had run out of natural light.By the way,I like your light stand!
If the transition onto the extension is sharp,as Darin has mentioned,you may see some separation although I don't think the air would travel far before re-attachment.
Compound curves rule the roost but are also the most energy intensive to fabricate.
I can't help with coroplast techniques,I haven't worked with it yet so I'm useless to you there.  |
|
|
|
|
08-13-2010, 04:30 PM
|
#28 (permalink)
|
|
EcoModder
Join Date: Jul 2008
Location: North Central Alabama
Posts: 572
Thanks: 110
Thanked 123 Times in 71 Posts
|
Quote:
Originally Posted by aerohead
When I look at the view from behind I get the sense that where the top and sides meet at the back of the extension,that it could be narrower,and I'm basing that on what I can see of the 'tumblehome' of the Matrix.It's amount that the sides of the car tumble in at the top toward the center of the car.
A view from the top would be helpful but I realize it was late and had run out of natural light.By the way,I like your light stand!
If the transition onto the extension is sharp,as Darin has mentioned,you may see some separation although I don't think the air would travel far before re-attachment.
Compound curves rule the roost but are also the most energy intensive to fabricate.
I can't help with coroplast techniques,I haven't worked with it yet so I'm useless to you there. |
I think what Aerohead is saying is correct. I built a SedanKamm for my car, and it worked great. It was 4' long, and was good for 6% increase in FE. My departure angle was steeper than yours, and I did some coast down testing, and had attached flow all the way back. I pulled mine in on the sides to the max extent possible (with the shape of my car), and had no problems. I would suggest that you make sure you can still see the horizon out of your rear view mirror. Most states only require you to be able to see 200' straight back, but I found that to be more or less useless.
__________________

|
|
|
|
|
08-13-2010, 05:12 PM
|
#29 (permalink)
|
|
Wiki Mod
Join Date: Nov 2009
Location: Midland MI, USA
Posts: 2,042
Thanks: 228
Thanked 304 Times in 210 Posts
|
Thanks for the tips!
I can see out of all my back window (the height is not blocked at all).
I have chloroplast on it (no pics yet) and I was able to get the sides to angle in by about 3". the transition is also curved to match the shape the car roof to side curve is (or as good as I could get).
__________________
|
|
|
|
|
The Following User Says Thank You to Weather Spotter For This Useful Post:
|
|
|
08-13-2010, 07:38 PM
|
#30 (permalink)
|
|
Master EcoModder
Join Date: Jul 2008
Location: Silly-Con Valley
Posts: 1,479
Thanks: 201
Thanked 262 Times in 199 Posts
|
Psst-- it's COROplast, as in "corrugated plastic". Doesn't have anything to do, so far as I know, with chlorine.

-soD
|
|
|
|
|


