01-12-2017, 11:40 PM
|
#51 (permalink)
|
|
MPGuino Supporter
Join Date: Oct 2010
Location: Hungary
Posts: 1,807
iNXS - '10 Opel Zafira 111 Anniversary Suzi - '02 Suzuki Swift GL
Thanks: 828
Thanked 708 Times in 456 Posts
|
Quote:
Originally Posted by skybolt

- I'm seeing anomalous readings in the Mega, which is probably just because I don't understand all the parameters and how they affect calculations. (injector PSI for example). On the mega readings are about 5-10% too low (classic mpguinio reads about .42 gph at a idle, Mega reads about .39 gph.
|
Can you include a zipped version of your code, configured for the Mega?
You can also try the latest "stable" code release.
Quote:
Originally Posted by skybolt
- No matter what I do to reset the Mega's trip and current, my tank miles stays at 8.8. Will do further experiments in house (not in car) and it will be easier to start investigating.
|
That is very strange. It does this only with the Mega?
|
|
|

|
|
The Following User Says Thank You to t vago For This Useful Post:
|
|
 Today Today
|
|
|
|
 Other popular topics in this forum...
|
|
|
|
|
01-13-2017, 12:41 PM
|
#52 (permalink)
|
|
EcoModding Apprentice
Join Date: Dec 2012
Location: Portugal
Posts: 197
Thanks: 93
Thanked 70 Times in 64 Posts
|
Quote:
Originally Posted by skybolt
I chose video out because it was the simplest, easiest way to display the output. The Raspberry Pi cannot replace the arduino, as a raspberry pi isn't a real-time processor and cannot be guaranteed to measure each speedometer tick or fuel injection pulse, not to mention that no measurements would take place during a boot process.
On the other hand, the arduino is very, very limited it its ability to display video. As hard as I tried, I was only able to get limited text, which rapidly exhausted the available memory necessary to run the aquino routines that measured fuel and speed pulses.
The combination of a raspberry pi and arduino can be made very, very small. I originally used a raspberry pi zero which is very small and can be attached to an mpguino with electrical tape. I chose a raspi 3 because I preferred the video performance. With a slightly larger raspberry pi I can mount a much tinier arduino pro mini, which is about the size of two quarters.
You aren't required to display this on a head-unit, but should you prefer to do so, you simply plug the raspberry pi video out to an open video port on your stereo. If you want to use an embedded screen like in my example, you can do that instead. It's very flexible and not limited to a single hardware architecture.
I can't continue work on miniaturizing the arduino and attaching it to the pi until I create the car interface board that are already on MPGuino boards -- the resistors, capacitors, diodes and voltage regulator. Once I've done that (and I have a working breadboard version, so I should be able to do this part shortly), I can start in on putting the new code base on a Pro Micro, and you should be able to use any display type you want.
Truth be told, hooking the mpguino up to your car is going to be a lot more difficult than attaching a video cable to your head unit, even when you factor in supplying power to the raspberry pi.
|
Okay, I understand, I'm waiting for further development of the project.
Thanks
José Rodrigues |
|
|
|
|
01-13-2017, 01:33 PM
|
#53 (permalink)
|
|
deviant
Join Date: Oct 2016
Location: Seattle, WA
Posts: 69
Thanks: 12
Thanked 47 Times in 35 Posts
|
Quote:
Originally Posted by t vago
|
New code? How could i have missed that!
Quote:
|
That is very strange. It does this only with the Mega?
|
Unknown, as I've only tested it on the mega. Will re-test with new code and soldered connections, jumper wires seem to change their resistance when they wiggle.
Are all the parameter functions and usage of six-way switch documented in the code? Let me know and I'll see how it works from there. Otherwise, let me know and I'll ask you for what I need. |
|
|
|
|
01-13-2017, 02:55 PM
|
#54 (permalink)
|
|
MPGuino Supporter
Join Date: Oct 2010
Location: Hungary
Posts: 1,807
iNXS - '10 Opel Zafira 111 Anniversary Suzi - '02 Suzuki Swift GL
Thanks: 828
Thanked 708 Times in 456 Posts
|
Quote:
Originally Posted by skybolt
Unknown, as I've only tested it on the mega. Will re-test with new code and soldered connections, jumper wires seem to change their resistance when they wiggle.
|
Yah, jumper wires are funny that way.
Quote:
Originally Posted by skybolt
Are all the parameter functions and usage of six-way switch documented in the code? Let me know and I'll see how it works from there. Otherwise, let me know and I'll ask you for what I need.
|
The parameters themselves are briefly documented. The six-way switch (the Parallax 5-position switch?) only has a description of how to hook it up. |
|
|
|
|
01-16-2017, 11:45 AM
|
#55 (permalink)
|
|
MPGuino Supporter
Join Date: Oct 2010
Location: Hungary
Posts: 1,807
iNXS - '10 Opel Zafira 111 Anniversary Suzi - '02 Suzuki Swift GL
Thanks: 828
Thanked 708 Times in 456 Posts
|
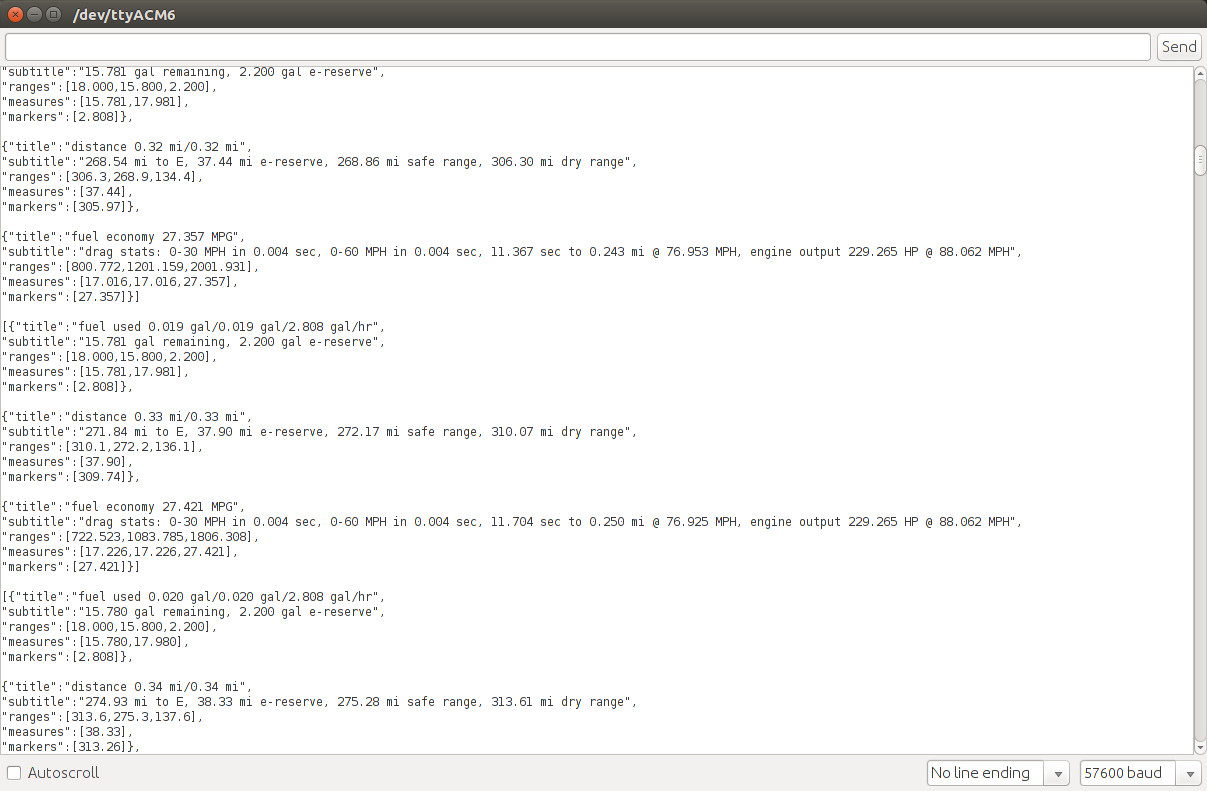
I have (I think) debugged the accel test function to the point where it can be included in the JSON output routine.
Accel Test (also known as drag race) may be entered by pressing and holding down the center button.
Once there, an accel test may be armed by again pressing and holding down the center button until "Drag Ready" shows up. Once the accel test is armed, it will start once the vehicle starts moving. Once you have passed one of three selected tripwires, that portion will be acknowledged on the screen as one of the following:
"At Drag 1/2 Speed"
"At Drag Speed"
"At Drag Distance"
When all three tripwires have been passed, the accel test finishes with "Drag Finished".
If the vehicle is moving when you try to arm the accel test, you will get the message "Stop Vehicle". If the vehicle engine is not running if you try to arm the accel test, you will get the message "Start Engine".
If, at any time the accel test is either armed or in progress, the vehicle comes to a complete stop, the accel test will be canceled and the message "Drag Cancelled" will appear. Also, if the engine stops running (like if you happen to go into EOC), the accel test will be canceled and the message "Drag Cancelled" will appear.
Finally, if you again press and hold the center button long enough, the accel test will be canceled and the message "Drag Cancelled" will appear.
|
|
|
|
|
01-16-2017, 12:38 PM
|
#56 (permalink)
|
|
deviant
Join Date: Oct 2016
Location: Seattle, WA
Posts: 69
Thanks: 12
Thanked 47 Times in 35 Posts
|
Quote:
Originally Posted by josemapiro
Okay, I understand, I'm waiting for further development of the project.
Thanks
José Rodrigues
|
How would you like to use it? Would you prefer going to the head unit, or more like the example version that used a built-in screen? I can show you how to make either one. |
|
|
|
|
01-16-2017, 12:40 PM
|
#57 (permalink)
|
|
deviant
Join Date: Oct 2016
Location: Seattle, WA
Posts: 69
Thanks: 12
Thanked 47 Times in 35 Posts
|
Quote:
Originally Posted by t vago
I have (I think) debugged the accel test function to the point where it can be included in the JSON output routine.
|
Outstanding!! I'd be outside testing it right now but I have a very narrow window of opportunity to get my car seats back in place -- it's going to start raining nasty later and I don't have a garage. Once that's done (hey, heated seats are a necessity this time of year), I'll solder up a sled/pi combo and move it out to the car.
Do you prefer using the 5-way button or the classic 3 buttons?
|
|
|
|
|
01-16-2017, 05:24 PM
|
#58 (permalink)
|
|
EcoModding Apprentice
Join Date: Dec 2012
Location: Portugal
Posts: 197
Thanks: 93
Thanked 70 Times in 64 Posts
|
Hi skybolt
Quote:
Originally Posted by skybolt
How would you like to use it? Would you prefer going to the head unit, or more like the example version that used a built-in screen? I can show you how to make either one.
|
I do not have a definite idea of how it should be, initially I thought that it would be enough to connect an LCD to the Arduino and with the change of the code it is up and running,
but said that Arduino has with video, I have no idea Of what will be better.
I liked to replace the 2x16 LCD which is in operation in the MPguino for a graphic LCD more modern, the 2x16 LCD works great but has a more old-fashioned image, but this required major changes to the code which is out of the question.
Thanks
José Rodrigues |
|
|
|
|
01-19-2017, 01:58 PM
|
#59 (permalink)
|
|
MPGuino Supporter
Join Date: Oct 2010
Location: Hungary
Posts: 1,807
iNXS - '10 Opel Zafira 111 Anniversary Suzi - '02 Suzuki Swift GL
Thanks: 828
Thanked 708 Times in 456 Posts
|
Quote:
Originally Posted by skybolt
Do you prefer using the 5-way button or the classic 3 buttons?
|
I rather prefer the 5-way buttons, but never got the time to figure out how to re-arrange the buttons to take advantage of them. Might have to put in some sort of scrolling menu system to take advantage of all of the features I've added. |
|
|
|
|
01-20-2017, 01:03 PM
|
#60 (permalink)
|
|
deviant
Join Date: Oct 2016
Location: Seattle, WA
Posts: 69
Thanks: 12
Thanked 47 Times in 35 Posts
|
tVago:
Are you using the standard Arduino UI to compile? If so, what's your standard process for adding a new sketch? I've just downloaded 20170116_194. Since it's a cpp file, I can either rename it .ino, or make a blank .ino and add the new code as main.cpp (or other name).
Problem is, it won't compile - sometimes it's my fault, but sometimes it's an issue with filename, since the arduino UI treats .cpp, .c and .ino files differently at compile time. If I can eliminate deployment issues by duplicating your process, I can turn my attention to setting the correct flags, testing, further development, etc.
|
|
|
|
|