So - we undertook this task today, amidst the threat of rain. Here is the result, pics included.
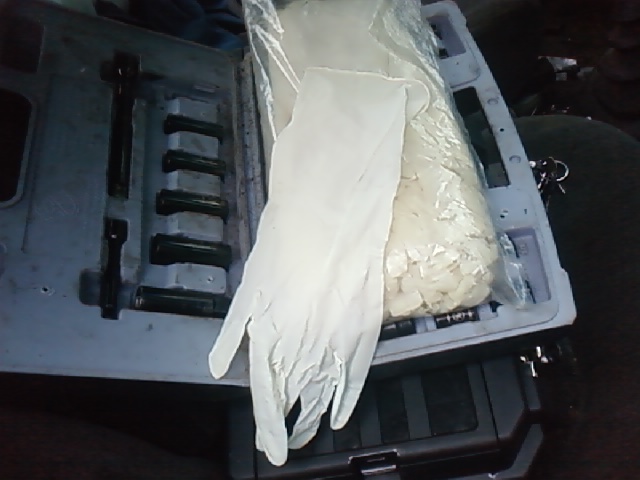
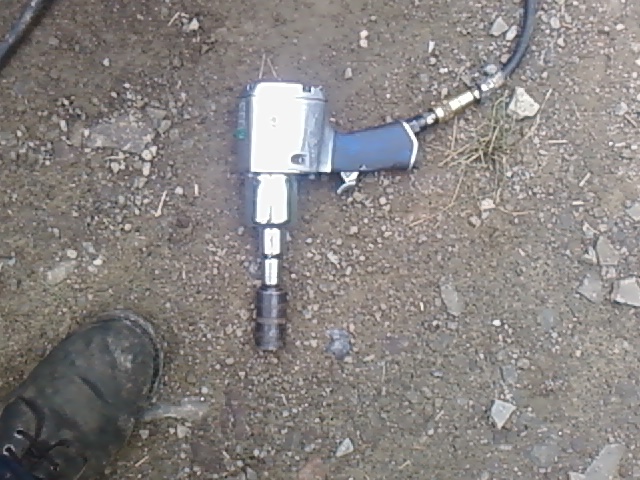
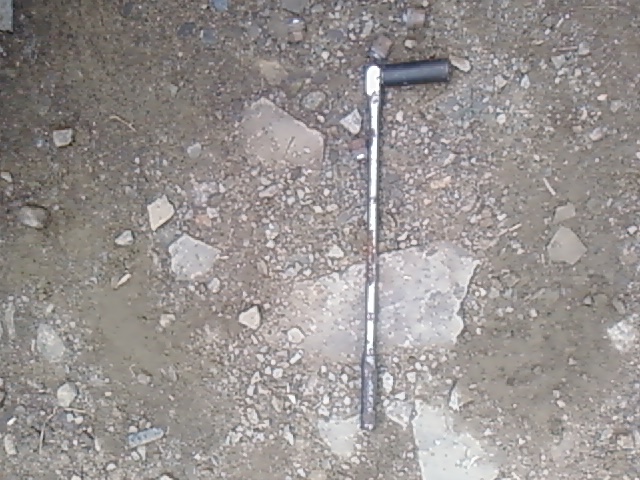
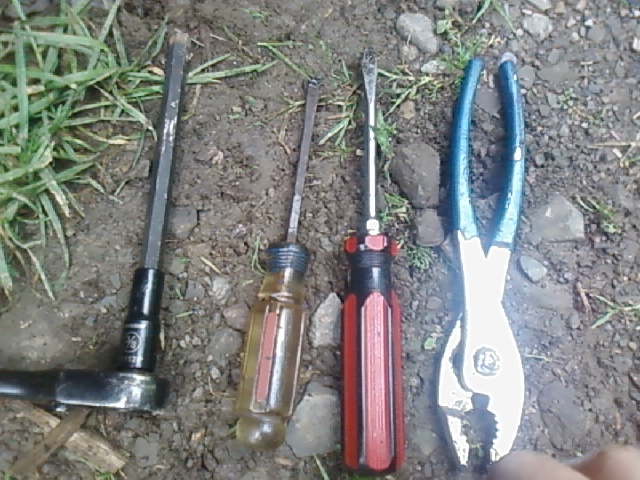
Tools and supplies needed:
First off, remove the tire. This should be obvious. Jacking/Blocking/Etc will not be covered here. Please use common sense and good practices when servicing your own vehicle.
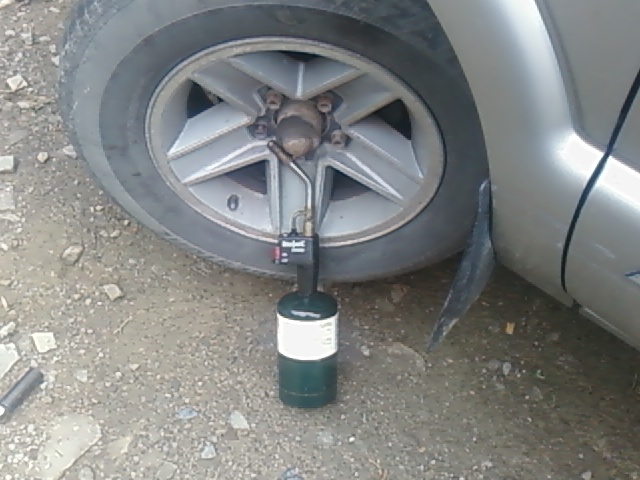
A common problem with some GM OEM studs involves the stud's knurling stripping in the bore of the hub, which means that turning the lug nut will only spin the stud, not actually remove it. This can be remedied by heating for about 15 mins with a propane torch pointed directly at the lug nut that needs to be removed. This will not damage your rims, but may damage the finish on them. Once this has been done, quickly use a high-powered air impact or similar tool to remove the nut. The heat expands the nut and stud, causing the stud to bind temporarily against the hub/rotor, and allowing the nut to be turned.
Refer to image:
Once you've removed the wheel, you can start on the Rotor/Wheel bearing assembly.
Remove the caliper guide pins:

They're 3/8" Allen-head screws.

Remove the caliper from the bracket, and set it aside, but do not let it hang from the rubber "soft line".

Here, I've stuck a rock into the caliper, between the pads, then hung the rock between the lower control arm and frame to suspend it.
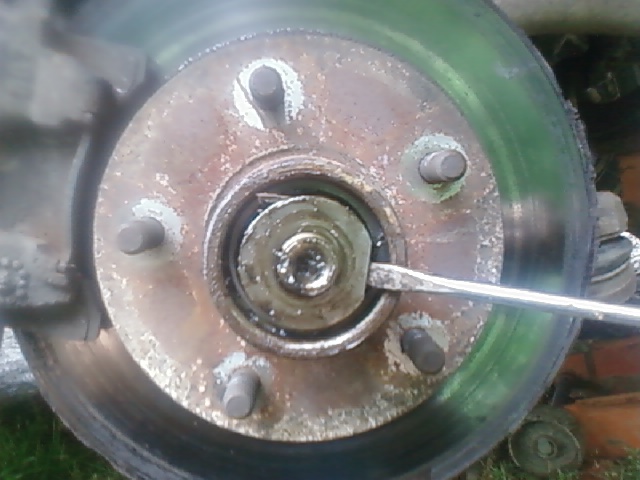
Remove the dust cap from the center of the hub assembly, using a small flat screwdriver and hammer, with light taps.
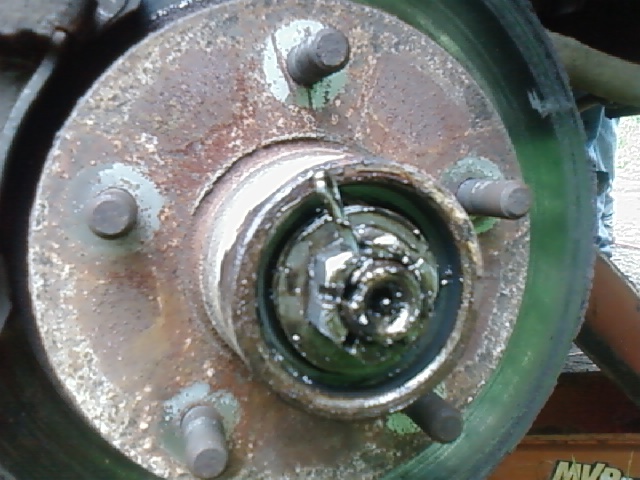
You should now see this:
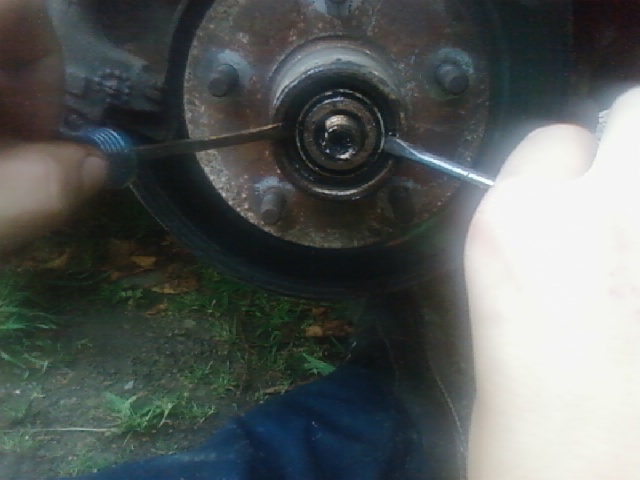
Remove the cotter pin, and don't be cheap and reuse it like I did.

The spindle nut is 32mm (1.125"), but it's only finger tight. There is NO preload on the wheel bearings.
Next, remove the washer and wheel bearing, using small flathead screwdrivers, or by placing your hand in front of the assembly and slowing pulling the rotor toward you. Do not drop either the bearing or the washer, as you may introduce dirt, and you should plan to re-use those parts.
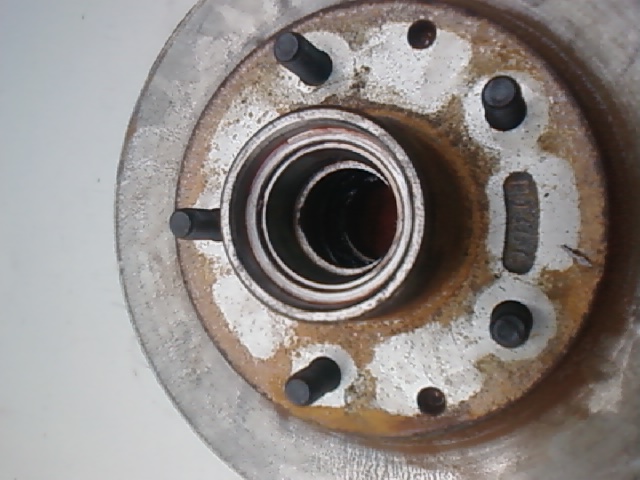
At this point, when the bearing, nut, cotter pin, and washer are removed, you can remove the hub from the spindle. The rear wheel bearing is held in by the rear dust seal.
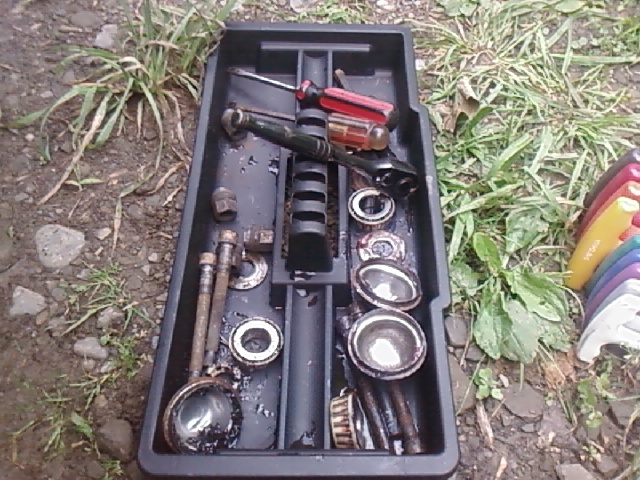
If using previously used rotors to replace your worn ones, clean out as much of the old grease as possible. Clean the spindle, and all bearings/hardware as thoroughly as possible. Solvents aren't necessary, but help.
Now is a great time to check/clean/replace your ABS sensors, as well.

You'll hate yourself if you have to take this all apart again because of a dirty/broken ABS sensor.
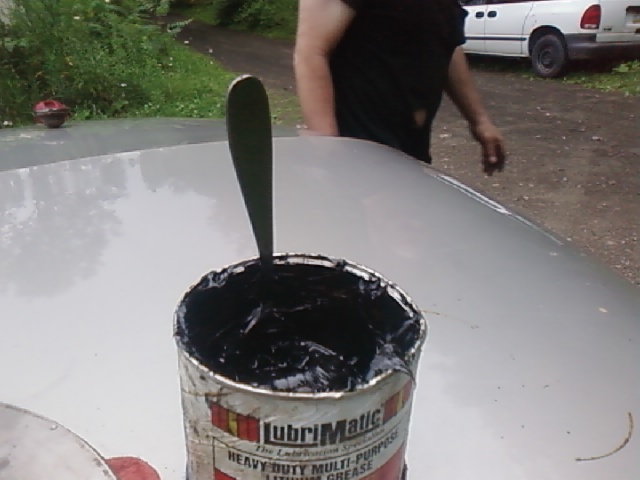
Repack old or new bearings if necessary. Place a big glop of grease into the center hole of the hub as well, enough to fill it between the bearings once it's back together. You'll be saving any grease that pushes out, so don't worry about over-application here. Try to keep the grease packed and free of air pockets.
When you begin pushing the new hub/rotor back onto the spindle, keep your hand firmly against the front opening, to keep the grease from simply pushing out. If you're not cool with greasy hands, put the dust caps back on before pushing the hub/rotor on, but leave it loose.
Once the hub/rotor is back on, verify that it's cleanly and fully packed with grease, then install the front bearing assembly, pushing it firmly into place.
Push the washer back on, making sure the inside tab aligns with the groove in the spindle.
Put the nut back on as tight as you can get it without a wrench, then back it off until the first slit shows the cotter pin's hole. Replace the cotter pin, making sure to bend the legs up. Remember, this nut should ONLY BE FINGER TIGHT. NO PRELOAD IS NECESSARY ON THE WHEEL BEARINGS!!!
Pack the dust cap with grease, and tap it back on tightly.
Clean/Grease/Lubricate the caliper guide pin bolts, replace the caliper (check your pads for uneven wear/galling/glazing) in the bracket, and replace the guide pins.
Torque the guide pins to 35 ft.lbs.
Replace the wheel, being sure not to overtighten your lug nuts.
Copyright information: This article may be freely reproduced, copied, posted, pasted, reused, printed, etc, as long as such is done including it's entirety, without alteration. Certification is hereby made that this article's content is original and not copied in any way from someone else's intellectual property. I made it, I own it. You may BORROW it.
Disclaimer: EcoModder.com and myself hold no responsibility for you following these directions and hurting yourself or your property. If you're not comfortable with doing this job yourself, or you don't have or have access to the proper tools/facilities, please don't attempt this repair. Please remember to use all necessary personal protective equipment, including eye protection and gloves.


 Today
Today


