Usually stuff.
I am by no means a body man or a glass expert. Everything done here is based off my own experience of the process using what I had on hand. As always seek the help of a professional if needed. Some of the techniques and chemicals used are hazardous to your health and you could kill yourself. Always be careful and use the proper safety equipment. I am not responsible for anything you do by following this.
That aside, replacing your quarter panel window on an Insight isn't a big deal. It can be easily done in your driveway using common hand tools. The most difficult part is cutting out the old glue and pumping in the new. The rest is cake.
Heres what you need. All prices listed are what I paid for at the time.
1x Quarter Panel Window (PN# 73561-S3Y-003) $53.63, Majestic
1x Quarter Panel Garnish (PN# 738690-S3Y-003) $6.82, Majestic
2x Quarter Panel Window Clip (PN# 91502-S3Y-003) $5.62, Majestic
1x Quarter Panel Window Dam (PN# 73526-S3Y-000) $11.95, Majestic
1x Sharp strong knife
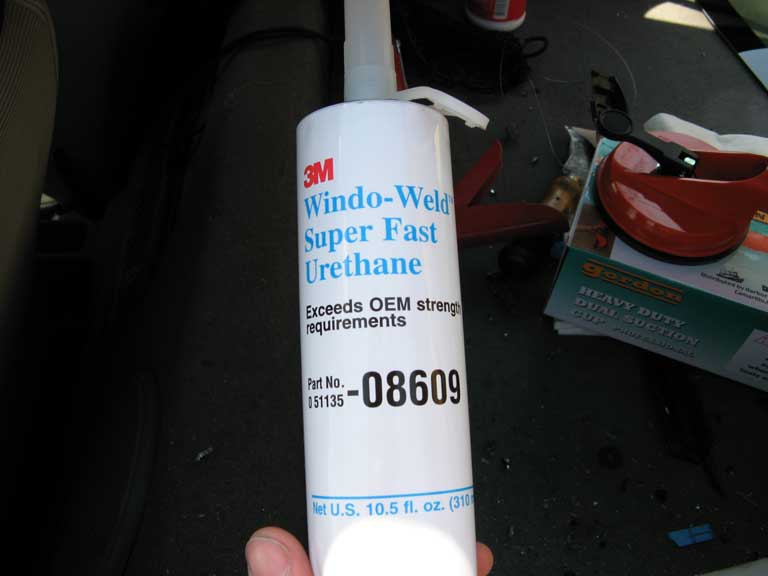
1x 3M Window Weld $14.99, Autozone
1x Big suction cup. I used the one from my GPS and it did fine
1x Caulking Gun
Grand total spent: $93.01
Handy to have
Heat Gun, mine was 300watts
Carpet Cutter
Far as I know, Rommie found her way into the junk yard by the means of a thief recovered. Her driver sides quarter window was smashed in to gain access I think.
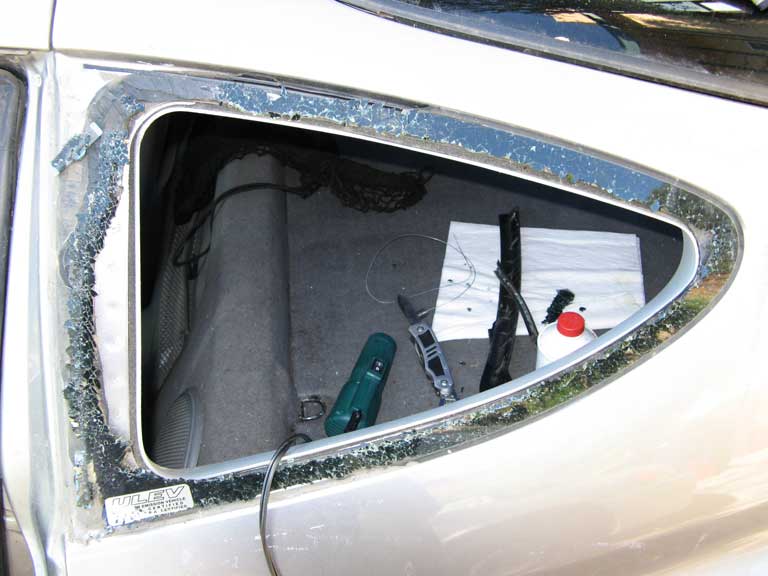
So most of the glass had already been removed for me. What was left was the glass still glued to the frame. I'll be starting from here.
Heres what you want to do. Use your knife to knock out enough glass to get to the window sealant. In the above pic, you can see where I started the process in the top left corner. Once you have an area cleared you want to try to get your knife under the sealant to start the removal process. Your objective is to cut as much of the old sealant off as possible. The closer you can get your knife to the frame the better off you'll be in the long run. Don't go the easy path and do a shallow cut, you'll regret it later on.
There is a black plastic trim piece located right by the door jam. It attaches to the window via some clips. Just break it off by any means possible. You will be replacing it anyway.
Once you get your knife under the sealant here is where the fun starts. You now need to saw off the old sealant. It is a very slow and tedious process. Start by the door first since that area is fairly easy to work with and you'll see some obvious progress. Once you get to the curve in the rear is where you'll start hating life. But press on and you'll eventually get it all off. Do this on a warm day, the old sealant loosens up a bit. Else use the heat gun to warm up your knife some to help slice through. The carpet knife is handy on the straight parts as you can put a lot of force on it.
As you are cutting through the sealant by the door jam, you'll come across two clips that hold the window to the frame. You will need to remove them. It is very difficult to save them as they become brittle over time.
After about 2 hrs of grunting and swearing your frame should look something like this.
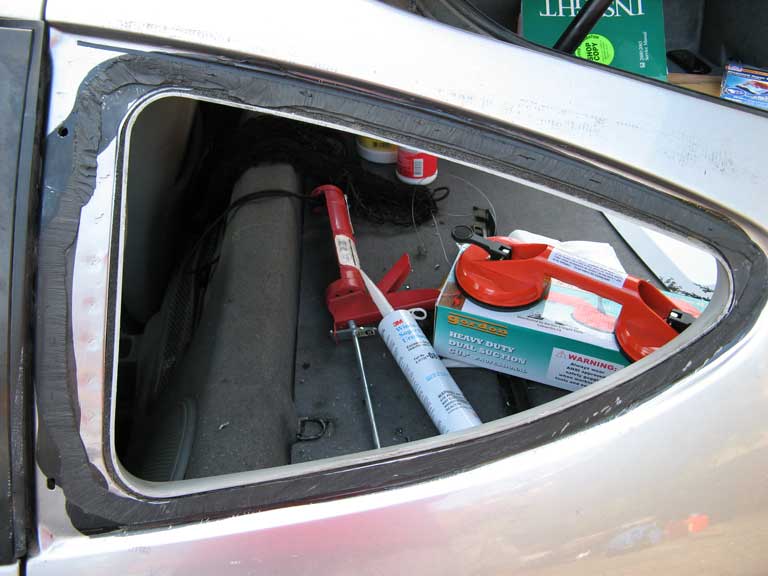
You don't need to remove all the sealant just about 80-90% of it. The new sealant can adhere to the old. Be sure to clean up and paint over any damage you may have done. I covered mine with some clear coat I had lying around. Most just use black primer. You just want to prevent any corrosion from occurring.
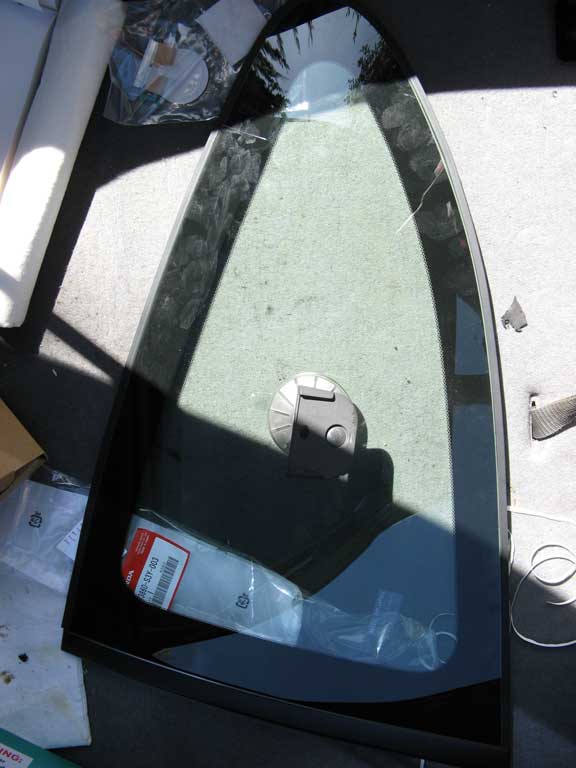
At this point the major work has been completed. Now on to the easier stuff. Your new window should look something like this
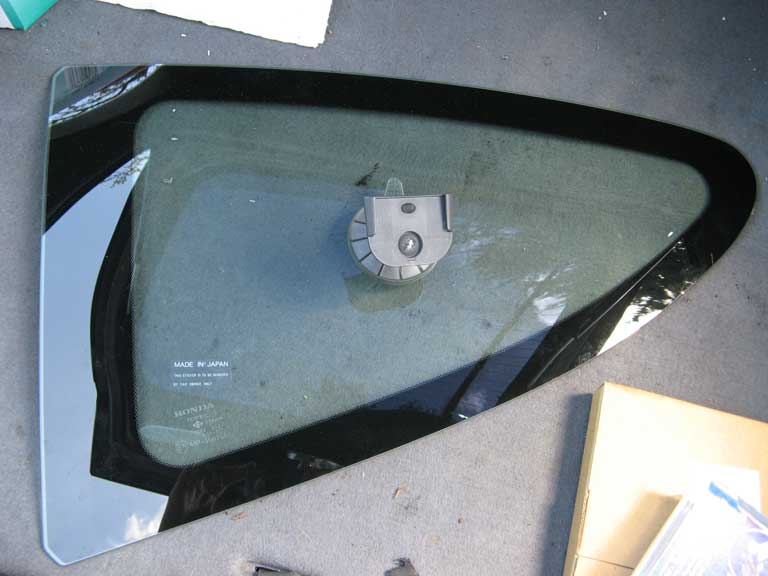
You'll want to take some rubbing alcohol or something and clean the painted edges. If you have it, prep the surface with a glass primer. I didn't and it doesn't seem to have made a difference.
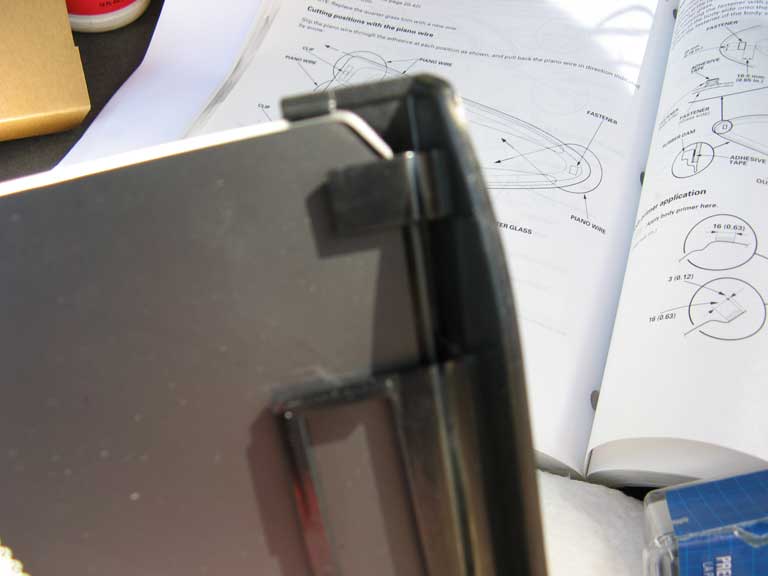
Take your new plastic garnish and clip it on to the window. It really goes only one way and on one said so its hard to mess up.
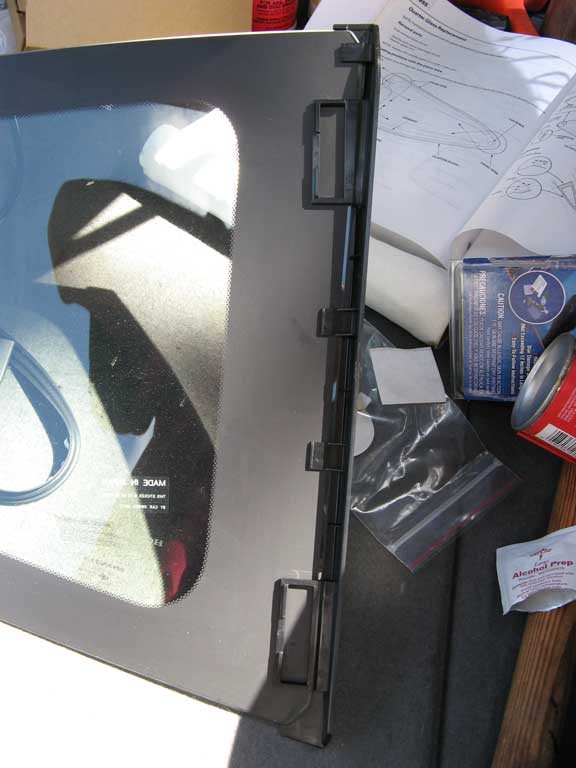
Align the top edge with the top of the glass as shown below
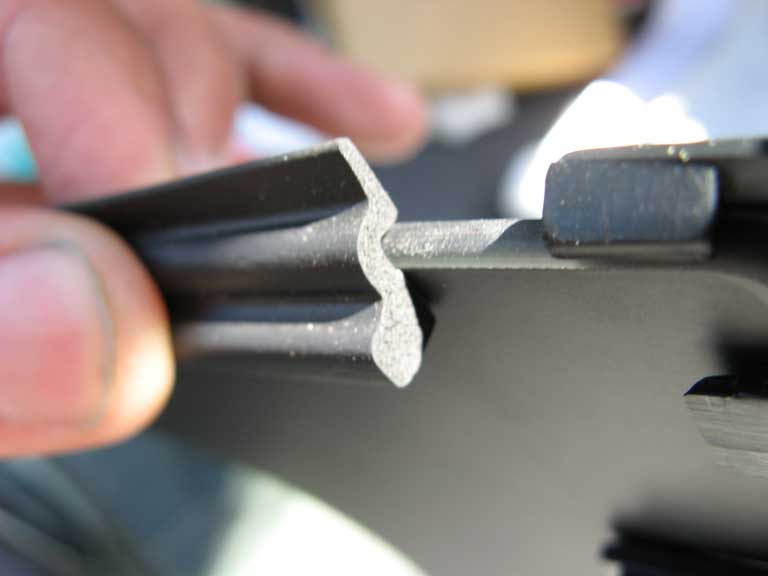
Take your rubber dam and start at the top of the window and work your way around. The dam has its own adhesive strip on it. Simply pull off the strip and stick it to the edge of the glass. Its a strong glue and doesn't really like to be replaced, so work slowly and carefully, making sure its right the first time. You should position the dam like so. The stepped area should be pointing towards the side of the glass that will face the inside of the car
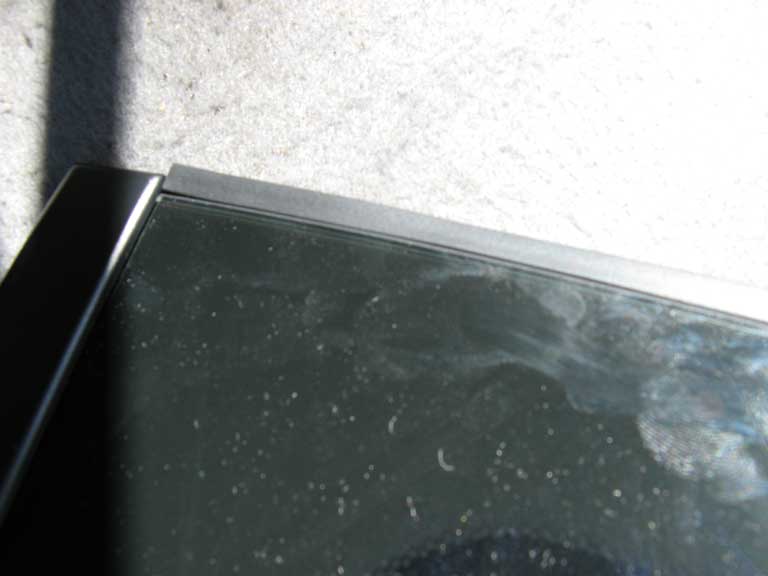
Bottom meeting the garnish
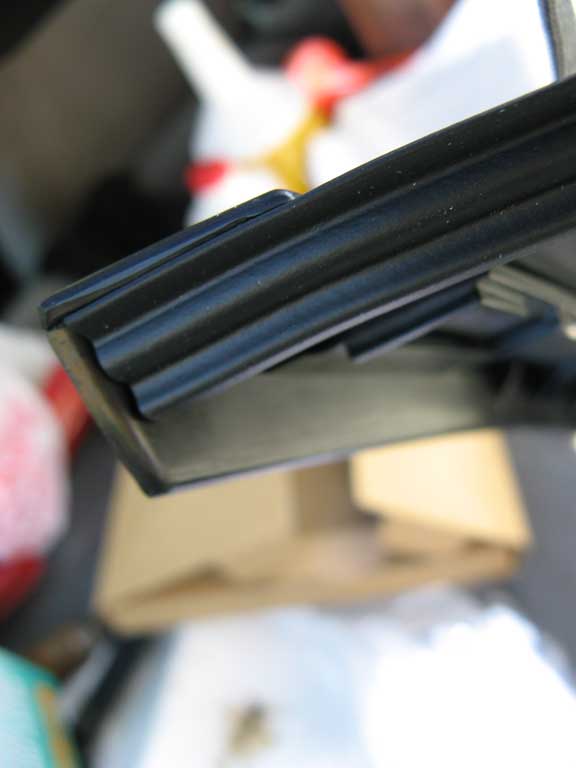
End result
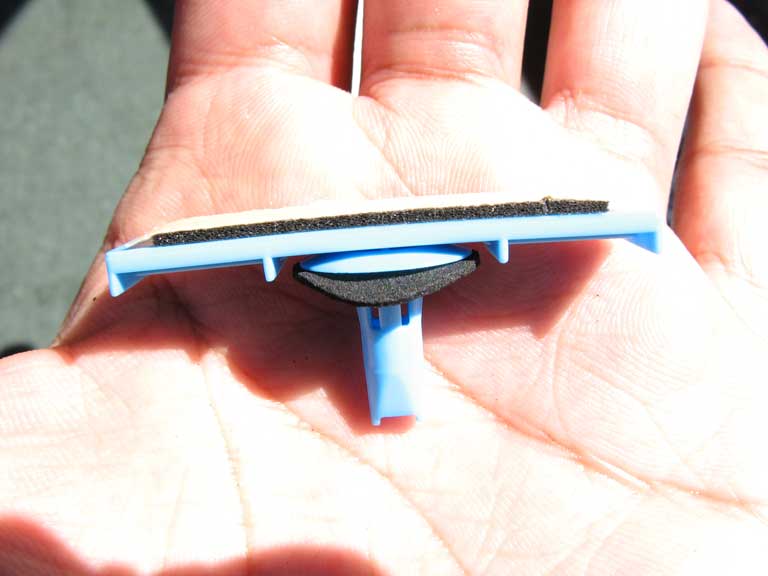
There are two rectangular slots on the plastic garnish piece. Into those two slots go the retention clips. They are blue, and come with very very sticky double sided tape. Do your best to center them inside their boxes.

Take your sealant
and squeeze out nice fat beat on top of the old sealant. Just follow the path of the original. You want a bead somewhere between 1/4" and 1/2". Bigger won't hurt here. It'll just make a mess. I used a 1/4" and it seems fine so far. This stuff is thick, gooey and doesn't want to come out of the tube, even when warm. Your arms will get a work out pumping it out. Once you get a bead all around, pop your new window in. Make sure the clips engage and apply even pressure all around. The adhesive should be able to hold the window on its own. If anything feels squishy, it'll harden up once the adhesive drys.
Assuming all goes well you should now have the following
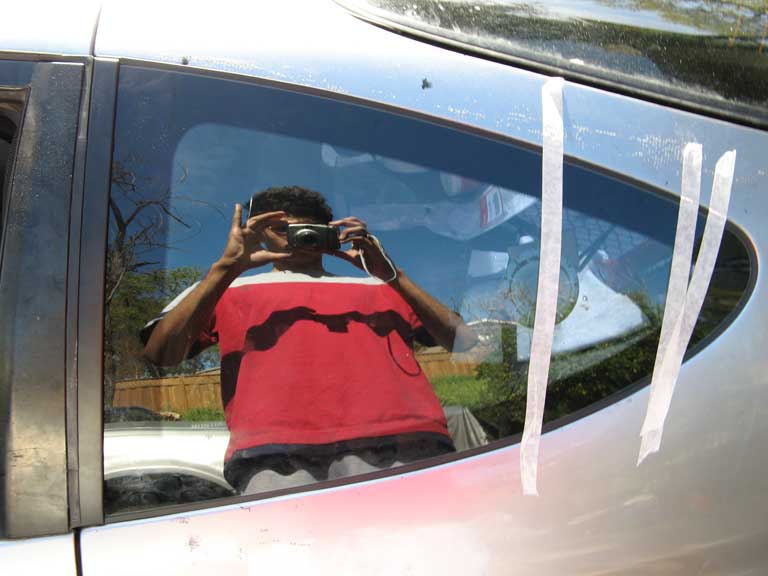
Not bad

Now just leave it alone for a day or two, make sure your windows are cracked so there is no pressure build up. Don't slam anything until it sets completely.