ChazInMT!
Hey! Thanks for the tips on the pics and the complement on my dysfunctional Kammback : )
If anything is wrong with the Kammback itself,then it has to be the sides because that's where the yarn wiggled a lot. On the top they stayed put,straight back.
I could still relax the radius and decrease the angle on the sides but honestly I don't think I'm going to play with it because I think Weather Spotter hit the nail on the head when he pointed out that I might have just gave the airflow a new sharper angle/ larger wake as it leaves the back of the roof and now it has no chance to "touch off" on the trunk!
Sort of like if the trunk area was a boat tail and now it is chopped off!
( Just my speculation )
To answer your questions: The Plexi sheet was a 32"x44" sheet about 2.5mm thick ( .1" ). Cost $33 at Ace hardware. Had it been a longer piece,I believe I could've made it diagonally out of one piece not having to join two pieces.
How I made it:
I started with making a large enough piece of paper using hot glue to attach pieces together and also in two layers so it's not flimsy. If you have cardboard it's probably better!
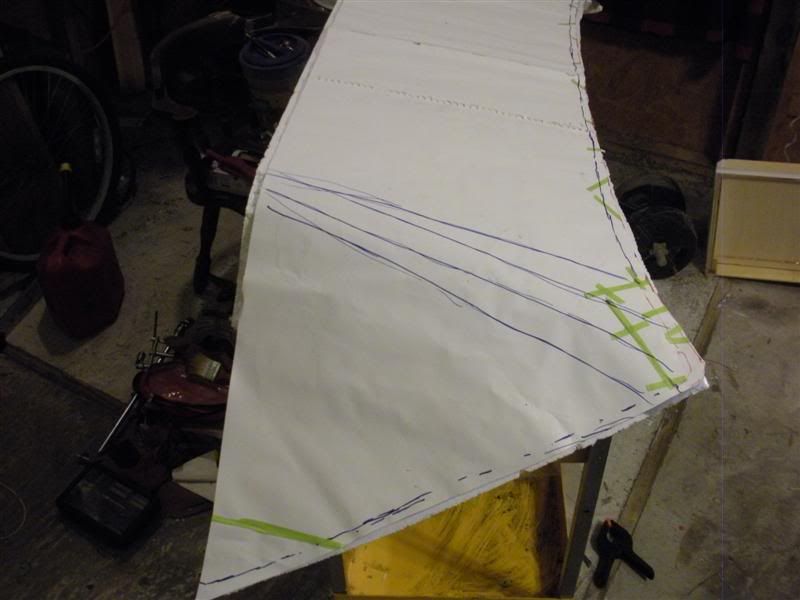
I taped that to the back of the roof and propped up the back side on the rear window in a fashion that represented my Kammback.
( eyeballing the angle and let it droop down the on the sides )
Then I dug in with my finger nails around the perimeter of the rear glass and followed the outline with a marker so I can cut it out along the line later.
I also made lines with the marker at the radius of the bend so I know where the bend is going to be even when the paper is laying flat.
Chop chop,now I have a paper template. Next,transfer that over to styrofoam insulation sheet that I had laying around.( about 5/8" thick)
This is going to serve as a mold or plug actually for the plexi Kamm.
Cut the styrofoam to the shape and size of the paper template.
Draw the lines of where the bend radius is going to be on to the styrofoam.
( these were not parallel lines in my case because the radius at the roof
end was larger than the radius at the back end)
We are going to have to bend the foam without braking it!
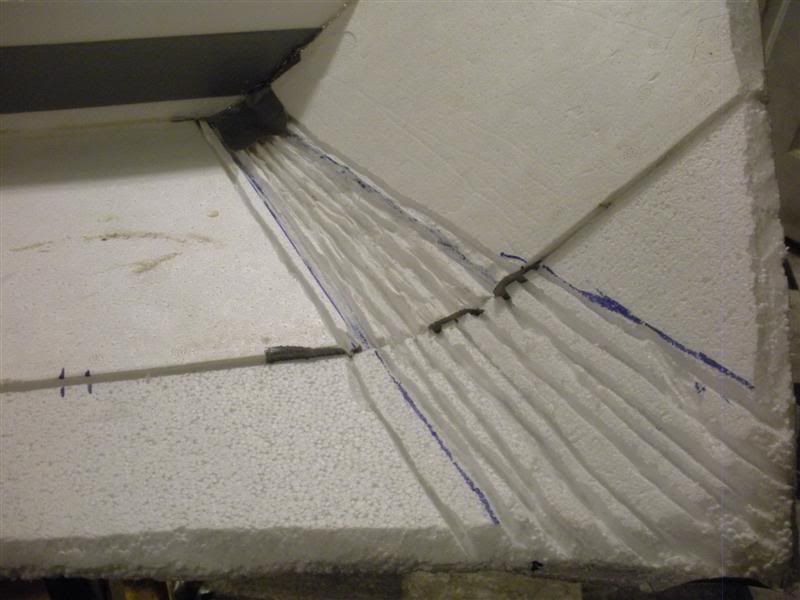
- I used a dremel tool with a cutoff wheel to cut grooves into the inside of the foam along the lines for the radius. ( actually any kind of wheel works,
at 25 k rpm or what ever it turns anything will just melt that foam right out )
Only cut about half way into the thickness of the foam!
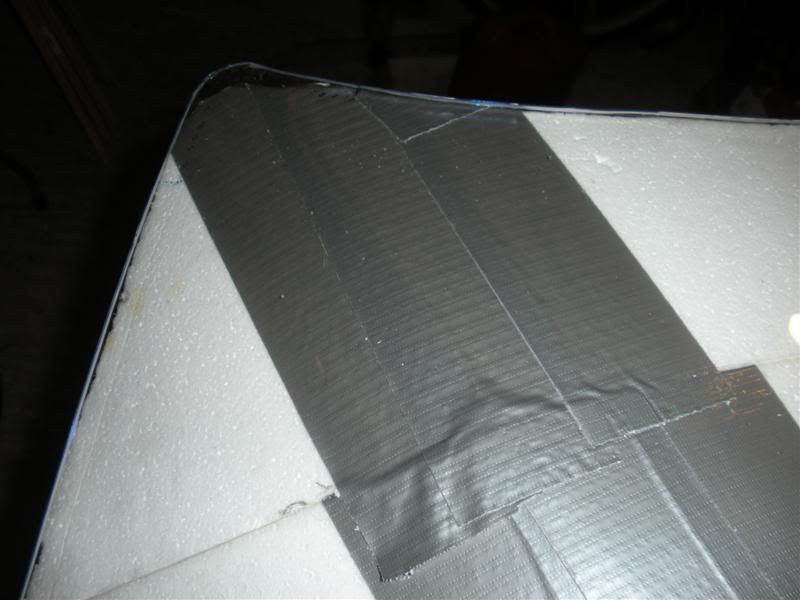
Here is a trick! Put tape on the other side of the foam ( outside of bend) opposite of the cut grooves where you removed material to allow bending!
Now you can bend the foam and it will not brake!
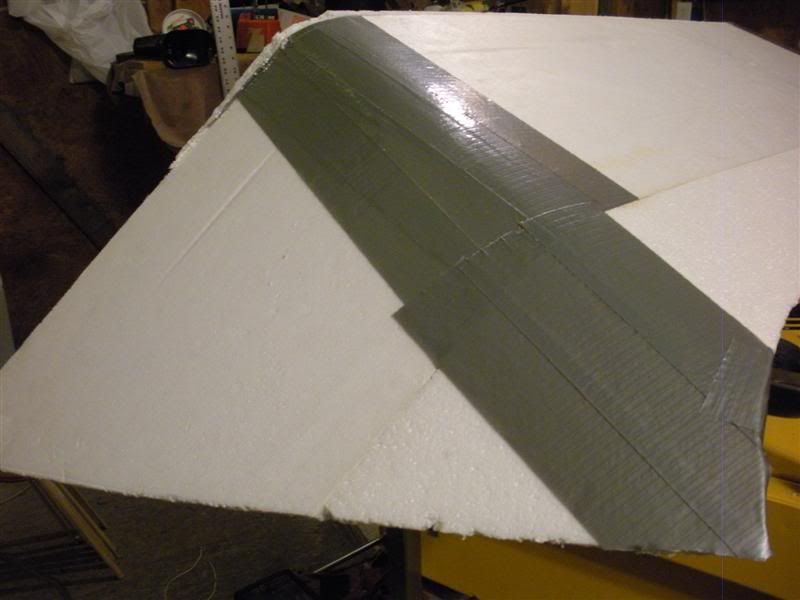
Try it on the car to get the idea of how much to bend and to keep it from springing back towards flat, I had my glue gun ready and glued a cross brace piece of foam along the back side ( right above the back window ) to lock the angles in place!
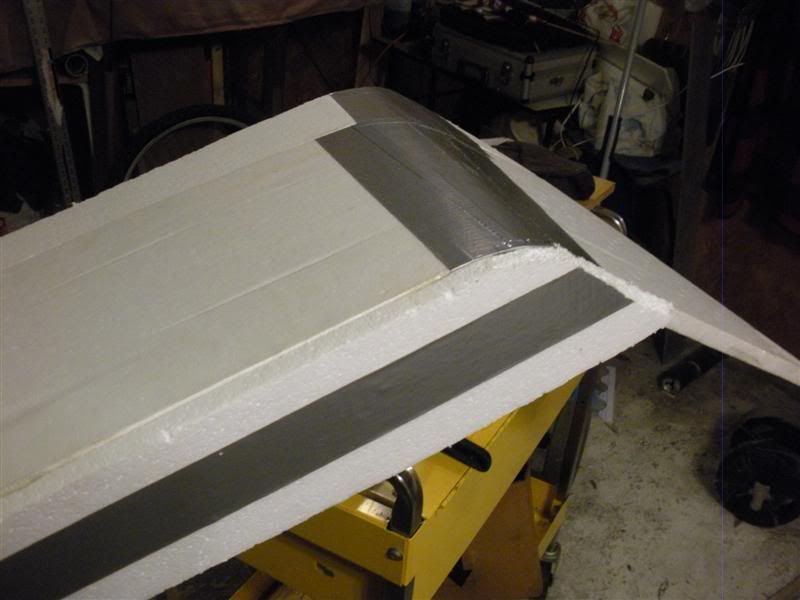
So now we have a foam Kammback! Could actually start coastdown testing with it but it's so white : )
I actually should've tested this before I made the actual plexi Kamm but I guess I just wanted to bend some plexi glass anyways.
-Cut plexi glass according to paper template! ( if you have big enough piece)
-Lay plexi glass over the styrofoam structure and keep it aligned at the edges in the next steps!
- Sneak past wife or girlfriend and unnoticeably borrow her hairdryer!
Actually I have a heat gun but two, or one that puts out some serious heat would work better. Mine was a little wimpy.
- Start heating the sheet where the radius begins on the inside (top of Kamm) Run back and forth along the line of bend until gravity starts bending it down,then continue heating the plexi where it now touches the tape actually that you put on the outside of the foam.
Don't stop moving the heat gun! There will be an ugly spot there!
-Work your way down and keep heating at the new touch point/lines as it
gradually bends conforming to the styrofoam structure.
It will need a little push help bending unless your heat source is blistering
- Repeat other side.
Now go try it on the car with a piece of clear tape and let out an audible "Yaaay"
- Put the hairdryer back where it was taken from : )
Well that's how I made it!
Barna
EDIT! I stuck some images in the story but the pictures were taken after all was done and not step by step as the building process went on. Gives a better idea though!