Part 3 - Basic Resizing Images with Windows.
Most cameras take images which are very high resolution these days, so you should resize them before uploading to save spave and use less bandwidth. There are packages which can resize loads of images such as Picassa (which is free) and some freeware tools you can download to do it.
This is a guide to resizing single pictures for uploading using only stuff which comes free with Windows. I have screens from XP and Windows 7 as the menus are different (damn you Microsoft...).
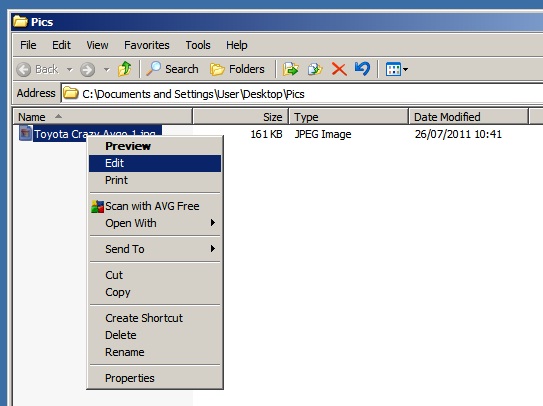
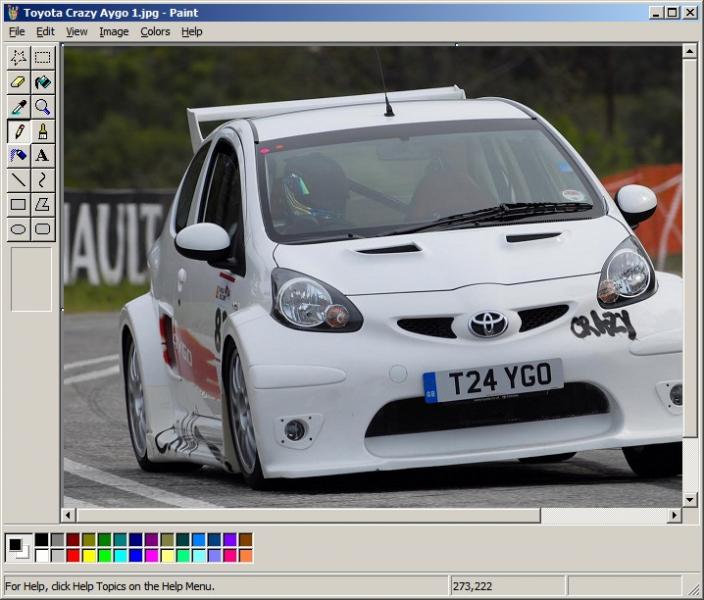
1- Open your image. In Explorer right-click on the image and select Edit or Open With and choose Paint.
XP (also Windows 2000 / Me / 98 / 95)
Vista / 7

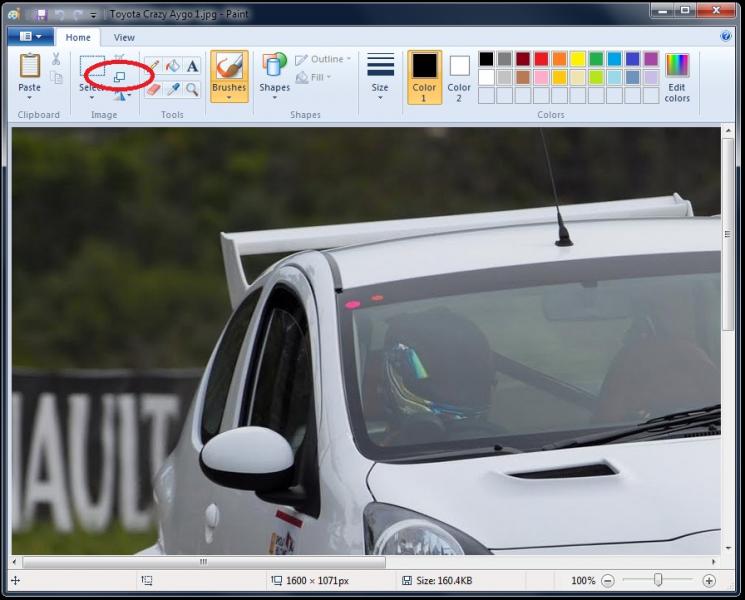
2. In Paint select the Resize tool. In XP this is on the menu as shown below.

On Vista it is an enigmatic icon on the main menu.
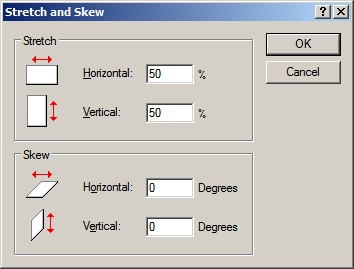
3 - Select how much to resize by. In my copy of XP it only has percentage options and you have to enter both horizontal and vertical - yours may be different.
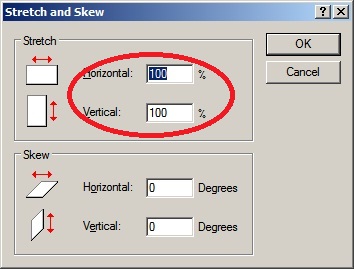
But the basic idea is to select the scaling you want to apply. So to half the size, select 50% for both.
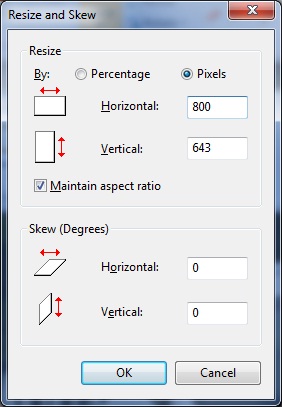
In Vista / 7 you have the option for pixels or percentage and the option to lock the ratio of height and width
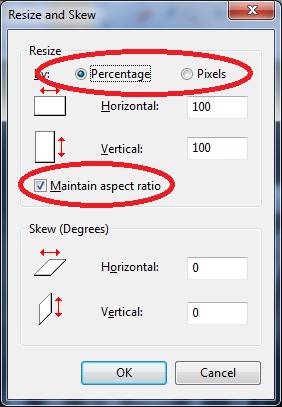
So I chose the max width and paint fills in the height for me.
4 - The image is then resized.

You can then save it and upload as normal.