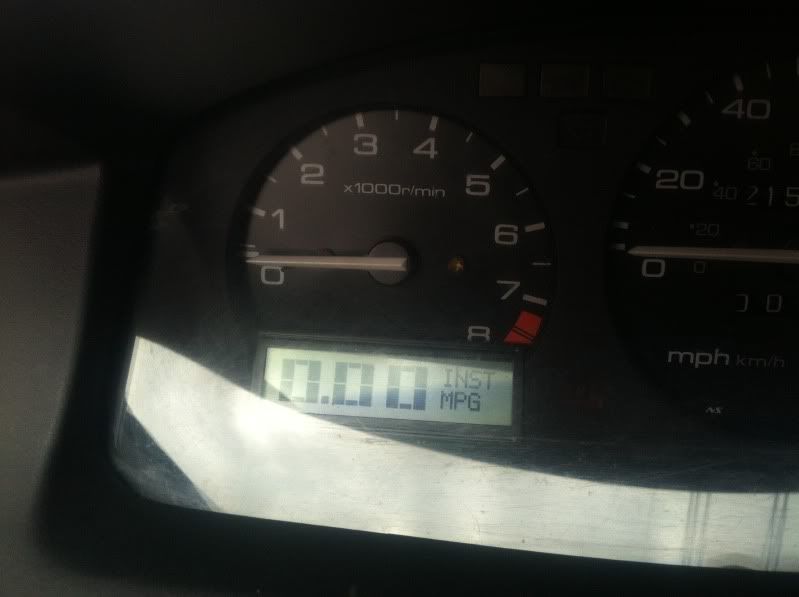
So I got my MPGuino in the mail the other day and decided to install it in the cluster like I saw on another civic on this forum a while ago.
I have a 1994 Civic DX with a 1994 Si cluster installed.

I had no experience with silicon boards so this was a first time thing for me.
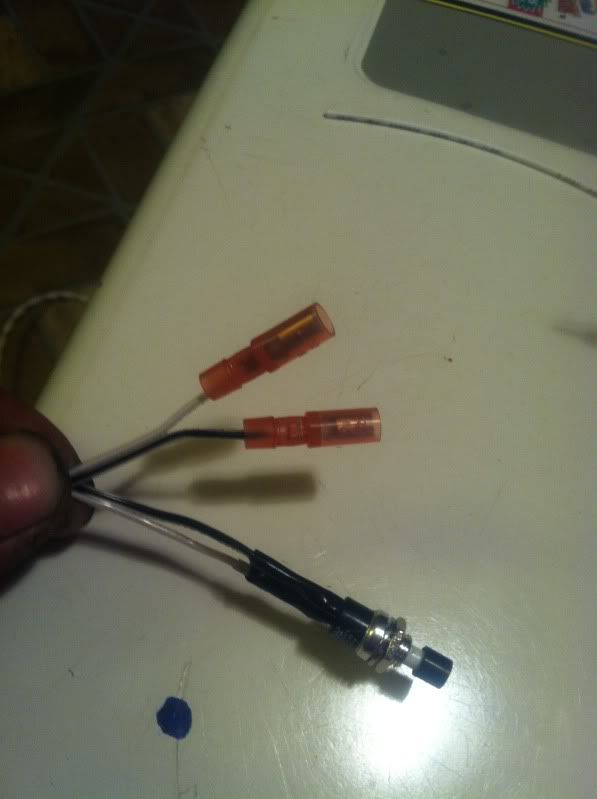
So of course, the first and most logical thing to do would be to tear the switches off the MPGuino since I wasn't going to be using them, right?
Yikes.
I tore them off and realized the solder and old pieces of switch weren't going to come out of the board.
So my first experience in soldering was installing 6 wires on the board ( I didn't realize the front of the board was a common ground for all 3 switches), which came out pretty good!
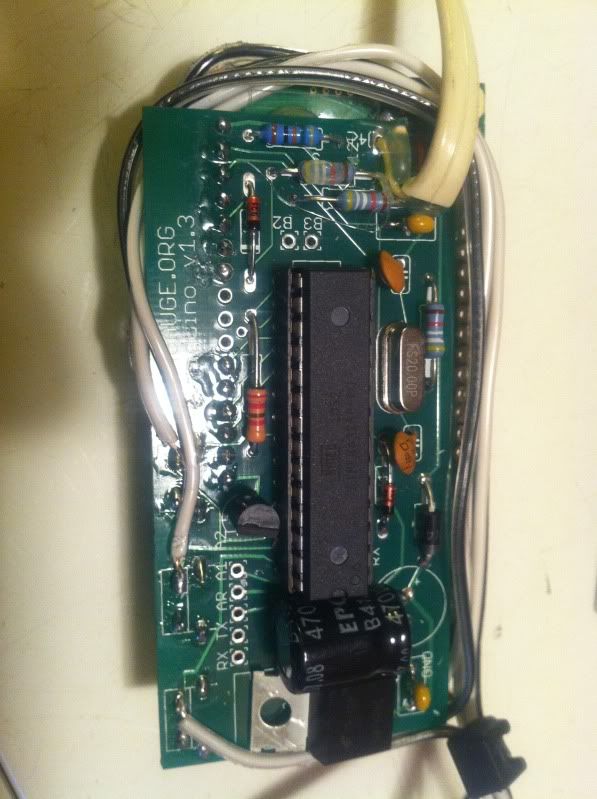
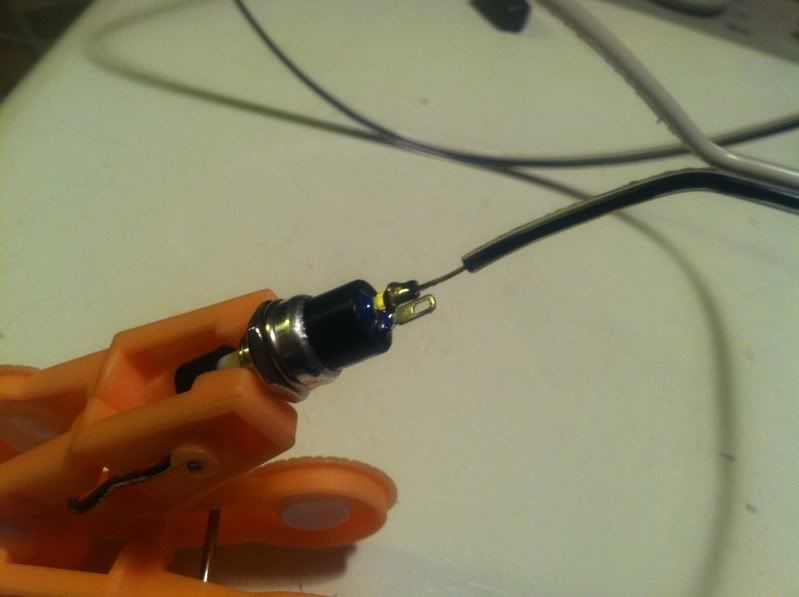
I soldered wires onto 3 switches and put connectors on the end of them.
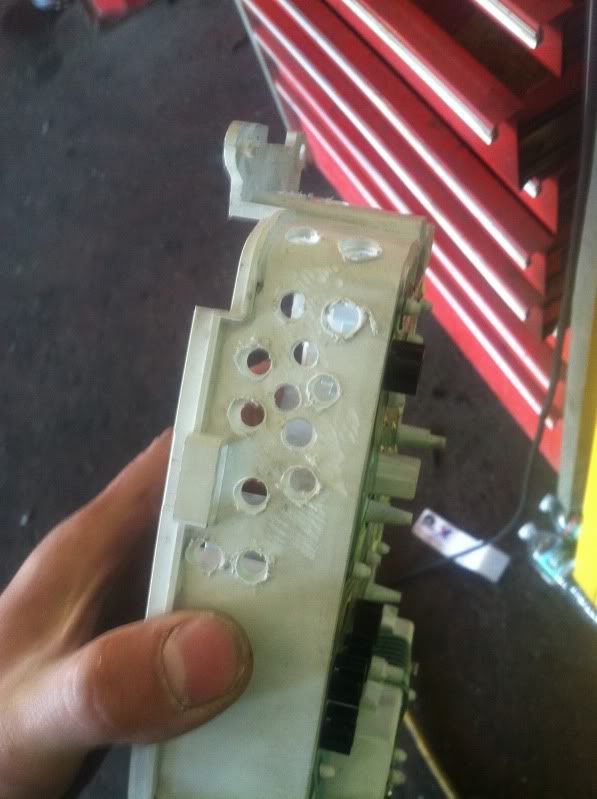
Then I embarked on grinding away the cluster.
The front portion of the cluster came out good right away.
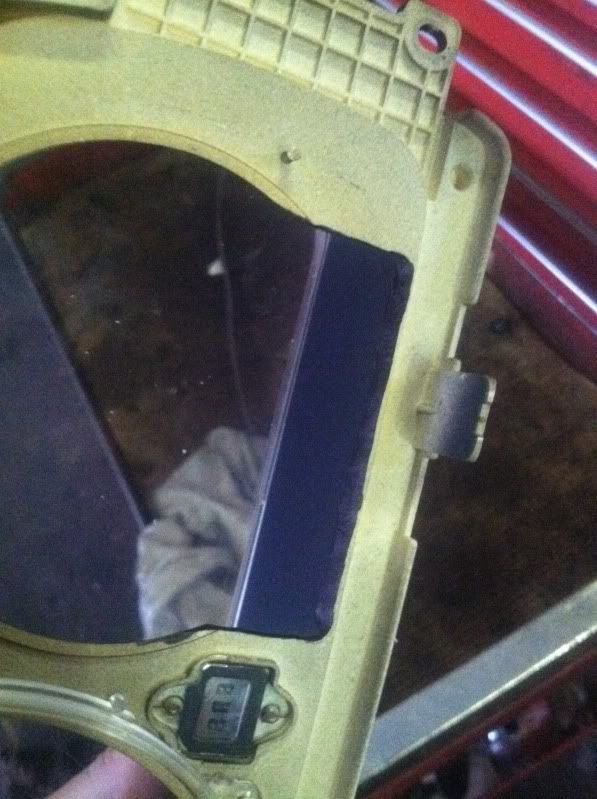
I cut the bottom of the plastic face on the tach around the bottom of the 8k rpm line.
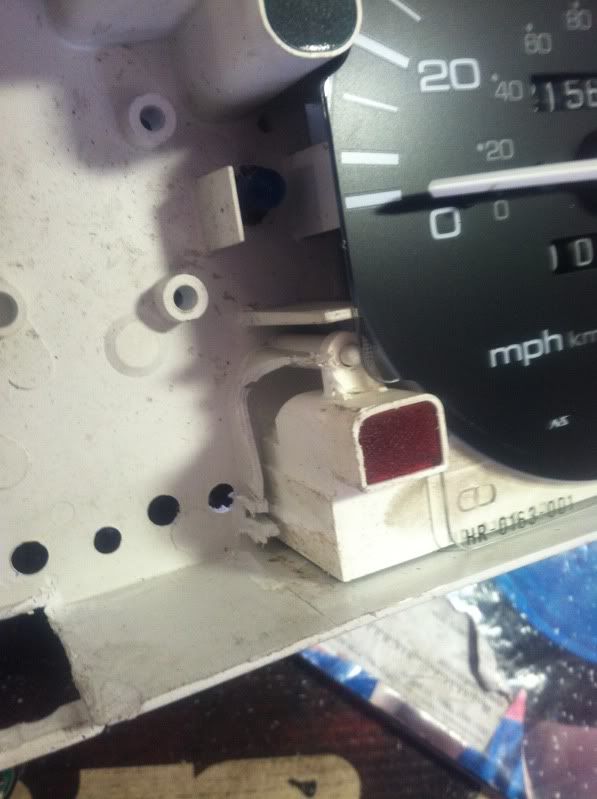
The mistake I made was using the 1994 DX cluster (without tachometer) and trying to fit the MPGuino in there, thinking the two casings of the DX and SI clusters were the same.
Wrong.
I realized this when I pulled the SI cluster out my car and tried to fit the MPGuino in it and the MPGuino was pressing against the bottom of the tach.
My second problem was that this guys MPGuino was separated into two boards and not two boards glued together like mine.
I had this space discrepancy of a little over an 1/8" to take care of.
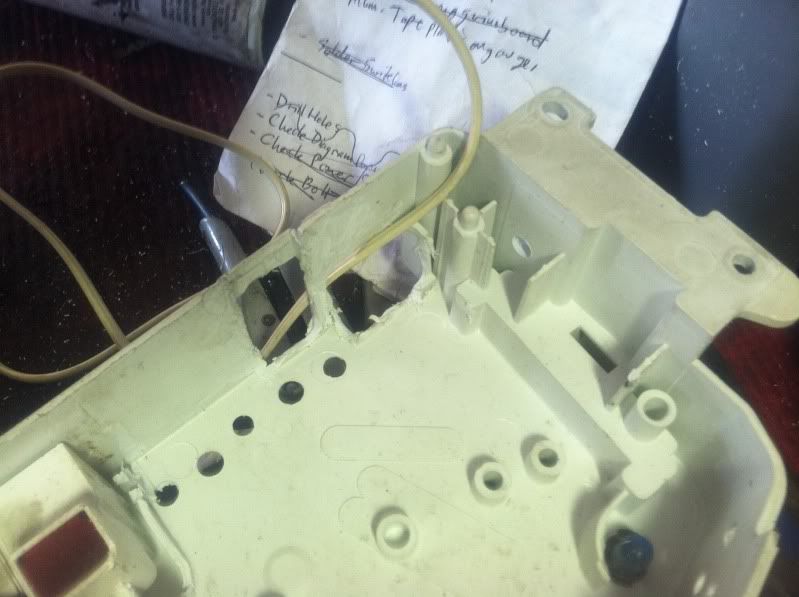
This is where my nightmare began because I had to cut a shield off the bottom of the tach and grind down the plastic base of it, which in the Honda tuner world would probably be considered complete sacrilege,
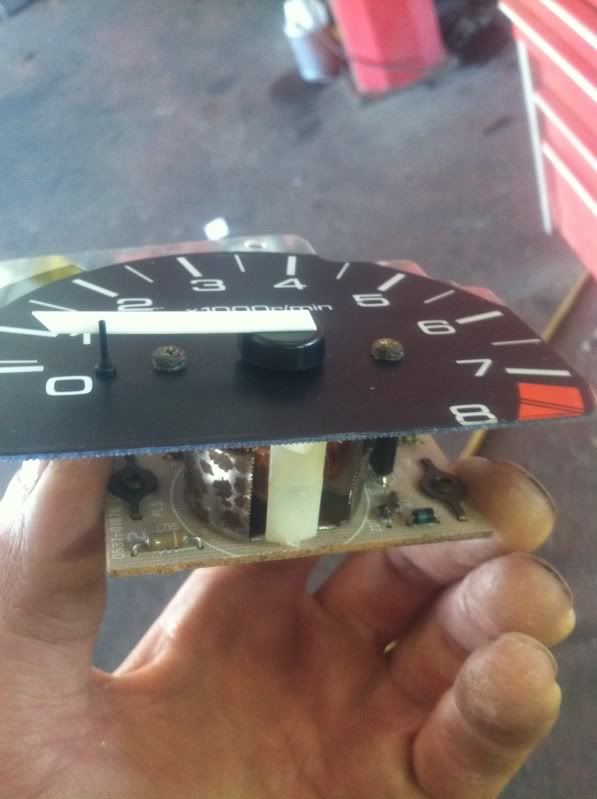
and I had to grind down the MPGuino board, just to fit it on an angle in the cluster ( You can see the grind down point next to the two red connector covers in the picture.).
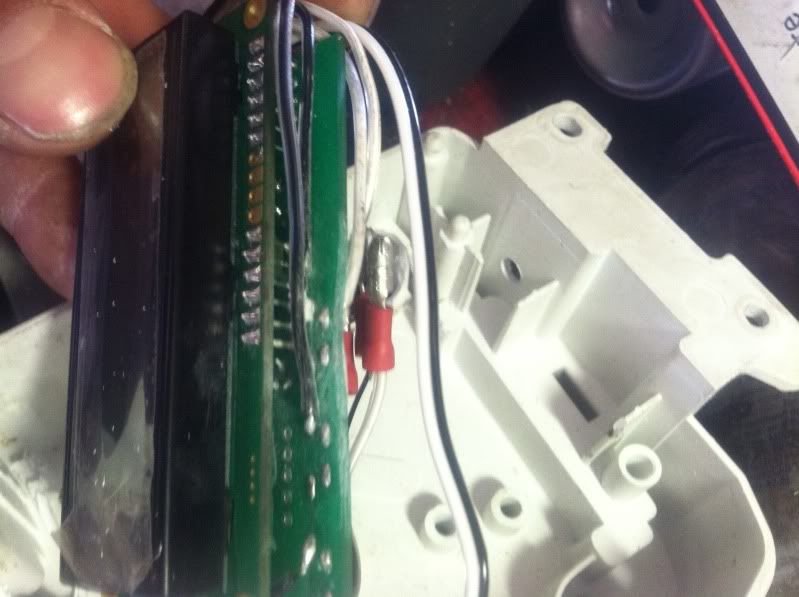
I heard the MPGuino gets hot so I drilled ventilation holes in the top of the cluster.
I had to grind away portions of the cluster backing for the wires to pass through and a portion of the plastic to the bottom-right of the tach to fit the MPGuino properly.
I drilled 3 holes in the right side of the cluster cover for my switches and began installing it in the car.
The leads on the civic are as follows:
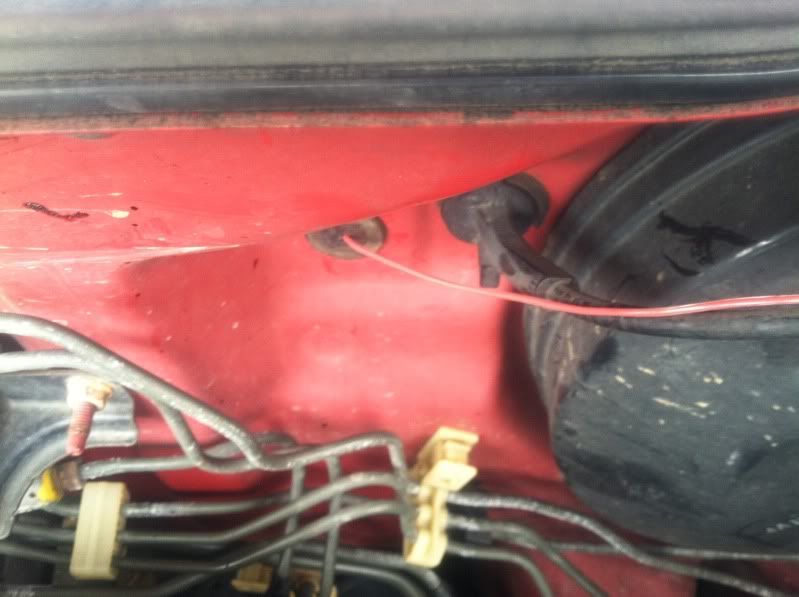
- Green and Black are +12v and Ground as it says on the MPGuino wiki.
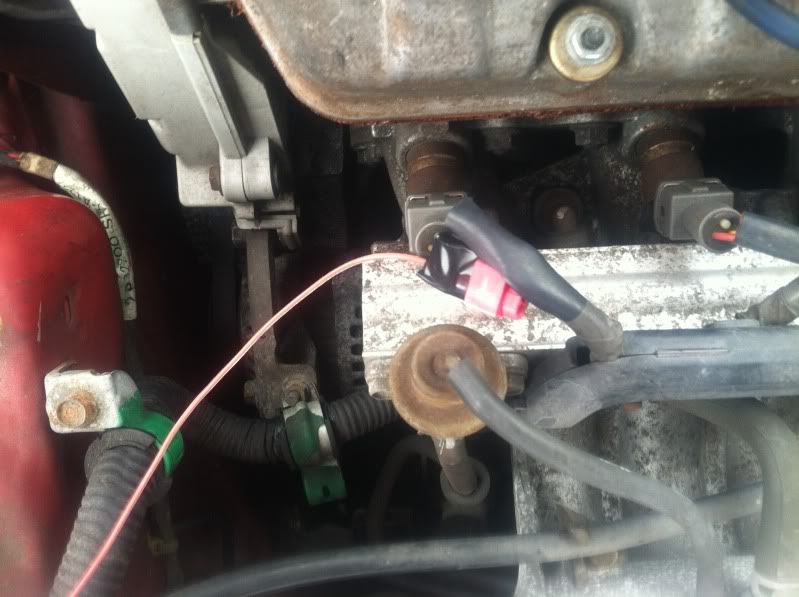
- The Cylinder #1 Brown Injector Wire in the engine bay is your injector lead, NOT the brown wire coming out of the first connector in the ECU.
- The only yellow and blue wire coming out of the ECU is your VSS lead. It's in the middle connector of the ECU.
I ran the power off an unused hot at all times terminal in the fuse box and the ground off a bolt near my clutch pedal.
The VSS lead is easily hidden under the carpet but the injector lead was a little harder to hide. This was how I did it. :/
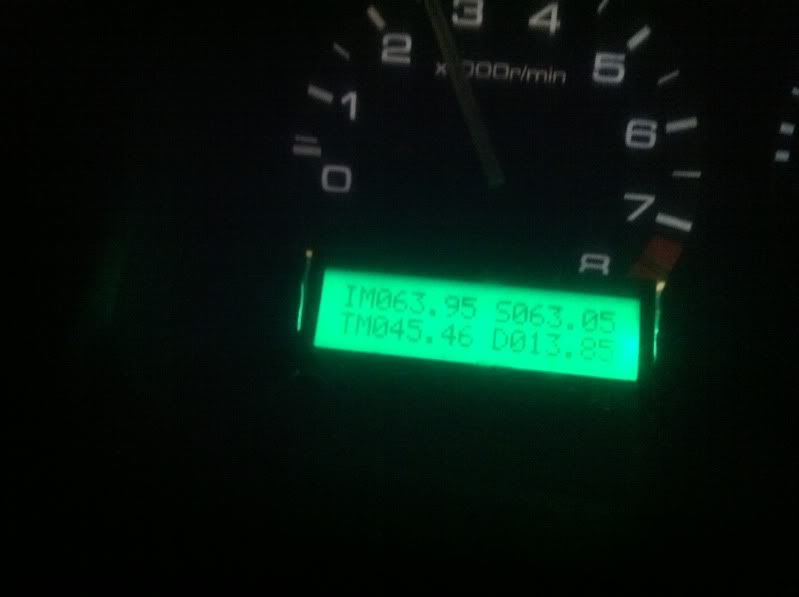
After all said and done, it came out pretty nice.
It was scary, but successful.