A new and better belly pan (lots of photos)
Today I fitted a replacement undertray to my car. Previously it was made out of two pieces of 4mm acrylic. The old one was a bit of a patchwork job, and only went about halfway.

I purchased a single sheet of 1.5mm ABS plastic to make the new one.

So here's how it went down!
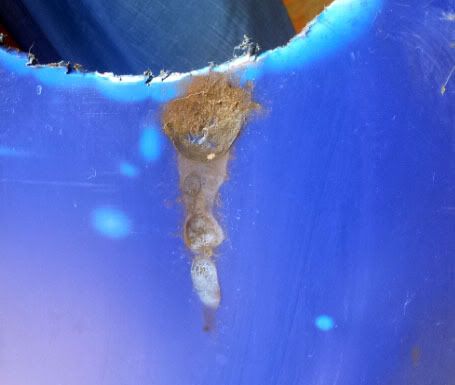
It was on for about 3 months, and one of my concerns was the exhaust melting it. So after I removed it I gave it a good check for melted bits.
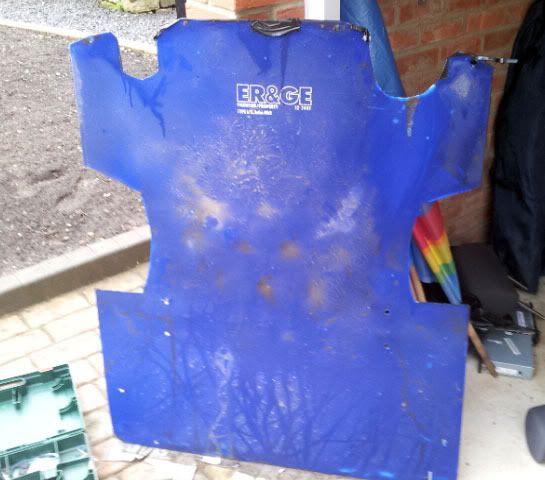
The only damage was where the exhaust muffler touched the plastic and it melted a little and got worn down.
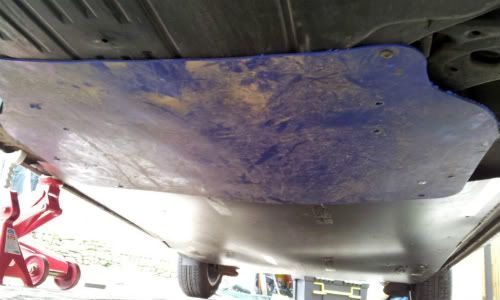
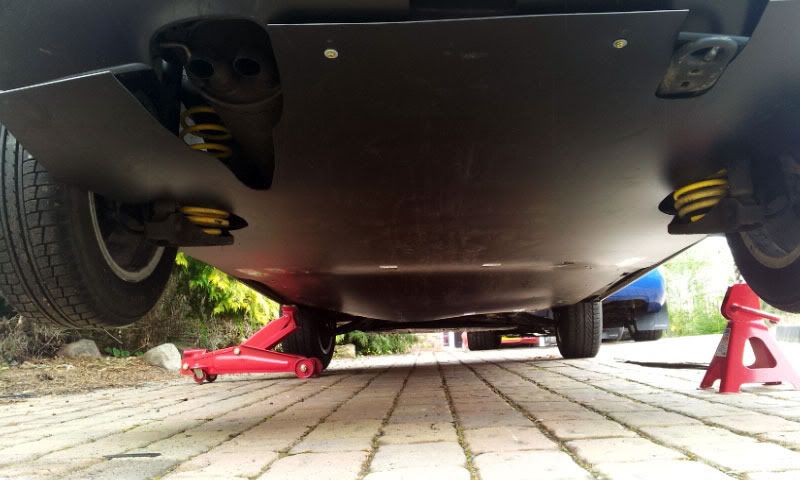
The new one is longer and a little wider, not to mention a couple of pounds lighter:
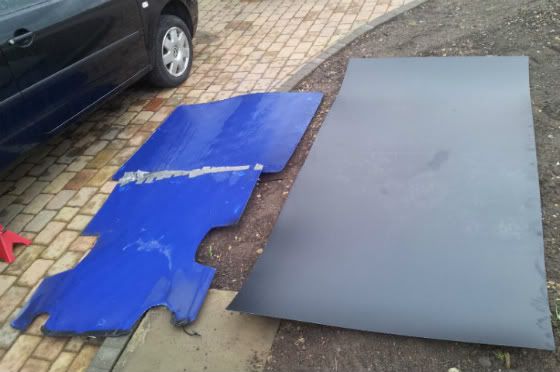
The old version didn't cover all of the wheel arches, so this one goes right into the corners. The research paper of that Audi A2 from Coventry university saw some improvements from filling these gaps.
Old fitting:
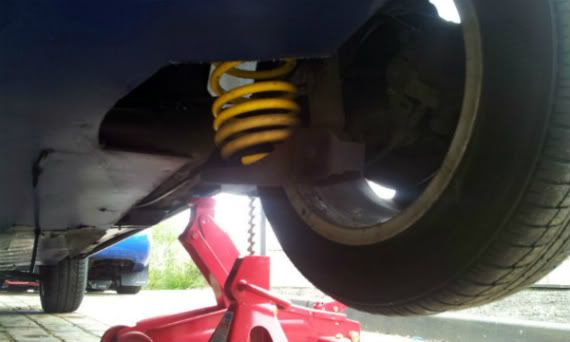
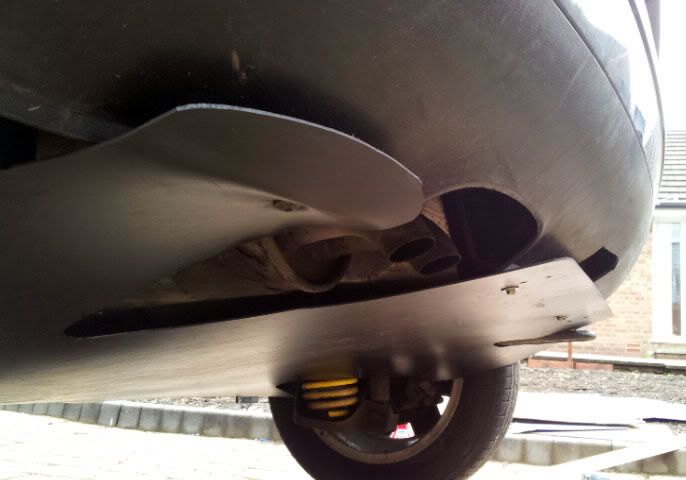
New fitting:
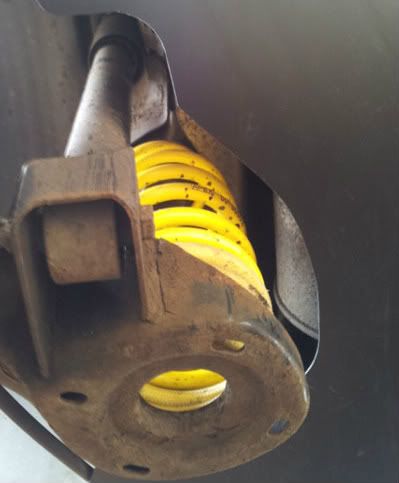
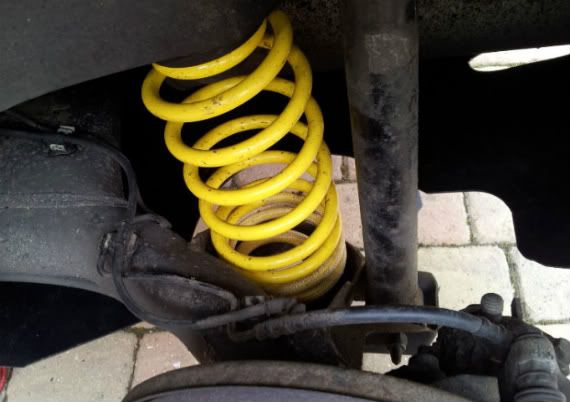
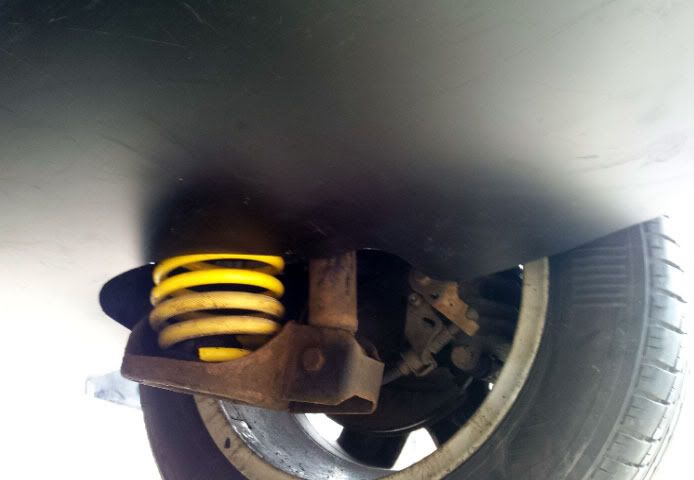
There are a few panels fitted to the middle at the factory, but the rear end is a mess.
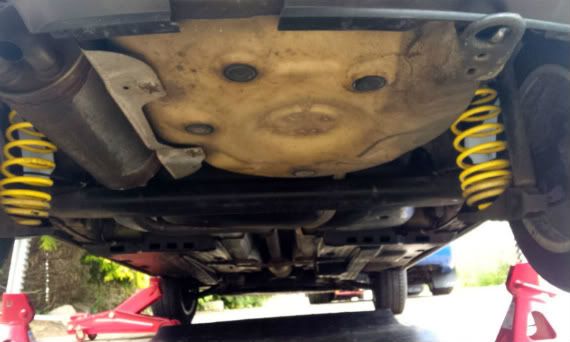
So I cut the new sheet to be a nice tight shape.
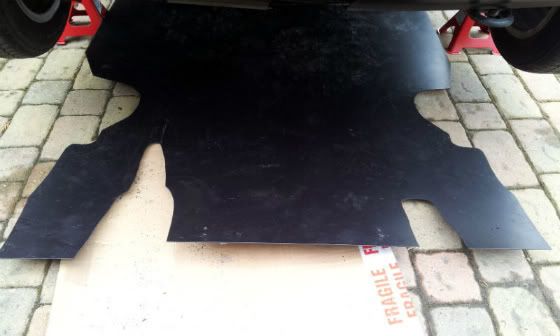
I left the rear a bit longer this time, so I could leave a small diffuser lip. Then I used my heat gun to tilt it up a bit:
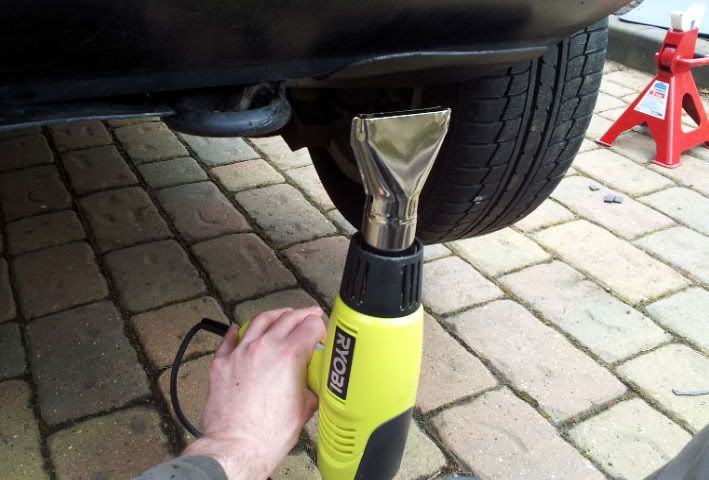
The front has a neat engine tray from the factory:
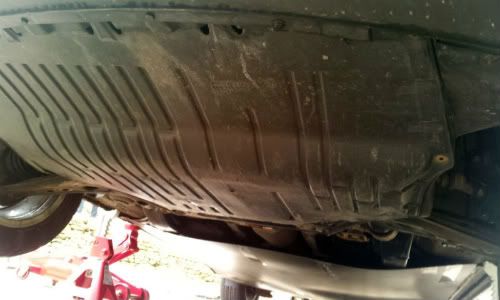
But just behind it is another mess:
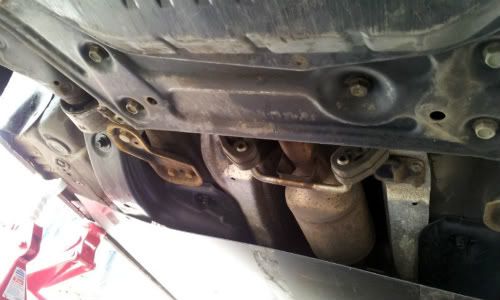
So I rescued a piece of the old tray, and cut out a filler piece. You can tell it's rescued, cos it's filthy!
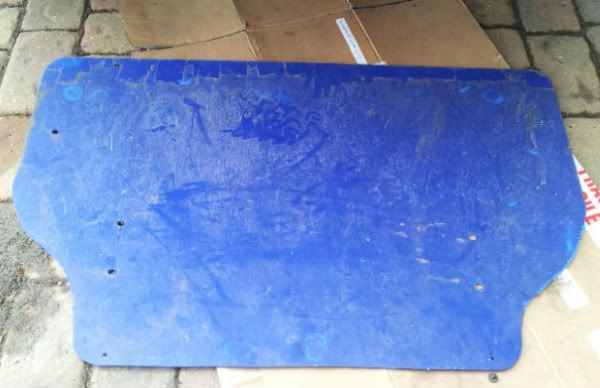
And that's it! The new undertray is done, and much improved on the old one.
