First let me say I've never done a clutch on a FWD prior to this. I have done a clutch on the Jeep, so I did go into this with a basic idea of whats what. That said only attempt this if you have the mechanical background necessary to complete the job. The IMA motor and sensors are located in this area and breakage would be one very very expensive lesson. As usual, I'm not responsible if you die following what I write here.
That said, it sucked. But not bad enough that I'd pay someone to do it. So it was your standard clutch job.
First off you want to turn off power to the IMA system. The IMA motor and cabling runs right across the trans. So you want to pop the back hatch and remove the carpet covering the battery pack to expose this plate
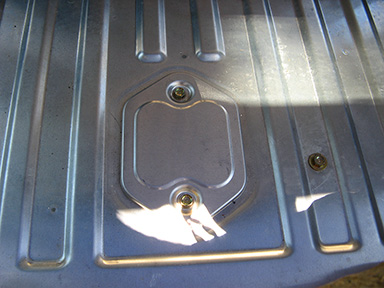
You'll need a 10mm socket to remove it. Underneath is the battery pack switch. Remove the red lockout tab and turn it off.
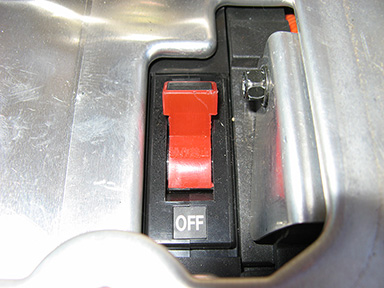
It looks and feels like a big circuit breaker.
With the IMA off, disconnect the battery. You need a 10mm socket here as well.
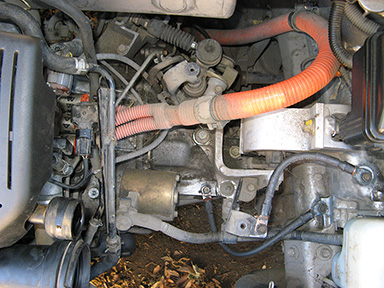
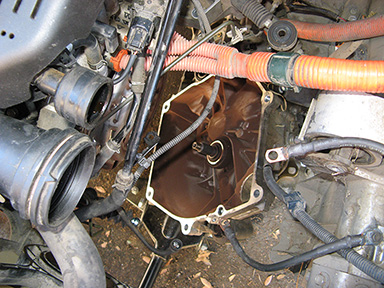
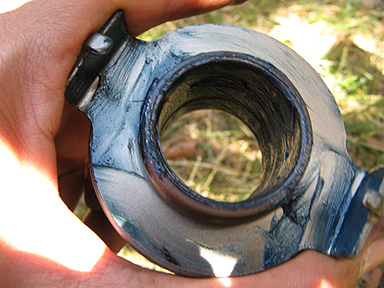
Next up remove the air cleaner assembly. A 10mm socket with a 3" extension will work some magic. You have 6 bolts around it and 3 on its side
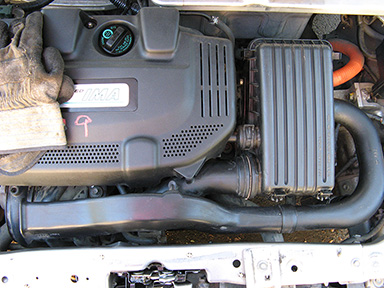
Once the air cleaner is gone this is what you should see
In order of easiness (and removal)
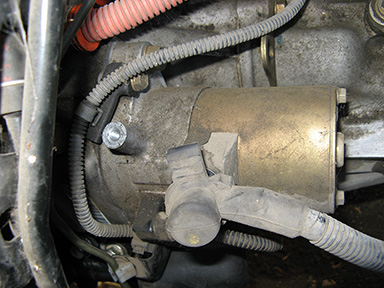
Disco the ground cables. (10mm socket)
Unplug power and sensor leads to the starter (12mm)
Wire harness clip that bolts to the start (10mm)
Unbolt the starter (2x 14mm)
Pull the pins out of the shift tower for the cables. (Pliers or dikes do the trick)
Unbolt the shift cable mount (3x 12mm)
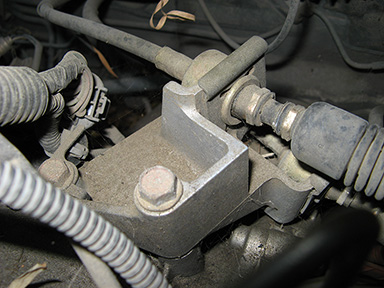
Remove another harness hold down. Its on top of the diff next to the VSS (10mm)
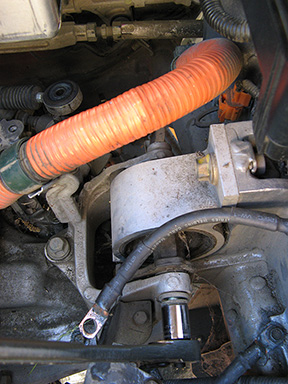
Unplug the 4 sensors. 3 on the top of the trans housing, one on the side in the back close to the IMA cable hold down
Remove the clutch slave (2x 12mm)
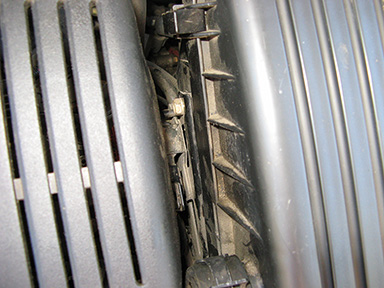
Some pics of what I'm talking about
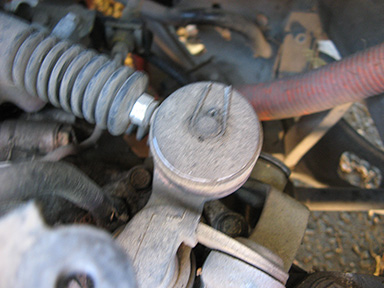

Now physically the only thing that should be attached to the trans is the drive shafts. Which we are now going to remove. Pop the nut cover on both front wheels and you should see the hub nut
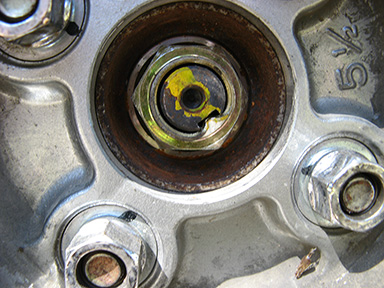
As you can see, part of the nut has been smashed into the slot on the axle. You need to unsmash it. Best way is a small chisel that fits inside the slot and just bend the nut out. Its fairly soft. Once unkeyed just use an impact gun to blast it off.
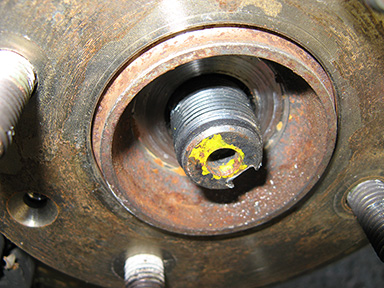
Do the same for the other side.
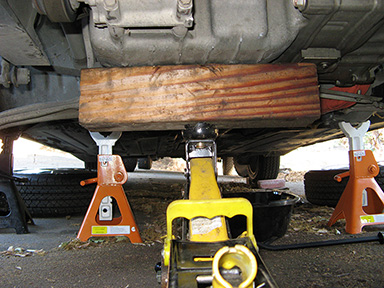
Once that is done, put the Insight up on stands. If you have regular 3 tonners, put them up about 4 clicks or so. You want it up. Since the Insight does not have a front cross member, you have to jack the car up one side at a time. Its perfectly normal for the back end to go up with the front, just be careful. Make sure the car is secure and that the back wheels are stopped. You will be working underneath the car for a while, and its not cool to have it fall on you. Be careful.
Once up, remove the front tires. Place them in a position to save yourself in case your jackstands fail. Always good to have redundancy.
Remove your engine under panels if you still have em. I haven't installed mine yet so no pics or tips here.
Once thats removed, pick a side and grab a 10mm impact socket and a hammer. Ideally a small sledge. Mines a California car and the axles were rusted to the hubs. It took some PB Blaster and a few good wacks to get them free. You want to place the socket directly on the stub and hit it dead on. It should pop loose after 2 or 3 wacks. Do the same for the other side.
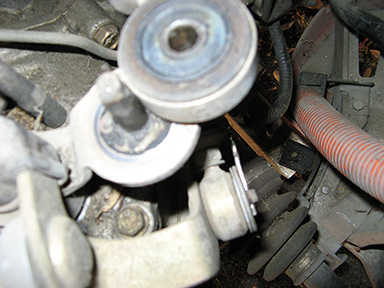
Now here is where I differ from most ways and the FSM. The FSM and conventional methods say pop out the lower ball joint to get the axle out of the hub. Since I didn't have a ball joint splitter and I didn't want to mess with the ball joint cause I didn't have anything that would fit, I instead unbolted the knuckle from the strut. Worked out the same way for me.
To unbolt the knuckle, 2x 19mm socket big bolts.
With the knuckle free, wiggle the axle out of the hub. Be careful that you don't over extend the joint on the transmission end. Best way to prevent that is to support the axle with a bungie cord or something.
Once the joint is out of the hub, take a pry bar and pop the transmission end out. Do the same with the other side. On the passenger side, because its longer its even more important to support the shaft while you are removing it. Else you will pop that one out.
So now the only thing holding that tranny in would be the motor mounts. The engine is primarily supported by the trans, so its going to need a temporary replacement while the trans is out. Using either the stock jack or another jack you have handy and a block of wood, support the engine.
Now place either a buddy or another jack under the trans as you are going to be unbolting the mount. I'd recommend a jack since it could take awhile.
Now you want to remove the drivers side motor mount and the mount bracket that bolts to the trans. You'll need a 14mm deep for the mount and a regular 14mm for the pass through bolt.
Crawl underneath and remove the rear mount from the frame. Its held on with 2 bolts. A 17mm socket will pop these off.
Now all thats holding the trans in is the 6 bell housing bolts. 1 bolt is accessible from the trans side, the other 5 on the engine side. The bottom bolts need a 14mm socket, the top 4 use a 17mm. A word of warning, the bolt by the coil packs is in a really really bad location. Unless you socket is dead on it you can easily strip the head. And even if you are on it, you've got maybe an inch or two to swing your ratchet. Best way is with a real cheater bar and a helper to hold the socket on the bolt and just pull away till it breaks free. The rest are easy.
Double check to make sure nothing is hooked up to the trans, and with a mix of pulling and messing with the jack, you should be able to pull the trans right off.
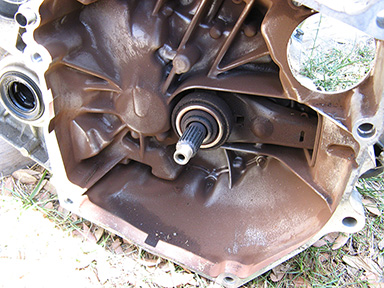
It is a pretty sight. Now drag that sucker out of the car.
As you are going to find, changing the actual clutch takes all of 10 mins. Most of the work is getting to the clutch.
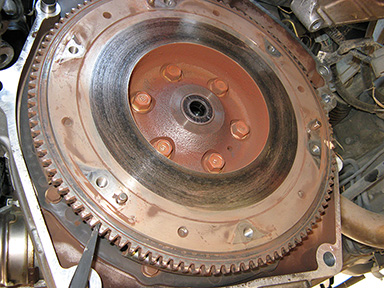
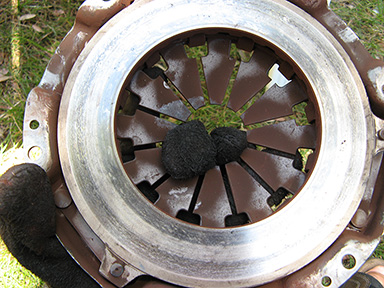
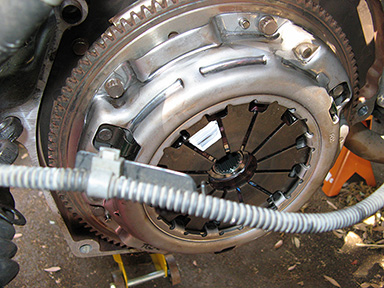
The pressure plate is held on to the flywheel with 6 bolts. You'll need a 10mm 12pt to remove them. Use a prybar to hold the flywheel in place as you remove the bolts. Remove the bolts in a criss cross fashion to prevent warpage. Once the bolts are removed it should just drop right off.
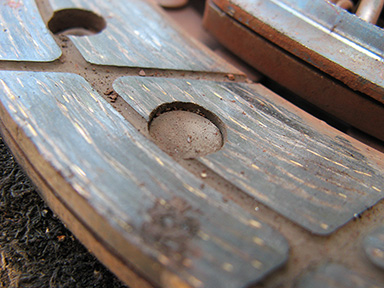
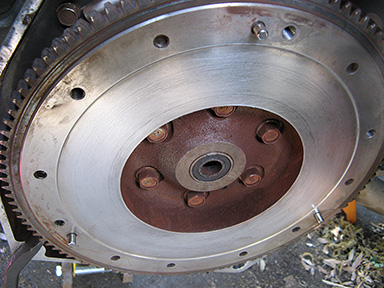
Inspect the flywheel, resurface or sand if needed. It was Sunday and I was tired and lazy so I sanded. Started with a 150 grit then a 220. My flywheel was jacked up due to the PO.
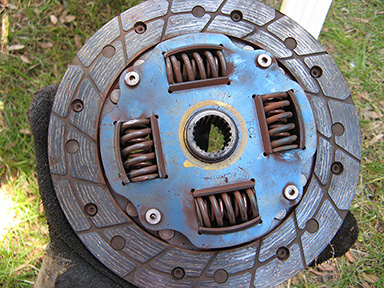
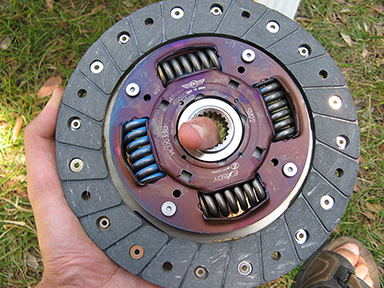
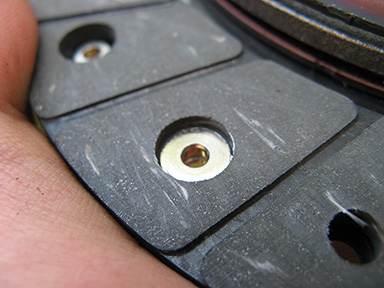
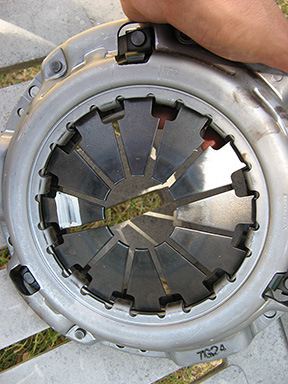
My clutch
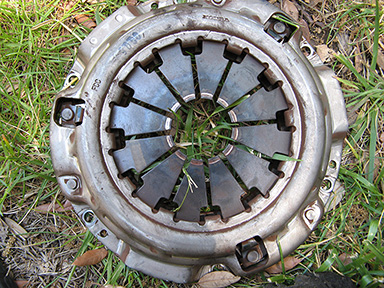
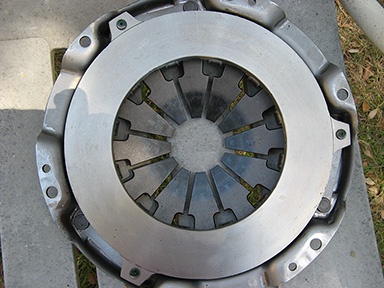
My pressure plate

My throw out bearing was crunchy as well
The only thing that was still good was the pilot bearing.
New parts
Cleaned up flywheel
When reinstalling the clutch, the big raised plate points towards the trans. Use a clutch alignment tool to prevent the clutch from falling out of place. Reinstallation is reverse of removal. Tighten everything in a crisscross pattern to prevent warpage. Torque to 29 ft-lbs
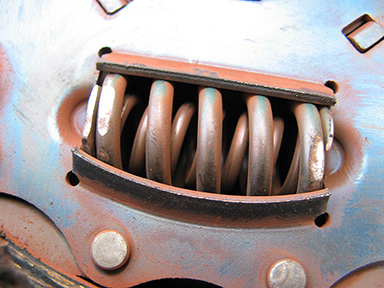
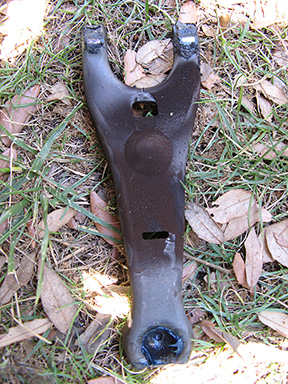
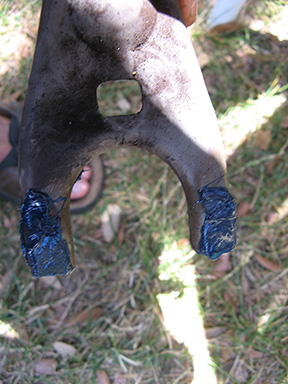
To replace the throwout bearing go back to the trans and look behind the release fork. There is a little clip you need to release by pinching it and sliding it towards you.
Then pop the fork off with the throwout bearing.
While its out, be sure to lube the shaft which the throwout bearing slides on and the release fork pivot
New bearing
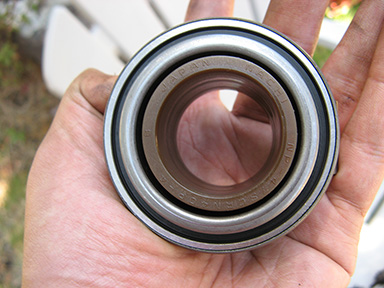
Lube up the new bearing as well
Remount it back to the release fork and remount that to the trans.
Now do everything backwards to reinstall everything.
Some tips, when reinstalling the trans, just use the jack to get it roughly in position, don't try to finesse it in with the jack, just man handle it back in. If the splines aren't lining up, use a screw drive to turn the flywheel a bit to get it to line up. Once in, just rock the trans in place, it should slide in without any problems.
CV joints are evil, they know when you are tired and cranky and like to hyperextend and pop out of their sockets. If that happens, use a pair of pilers to remove the metal clip that holds the rubber boot on and reassemble the joint. Watch out for all the grease in the boot.
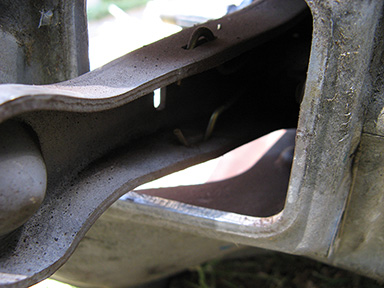
Whilst everything is apart check your motor mounts, found out mine are kinda torn.
As soon as you have the trans docked and bolted in, mount the clutch slave first then depress your clutch pedal a few times, you can get some kind of heads up if stuff is binding. Better now when its still more or less in pieces then when its all done.
The hub bolts gets torques to 134 ft-lbs
Lug nuts 80 ft-lbs
Case bolts 43 ft-lbs
Total time 1 weekend
Clutch kit: Exedy $255 shipped from Clutch City. Their PN 0008-043-KIT
Totally doable.
