materials:
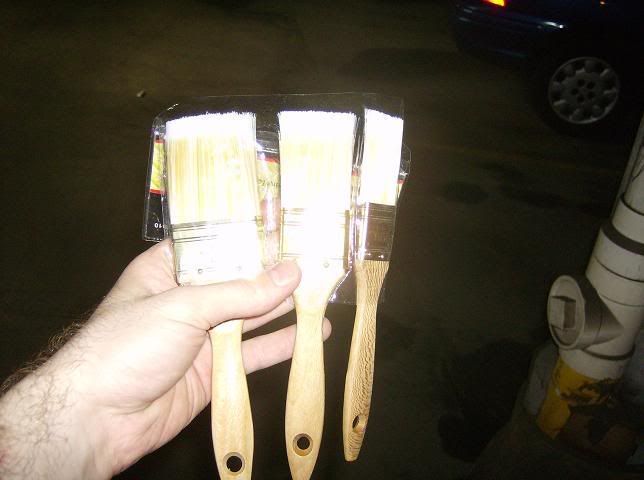
cheap paintbrushes, they will be tossed out - i bought this set from dollar tree
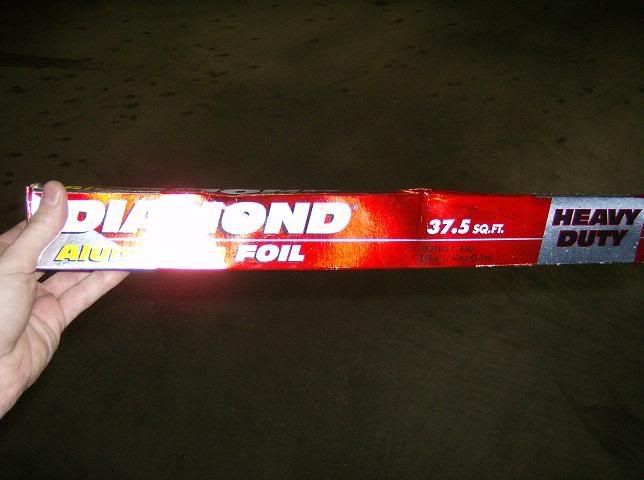
aluminum foil- doesnt need to be expensive either, other masking materials may work but this is what i used
fiberglass cloth and resin - i used bondo brand which is available from many home supply stores (home depot), wal-mart (automotive section), or auto supply stores (auto zone)
painters tape -doesnt leave a nasty residue, very useful for many things
core material - i used cardboard because it is readily available and free from my apartment buildings paper recycling bin
also i picked up some foam posterboard from dollar tree, i dont know yet if it will react with the resin or not, i will fill you in later on that.
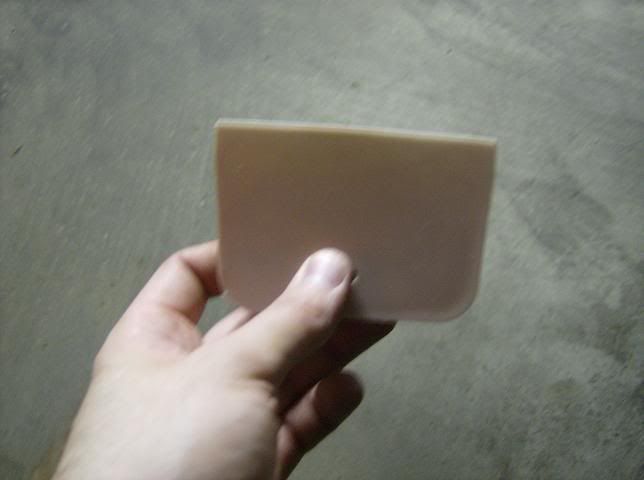
a spreader - good for geting air bubbles out
this was a bit of trial and error, most projects are. i picked up some glue as that was how i origionally wanted to hold the cardboard together, hot glue works wonders, but i dont have an outlet in my workspace.
first i made an upright piece
then in order to make an identical piece i outlined the first
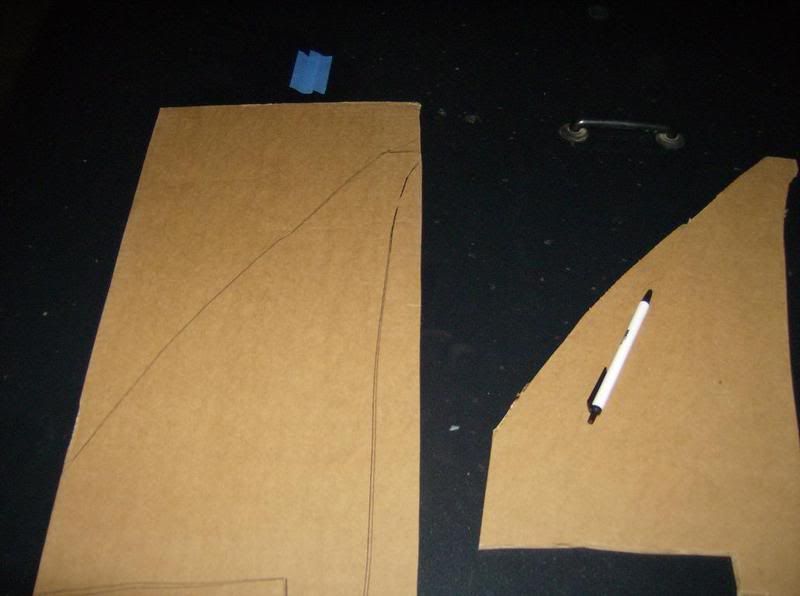
here are the 4 upright / support pieces, i will be removing the foglights tommorow because i did not have the proper tools with me today

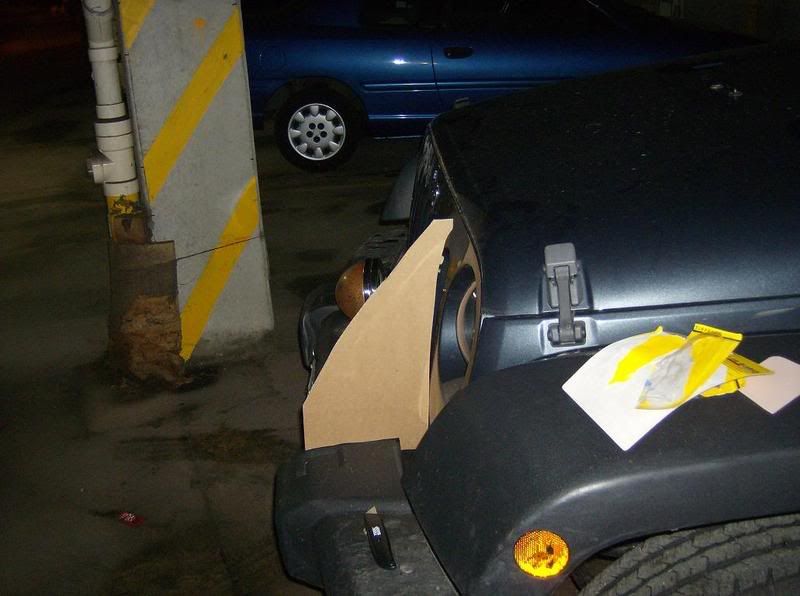
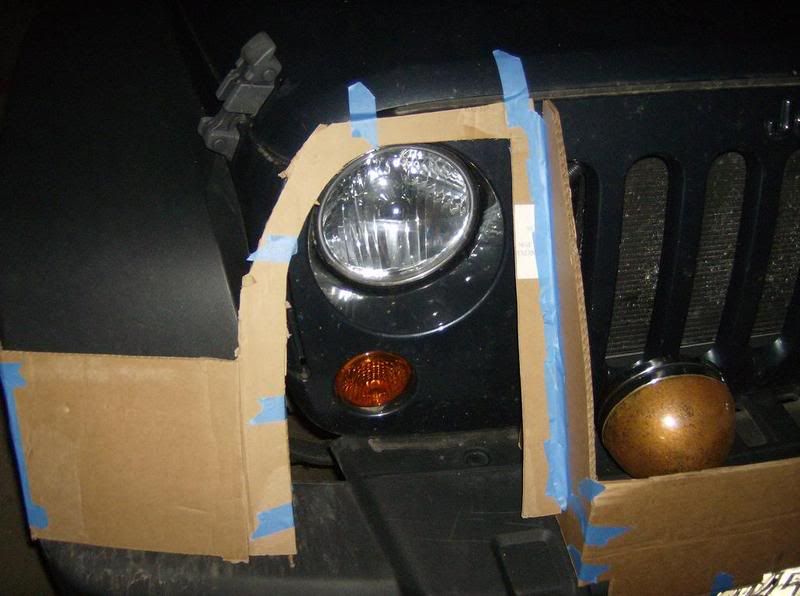
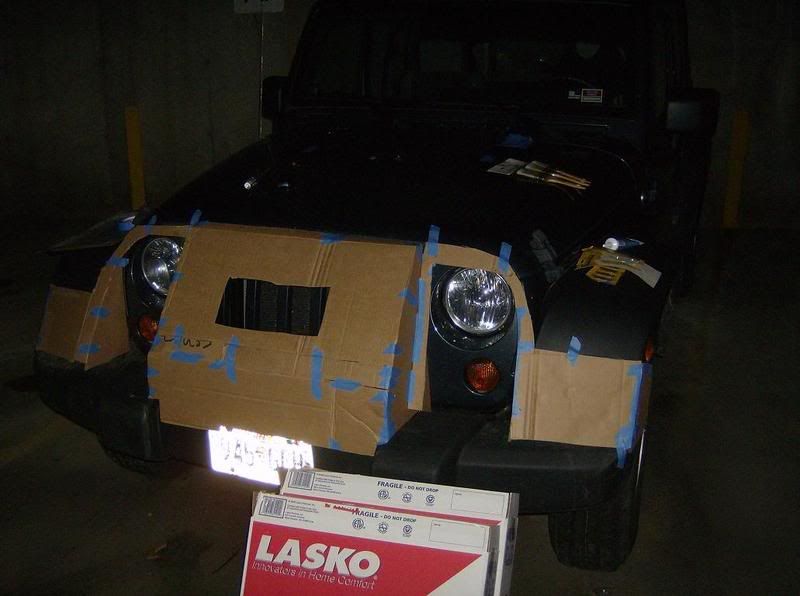
i have started putting the blocking pieces, i used painters tape to hold it all together
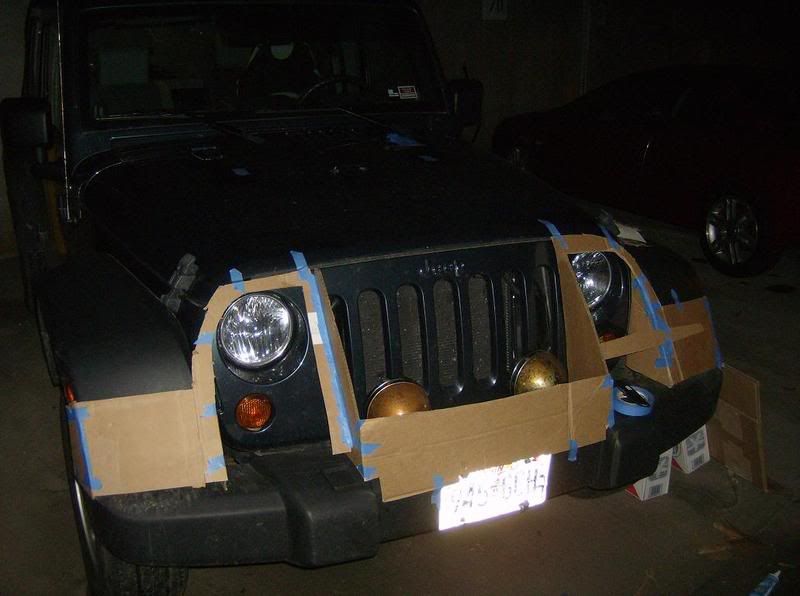
i will be covering the light area with plexiglass tomorrow after i finish the suface prep and painting
getting more of the grill block together
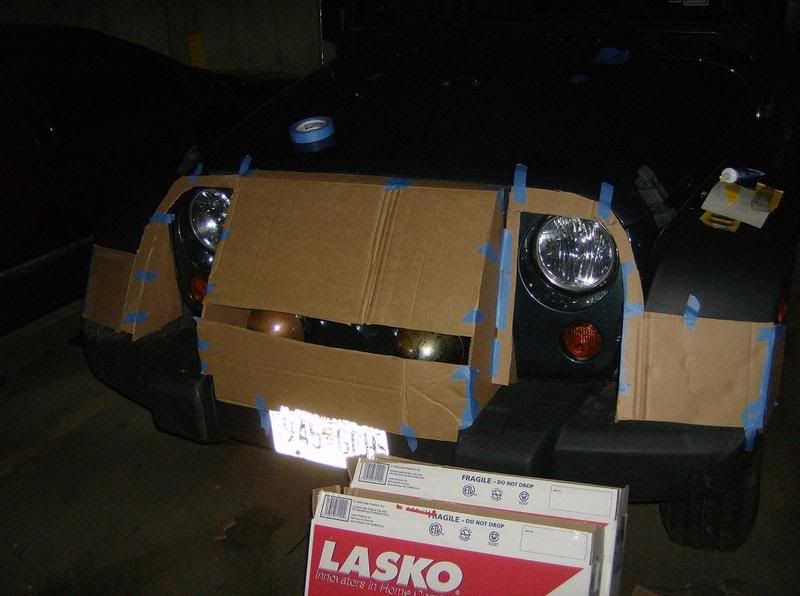
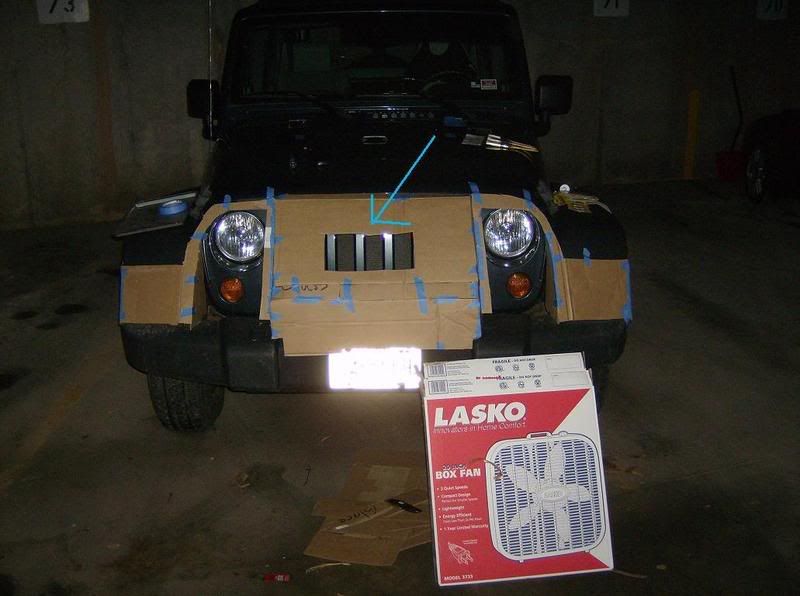
the hole in the center of the grill block is so that i can adjust airflow according to the weather, i am using an old cookie sheet someone threw out, i will attach it with screws.
this is the side view

quite a difference?
before:
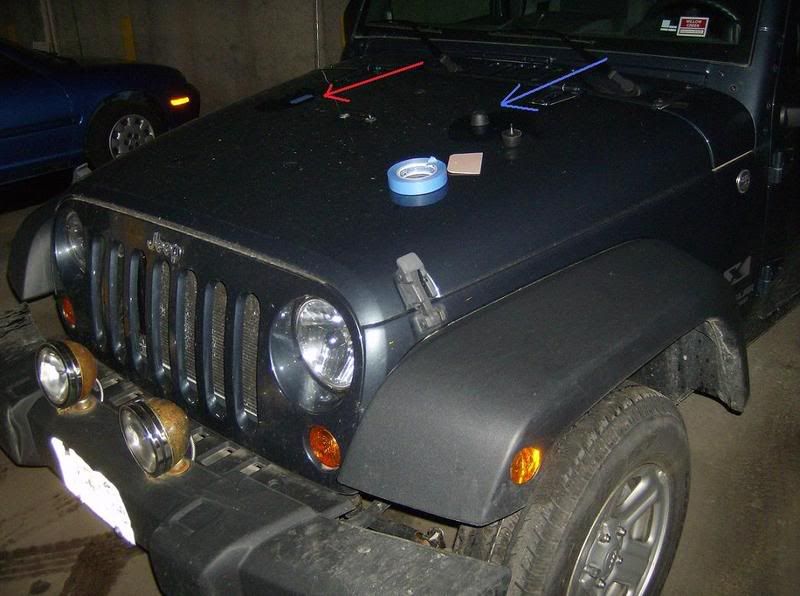
after:
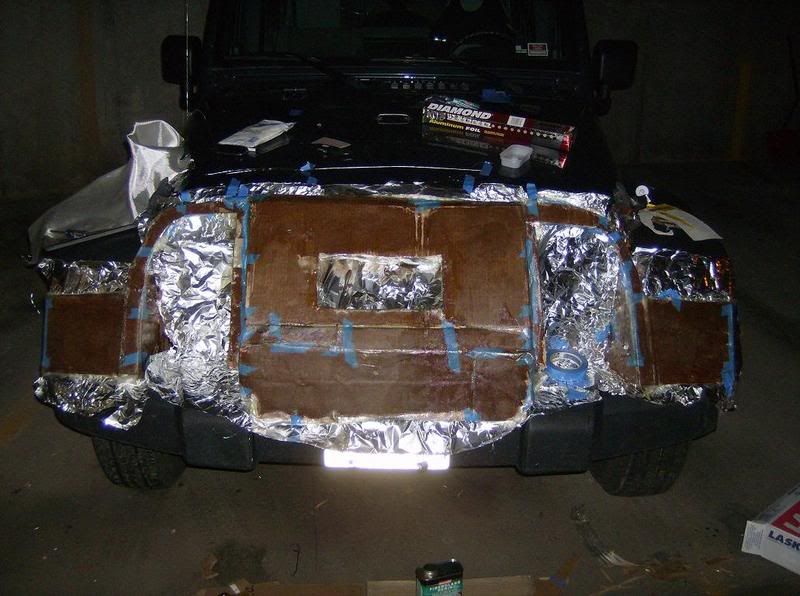
this is where the alum foil comes in, use it to cover anywhere that might possibly get resin on it, cover anywhere that wont get resin on it. its just cheap insurance
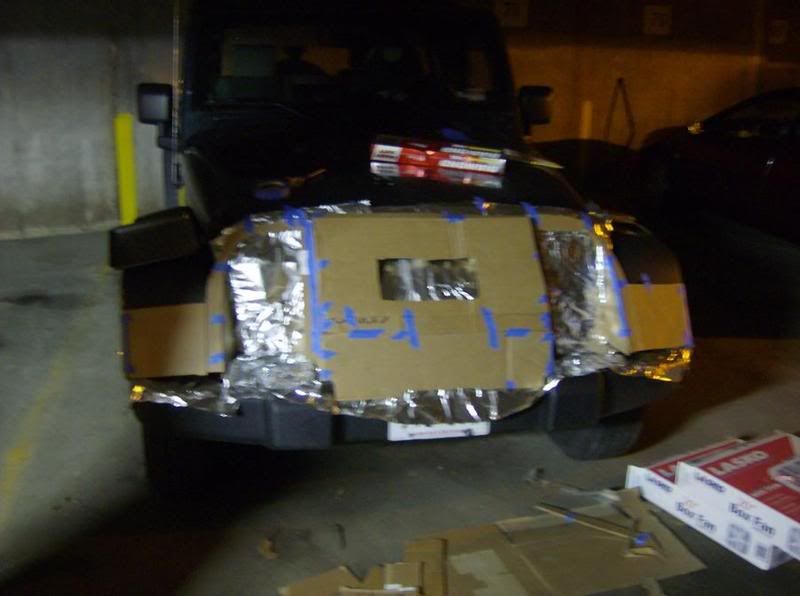
first coat of fiberglass is on, i was mostly trying to stiffen this up a bit and make it water proof, i have to paint it tomorrow, screw it on and put the light covers on tommorow, i am going on a camping trip this weekend so i wont be able to post any completed pictures until monday.
so far this project has costed me less than $40,
fiberglass cloth - $12
fiberglass resin - $10
cardboard - free
painters tape - $2
aluminum foil - $2
brushes - $1
latex gloves - $1
*notes - some of these are common sense but i know people who have done some of the no-nos,
*never use a razor blade near paint
*cover everything that you remotely care about getting damaged
*be patient - when you rush you will make mistakes
*dont get angry - you will make mistakes, its part of life, just try to fix them as best you can
*use the proper safety materials
*measure twice - cut once
*have fun