Think I've made enough progress on the Vetter fairing project for my 2007 Honda Reflex to make it worth posting. A lot of the progress has come in the last couple weeks since it has finally been warm enough (mostly) here in S.E. Michigan to be able to do composite work.
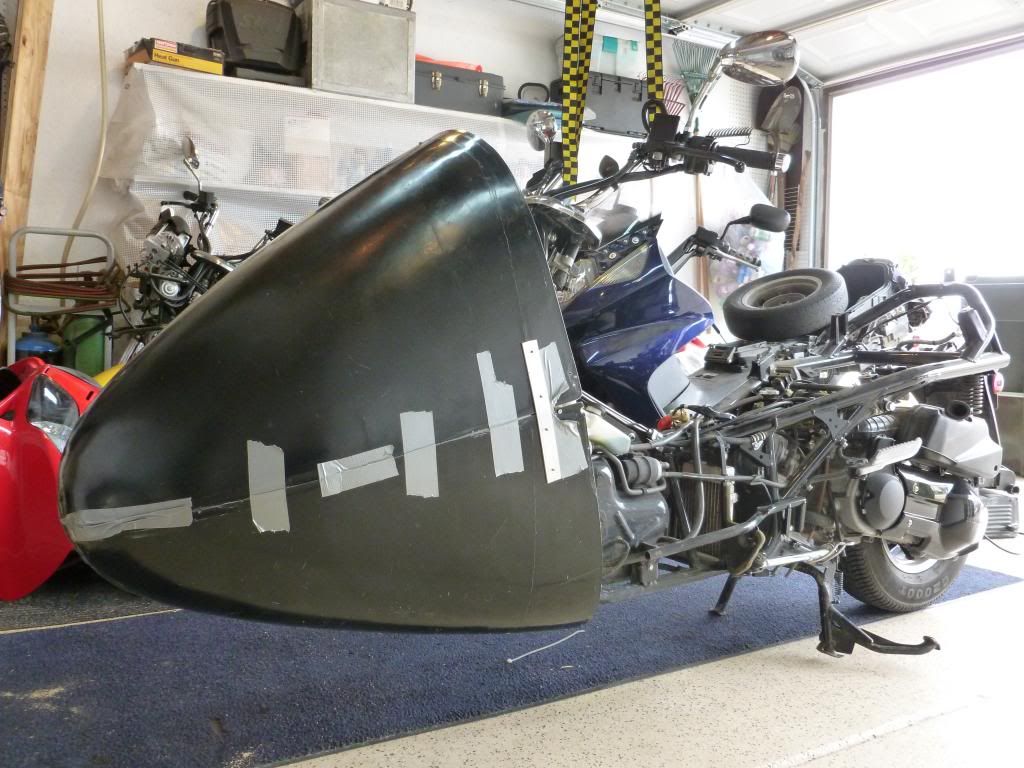
Here is the nose section as it arrived from Vetter.

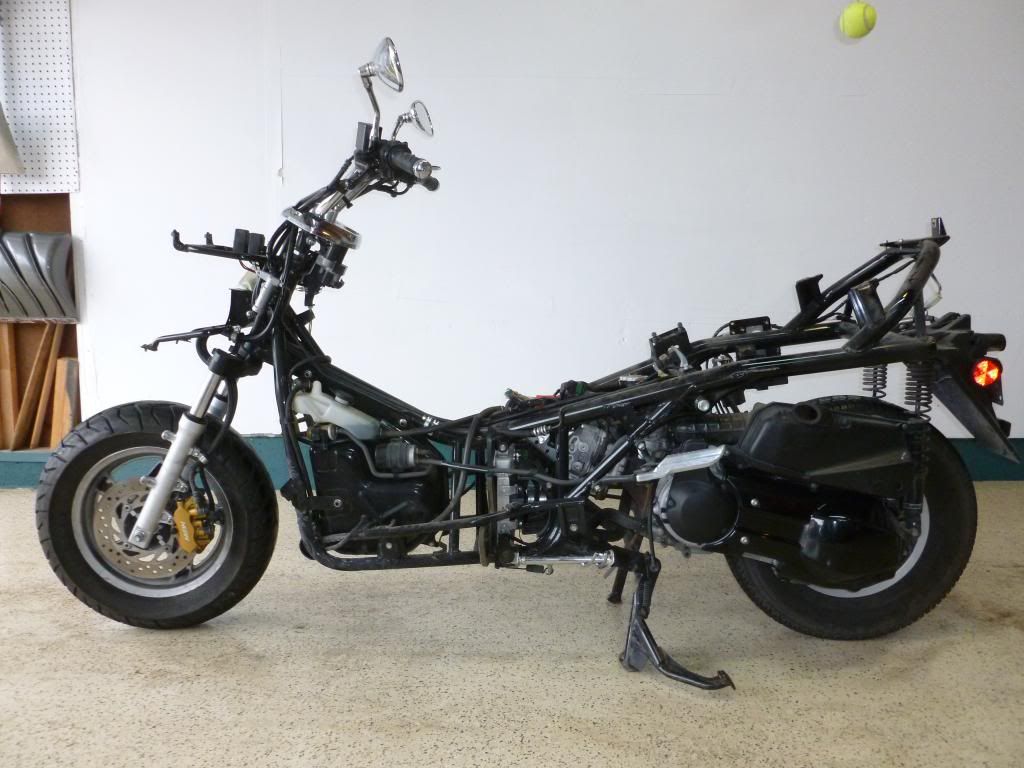
The naked 2007 Honda Reflex scooter that will be getting the fairing.
For those that know the Reflex, note the rear tire for a Honda Silverwing mounted up front and a 155/80R12 car tire on the rear. Previously had a 145/70R12 car tire on the rear but it had 35,000 miles on it so it was time to change it. I have also installed a Polini racing gear set to the final drive that is a little taller ratio than the stock final gears. Initial test rides show lower RPMs at speed, but not as much of an improvement in MPG as hoped. Hopefully more improvement will show with the fairing installed. And I can still experiment with different rear tire sizes to help eke out the best MPG.

Marking the inside of the nose where the bulkhead will mount as an aid to be able to position it in the same place when removing/replacing it during the construction process. Using plywood for the bulkheads may be heavier than doing aluminum framework like Craig Vetter did, but it seems to me to be quicker/easier/less expensive.

The nose temporarily installed after cut-out was made to the bulkhead. The bike is suspended from the garage rafters with a couple ratchet straps because that is what I had available to do the job. I could still sit on the bike without worry, so it worked out fairly well.

Traced out the front wheel cut-out. (seems to be a typical "money shot" for our fairing projects)


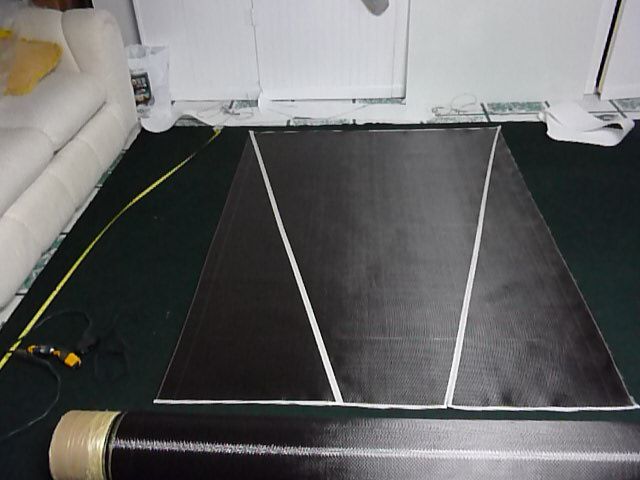
Laying out and cutting some carbon fiber fabric that I got for cheap off ebay once upon a time ago. Ditto for some fiberglass fabric too.

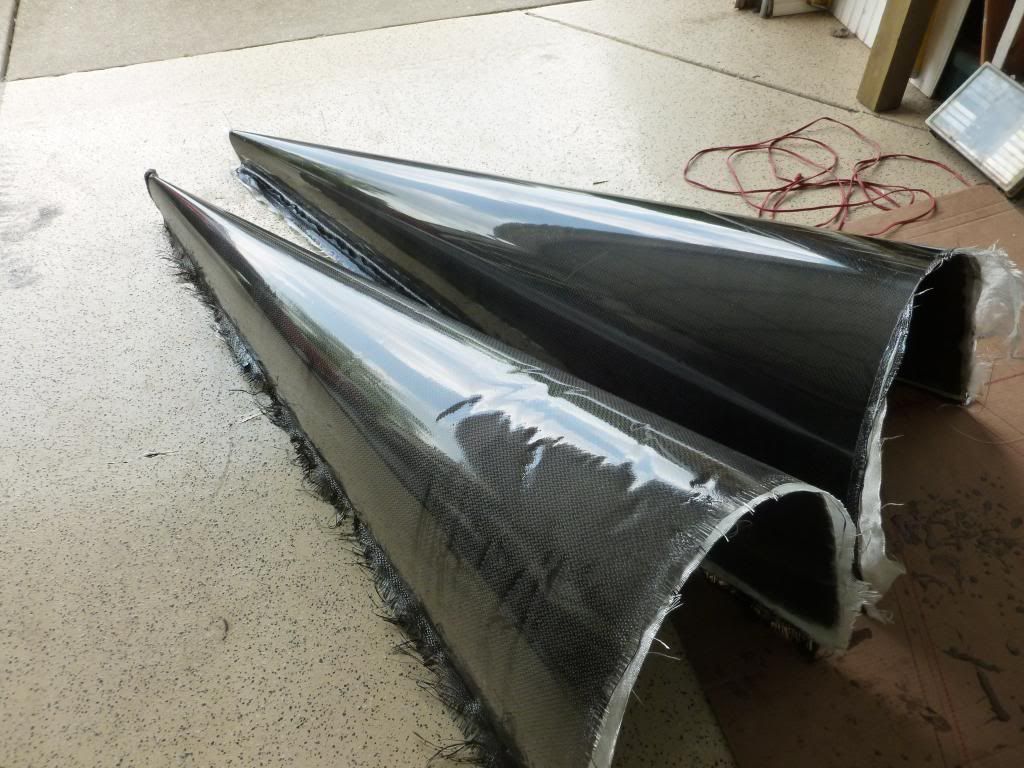
The first 2 composite parts parts I ever made. The lower was the first and ended up with wrinkles when the mold expanded more than the lay-up in it from heating in the sun and part of it pulled away from the mold. (mistake from trying to speed the cure process) This problem was compounded when the mold shrank and compressed from temperature cooling down to 50 some-odd degrees at night in the garage. The second part was made inside my house with a constant 73 to 76 degrees maintained for the 3 days of curing. That made a huge difference in part quality. Fabric weave distorted also in places from trying to reposition it properly. (another thing I learned not to do) I also got some fine scratches in the home-made mold when I put the first piece in and out of the mold a couple times. Threads of fabric with hardened epoxy are sharp and hard as needles. The scratches are not real deep and not too bad really and mostly are only noticed if specifically looked for. Not sure to what degree scratches can be remedied. For now they are a permanent aspect of the mold, but I guess I'll live with it. This will be a non-issue with parts that are to be painted. In fact, parts that will be painted will need light sanding to roughen the existing nearly mirror smooth surface for better paint adhesion.
The second piece turned out much better, but I still had some small air bubble "pitting" in a few places. (need to do more/better roller work to get ALL the bubbles out. And/or work out a vacuum bagging system to make parts.)

The lower piece will be used on the bottom of the fairing, so a good portion of the flawed part will be cut away for the rear wheel, muffler, airbox etc. anyway. The sides will be easy to do using the glass of an old storm door to do flat panel composite work. Additional flat wrap parts for the front part of the fairing will be done similarly. I'll probably pop rivet the sides on along with some fiberglass layers to the inside and just cover the rivet heads and seam line with wide pin striping for the sake of simplicity. It still should look OK, but I might change my mind on that later.
The mold will be able to make many more "half cone" rear fairing parts. The wide end of the finished part has some flexibility, so width and height of that end can be modified some just by pushing on it to narrow/heighten or widen/lower. Kind of like how the nose part can be squeezed or squashed to change its dimensions a little to suit the builder.
The narrow end of the part is somewhat less flexible. Generally, the usable size of the part is: Wide end - 24" wide X 17" tall, Narrow end 1 1/4" Wide X 2 1/2" tall. Length of lower edge of part 71" I'll do a handful of these for my own use before I try to make serious efforts to sell them. Just the same, I'm putting this info out in case anyone is interested. I mean to experiment with parts that are only fiberglass along with some that include Kevlar layers. (Already did these first two parts in carbon fiber/fiberglass lay-ups)
So this is where I am so far with my project. Next is to cut/trim/fit the large parts together, then comes a bunch of smaller stuff like: the belly pan and foot rests, doing the seat and seat-back/rear storage access, building up storage space interior and rear wheel well, finishing the nose of the fairing, foot wells, headlight install, windscreen and instrument panel, making permanent fairing mounts, adding the tail light/turn signals and other such tasks.
When I get more done I'll update with more notes and pics.