Quote:
Originally Posted by freebeard

I don't see the need for three pieces.
The upper bars could be non-parallel with the decklid, would pivot at the top of the backlight and could have the other end pretty much anywhere on the inner upper sides of the cap. You wouldn't want to try to lift the cap with the decklid so put vertical handles on the back of the cap and lift there, using the decklid simply as a hinge.
When the top hinge over-centers it will hold itself open.  |
I meant 3 articulating pieces - Kamm, trunk, hitch-box-lid.
You have good ideas, though in this case I happen to favor my idea (or maybe it was a coworker's idea, sort of):
Using a hinged, high-pull Nd magnet to anchor the frame on the roof:

This bracket screws in where the license plate would fit to attach the trunk linkage (the license plate can still fit here if the Kammback is on while the hitch-box is off):

The trunk linkage lifts the Kammback, they move together:
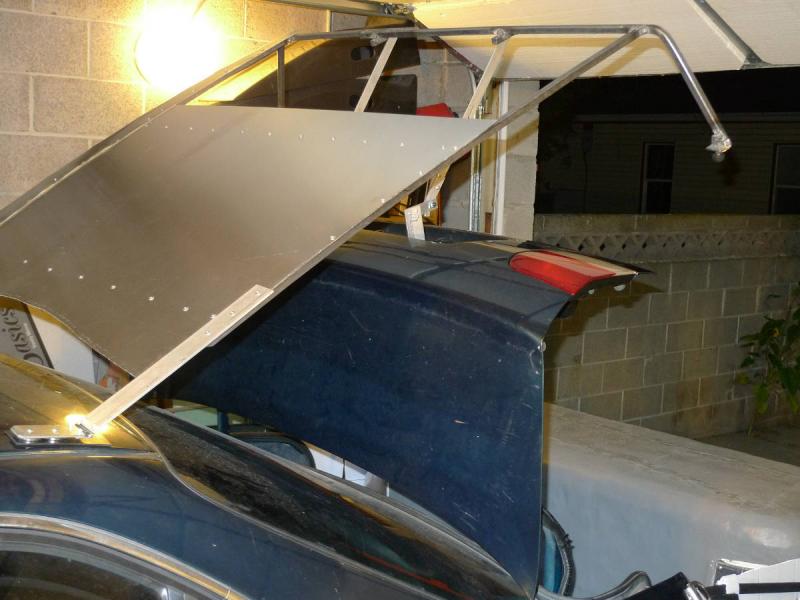
The edge-skin was the hard one: start by getting the simple curvature bending by hand (progressively) around a conduit that happens to have the right radius (actually tighter than target by about the right amount for spring-back):

The top of the Kammback curves with the template, so simple-curvature on the edge isn't enough, as an illustration:
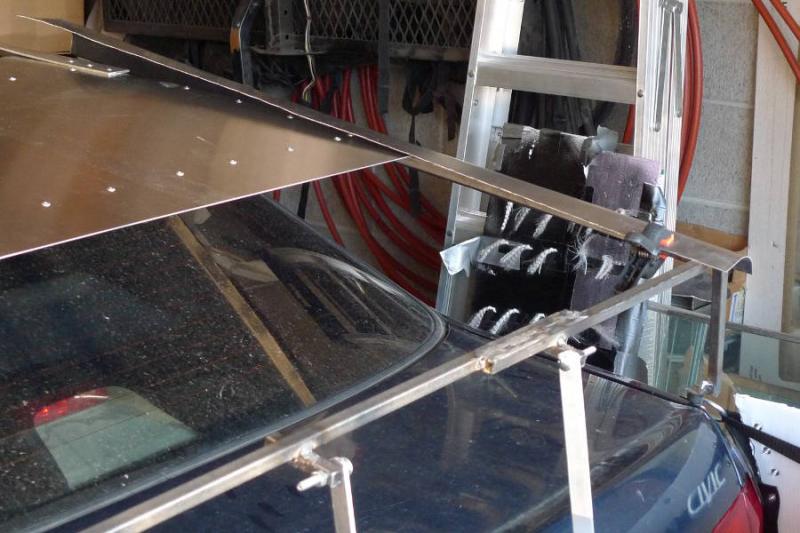
But this piece is quite doable with tuck-shrinking and planishing (though I believe an English wheel would be wanted to get the best finished look, probably instead of the planishing hammer, though if I had just the right dollies planishing could probably do a lot better as well). I happened to shoot this pic with a light at the right angle to emphasize its flaws (easy to see the shrunk-planished zones), I think it does look a bit better in real life.

(So I finally got a chance to use my DIY tuck tool and planishing hammer that I brought up months ago.)
That shot also shows where I want the Kamm opaque, the rest will be clear. The view from the rear-view is really good so far, also this does a good job shading a range of angles for the back seat, which is very important.
Lots of details left to finish up: clear sections, gaskets on 2 sides and magnetic gasket on top, then the gap-filler-piece...
By gap-filler-piece I'm thinking something probably like: aluminum reinforced clear plastic, hinged toward the Kamm (clipped or screwed on), elastic hook toward the aero-hitch-box. That would allow the hitch-box to still move on a ground-strike, also the gap-filler-piece is easily moved out of the way for either trunk or hitch-box access.