Parts I used:
Colored Plastic Rolls, 25 Ft. - Speedway Motors, America's Oldest Speed Shop
3/16 Inch Back Up Washers - Speedway Motors, America's Oldest Speed Shop
Tru Rivets, 3/16 Inch Large Head - Speedway Motors, America's Oldest Speed Shop
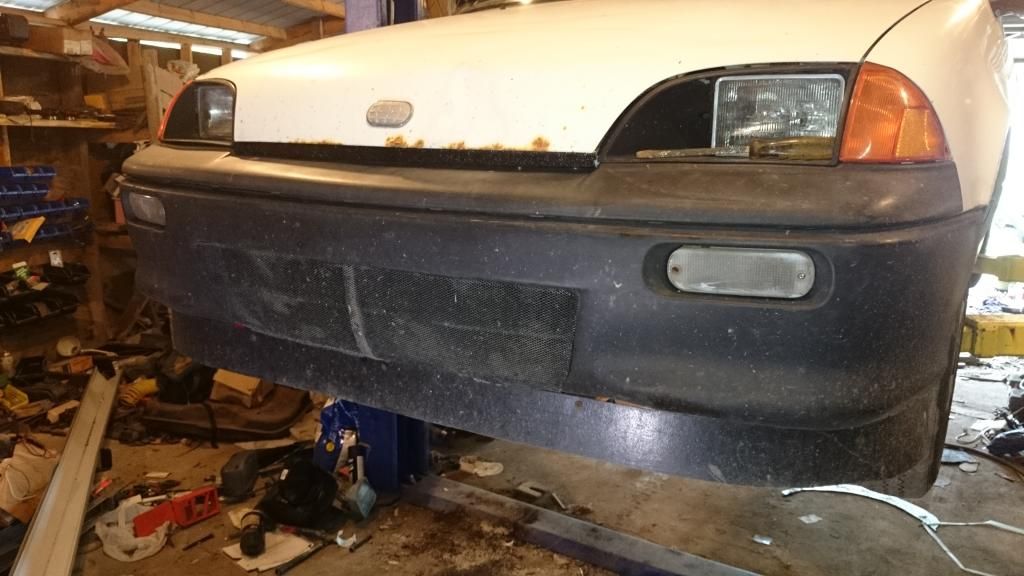
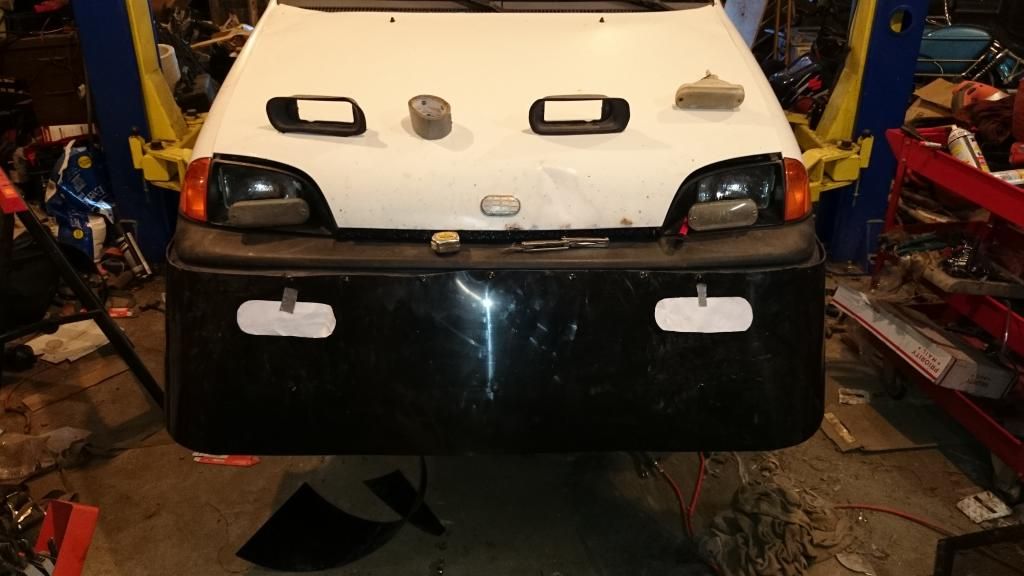
Here is what the car looked like to start with. The mesh used is from a satellite dish. It looked pretty nice and blocked some air from going through but it wasn't good enough. Also the air dam was farther back than ideal so it wasn't really helping much.
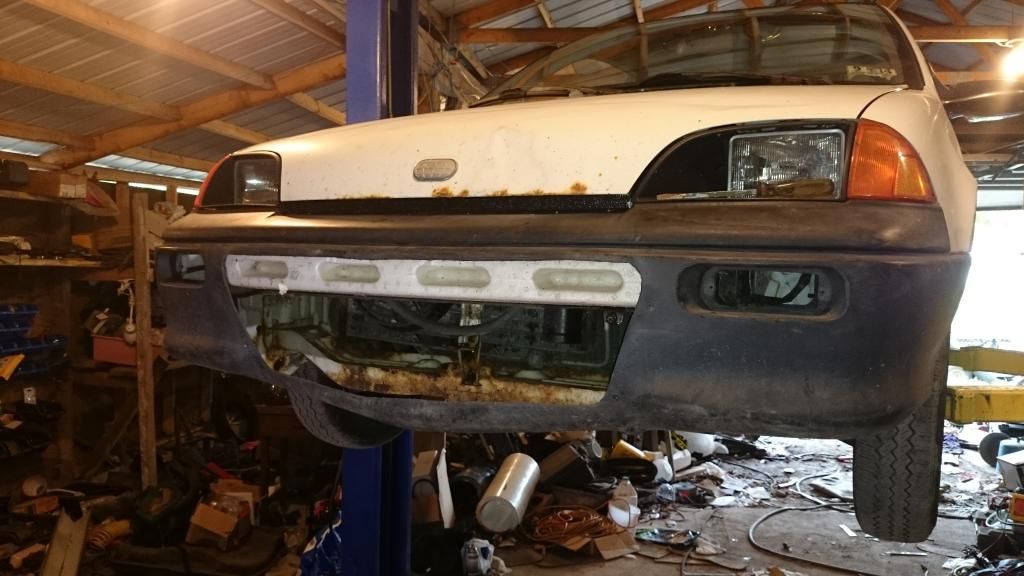
I took that bumper off since it was nice and damage free to save it. I used the old bumper from the hybrid convertible metro that was pretty beat up already so nothing lost by cutting it up a bit more. First thing was fit it on the car.
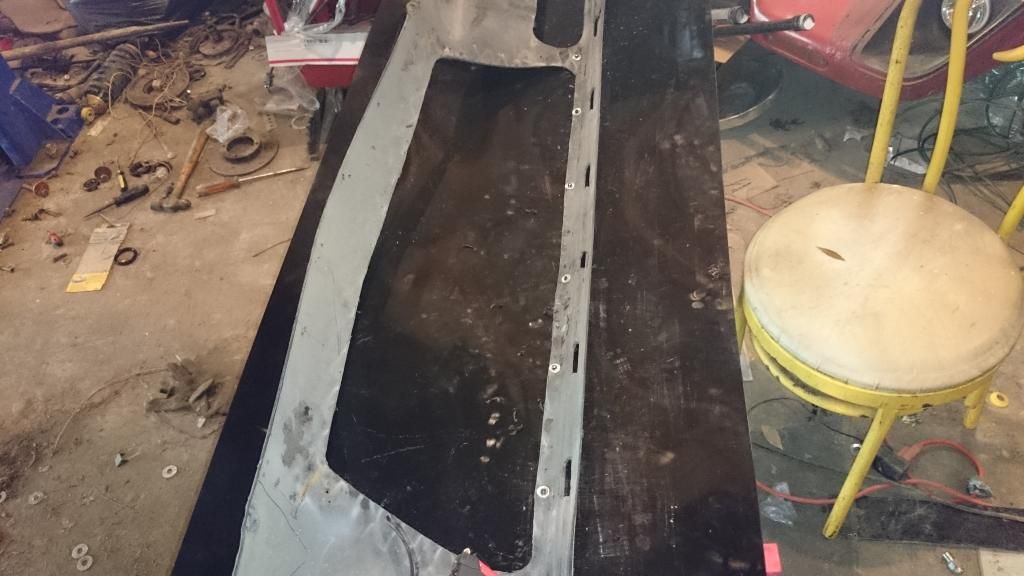
Then get the plastic and get it more or less in position where I wanted it.
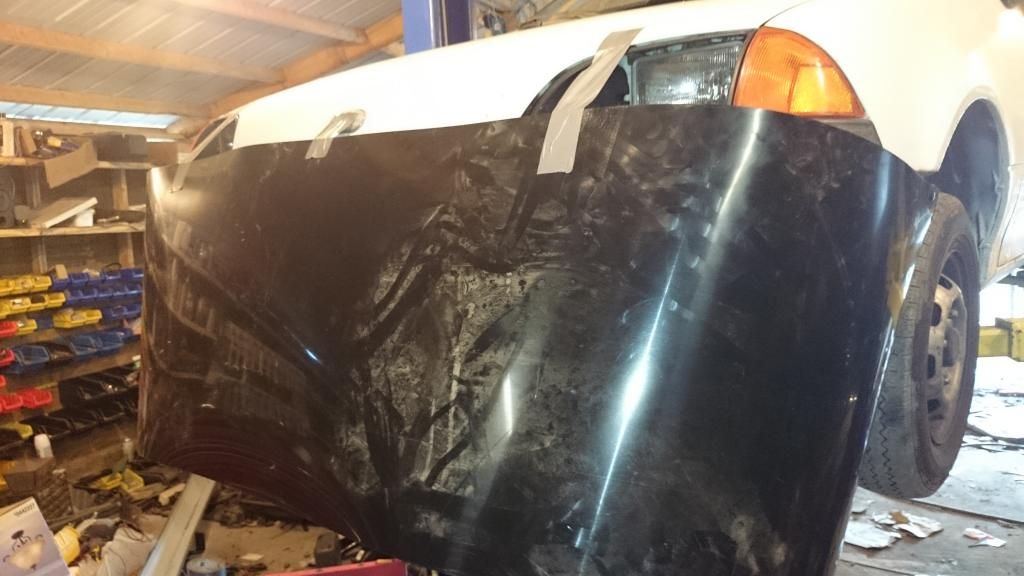
Once I got it where I wanted I put a rivet in one corner and used a pair of vice grips and a ratchet strap to pull it tight over the bumper on the opposite corner. Once I adjusted it and got it sitting square. I put a rivet in the center top and the other side. That let me take the bumper off and put plenty of rivets across the top of it to make sure it is good and secure.
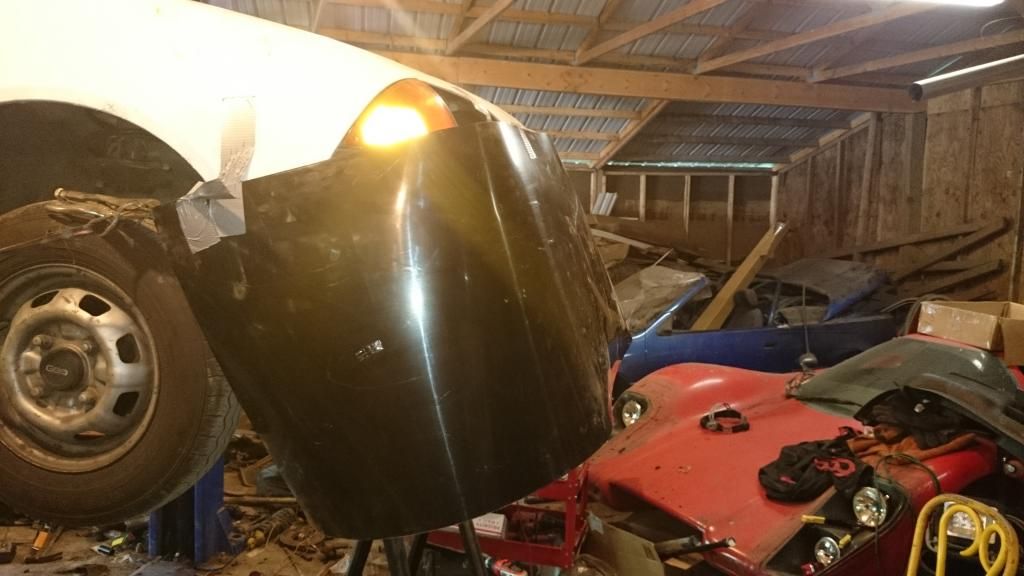
It took a bit of trimming the top edge to get the lip exposed so I could remount it on the car.
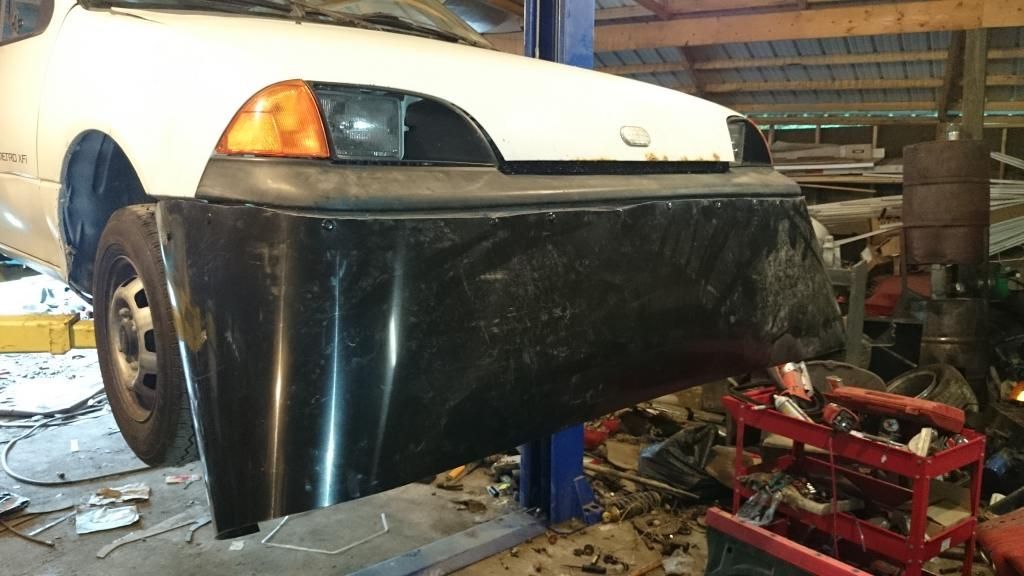
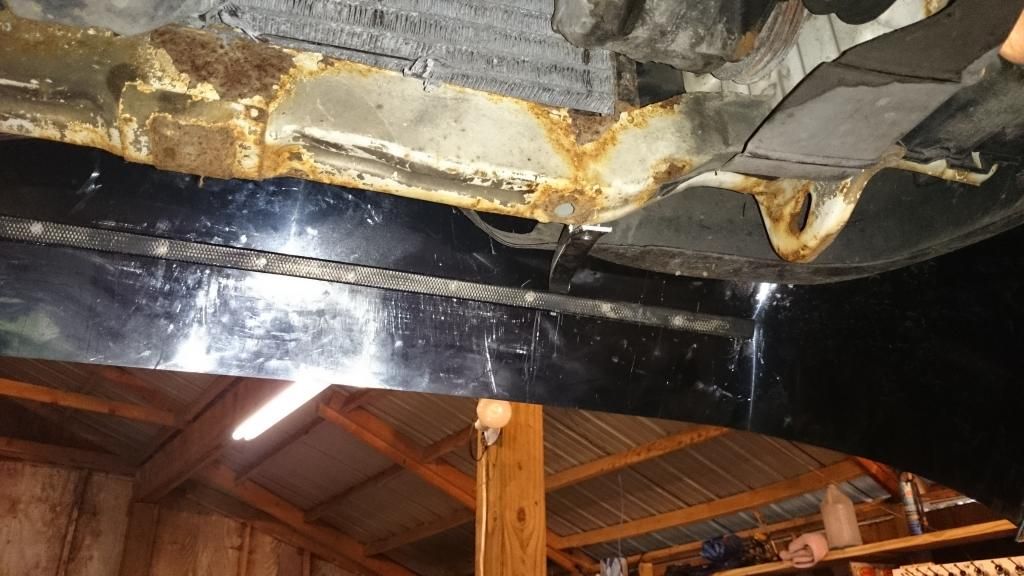
Then to brace it up I used the aluminum frame from that same satellite dish since it was curved perfectly to match the curve of the car to build a lower brace. I used a couple of bolts and self tapping screws to mount it under the car.
After that all I had to do was trim up the sides and make some brackets to hold the bumper out to cover the front edge of the tires. I used a couple of shelf brackets I had laying around that fit and worked good. And I used another small section of dish frame to form the sides of the bumper.
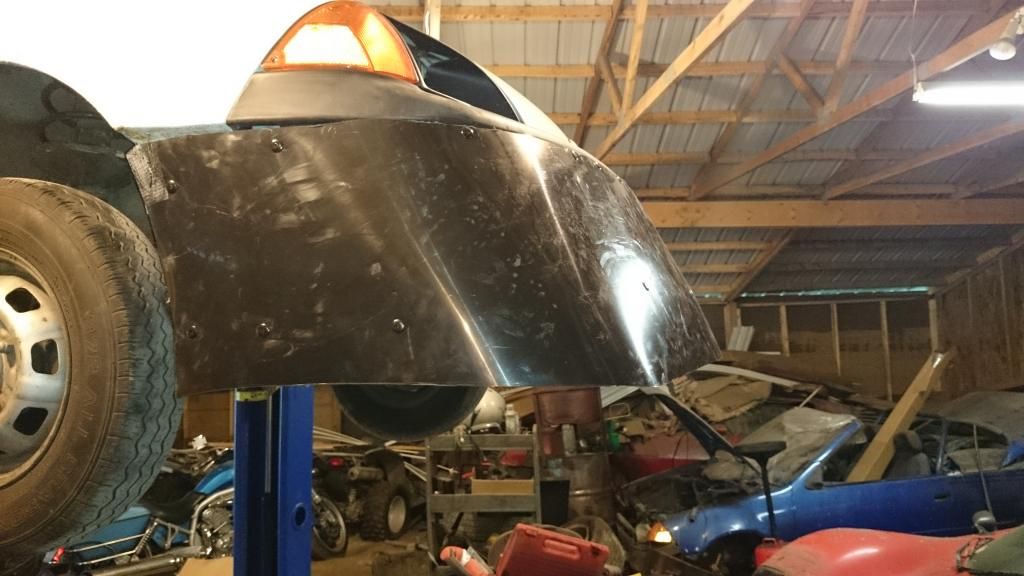
All that was left was cut out the signal light openings and mount the lights. I cut the mounts out of the old bumper before I riveted on the plastic. I used them to make paper templates and fit them to the car till they looked good and were level then cut them out. I used rivets to attach the signal mounts to the plastic and mounted the lights.

I will have to see how well it works over the next few weeks. It looks pretty good so tomorrow while it is daylight I will get some good pictures of it.