Update: MPGuino Custom Mounting - A Pillar Pod - Part Deux
We'll, fought like heck with this today. Still have a ways to go, but shaping out. Here's some pics and details.
Traced out the borders of the LCD onto painters tape.
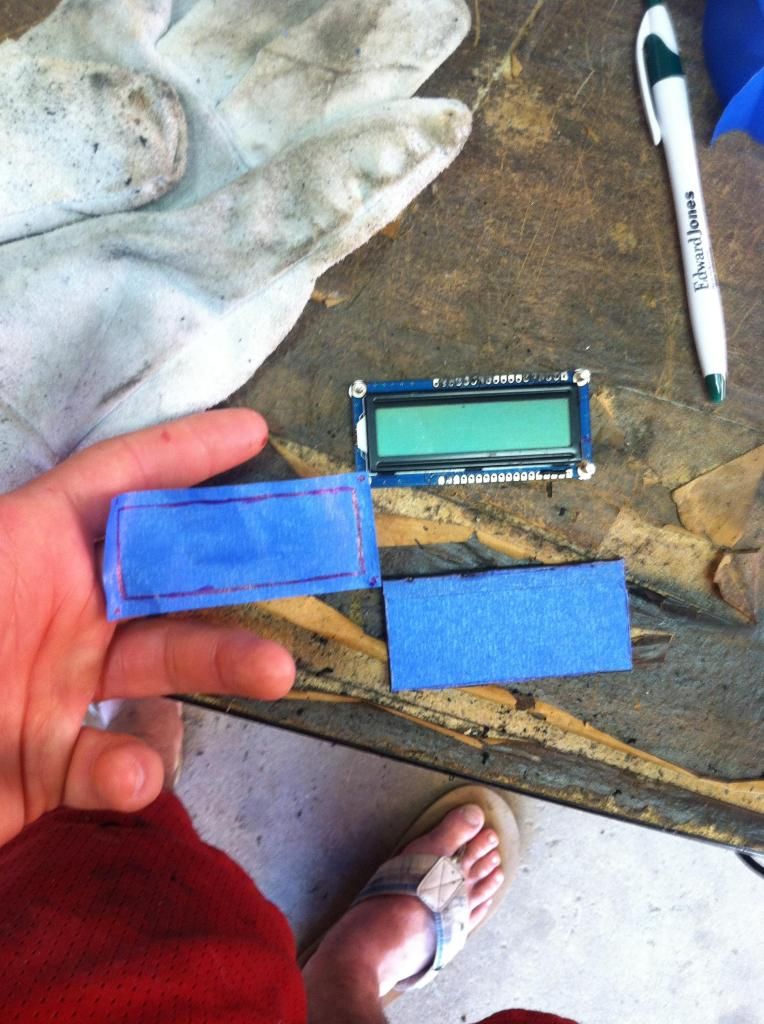
Put that on the already cut panel
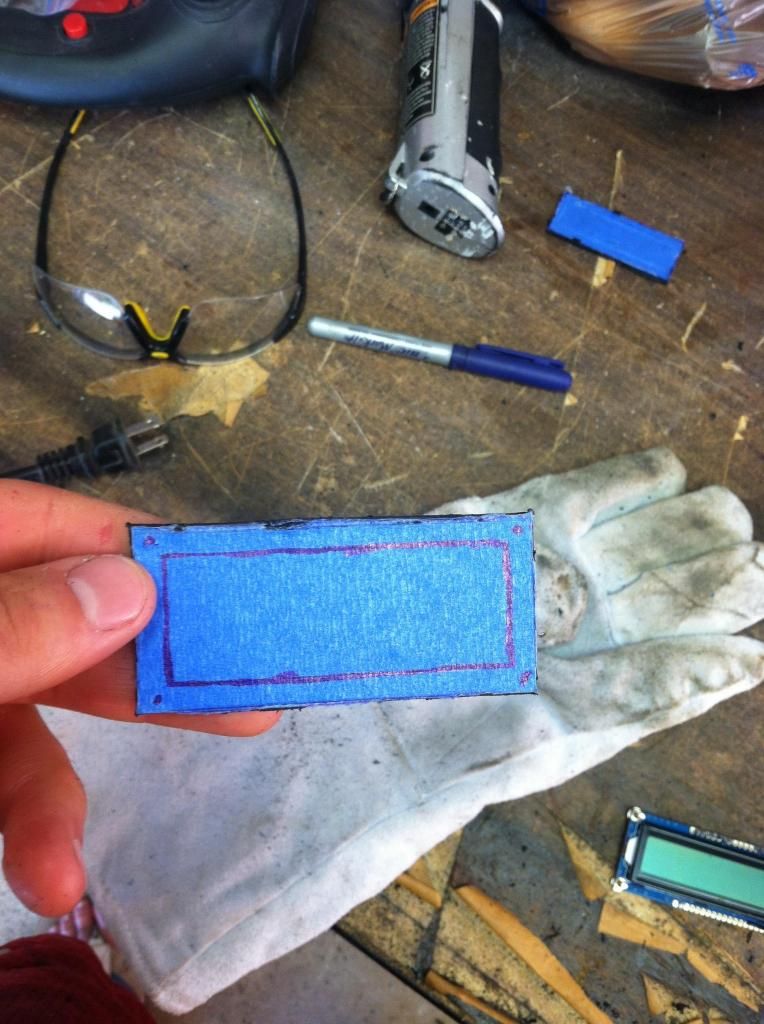
Cut that out, then went inside to chill a bit and check the fitment. As you can see, had to cut a couple more deep notches in the pillar. I realized, after my last post, that I would not be able to actually get the panel into position behind the pillar once it was completed unless I added these additional recessions.
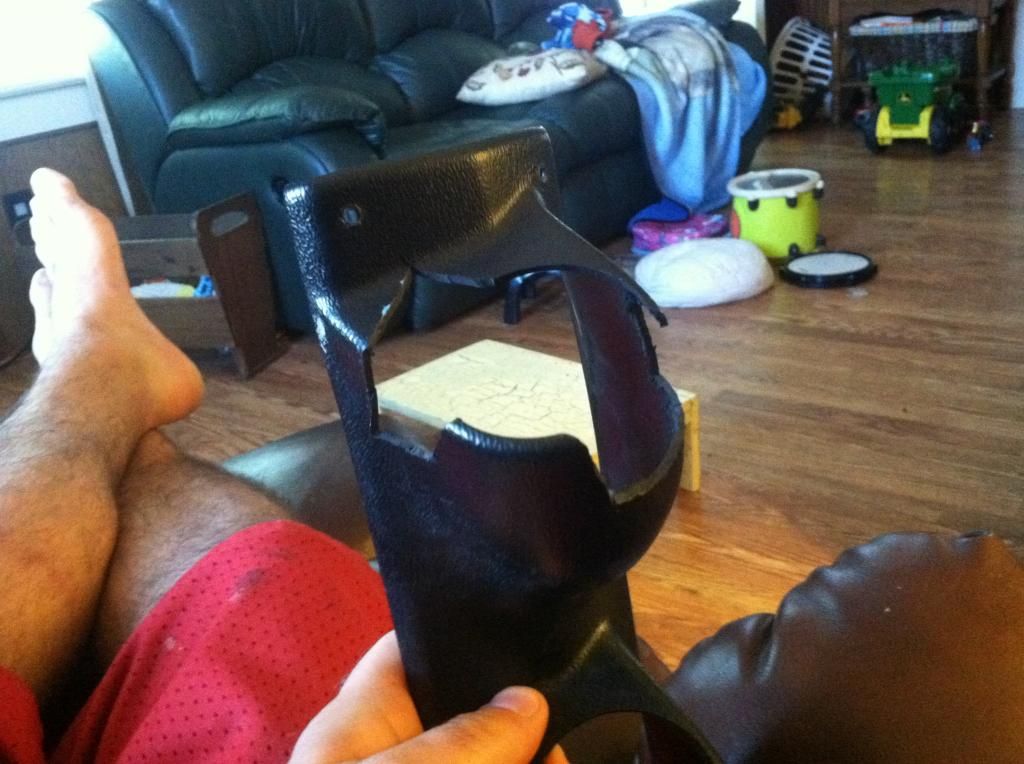
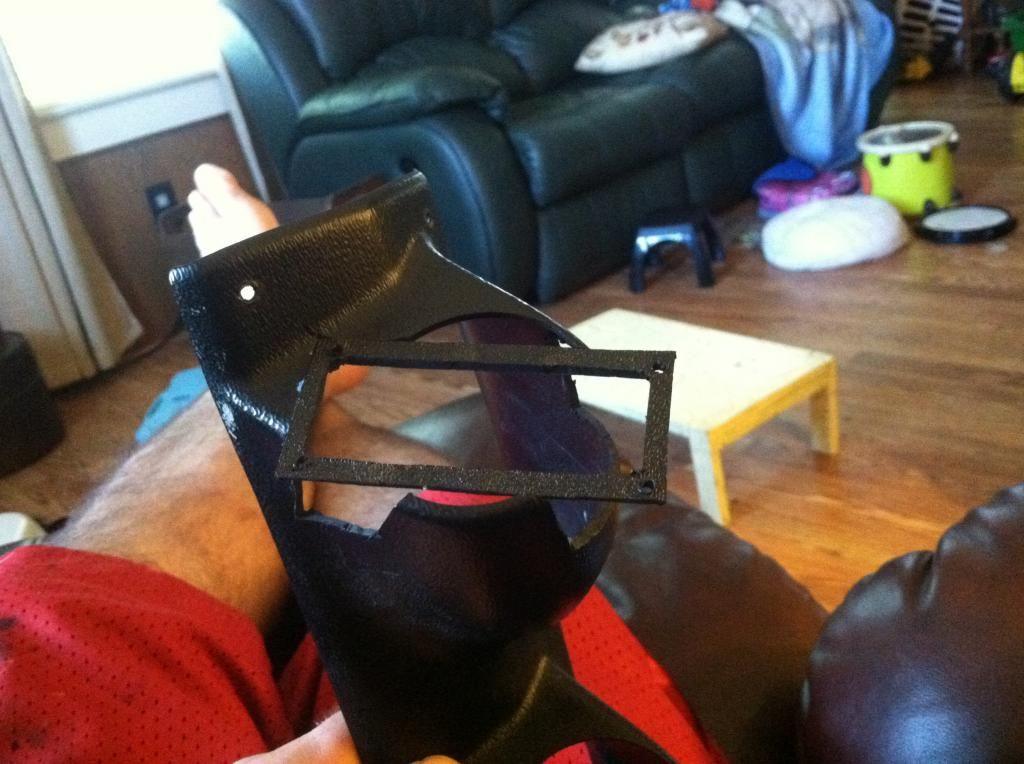
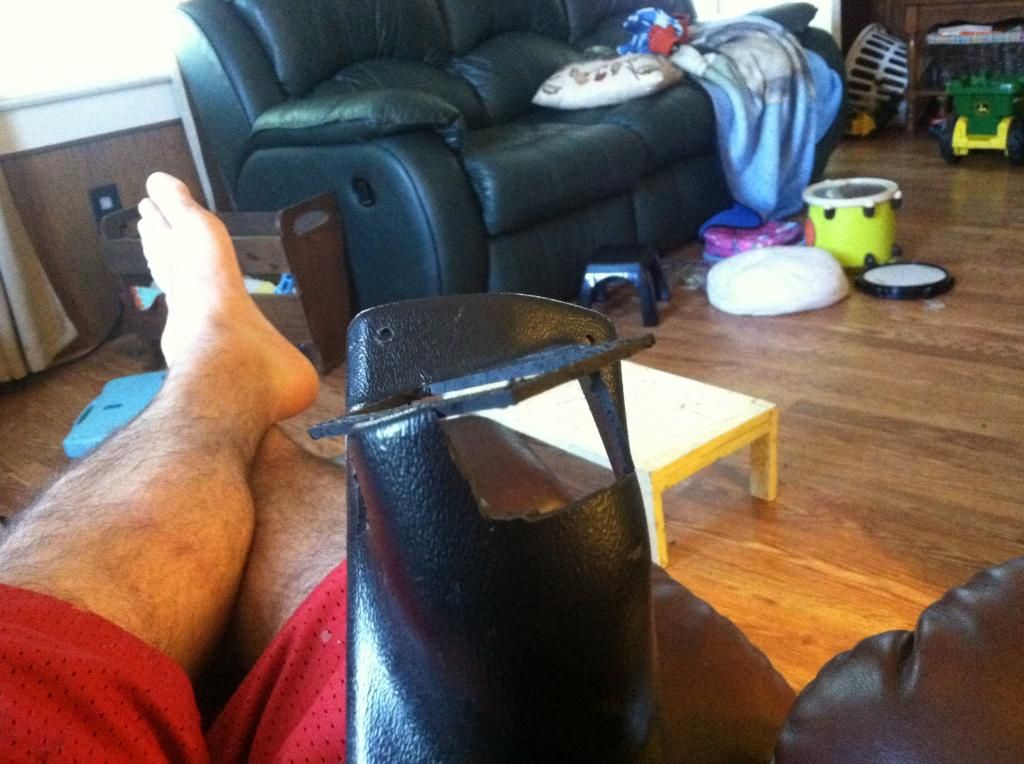
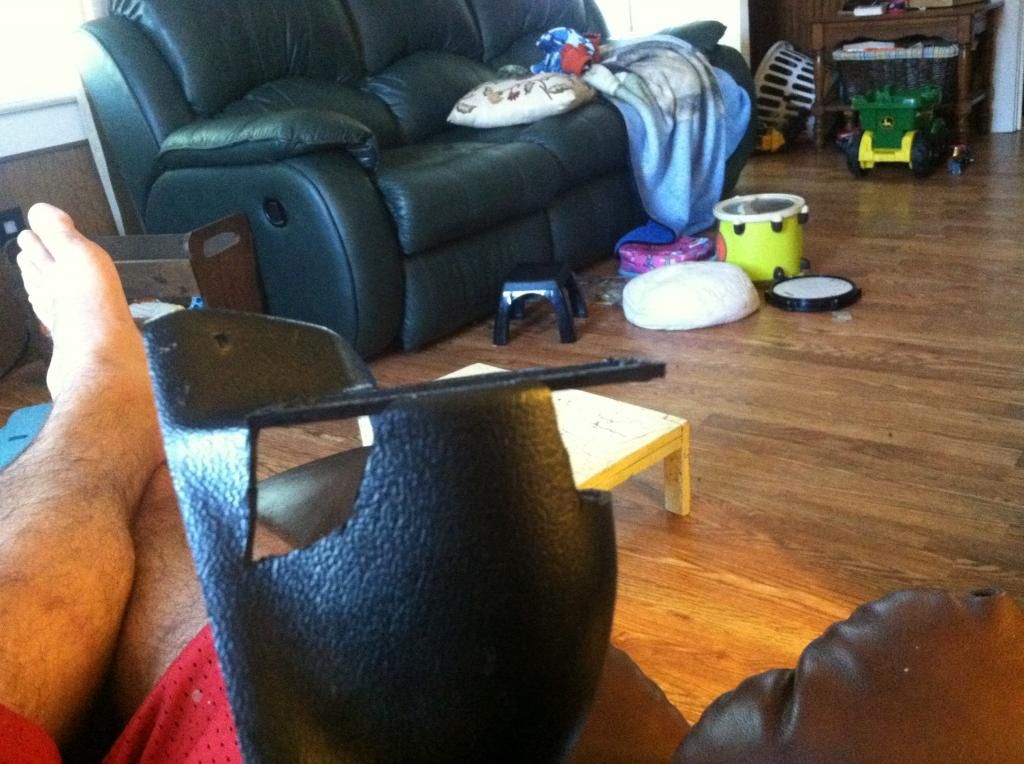
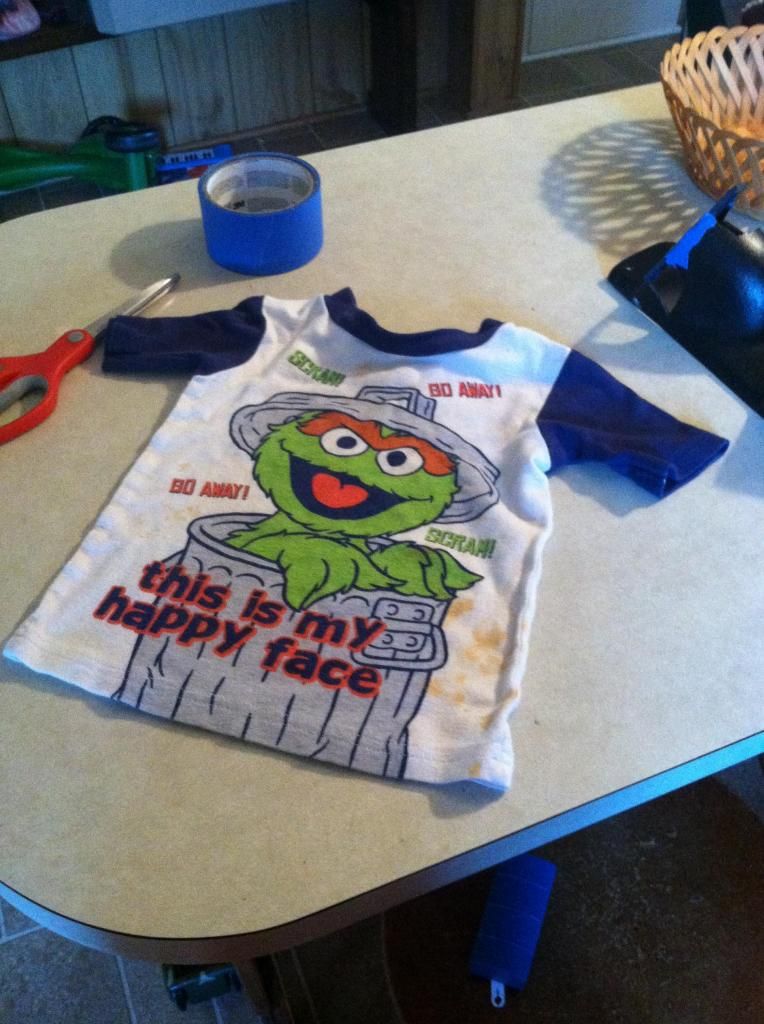
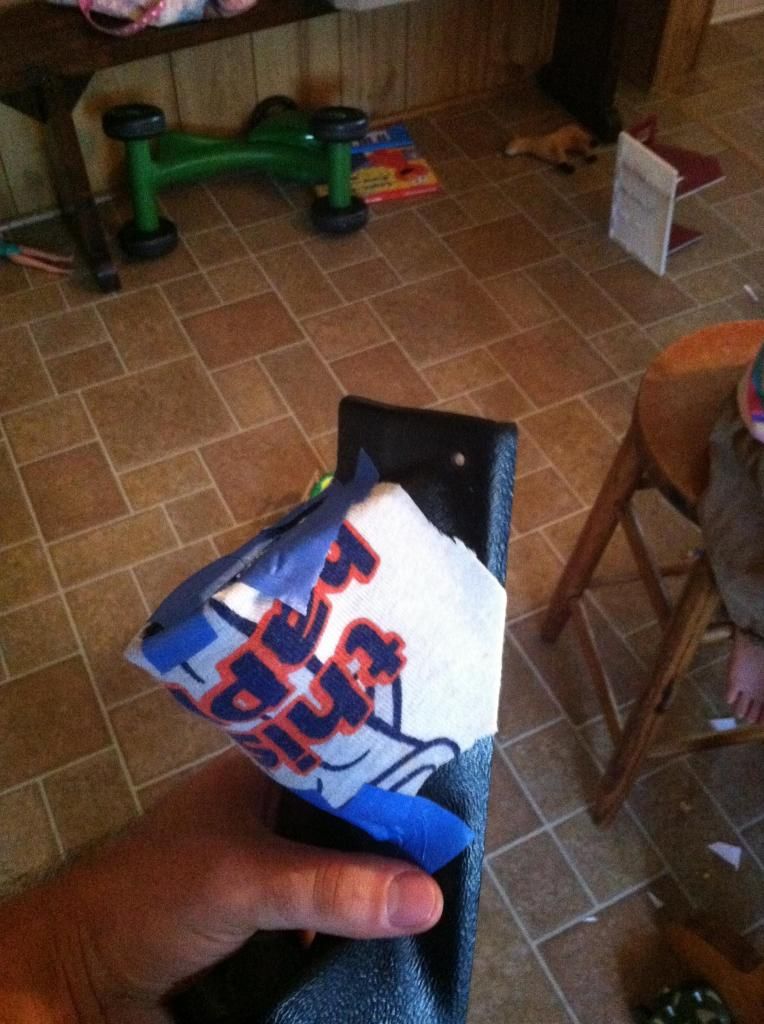
"Smoothed out" the design with the help of my son's old Oscar the Grouch shirt and some painters tape. Looks like trash, I know, but
I LOVE TRASH!!! (baddoom-passshhh!)
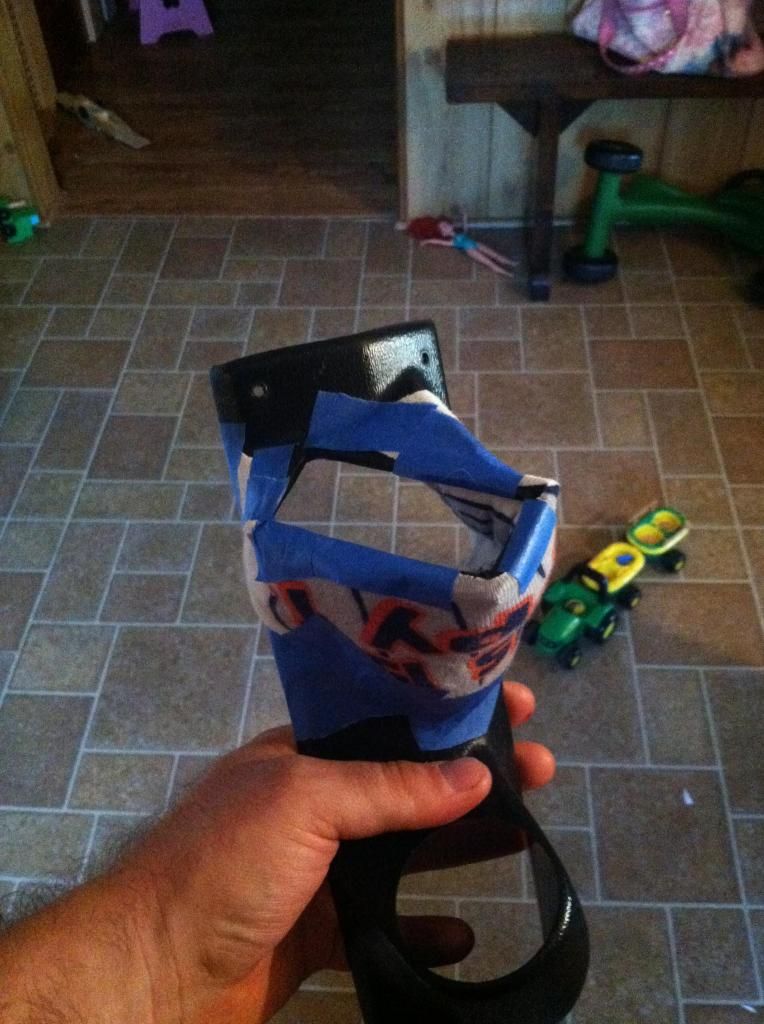
Then, laid down two layers of fiberglass.
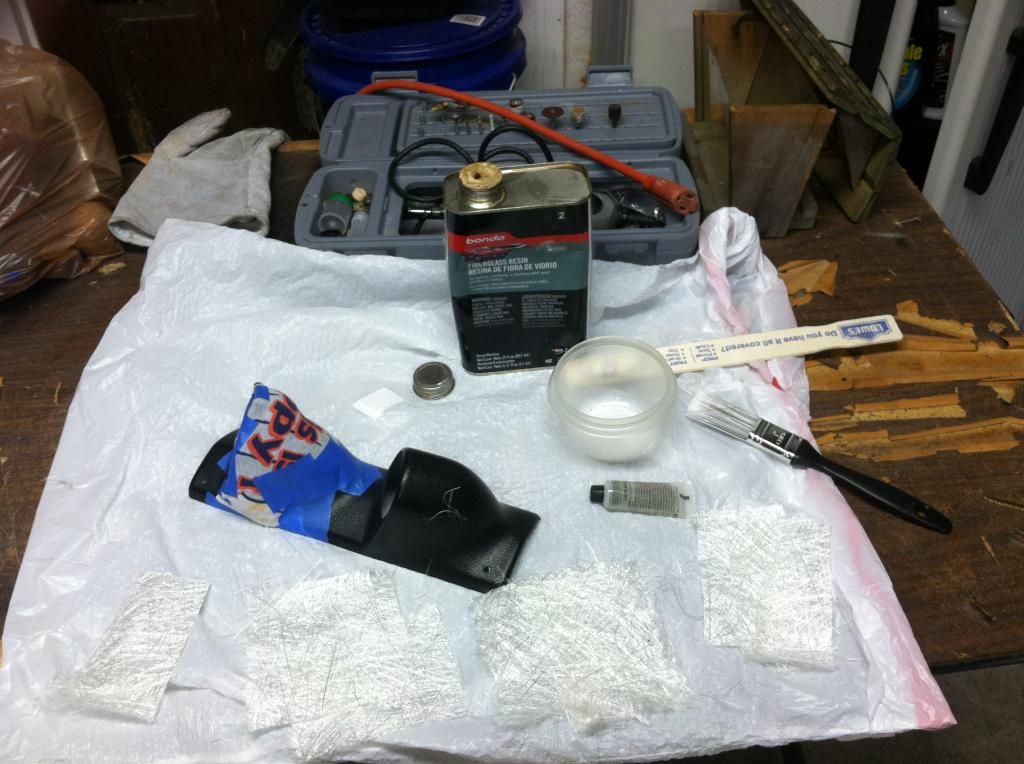
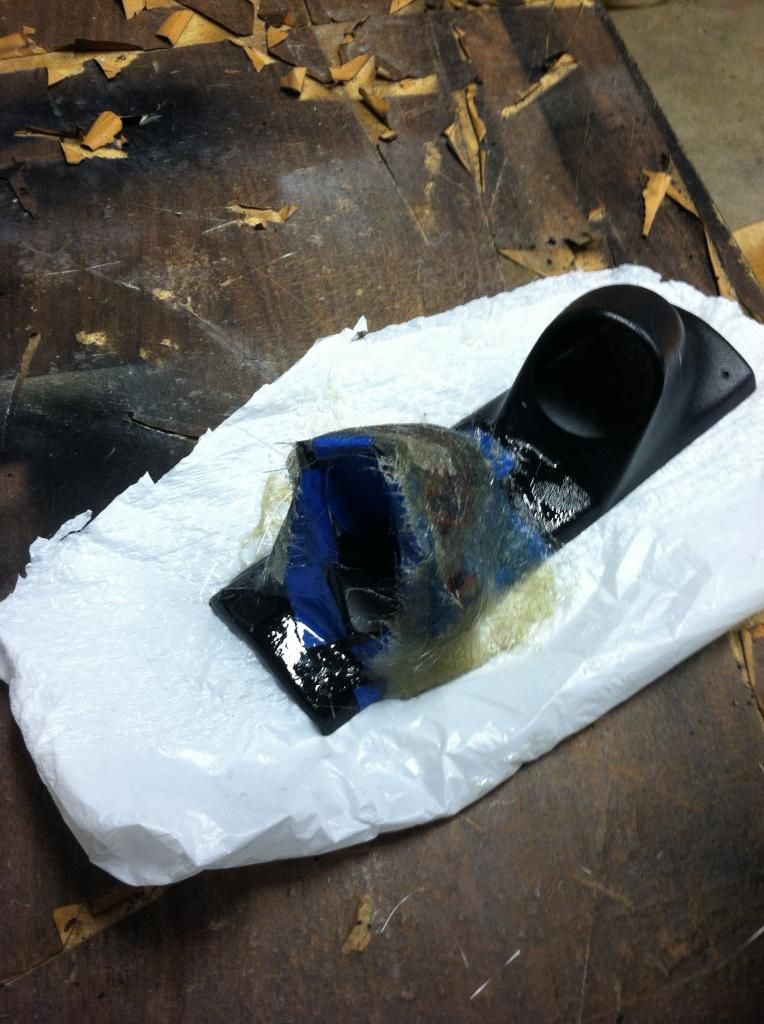
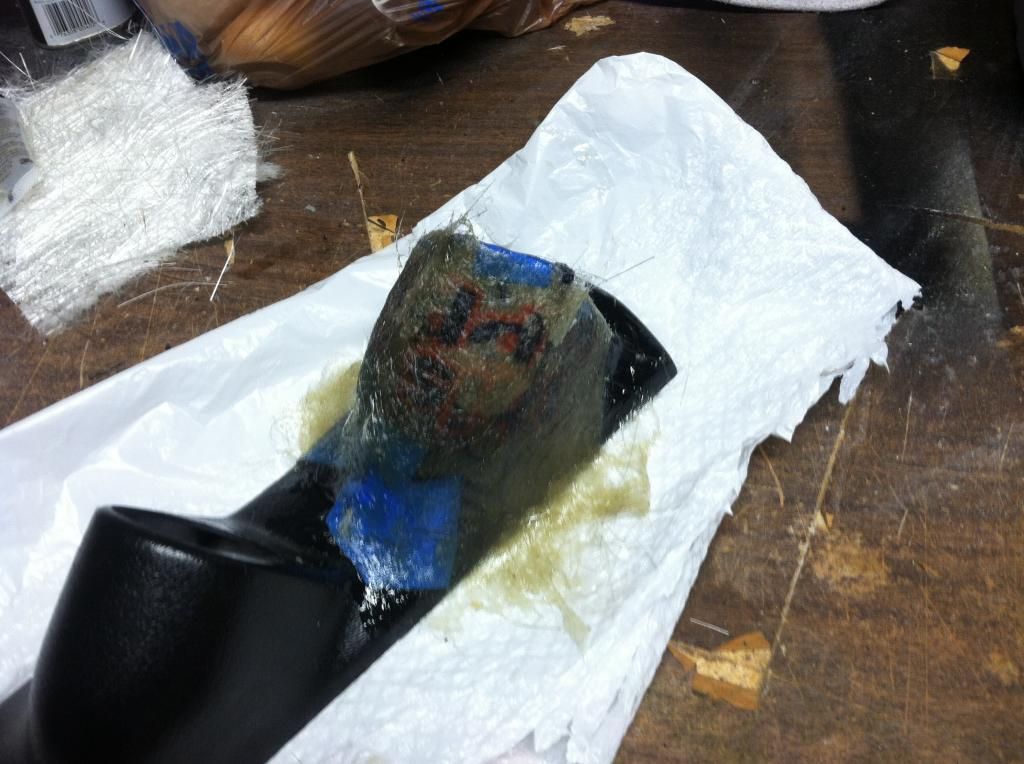
I will place another couple layers on top tomorrow, once this dries. I'll also enforce the underside with a couple of layers, for good measure.
I ordered the breadboard wiring connectors/pins to do the wiring from the Arduino Uno to the display. So, that will be next week/weekend's project. Hoping to get this custom pillar/mount done and ready before I begin that stage.
I also painted my roof today. Turned out like dog doo-doo, so I'll spare you the pics. Just imagine...the peel of an orange. I'll be block sanding/polishing the roof to see if I can bring out a better result. The color looks good though. If all else fails, I have a friend named PlastiDip that will look better than the current outcome.
More to come on the project. As always, thanks for
eco-tuning in.