Update 11/10/2014: Side Skirt Extensions
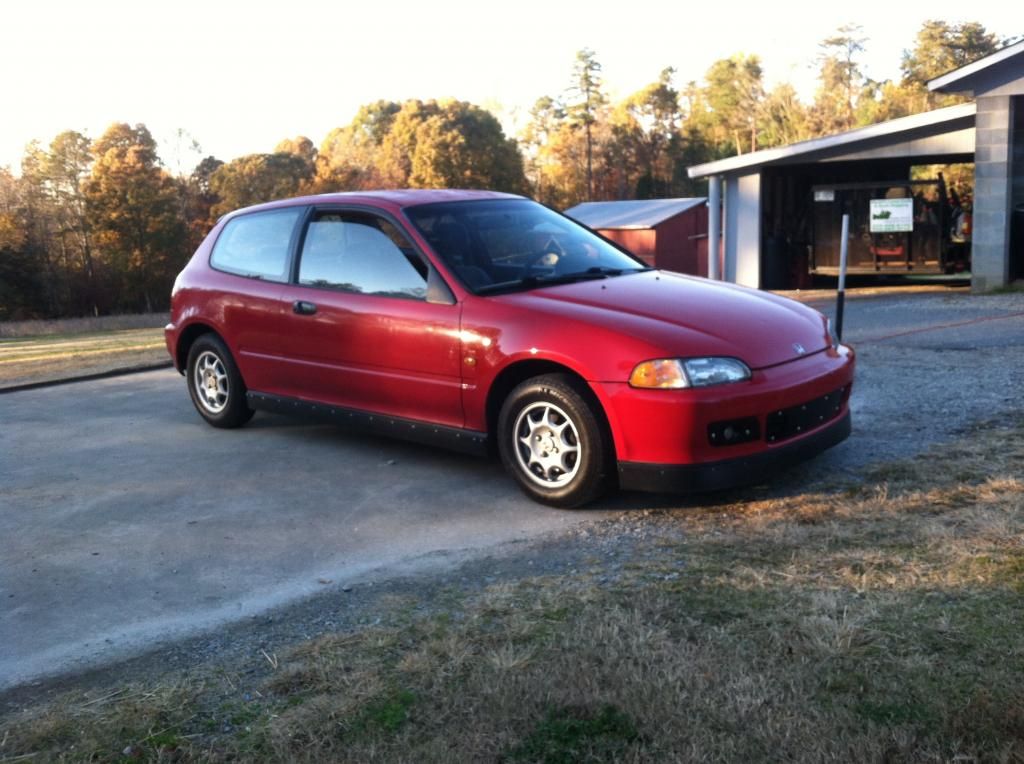
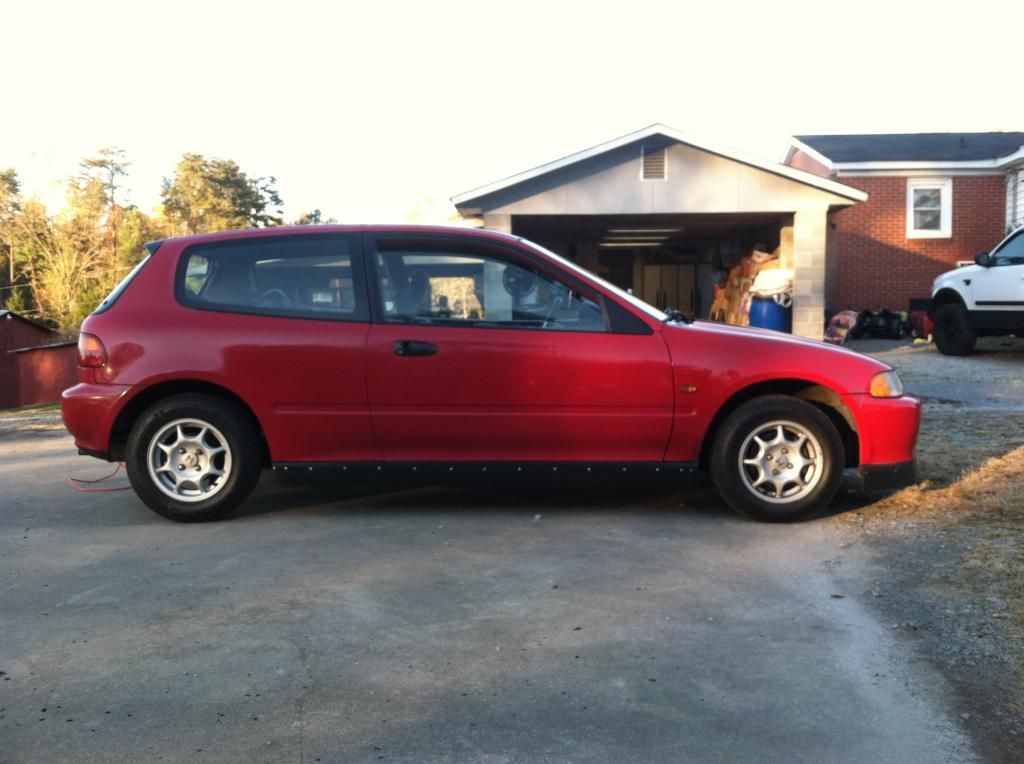
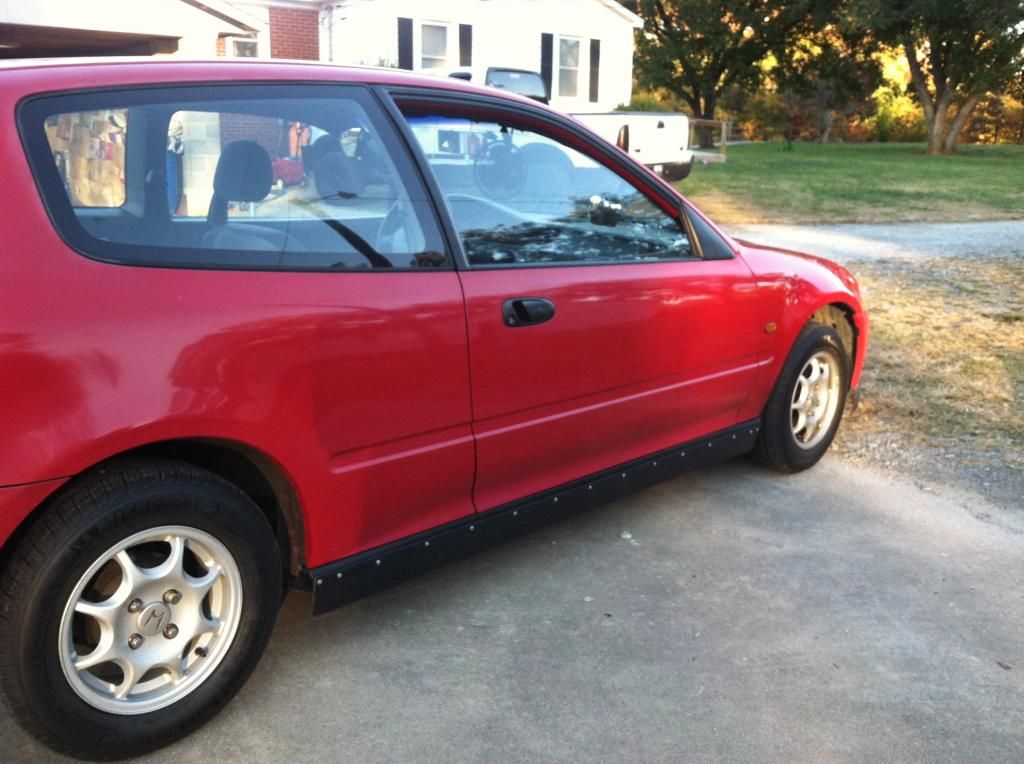
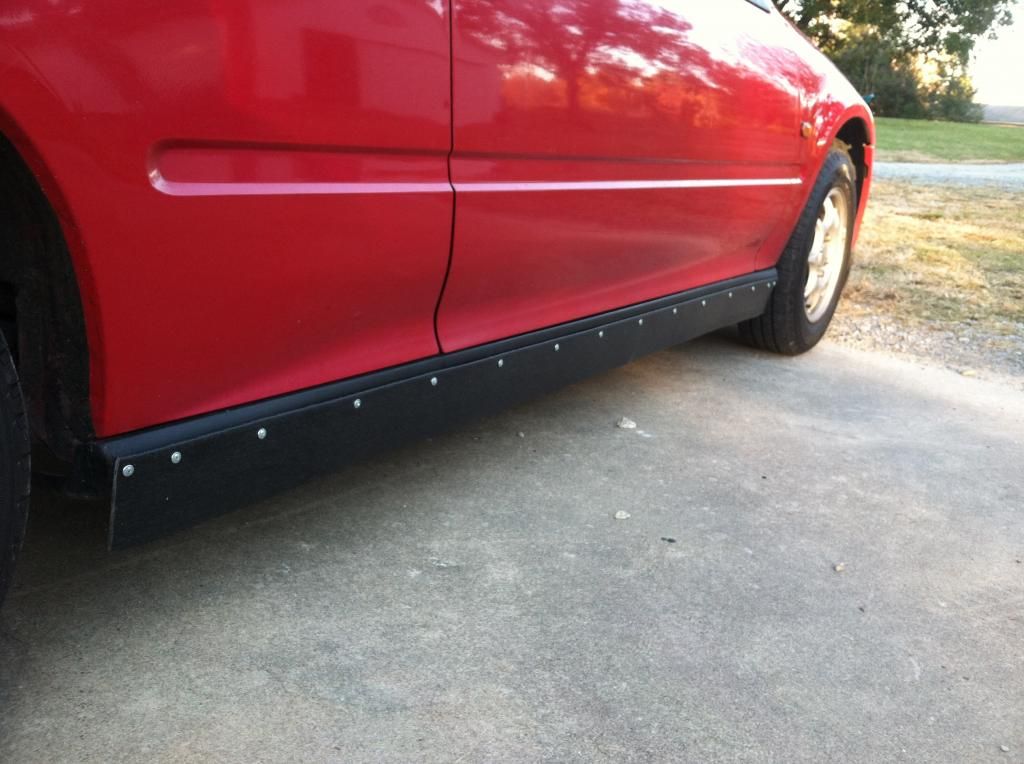
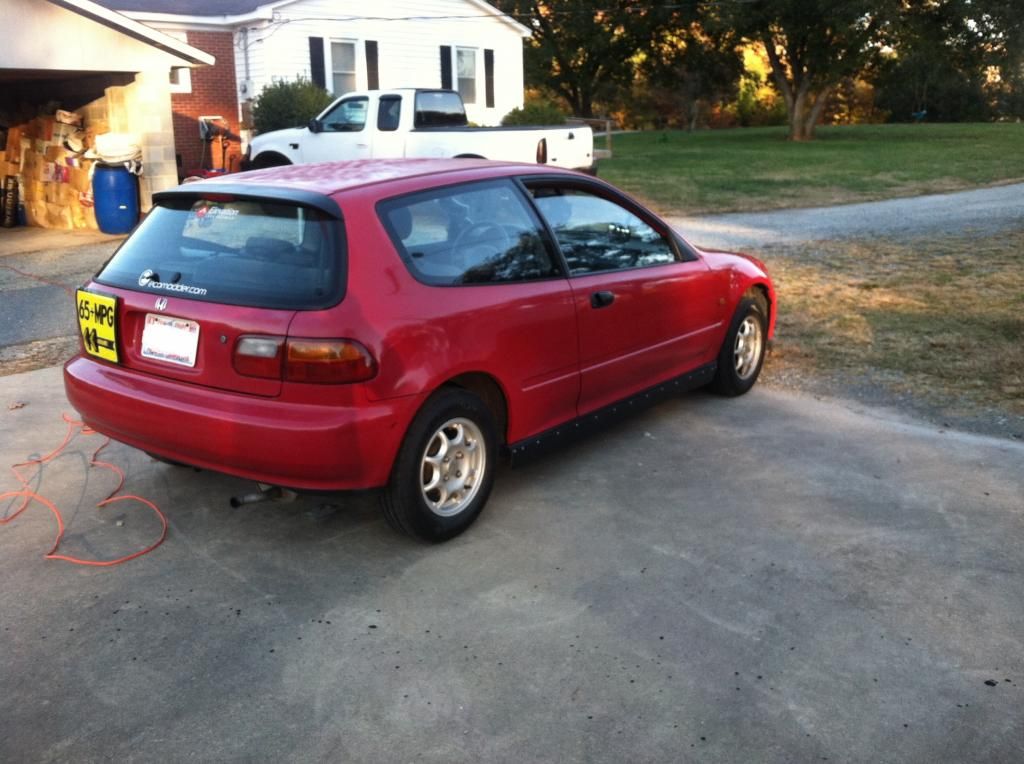
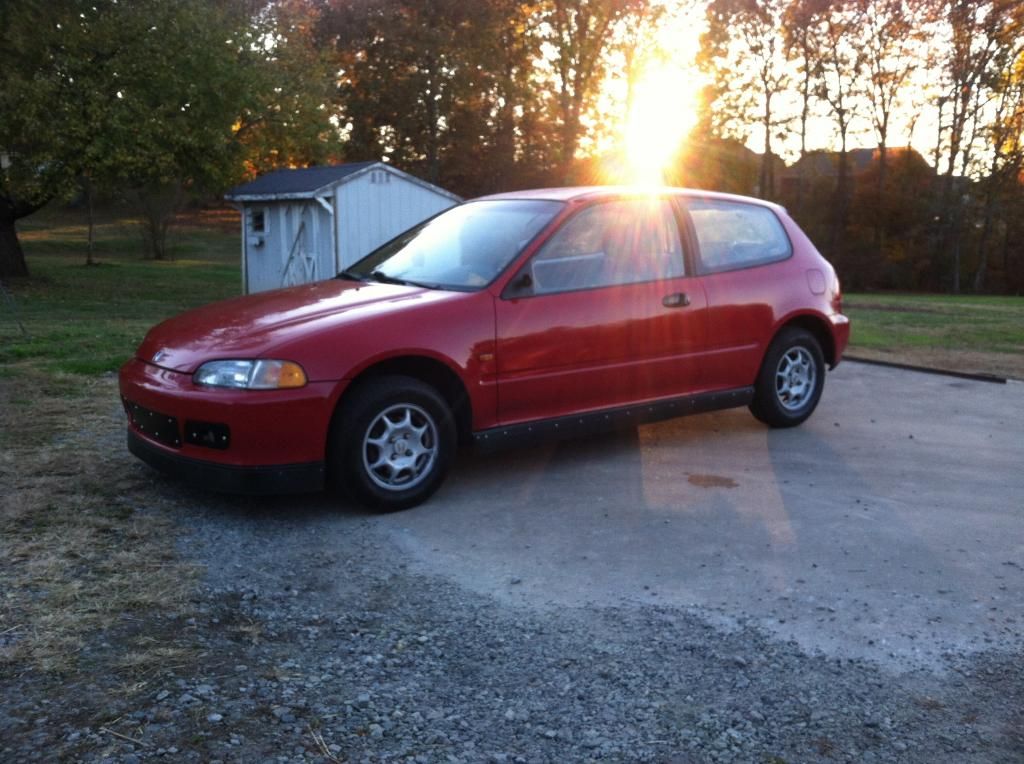
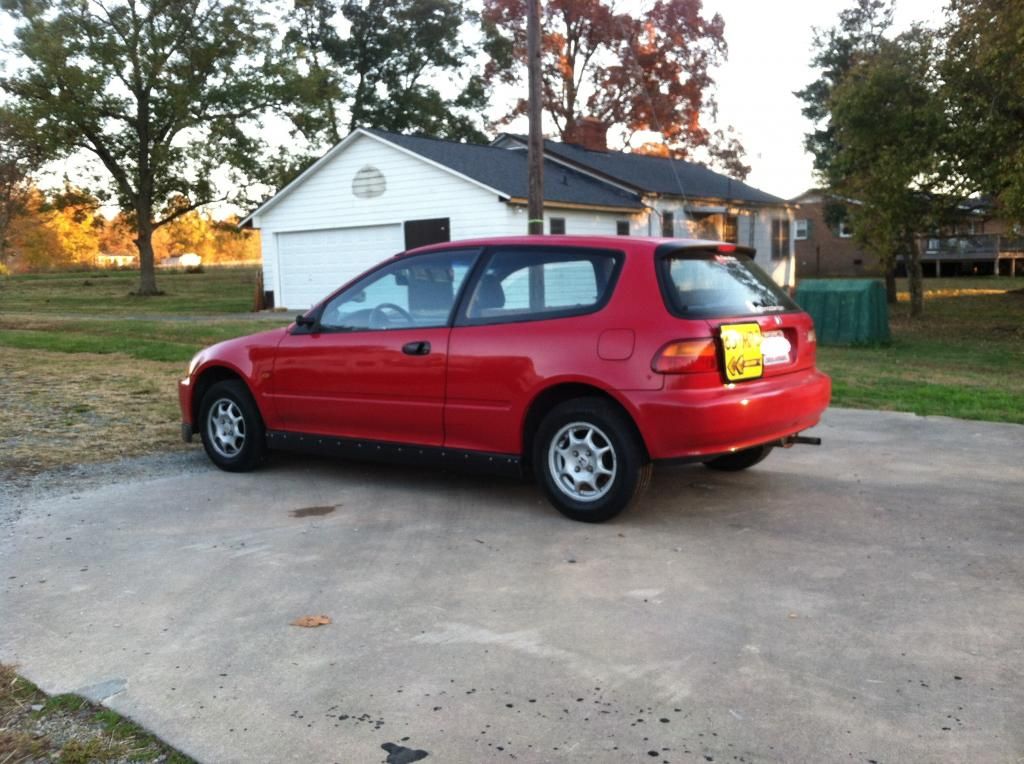
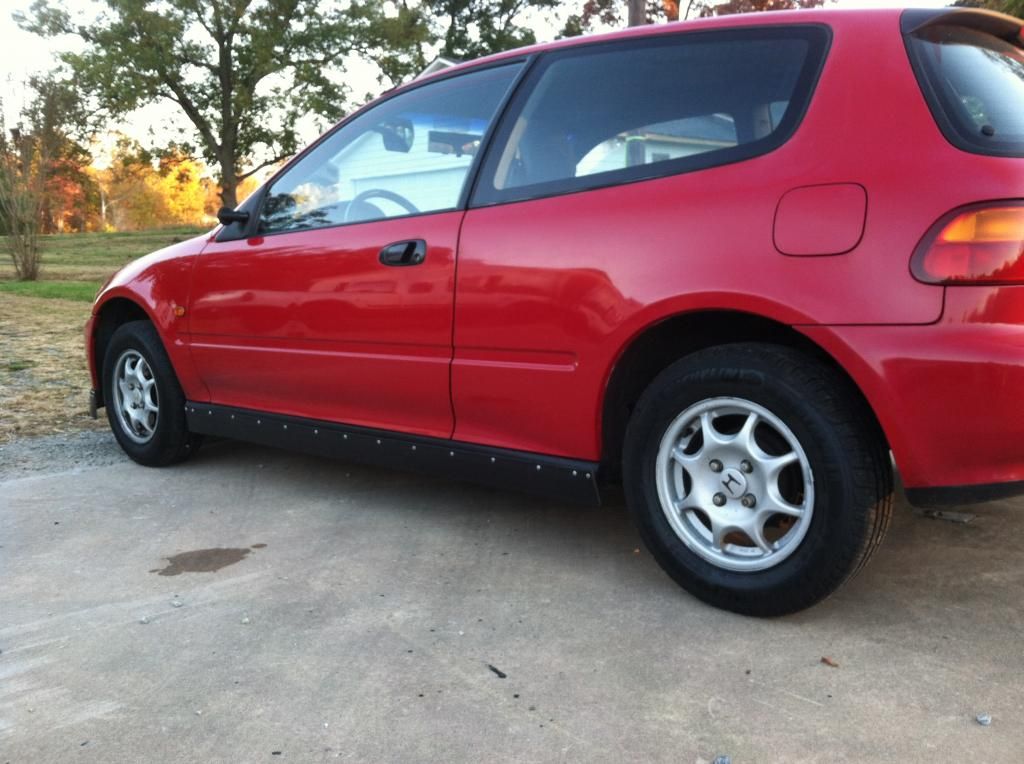
Hello all. After completing the front air dam in composite lawn edging, I had just enough material left to make some side skirts as well. Later, these will be used to bolt the undercarriage paneling up to.
Composite lawn edging is a strong and very durable material. I think it also has a neat appearance. But Iv'e found it a difficult material to work with and set into place, since it comes curled up and likes to stay that way...
In case anyone is wondering, here is the process I used to complete this project:
1. Un-roll and clamp composite edging to table. Cut to size (I measured 73” for the EG Chassis side skirts)
2. Pre-drill mounting holes every foot, about .5” down from the top of the edging.
3. Let sit in the sun/heat. Use a heat gun to further relax if needed.
4. Wait 4-5 hours.
5. Flip material over and re-clamp.
6. Overlay a shop rag (to serve as a buffer to protect the material from melting) and steam iron the strips to further straighten.
7. Drill small hole about ¾” from the top of OEM skirt. I found this the right length down to cause the extensions to lay flat. The OEM skirt is curved, and this length creates the correct angle.
8. Bolt up first hole from extension onto OEM skirt, using self-tapping flush mount screws.
9. Line up hole just beside this one; drill and mount that one as well.
10. Pull material to other end of OEM skirt. Bolt up here also.
11. Continue to bolt up all other pre-drilled holes in the extension (pre-drilled from earlier, measured every foot)
12. “Eye-Up” and drill holes in between each previously drilled/mounted hole. You should now have holes drilled/mounted evenly every 6”, for a uniform look.
13. Finish up by drilling an extra hole at each end, about 2” in from the current ending hole. The material likes to curl-up/bow at the edges, so the extra screw is necessary for strength/support.
Finished Pics:
Thanks for
EcoTuning in!