Well, the lack of diagonal bracing did wear away at me.

So i added in some bracing and while i was at it i re-did the power steering pump mounting bracket as well.
Re-work is so much fun.

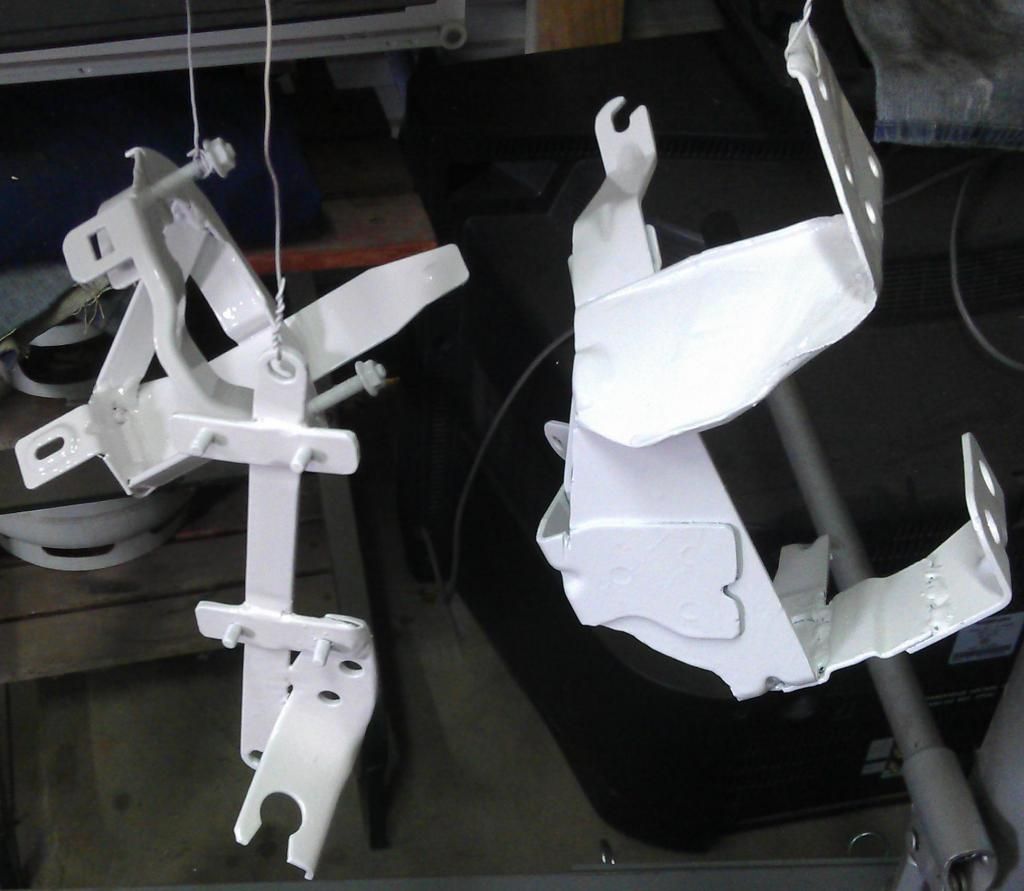
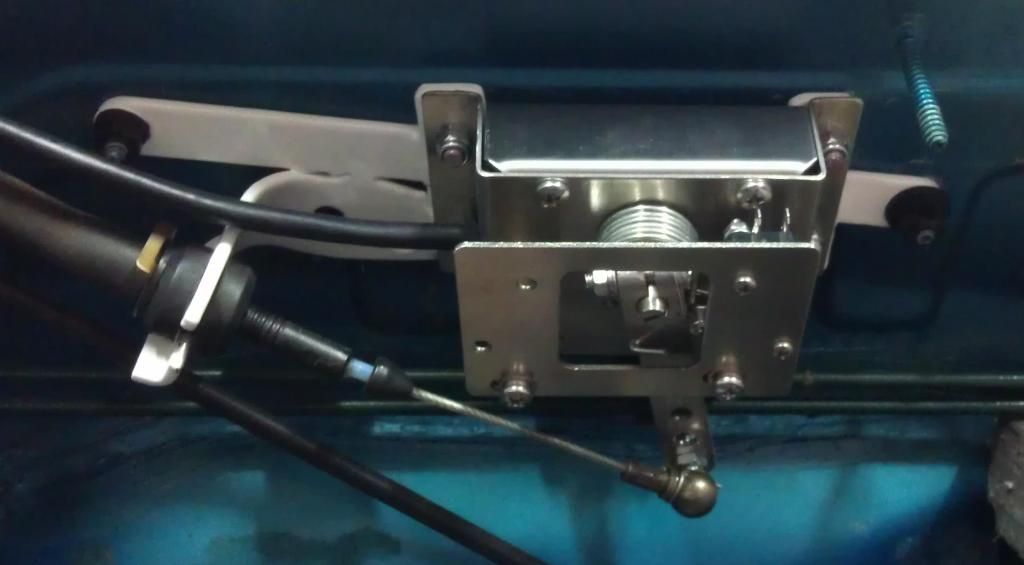
At least now i feel the brackets are all they should be. Below are the vacuum pump, throttle and power steering brackets.
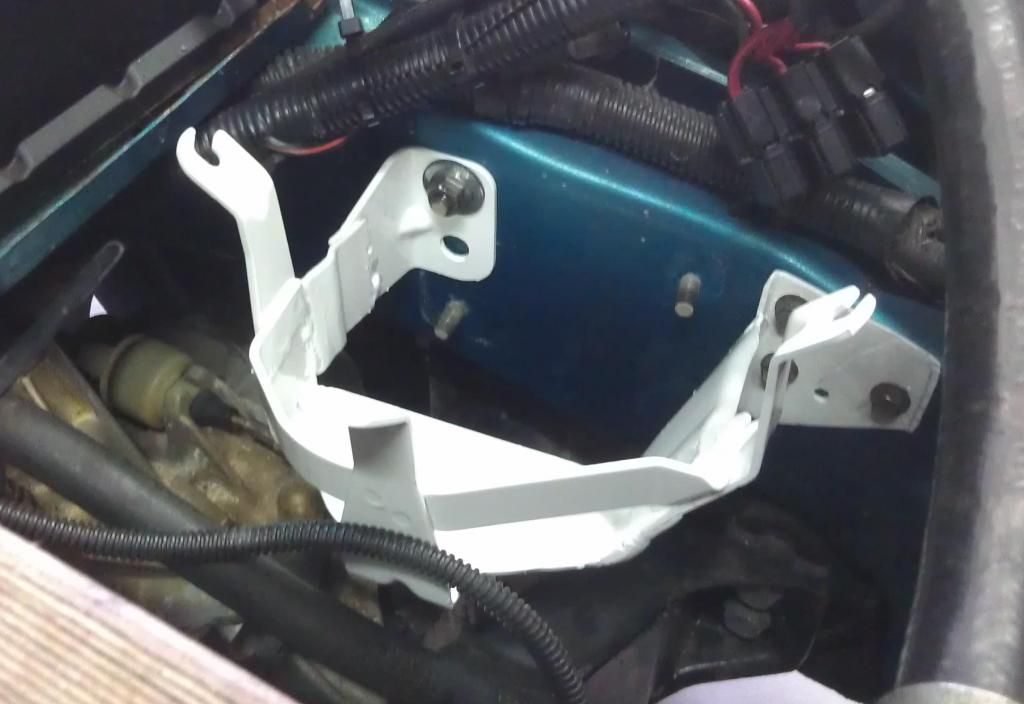
The Power steering bracket was modified to allow the pump to sit further back in the engine bay and slightly higher, giving more clearance for the A/C hose in front of it and the clutch cable below it.
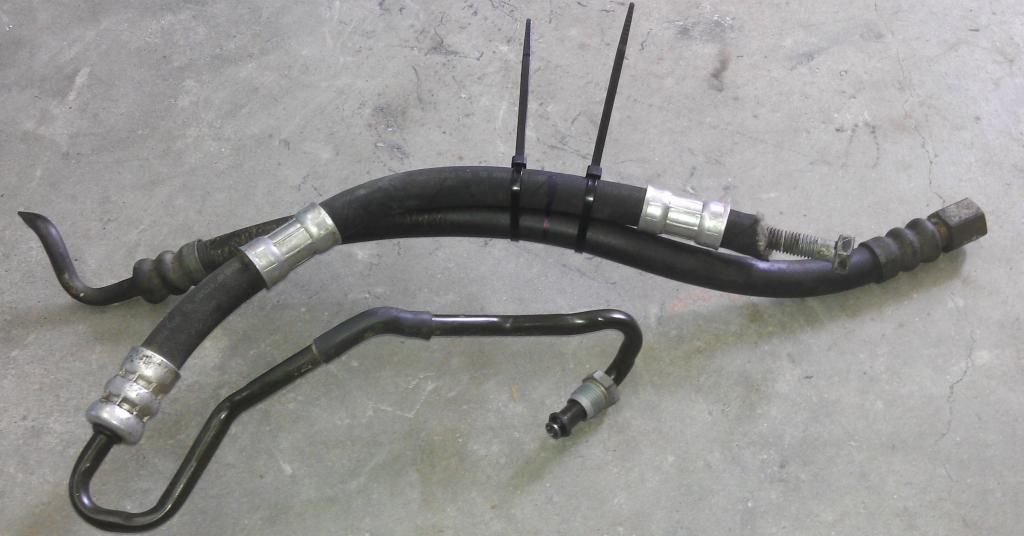
I cable tied both sections of power steering hose together. The section that came with the Astra's power steering pump and the section from the Barina's steering rack.
I marked across both so i would know how long the joined hose will need to be.
I will take it round to the hydraulic hose guys to make a single hose out of it.
Way too many PSI (1200 to 1500) for me to consider doing myself.
Not sure if they will join the hose sections or just replace the entire hose part.
The hose sections my be dissimilar and incompatible.
The hall effect throttle assembly was mounted to the bracket.
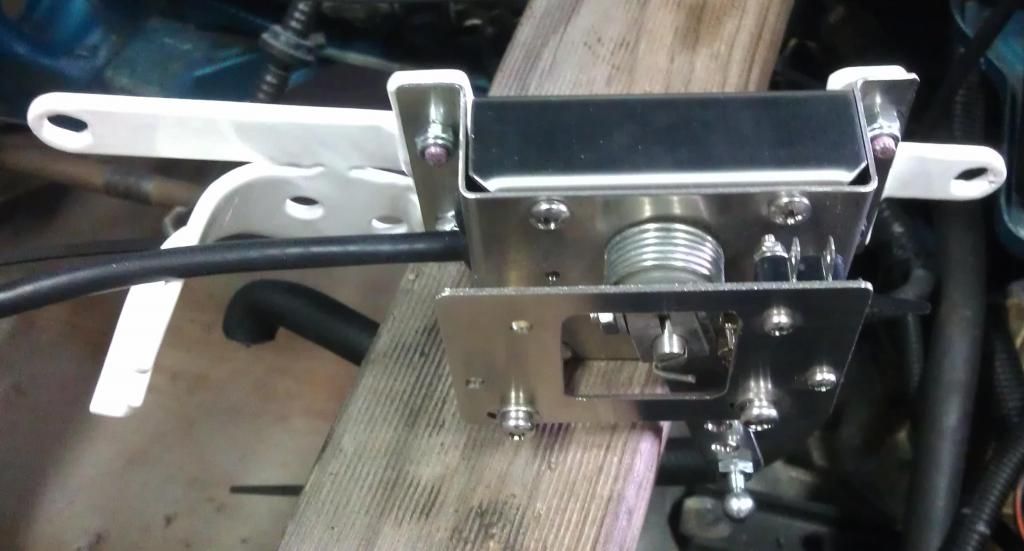
I went with the hall effect type of throttle as it will be immune from wear that can cause noisy signals when using a resistive type. Just make sure whatever controller you use it supports hall effect throttles.
Paul's AC controller supports hall effect throttles so that will be perfect.
Then the bracket was mounted to the firewall and the throttle cable attached. It all fitted first go. Didn't need to adjust anything. Had to happen eventually.

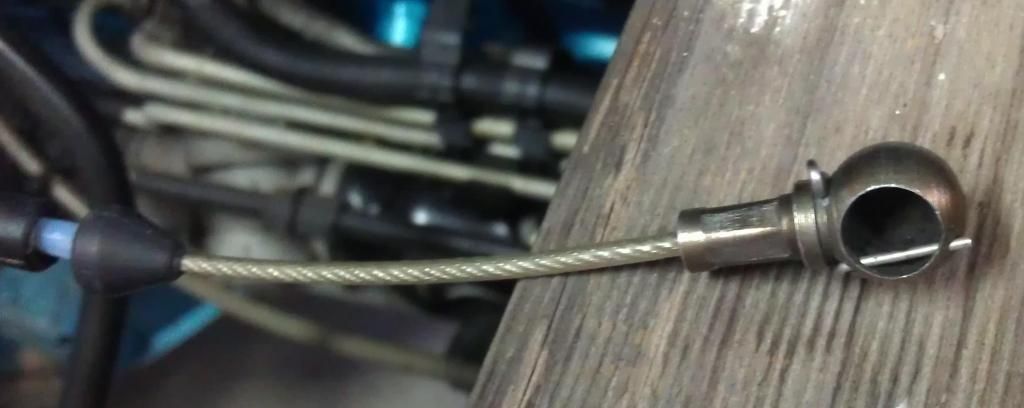
The Barina throttle connector is a ball and socket type. I found a suitable ball on ebay that fitted perfectly.
Throttle Linkage Ball 5 16" OD 8mm 43706 | eBay
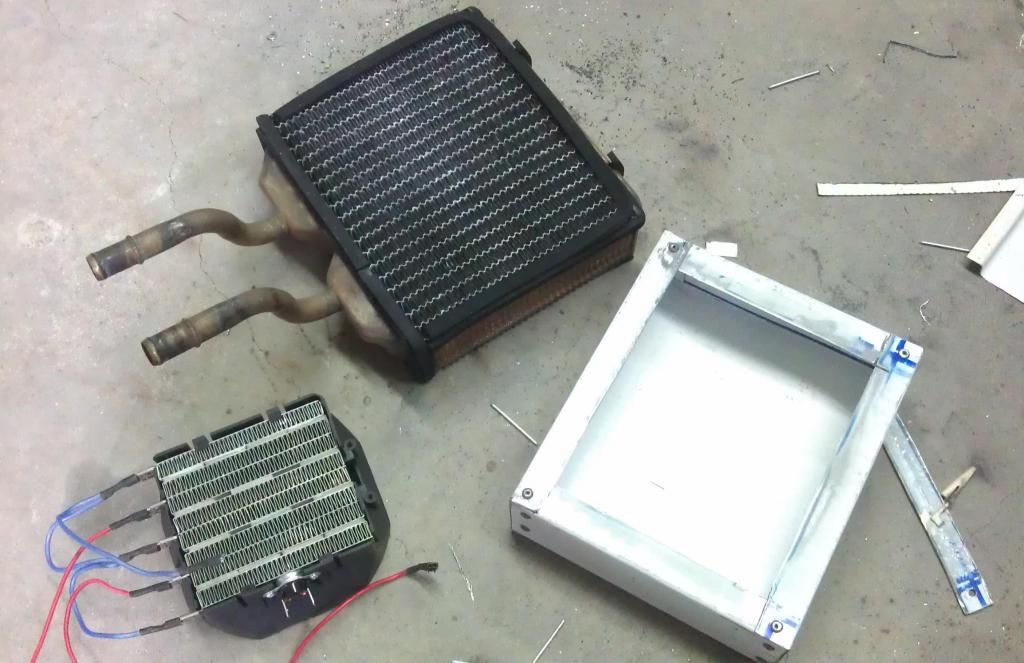
From there i made a start on building a replacement for the cabin heater core.
Stripped down a ceramic heater for it's element and holder.
Then i fabricated a metal box to the same dimensions as the heater core. (It will look better once painted up

)
I know, nobody will ever see it again once it is installed but i will see it every time i look at the car. A bit obsessive maybe but i need to have something to blame for how long the build is taking.
Here is a roughly how it will come together. I still need to cut the hole below the element and then glue and rivet the the element holder in.
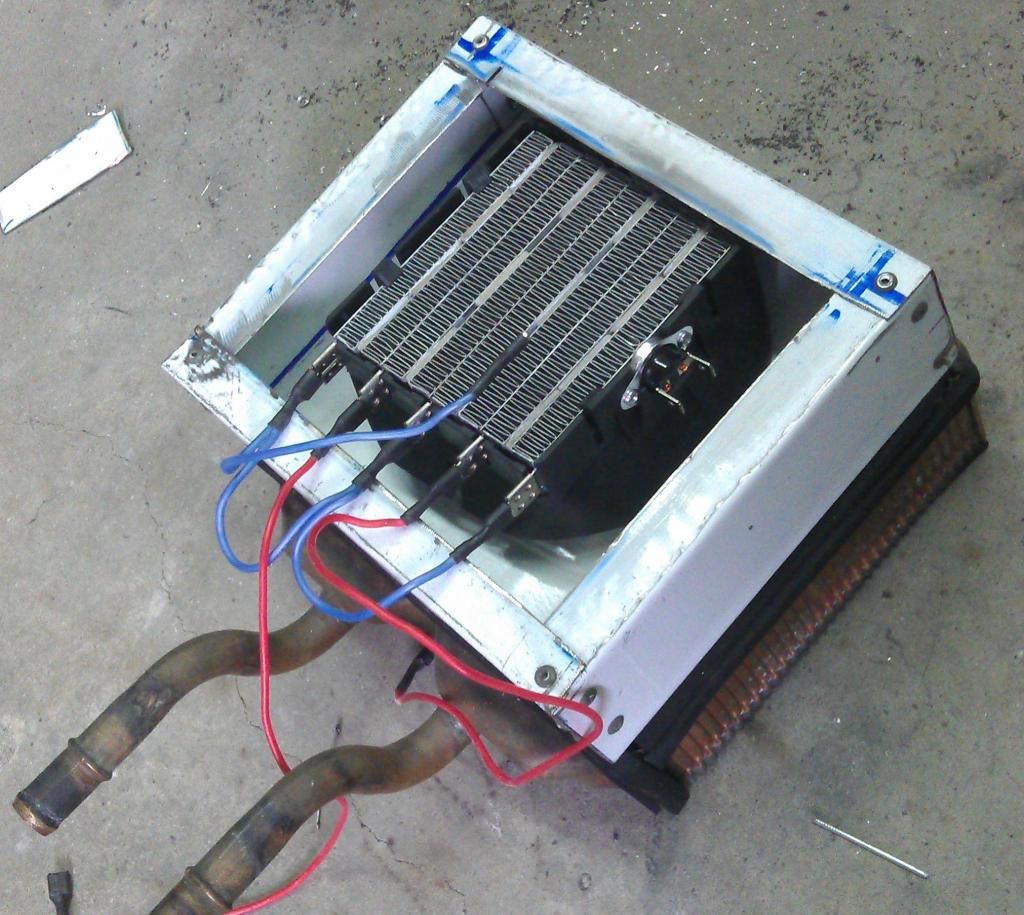
I tested the element to see if it will work ok with DC rather than AC. 96v was all the charged 12v batteries i had handy.
Oh and by the way, yes, 96v DC does give a bit of a tingle when you decide to include your body in the circuit.

I had read that the ceramic element is self limiting. As the temperature increases the current reduces.
Sounded a little too good to be true but when i tested it that was exactly what happened. Initially current increased as the elements temperature increased but then as the element got to about 180C the current started reducing. The current continued to reduce until an equilibrium was reached and the temperature stopped at around 205C.
This was with no air flow through the element.
Blowing a small amount of air through the element caused the current to increase slightly and the temperature to remain at 205C.
The element has a thermal switch mounted to the side of it. This cuts the power when the element reaches about 180C and turns it back on when the temperature drops below 140C.
Not sure if i should run the element at its equilibrium temperature of 205C or let the thermal switch cycle the element on and off.
Not sure which is best for long term reliability. Is running the element at 205C going to shorten its life or is the thermal switch going to fail as it is now switching 156v DC rather than 240v AC?