Update 4/12/15: Rear Bumper Diffuser Completed
Hello all,
I know I posted that the fabrication work was done, but I did forget a couple of items. So, I worked yesterday and this morning to complete the rear bumper diffuser. I’ll post my progress with pics below.
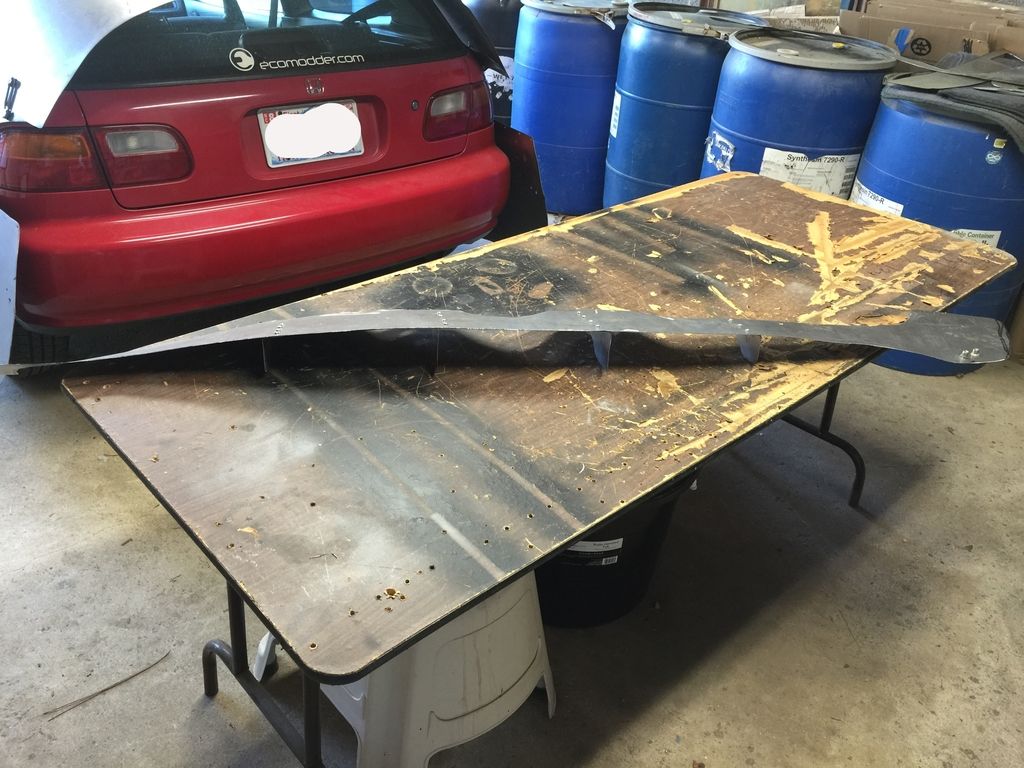
I used a metal vise to make bends on and shape the “winglets” for the diffuser.
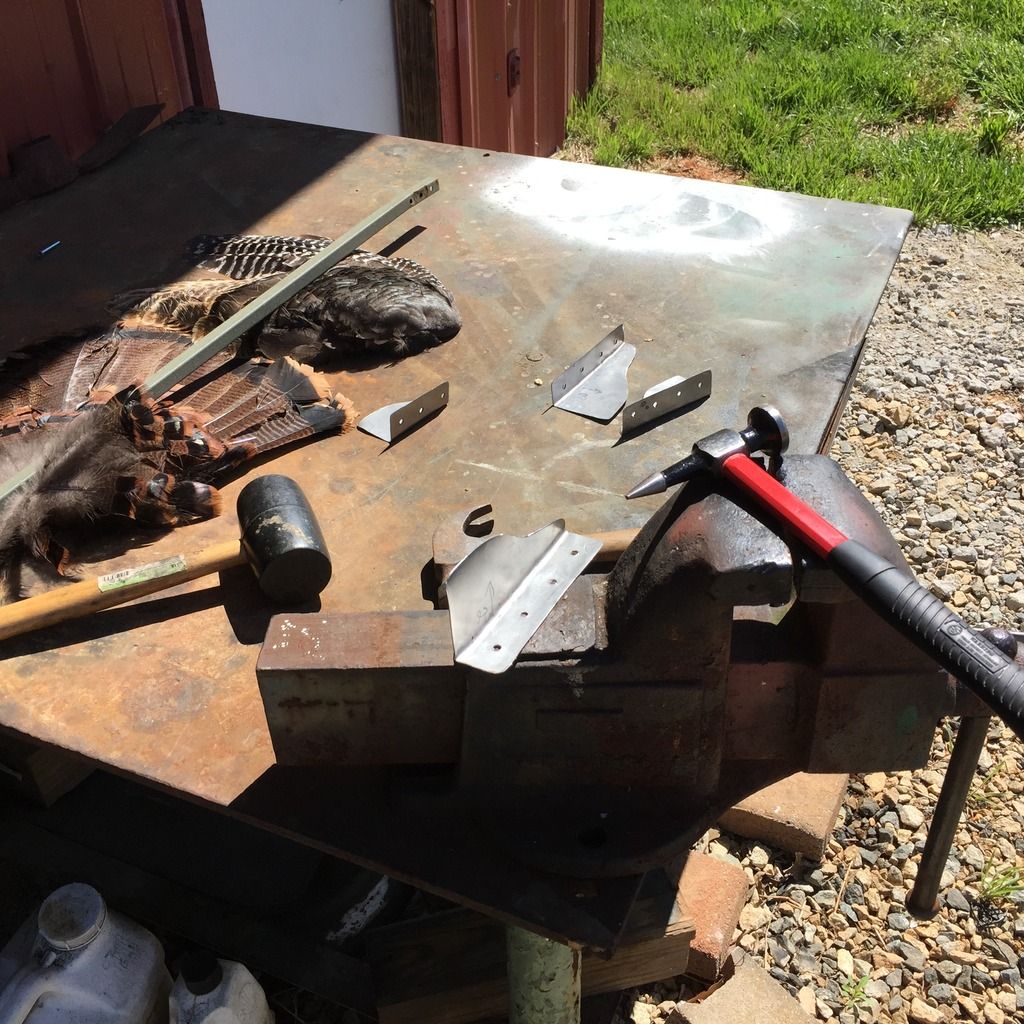
The completed winglets were then riveted into place. As you can tell, the outermost winglets are a tad shorter/smaller than those in the middle. I used thicker 1/4” rivets to mount them up.
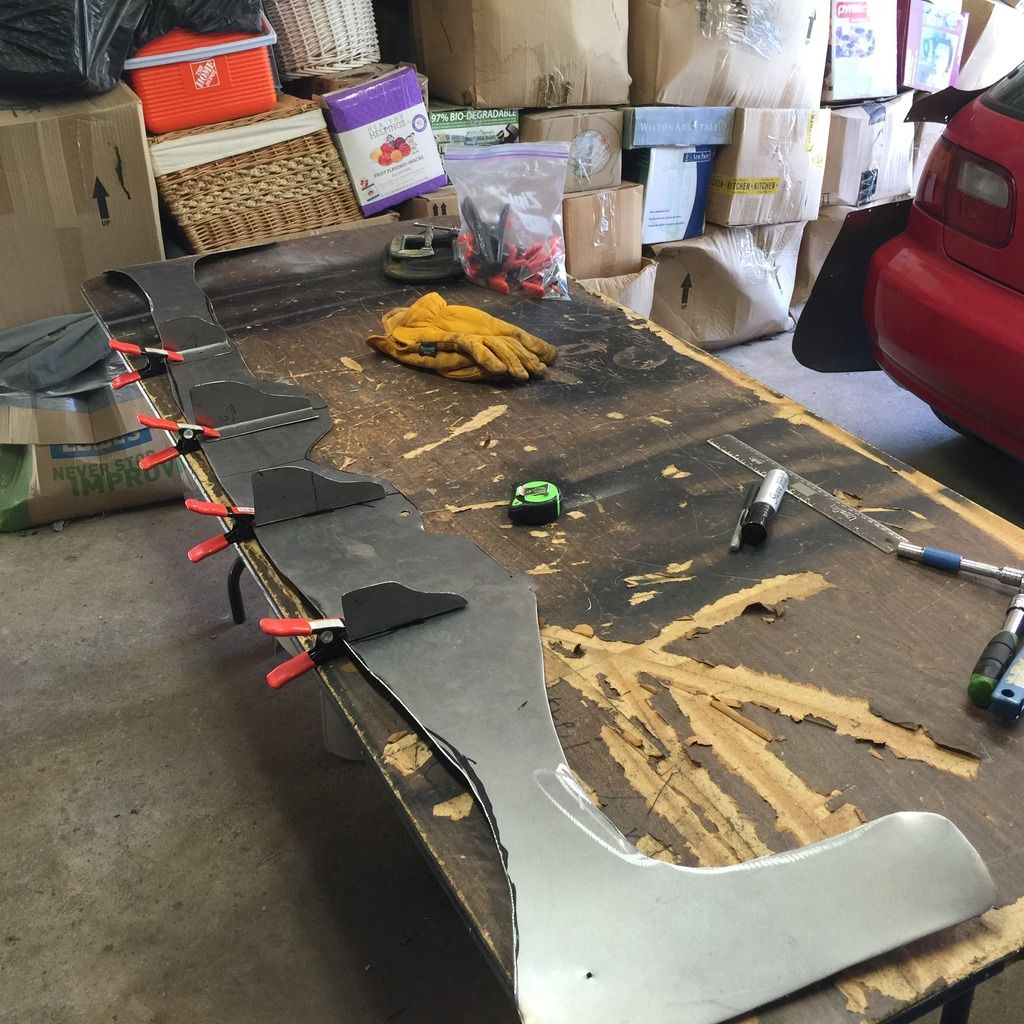
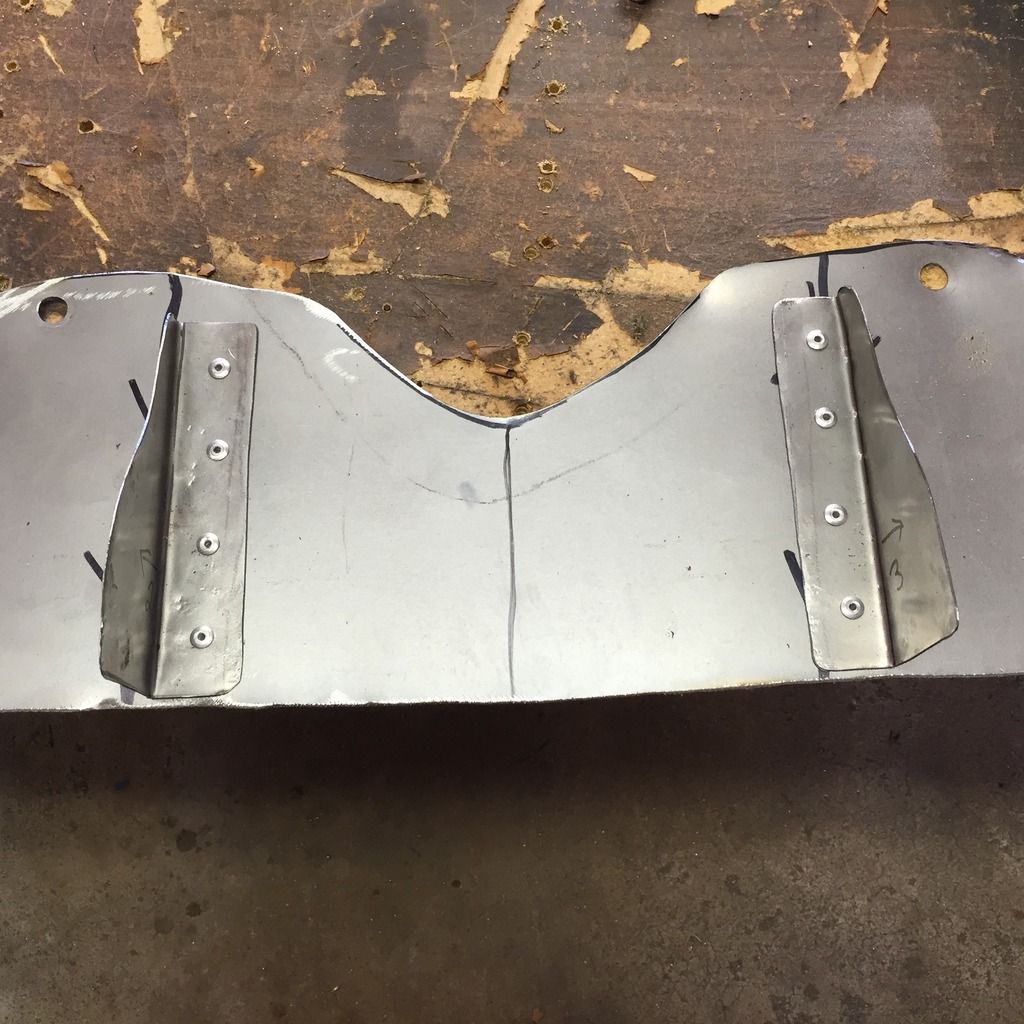
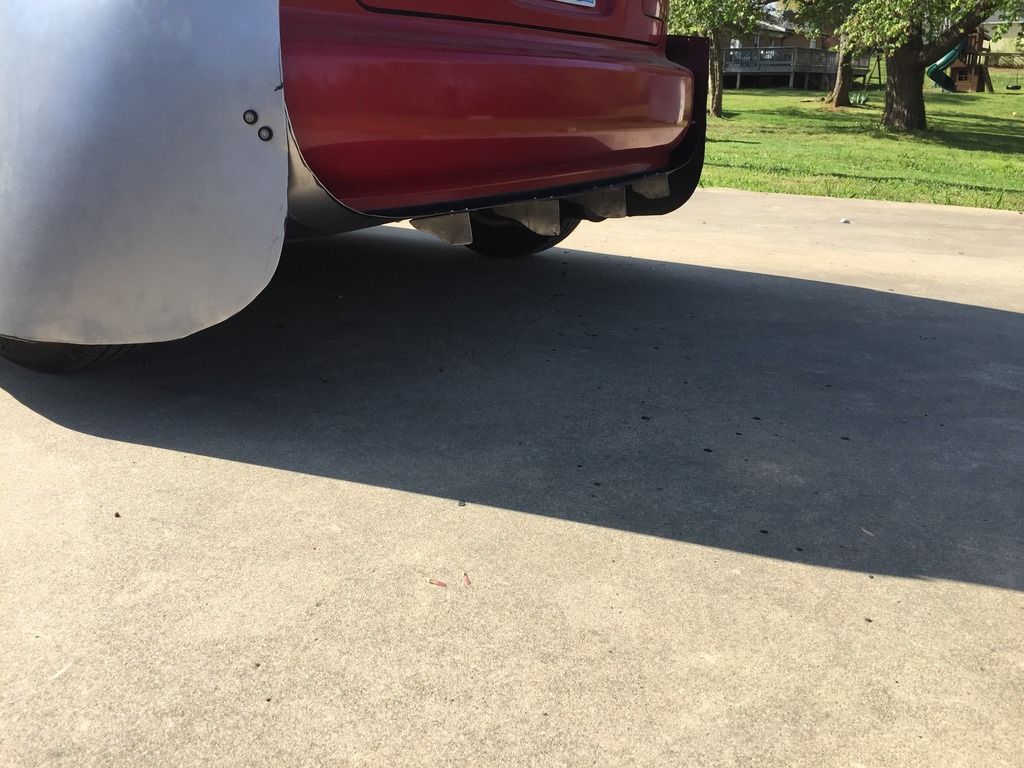
I then made a couple of cuts here and there, grinded a bit...and here’s the completed diffuser.
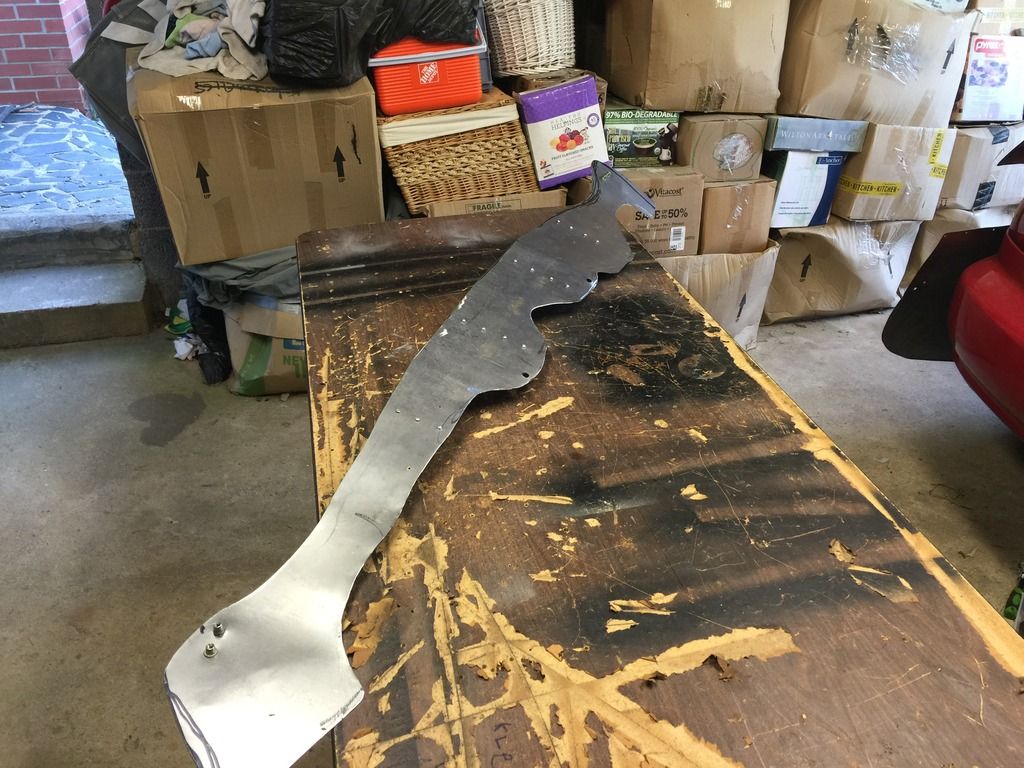
I added two nutserts + SS/bolt set- up to each side of the diffuser, for extra strength.
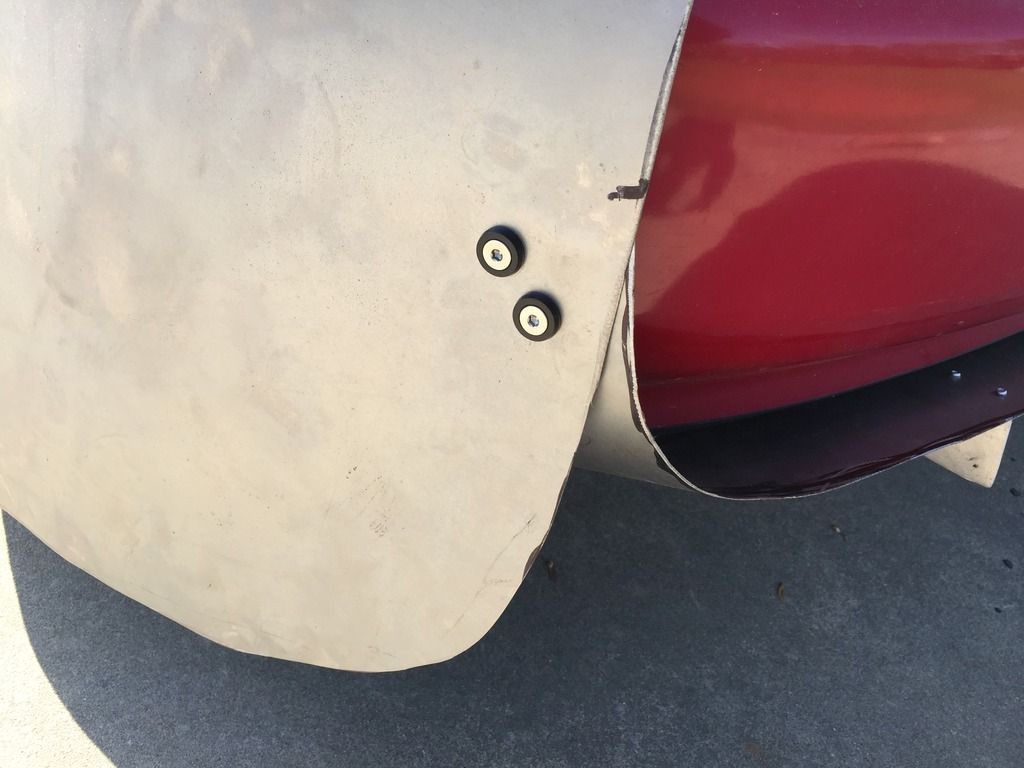
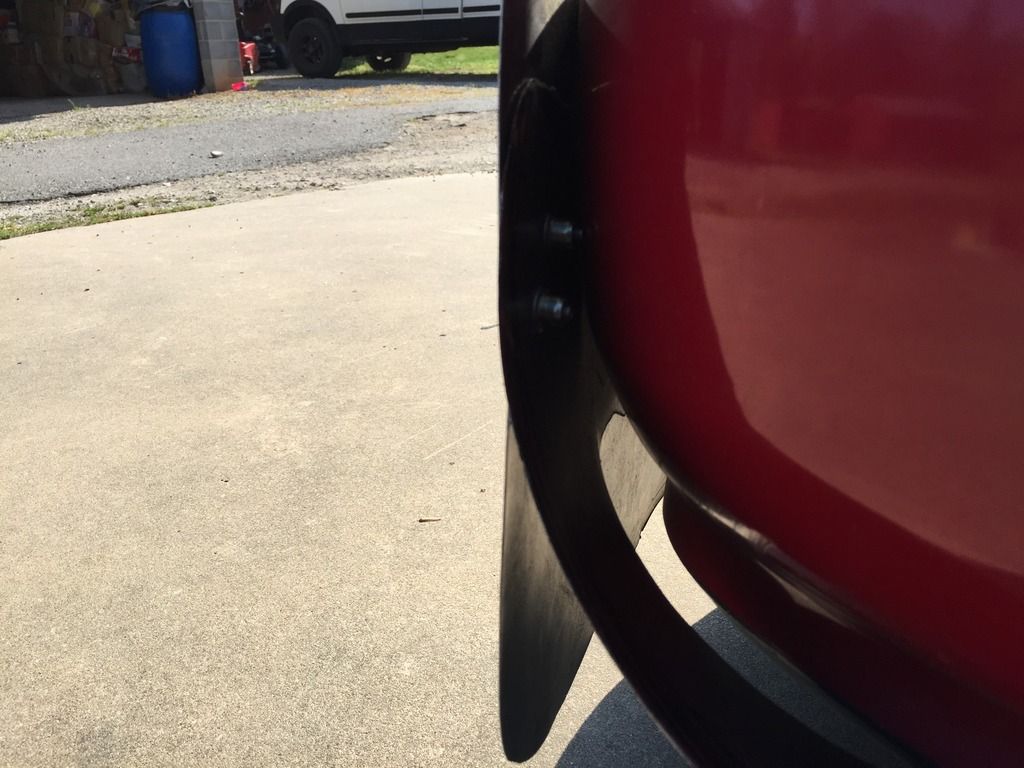
Here’s the underside bolted up. the stock 10mm bumper bolts (2) plus 4 sheet metal screws hold the diffuser up to the bumper. Full access is place for the OEM tow hook/jacking point.
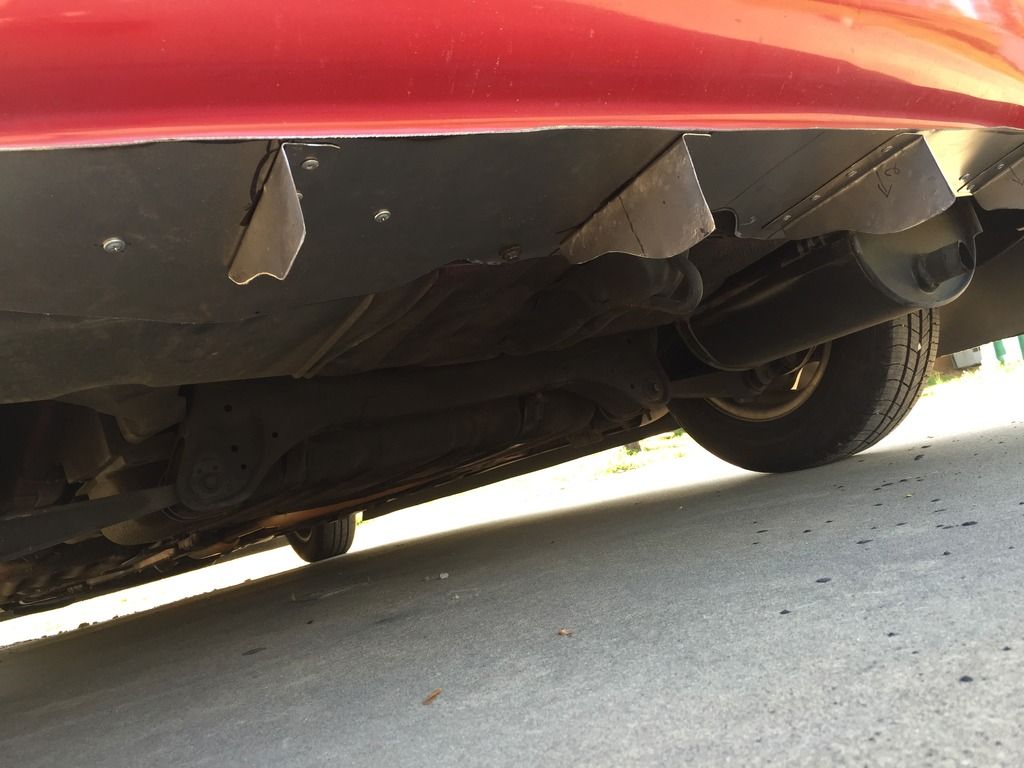
And here’s the finished result. You’ll also see the additional JDM bumper fastener added to the front of the kammback. I do need to add one more rivet nut to the side skirt where the wheel skirt meets it. I hope the lawn edging material can withstand the stress of the rivet nut install. I need something stronger there to grab than a sheet metal screw can do.
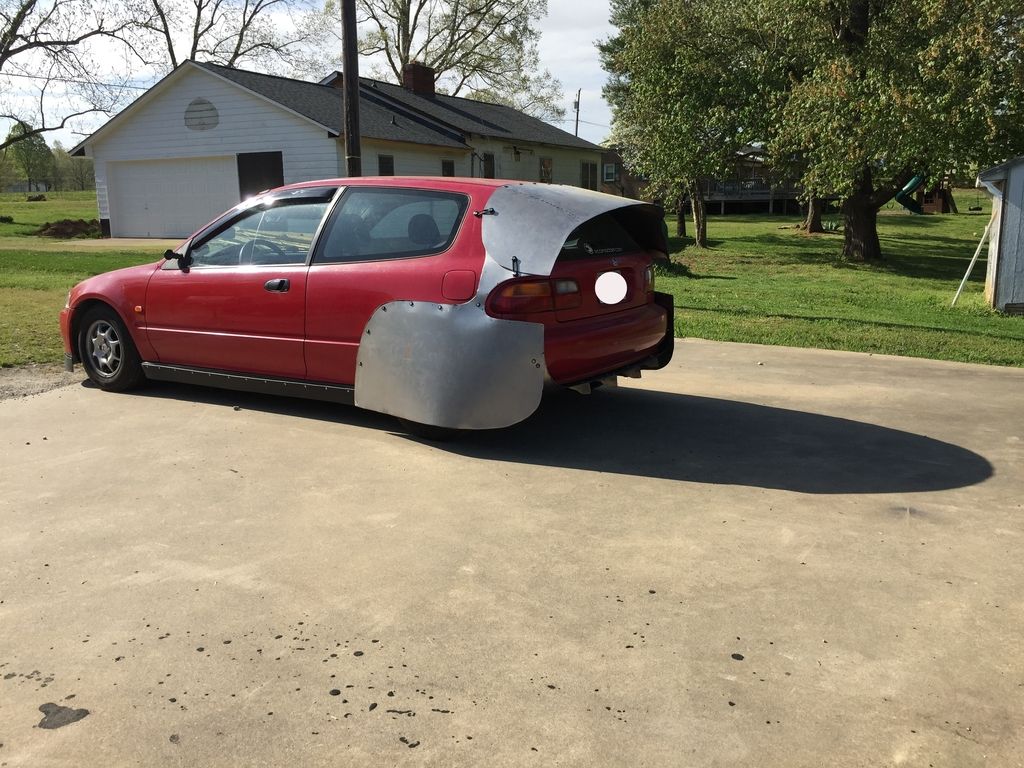
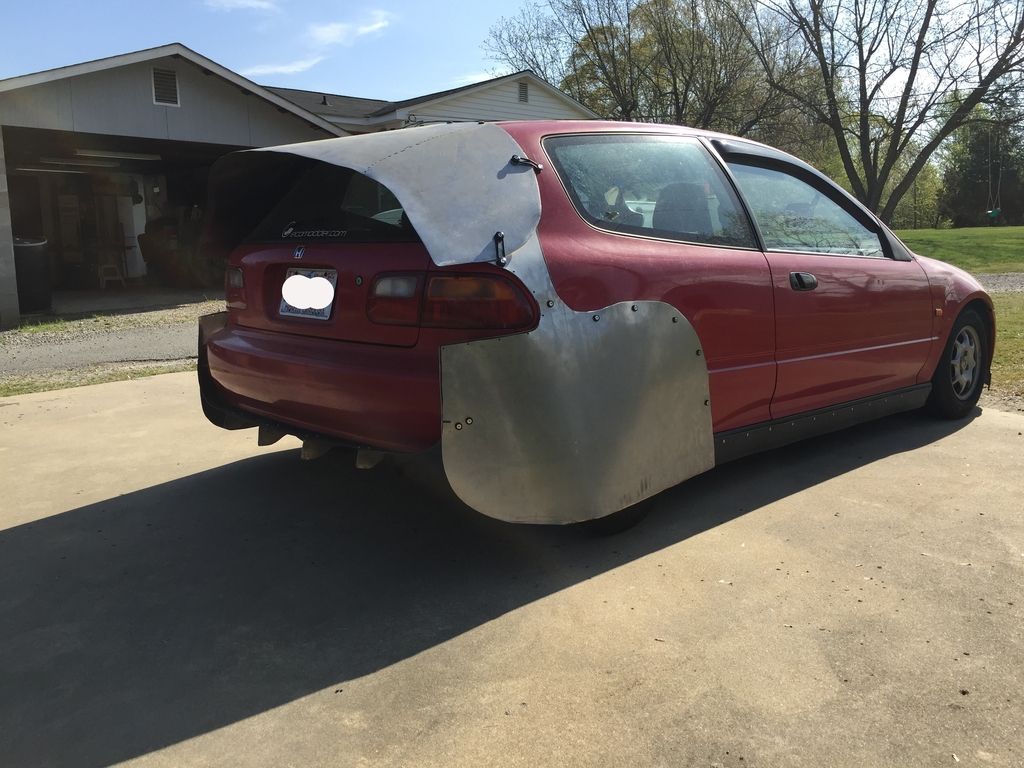
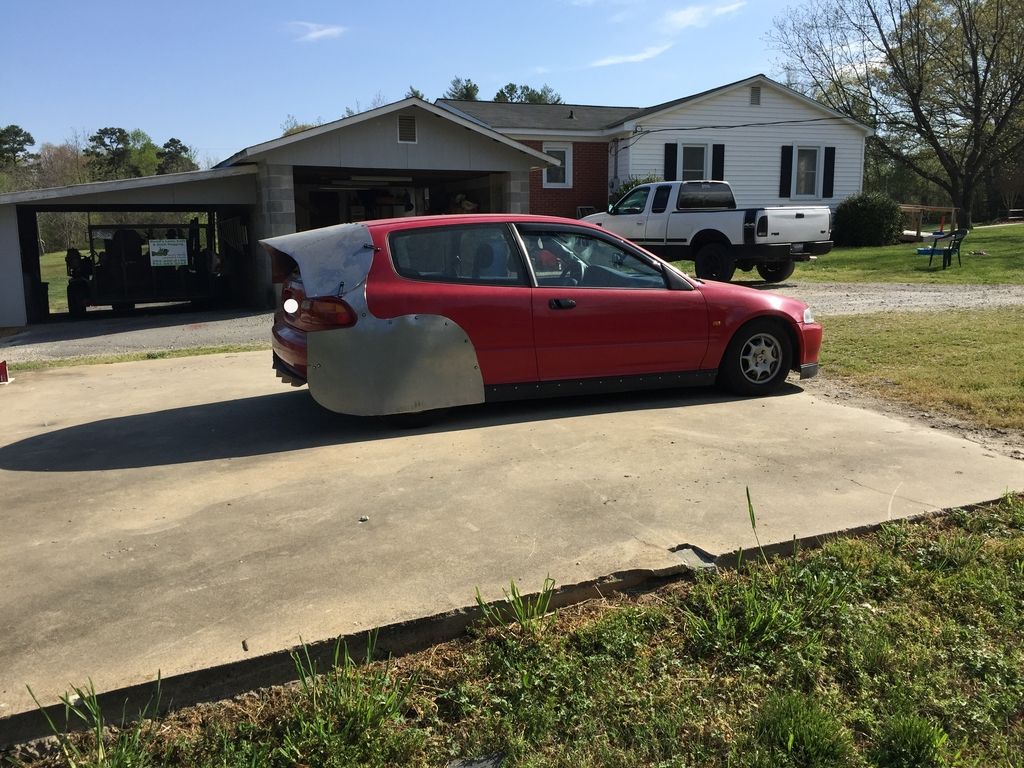
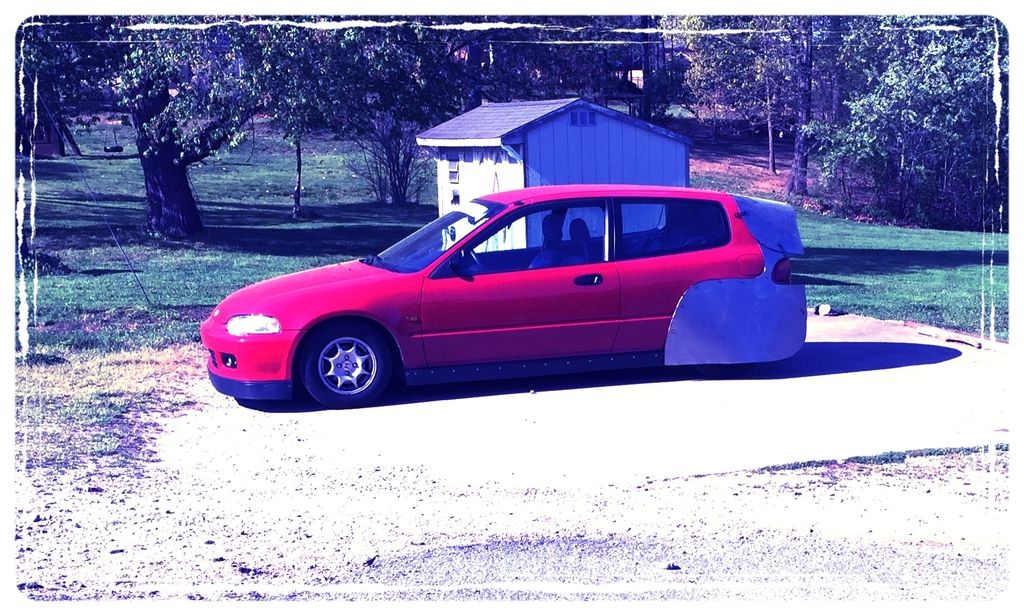
Up next, I need to mount up the new wiper diffuser. I’m also going to fab up a couple of 6” metal pieces to host reflective tape and rivet them to the kammback. I plan to finish up today’s work with running the third brake light wiring off of the OEM harness. If time allows, I may go on a maiden voyage, country roads only, to test everything out prior to removing it all for final sanding and paint.
I’ll be back with more progress soon.
Until next time, thank
YOU for
ecoTuning in!