I installed the MPGUINO today! Here is how I did it:
HOW TO INSTALL AN MPGUINO INTO A HONDA CIVIC 1992 1993 1994 1995
There are four terminations you need to make for your MPGuino:
Injector
VSS
12v (constant)
Ground
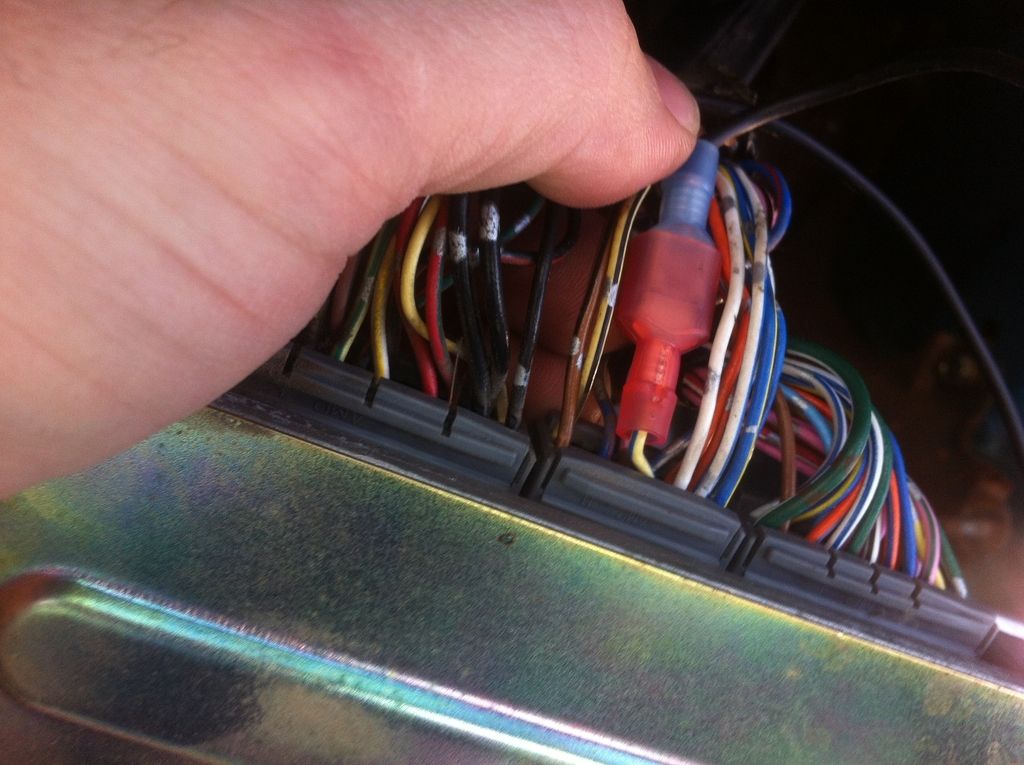
1. For the INJECTOR AND VSS: Uncover the ECU which is under the carpet by the passenger door under the dash. To do that loosen the the plastic trim on the bottom of the door and you will be able to pull the carpet back easily.
2. There is 1 nut and 3 bolts that hold the ECU in. Use a 10mm socket and remove all of them. Carefully flip the ECU upside down so the connections are facing you. There are 3 connections, left to right A, B, and D (I know, goofy)
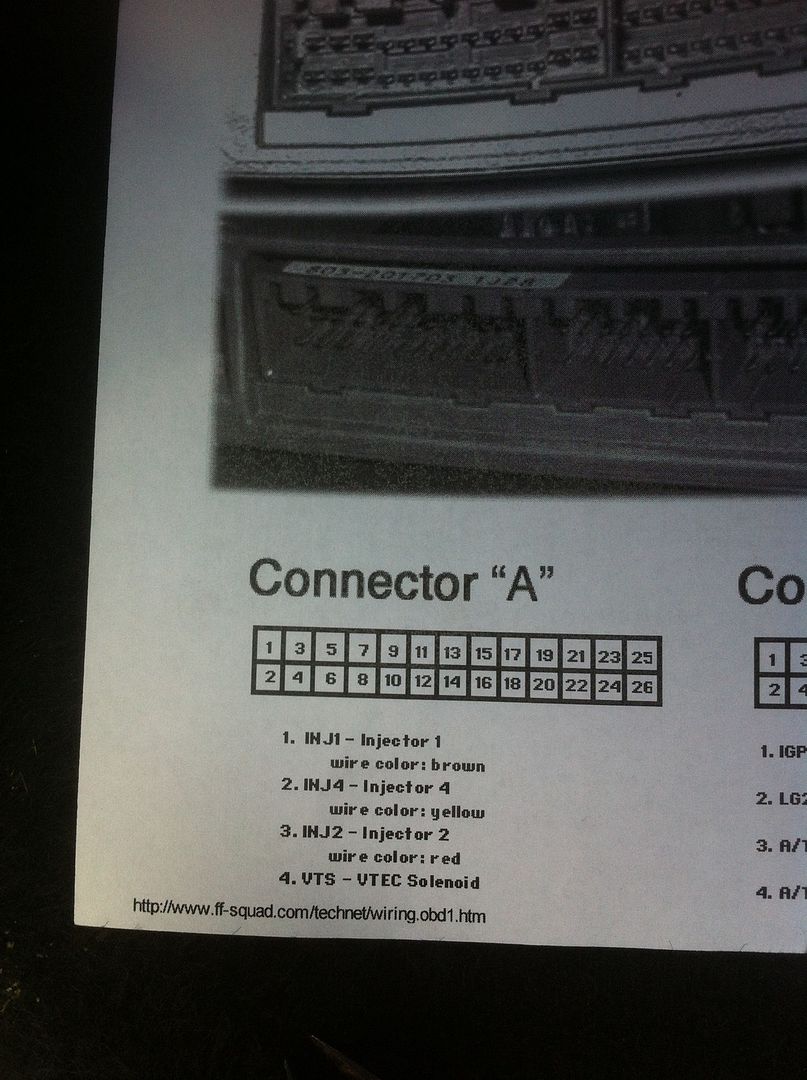
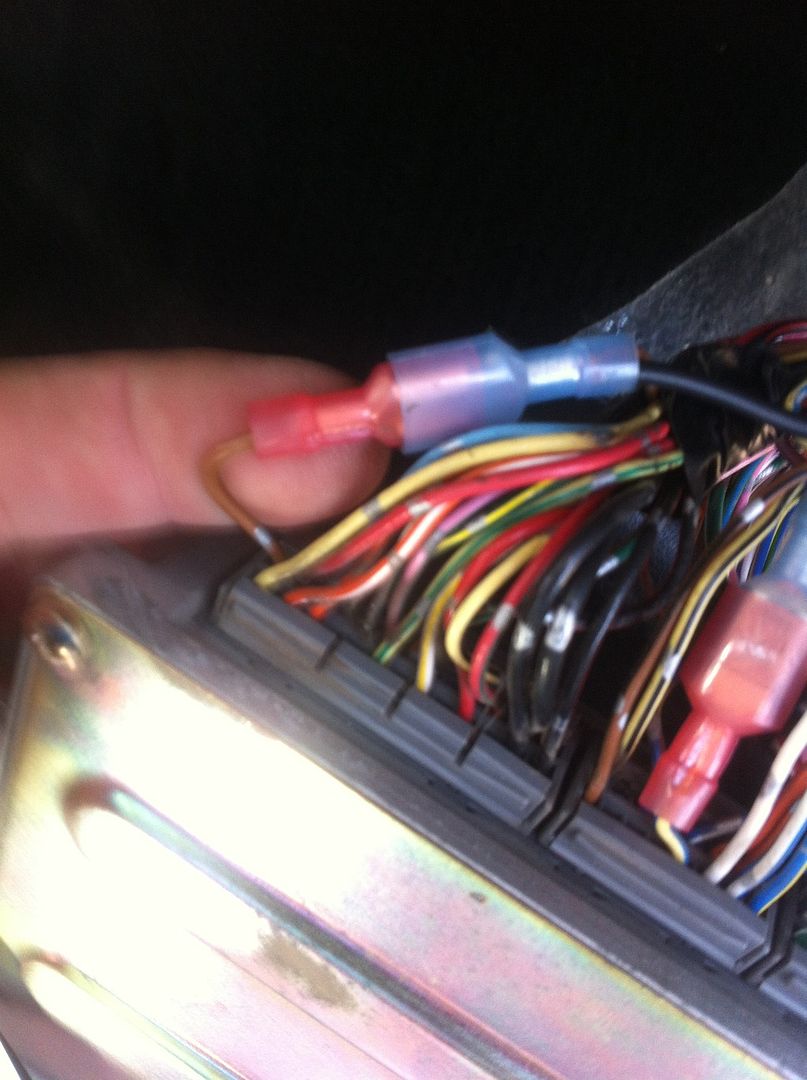
3. INJECTOR: Connector A Pin 1 is the INJECTOR labeled INJ or your MPGuino. I used disconnect terminals so ensure a proper connection. With the right tools these are easy to install. The red I used for the smaller gauge wire coming from the ECU, and the blue I crimped in the wire going to my MPGuino along with the other cut end of the Injector wire
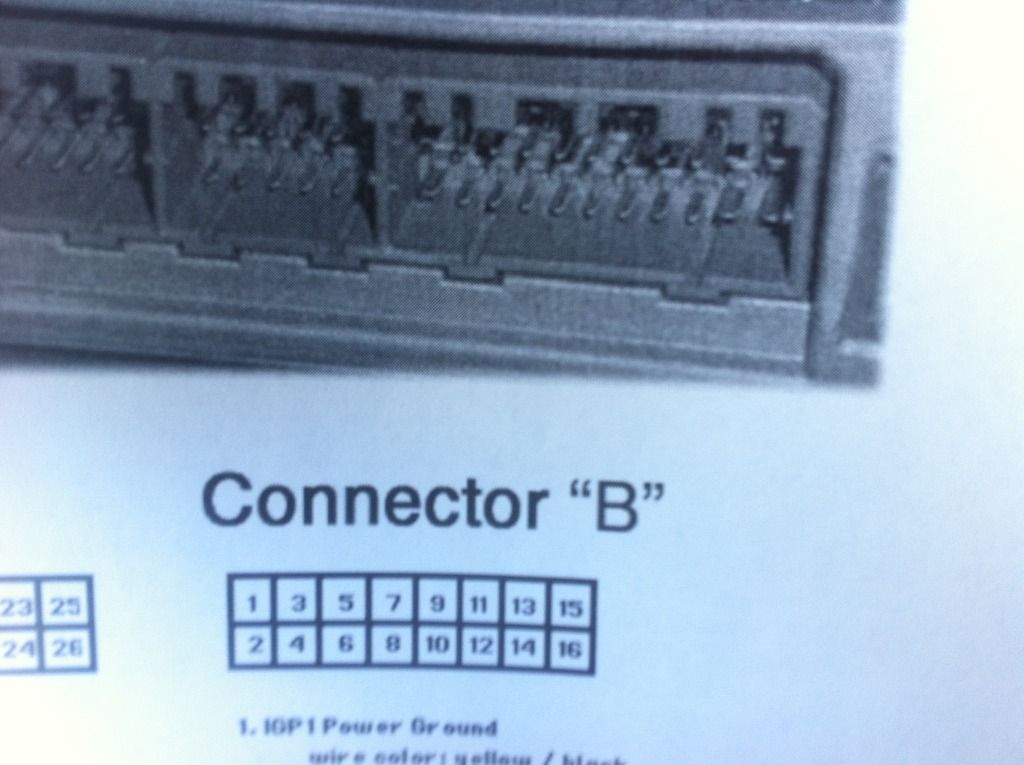
4. VSS: Connector B (the middle connector) Pin 10 is your VSS, same instructions as step 3

5. I ran the wires under the dash up to my steering column.
FOR THE 12V (CONSTANT)
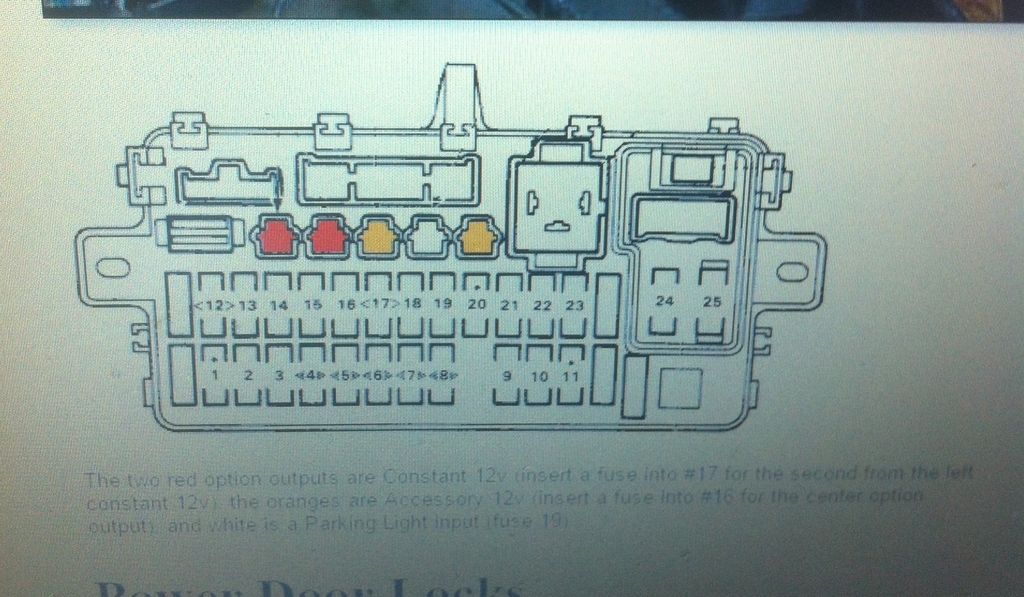
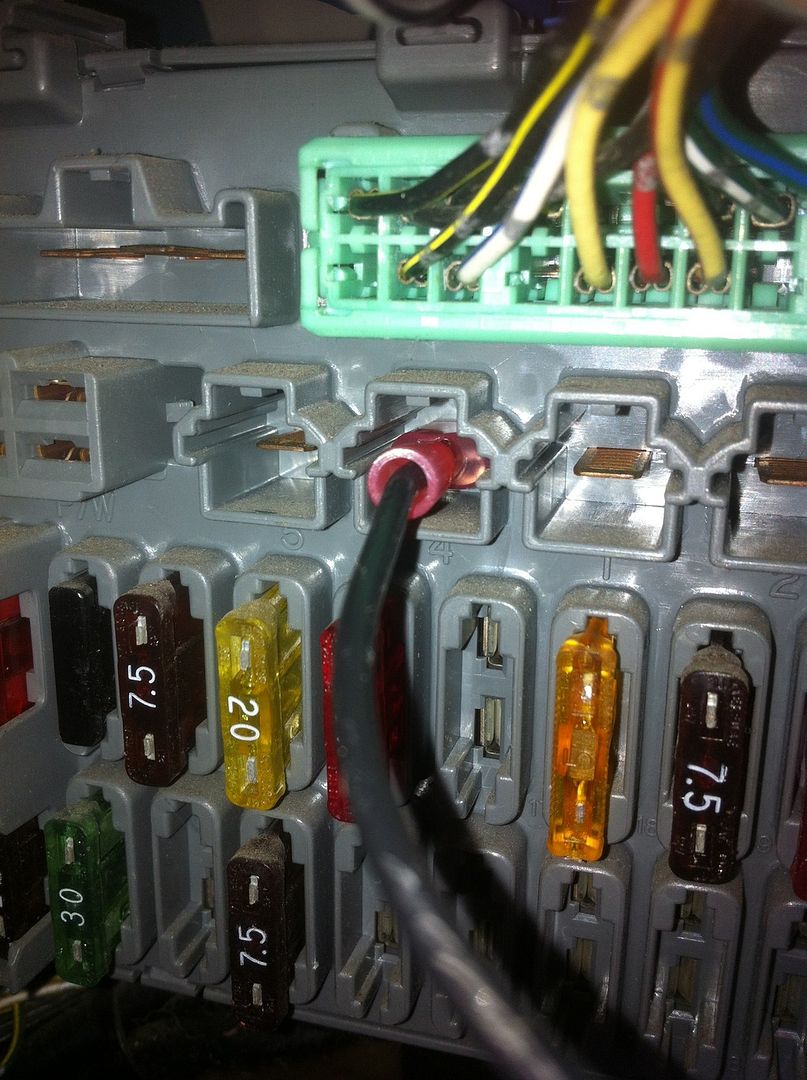
6. 12V(constant): Move over to the drivers side and locate the fuse panel. Honda has done a marvelous thing and given us EXTRA "outlets" for our accesories. Below is a screen shot of a diagram I found for how these outlets are wired. The two on the left are constant 12v. The second one in is inline with fuse 17, that is what I used. You can use a female disconnect terminal for this connection. I put a 5 amp fuse in 17.
7. GROUND: There are several bolts for frame members under the steering column. If you got this far, I don't think I need to show you those. Take off a nut or bolt and put a ring terminal on it and bolt it back up.
8. I ran my wires under the dash up to the steering column. I drilled a hole in the top steering column cover and attached my MPGUINO enclosure, with two small/short self-tapping screws.
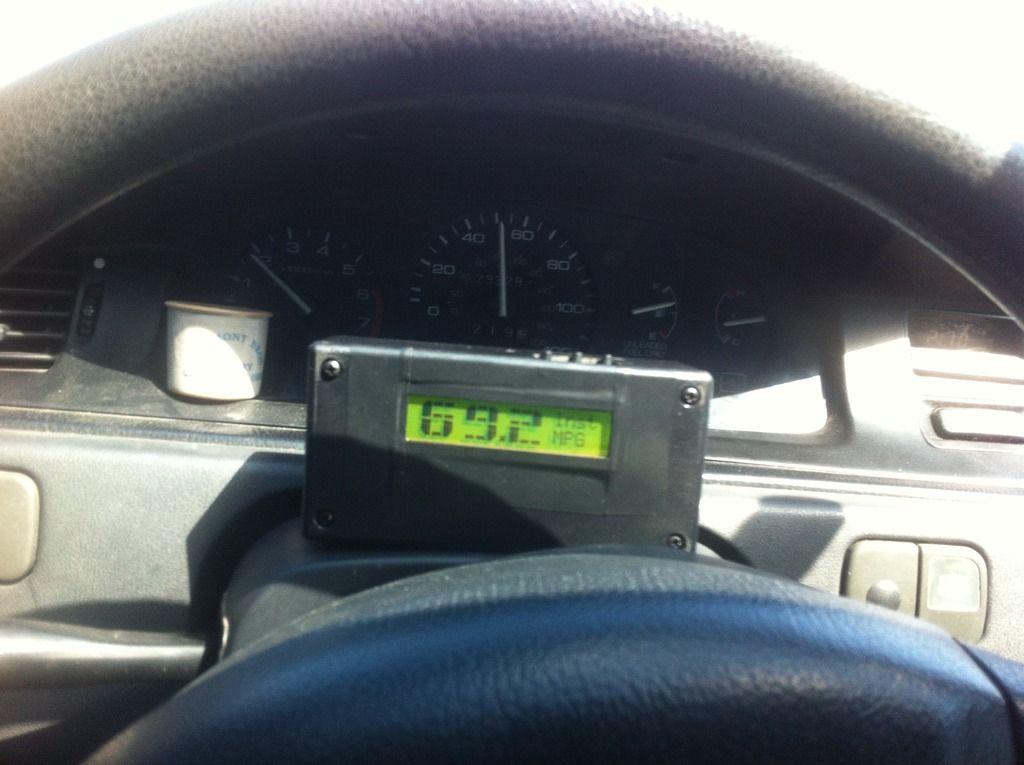
9. Here is the finished product. This was my first install of an MPGUINO, and I'm VERY happy with it. Please pass this along to your friends. I am also editing a video of the same install for Youtube, that I will post soon.
Enjoy, and let me know if you have any questions! FYI, I used the wiki-settings for my VX when I set up the MPGUINO.