After researching here and other forums for a few months, I finally bought my FE car and started modding. I have a 2007 Vibe. I first did the normal things like new DVD/NAV unit, new speakers sub and amp, added more power outlets, put in a direct wire for my radar detector and GPS, got new rims put on, had 15% tint done... you know the usual stuff.
For my first major ECO modification I decided to make a permanent grill block and belly pan. I wanted to use something that was durable, lightweight, maleable, slick, and that won't tear or rust. My material of choice: sheet aluminum (.40 gauge) ... recycled from an old garage door I took off of my boat house. The best part is it was FREE and eco friendly!
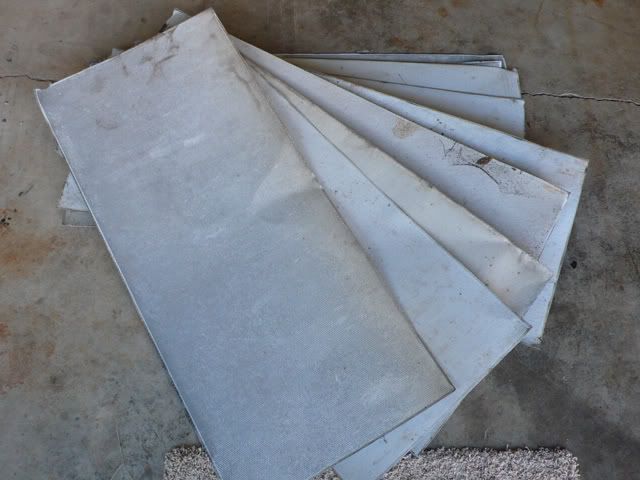 TO DO THE GRILL BLOCK
First remove the three central screws that hold the front fascia on. Then remove the two screws that have a rubber cap for the hood to rest on. You have to take out the DRIVER SIDE GRILL FIRST as it has a catch over the other side (you put the passenger side in first when reassembling). They are easy to get out if you just hold up on one clip at a time and then push from the front on the grill (towards the engine). You'll have to pull forward on the plastic fascia to get them out (and you may have to move the hood release a bit for the dirver side one).
Both Grills Removed

Next you just make a template out of paper (I just taped two pieces of regular paper together to do it). You want it big enough to cover the inside rim, but not so big that it covers the clips for the chrome piece. Trace the template (go a little big if you are worried as you can always cut it down more).

Next use some snips to cut out your shape. BE CAREFUL when cutting aluminum as it's difficult to do and there are many sharp edges. You want to cut it within like 1/2 inch of your line all the way around first ... and then go back to cut on the line (letting the aluminum curl around like this:
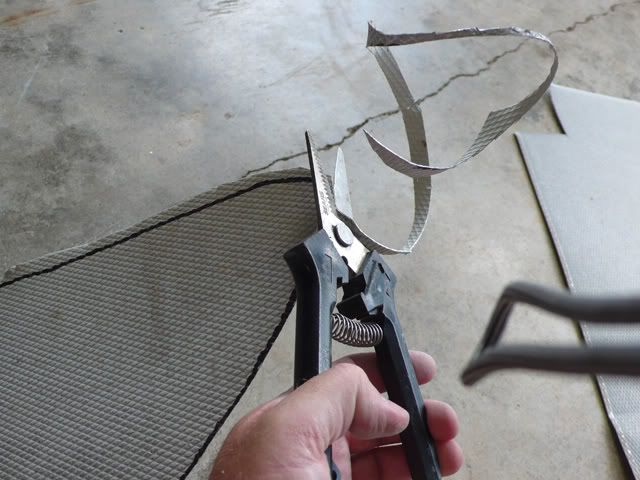
Ohhhh fancy art work:
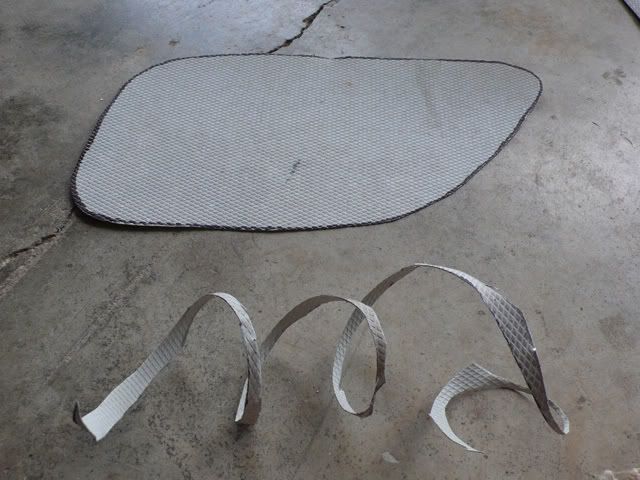
Now just lay the metal on your first grill and line it up. I bent it to shape by putting it around my leg to get the slight curve in it. You can use the same template for the other side (it's a mirror copy of it).
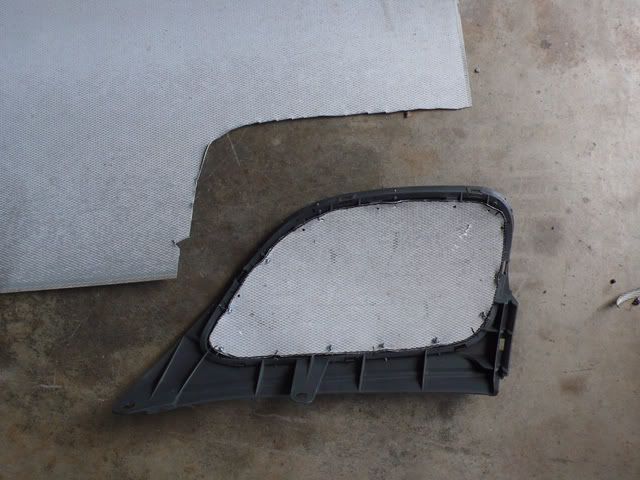
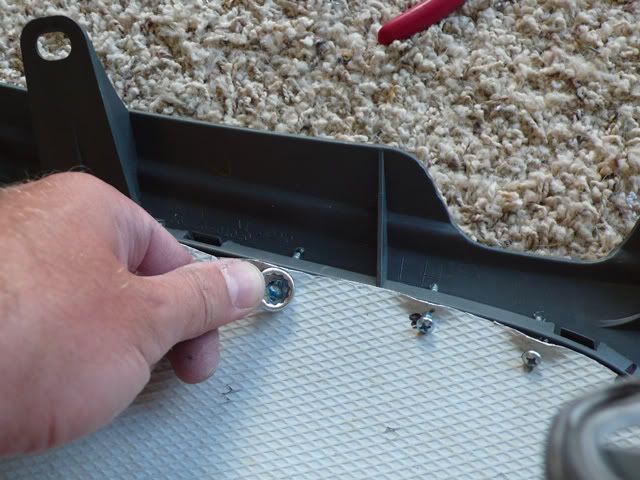
To attach the metal to the grill was a challenge. I starred at the dumb thing for quite a while and then had a brainstorm. I just lined it up on the grill, used a lot of painters tape to hold it in place, and then marked where I wanted the pre-drilled holes at with a magic marker. I then used pliers to bend tabs up where the marker was. I then pre-drilled a hole into the metal and through the plastic. I then ran a 1" screw into each hole at a big angle (the drill was almost flush with the metal sheet). You need to be careful to just barely go through the second part of the plastic on the lower part of the grills or it won't line up when putting it back on.

Next I just used an open end wrench to bend the tabs back down (to look nicer).
Once done repeating all steps with the 2nd grill you just put them back in. Remember to do the passenger one first! I had the best helper ever on this project with me (my 4 year old princess):
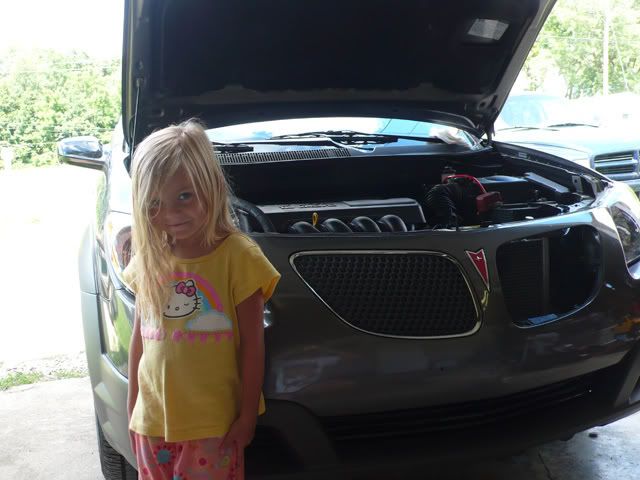
Line up your clips and just push it away from the engine. Put the drivers side in and you're done!!!

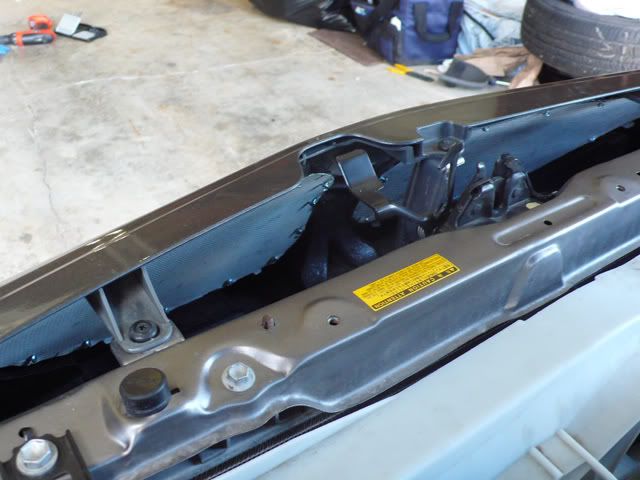
A view of the finished grill inside:
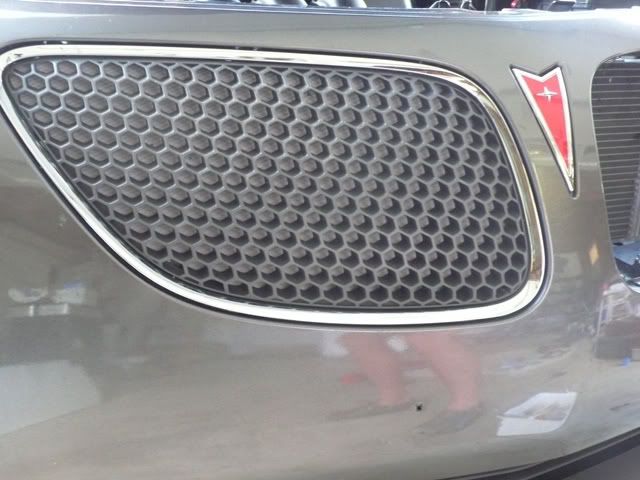
A close up view from outside (you can't really see it at all).
 BELLY PAN INSTALL
Before Belly Pan (uuuugggghhhhh what a mess under here)
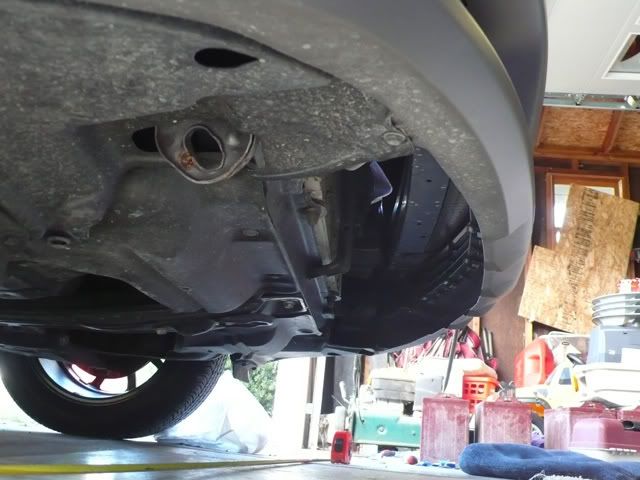
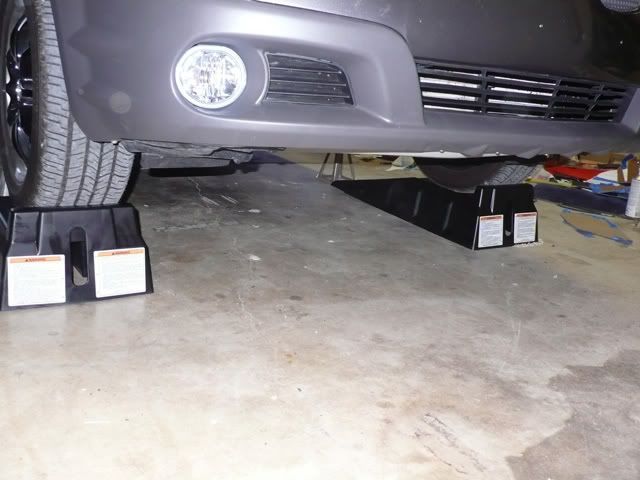
I again starred into the hole laying under my car for a while. How am I going to template this thing???? Hmmmm. I needed a large piece of paper which I did not have. The car is up on blocks and I don't want to take it down to go to the store.
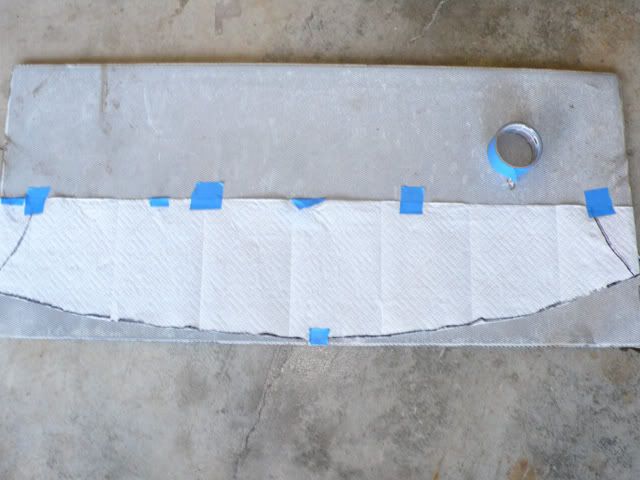
Hmmm. Wait, I could use a roll of paper.... but I don't have any. Ahhhh, actually yes ... we all do (paper towel ... heh). I used tape to hold it in place and traced the bumper contour with a magic marker.

Lay it out on your sheet and then mark it (measure at all sides to make sure it's on straight). And the make your cuts.
Now just lift it into place and slide the curved part into your bumper. I used a tool box to hold up the weight in the back and I used tape in the front to hold it in place.

I decided to leave my existing wheel deflectors because they are better than nothing I think. I put the sheet up underneath the deflector/wheel well plastic. I may make them bigger at some point. I did put duct tape over all the gaps and holes later (not shown here).
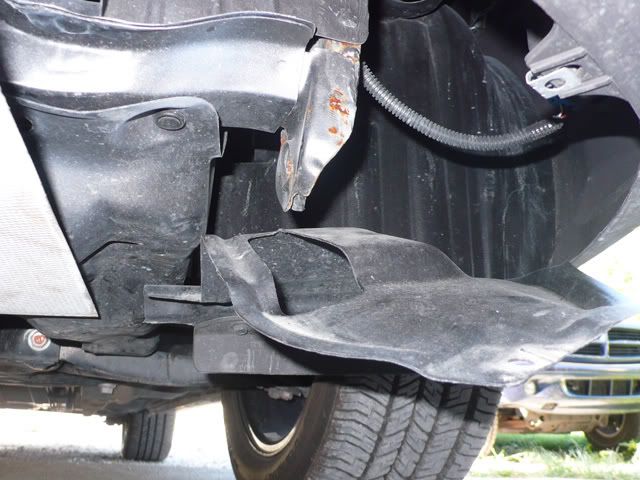
I drilled two holes in the center area of my sheet right through the unibody frame of the car and put bolts up through them. I also put two bolts and nuts on through the metal and wheel deflectors (it's not going anywhere now!!!!) Finally, I put short 1/2" screws into the front bumper to hold it down there and prevent it from flapping and making noise.
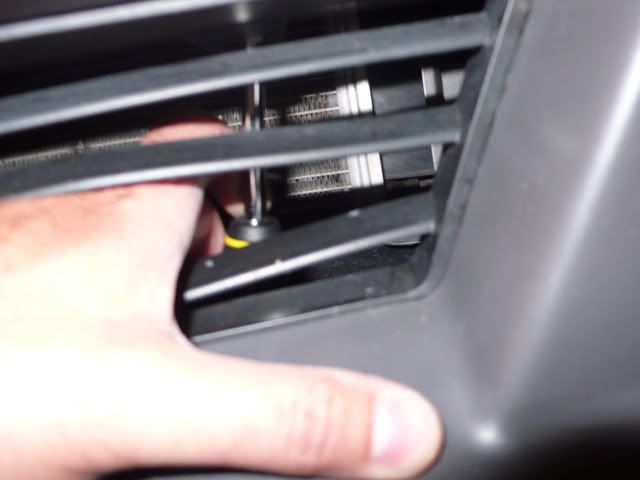
I pre-drilled the holes with a smaller bit and then put my hand through the lower grill vents (they bend back easily) and held a screwdriver handle against the metal to drill it. Otherwise, the sheet would just lift up and the hole would be off.
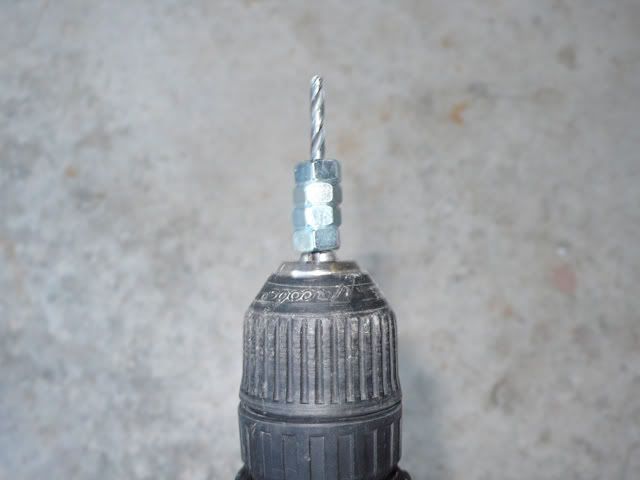
I was also worried about drilling to far so I made a drill stop out of some nuts:
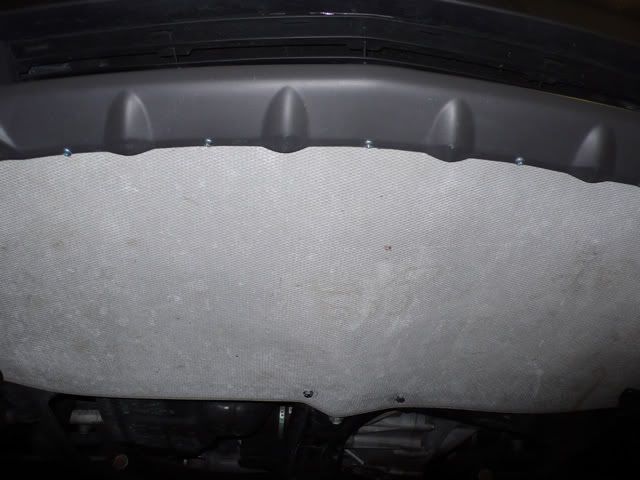
 The finished aluminum under belly!!!!
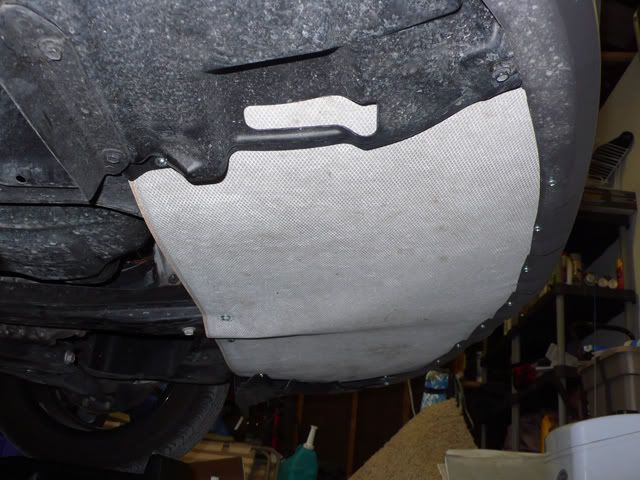
This project took me about 5-6 hours I would say. It isn't difficult to do at all and is well worth it. I will add more to the underbody later, but this was enough for one day.
