I haven't made much progress since last time.
I was gung-ho and working on all sorts of things a couple of weeks back. Right through the weekend before last. By Tuesday, just before starting back in on this, I became sick as a dog. Could have been nipped in the bud, were there walk-in clinics open really late or really early. Instead, I ended up going to the hospital at some weird hour in the morning.
A week later, I finally decide it's time to get back to it...and some junkie breaks in to my work shop 2 hours before work is over, and I have to come home early to deal with the cops and repair a broken door/deadbolt.
Sigh. I seem fated not to be able to make any progress.

At least I made decent progress before. I mentioned lots of wires, right?
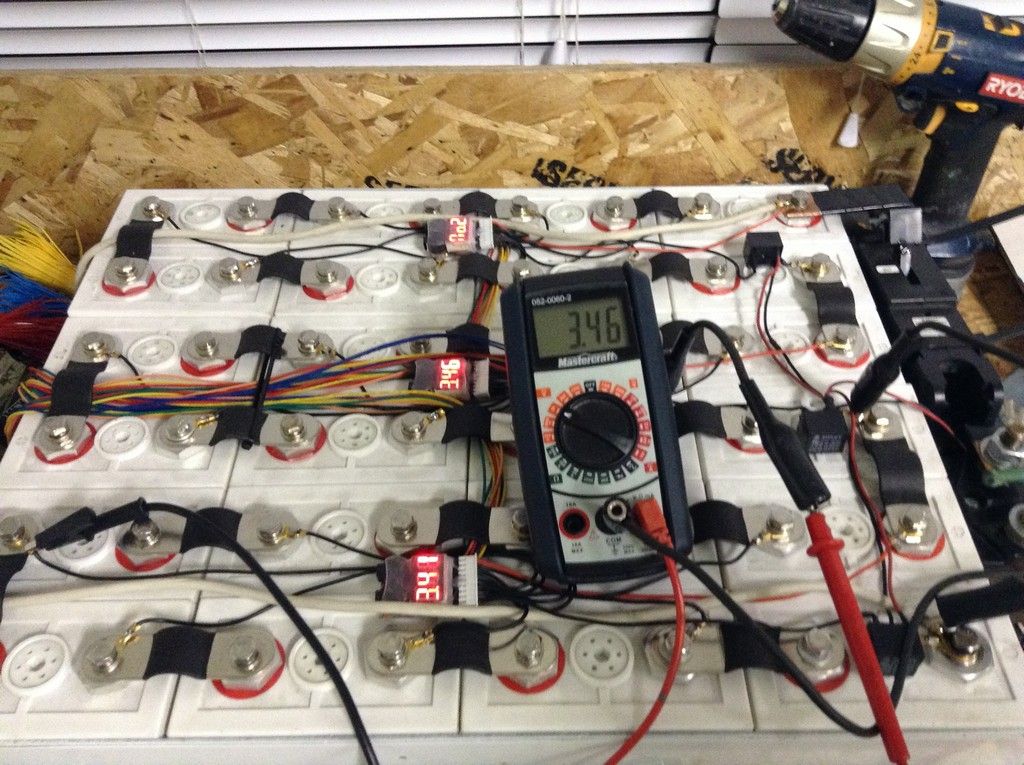
Wires, wires, everywhere!
Note the cheap little cell monitors? They're doing double duty...well, their connectors are, as I soldered the BMS/PCB connectors to the solder joints on them, so I wouldn't have to splice in to any of the wiring I had on the battery already.
Note the little black boxes on the right hand side? They're mini relays. They turn off the ground wires going to each of the cell monitors, so they're not sucking the battery dry (however slowly) while the system is turned off. It also means I don't have to unplug them to get them to shut up if/when the low-voltage alarms (the whole point of the things) goes off. Said relays do no interfere with the BMS's wiring, as that would annoy or defeat it.
The rainbow spaghetti is the wiring going to the BMS.
That's this little guy:
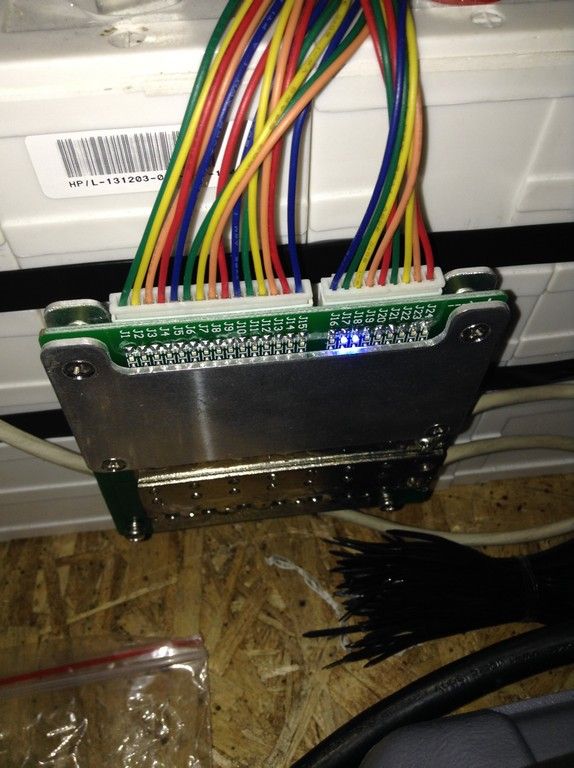
Note the two blue LEDs turned on? I was impressed when I discovered it had this. It tells me when each cell is fully charged, so it's easy to tell which, if any, cell(s) are imbalanced by which are or aren't lit up.
As you can see, my mucking around with sucking power out of random cells threw it out of balance, so only 2 cells hit full voltage before the voltage limit protection kicked in and disabled charging any further. Exactly what this little guy is there to do. That and to
slowly bleed off power from those cells that are higher voltage than the others, until they're all closely balanced.
The LEDs make this particular great compared to other cheap ones that don't. Like the other one I have for the other half of the pack. Maybe I'll splurge and drop another $50 or so on a second one of these.
$50 x 2 units is a heck of a lot cheaper than full blown BMS's that start around $1300...
I didn't wait for the mili-amps to bleed off the battery. I started charging individual cells while (Safely) circumventing the BMS. The second time I put it on charge I got more lights:
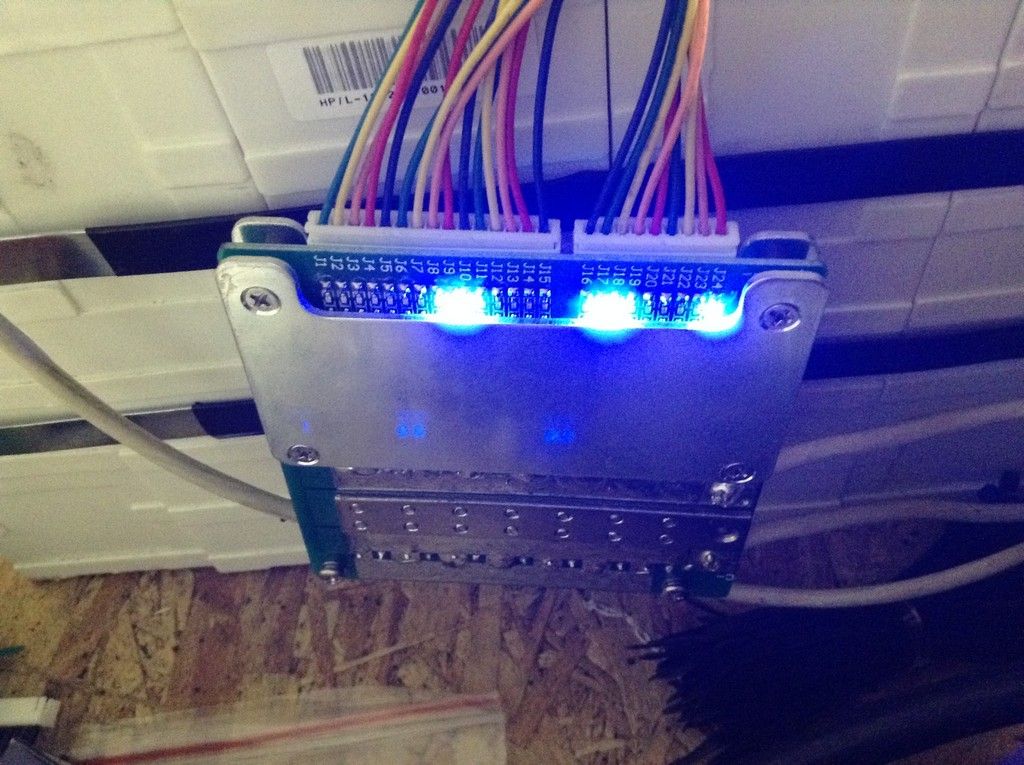
After some more topping up...
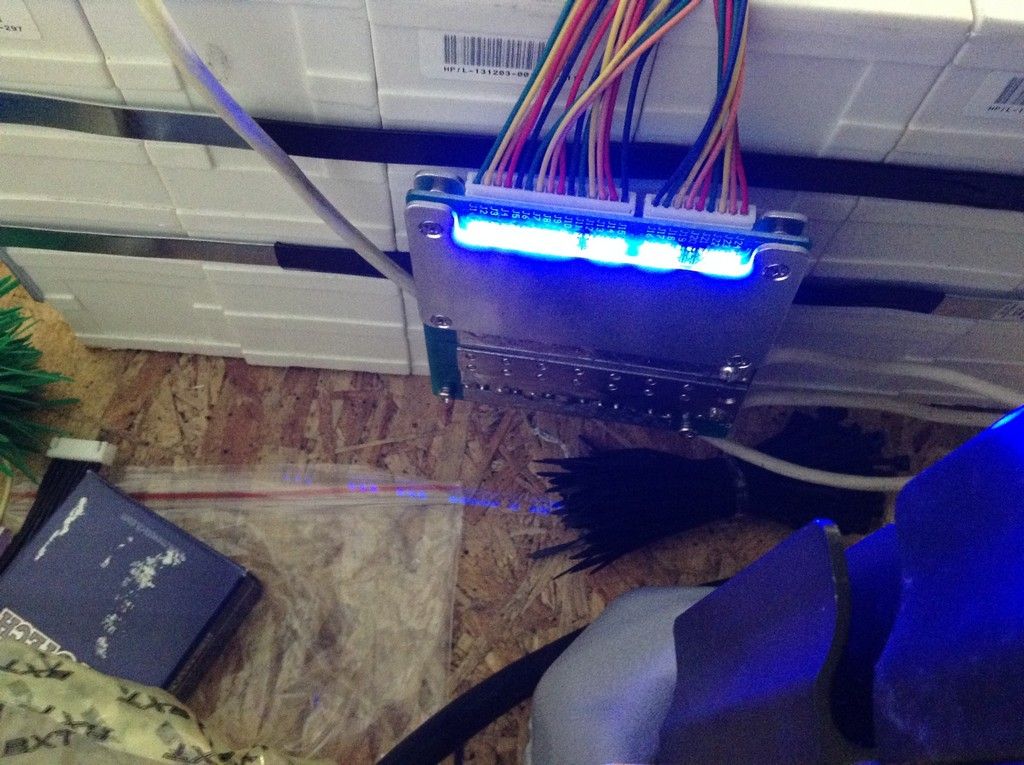
After which, they were so darned close to all being full that I let it rest and let it bleed down the voltage, so on the 4th charge, they all lit up before the voltage limit protection kicked in.
As you can see here...
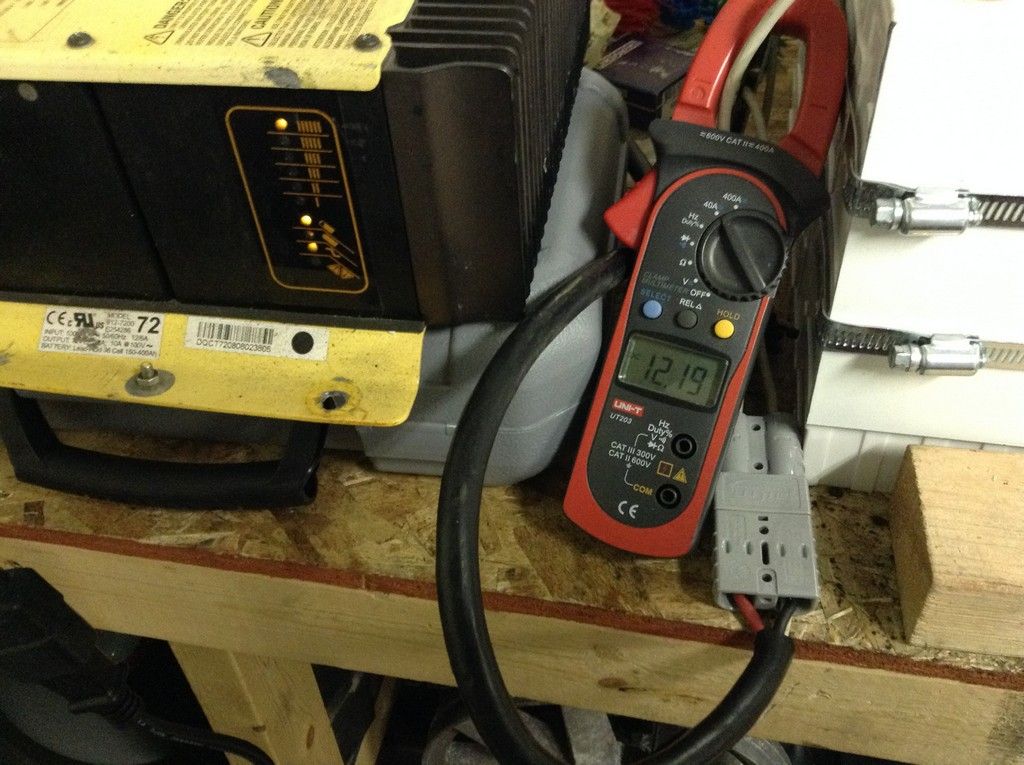
I also wired in a 50-amp Anderson plug to the BMS for charging. And wired in a matching plug to each of my chargers. I chose white 10-gauge wire for the BMS charge leads, so it would blend in with the white of the pack. And I clamped on my (sub $50 ebay) clamp meter to verify the current output of the chargers.
All in all, you're looking at probably under $100 worth of BMS, wires, cell monitors, relays, etc per 72-volt/24-cell pack. (Higher voltage/more cell BMS's and chargers aren't readily/cheaply available, unfortunately.)
Of course, that's a hell of a lot of wiring to have to put on. But you'd have to make almost as many connections with a fancier BMS.
I followed it up with putting a little black box on my accessory battery. By that point I had gotten in a rhythm with all the soldering and heat shrinking and everything else, so doing one more was just a matter of giving myself the time to do it.
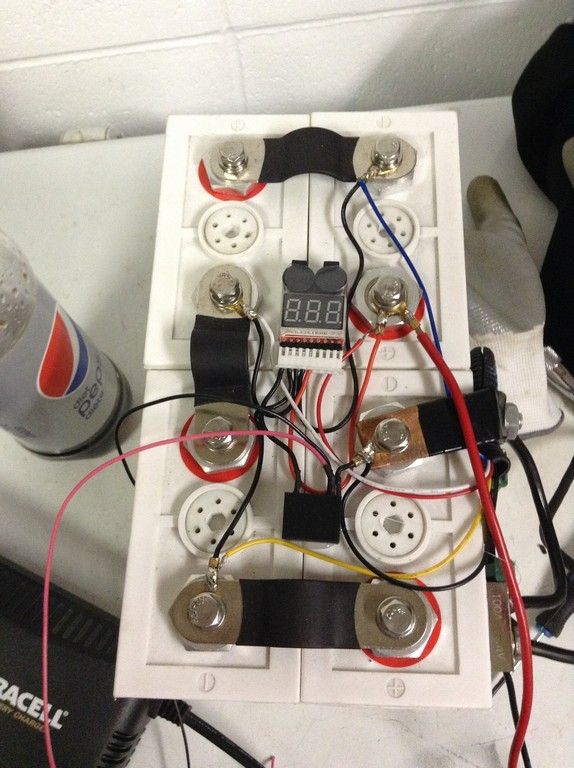
So now I'll know if any cell voltage gets too low there, too.
That's how far I got by my previous post 2 weeks ago. I still need to seal up and mount the BMS, otherwise this half of the battery is done.

Now I have to do it all over again with the 2nd pack.

Which I was test-fitting:
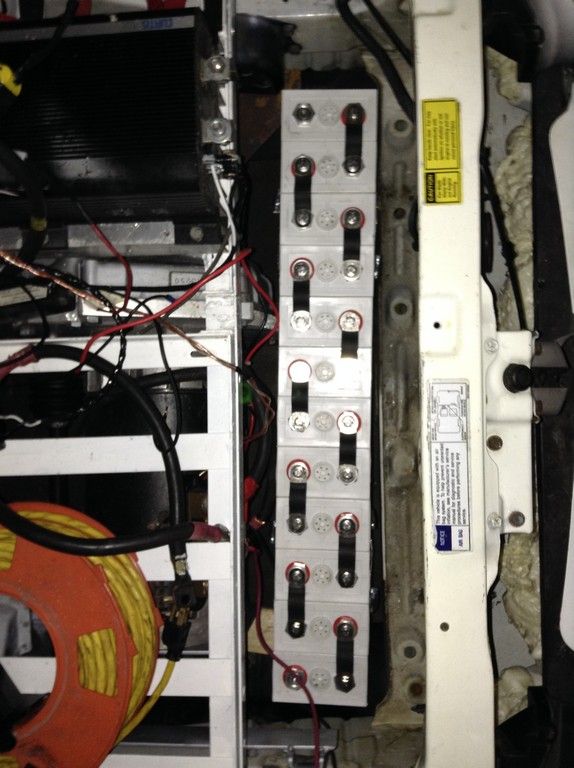
One half just behind the lower rad support, the other half on top of it:
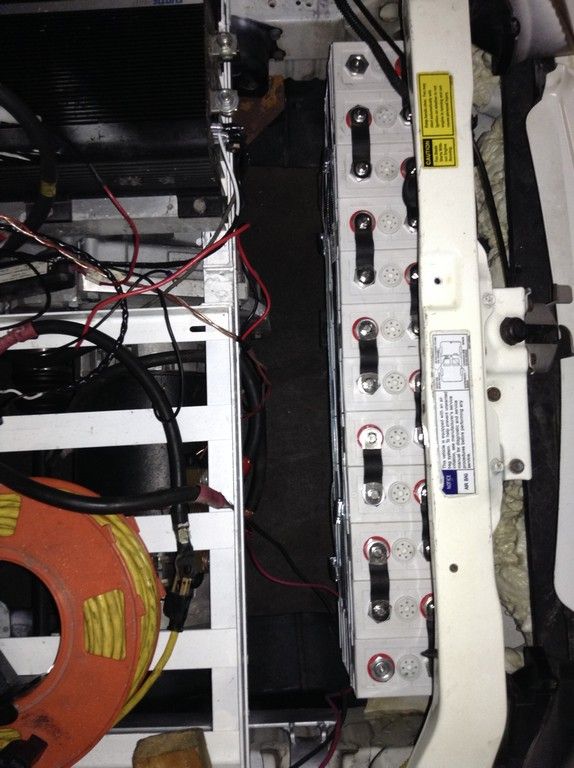
Which will require doing some surgery, followed by welding in some racks for them. Assuming I don't change my mind again in the meantime about where I'll place them...
