How to install a push-button ignition for use at stop lights. The idea is this: you start car normally with the key, drive until you reach a long light, press the kill button[work in progress] to stop motor, when ready to go, press the start button.
This is how I wired mine. Unless you have an 80's or 90's Chrysler or derivative, you will need to do it differently. Pressing the button with out the key in the 'run' position will crank the starter, but the fuel pump will no turn on, also you can't shift out of park or unlock the wheel.
BOM:
1x
N/O momentary SPST push button switch
2x
SPDT 10A, 12v coil, relays
1x
Plastic box
3x
3M 905 snap-down wire taps
Wire of appropriate gauge
Other stuff like zip ties, tools, magnetic tape
#1
Acquire very affectionate stray cat to lend a helping paw.
I don't know who owns him, but he always joins me when I work on my car at night.

#2
Take apart steering column and lower dash.
The blue twine will be used to fish the wires through the protective shroud.

#3
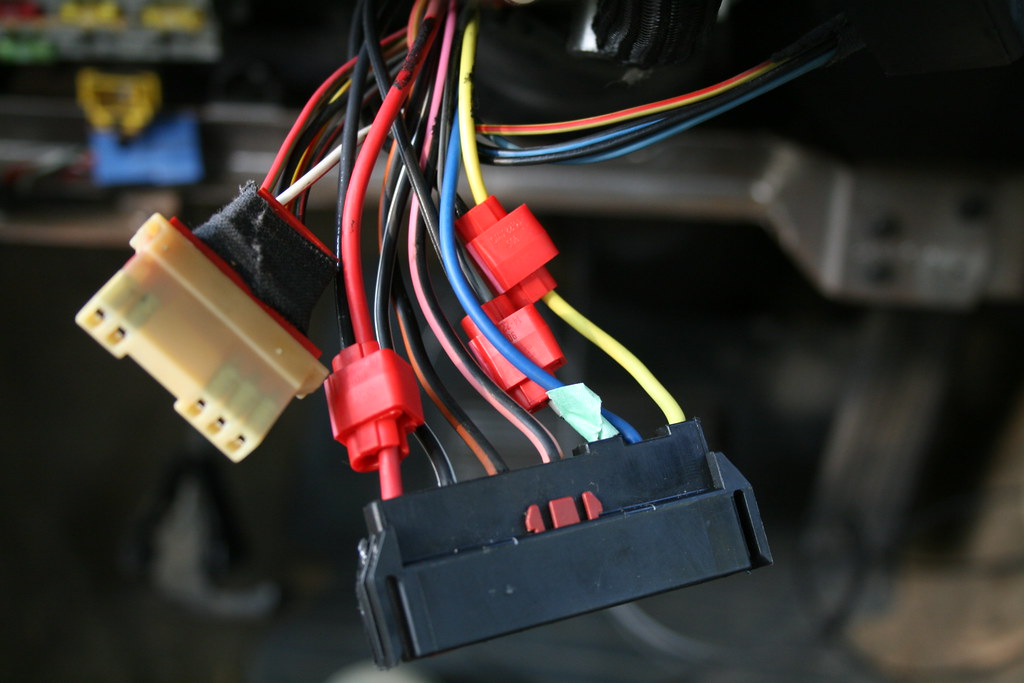
This is the ignition switch harness.
Pin numbering goes from right to left, with yellow being pin one, and red being pin 7. On my car , when the key is in the 'run' position, pins 1&7 3&7 must be connected to start the engine. Pin 7 also provides the power to drive the relays.

#4
Tap switch wires.
Make sure that the taps don't interfere with the tilt mechanism. Ignore the cruise control harness on the left.
#5
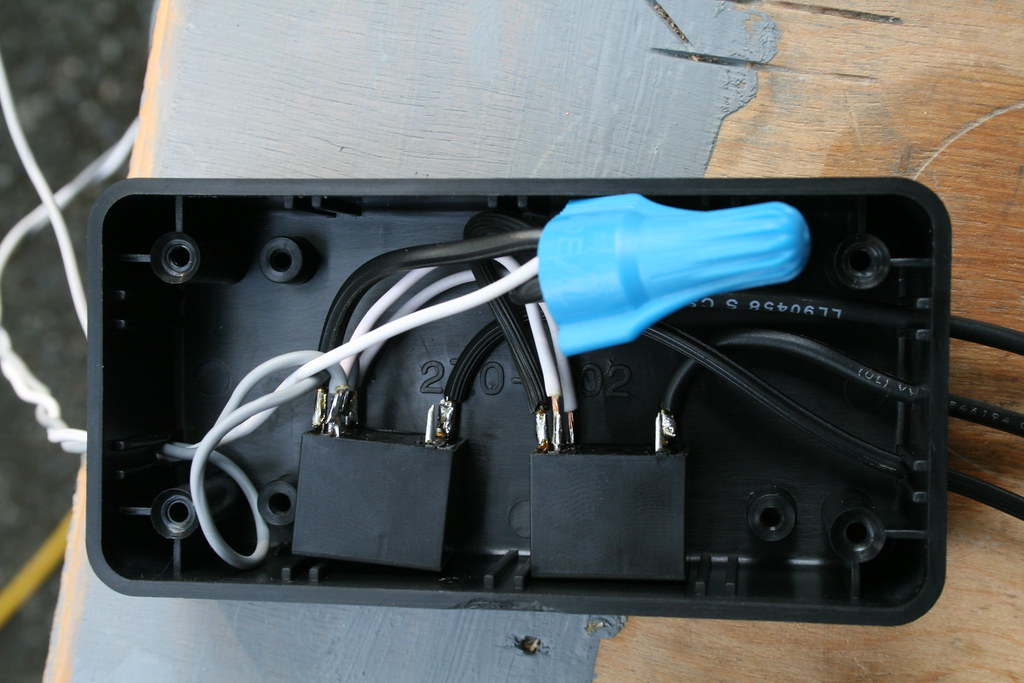
Wire relays and run wires into/out of box.
Black wires on the right go to the taps, wires on the left go to the button and a ground lead for the relay coils.
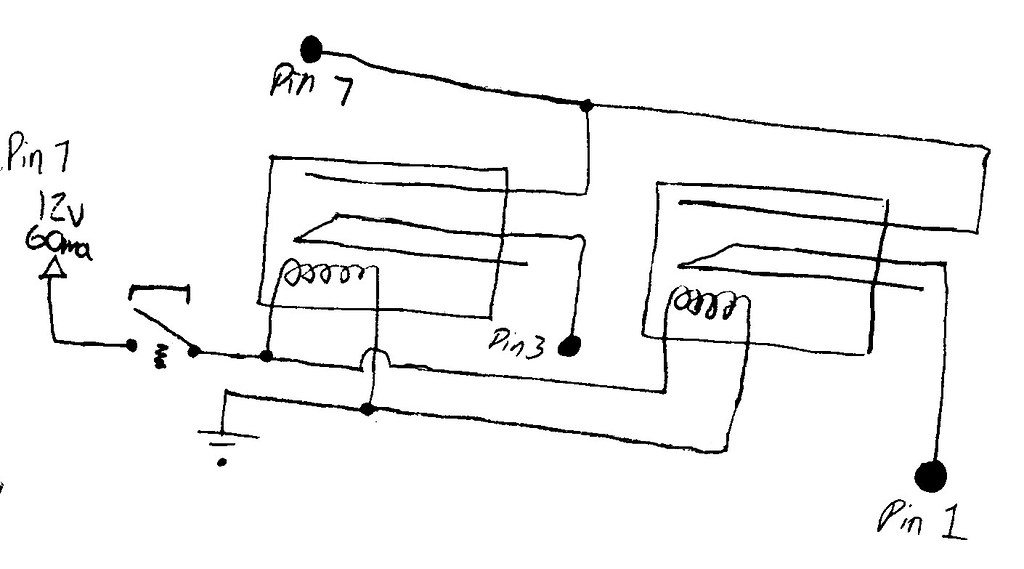
The relays in this schematic are drawn strangely, I had to correct something after I scanned the drawing.
#6
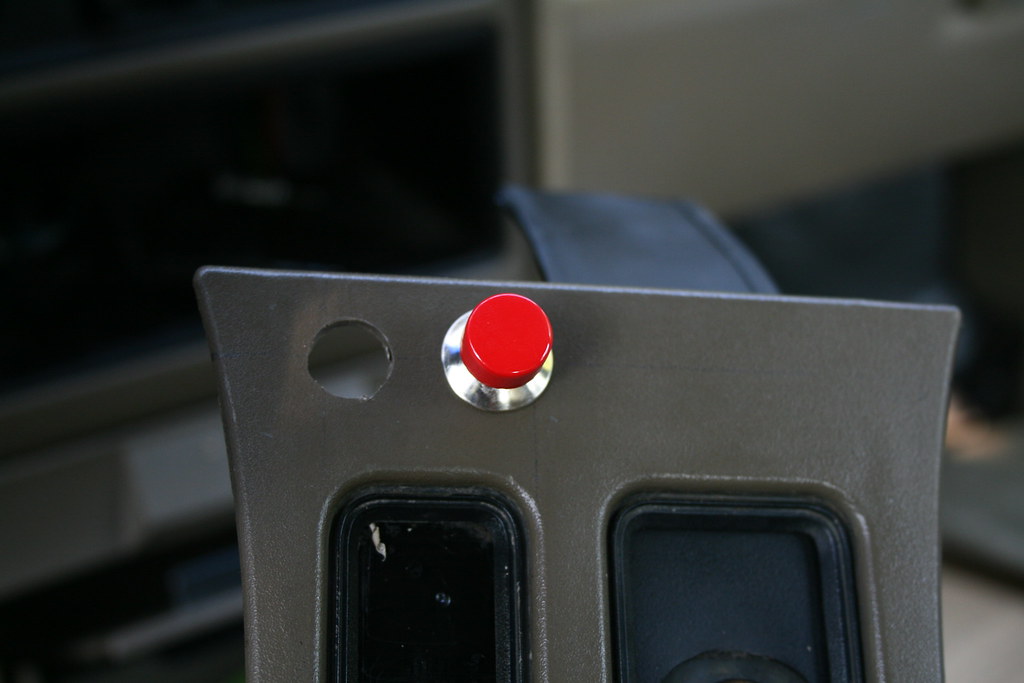
Install push button.
I'm putting in right next to the shifter, so i don't have to move my hand from the knob .

The second hole is for a future kill switch.
#7
Install box. Tuck wires away.
The box is being held in place by magnetic tape. The wires have been routed under the dash and held in place by zip ties, leaving some slack for when the wheel is tilted.

That's all 'till mornin'