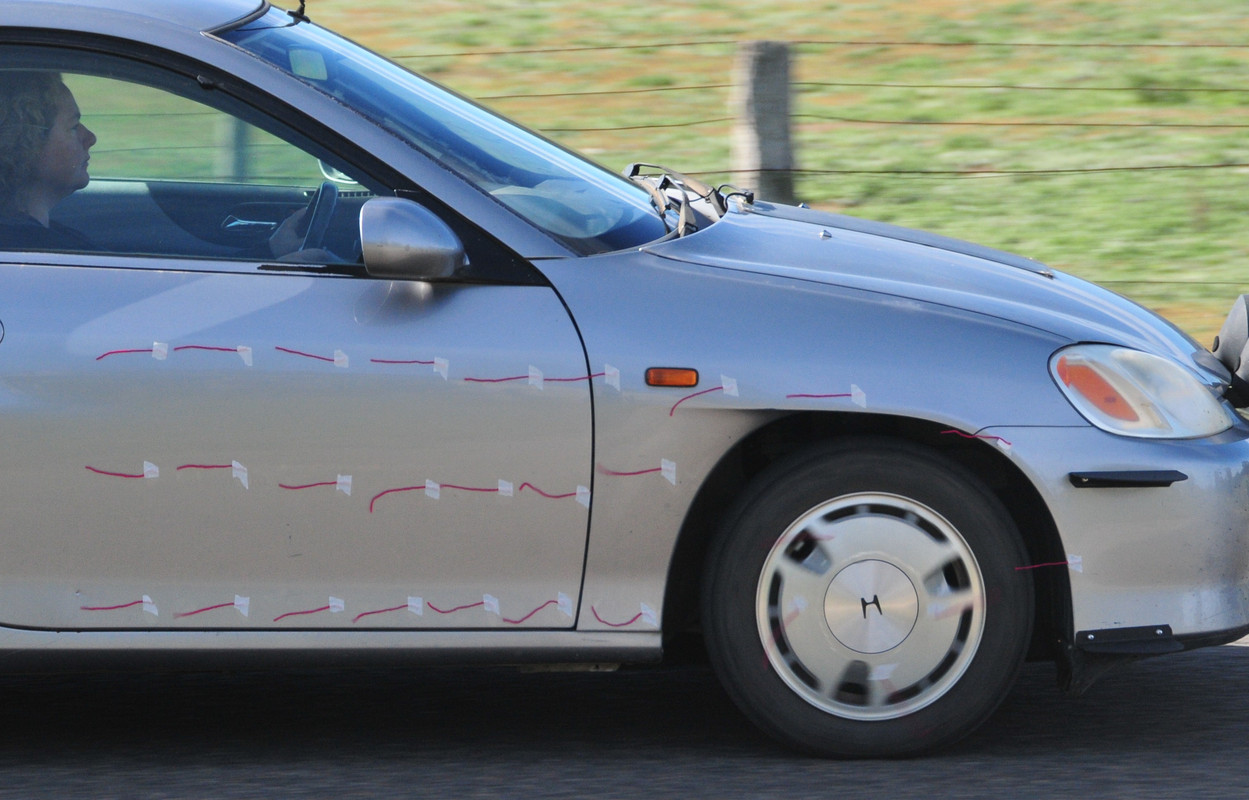
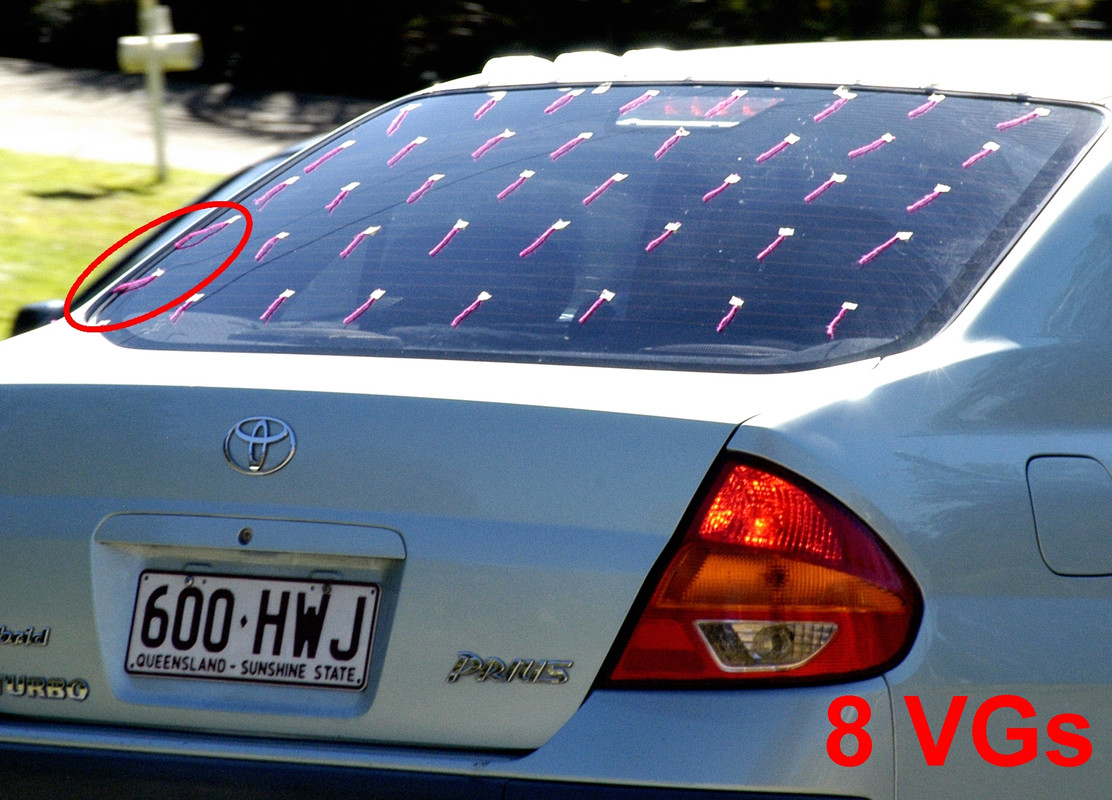
One thing I really notice is that very few pics of tuft testing are posted here. As a zero cost way of seeing where there is attached and separated airflow - and also airflow direction - tuft testing is brilliant.
I like to use still image cameras for this (ie as opposed to a video camera), taking a sequence of photos and then picking the best single one that is indicative of the tuft pattern. Then I usually crop it a lot.
Photographing from the side of the road when the car passes you at ~60 km/h (35 mph) is usually fine. (Probably, you can do it in the street in which you live!)
To do this type of photography, I think that you need a camera that has:
- a fast shutter response, ie it takes the pic the instant you press the button (most dig cameras these days)
- the ability to set the required high shutter speed (most good consumer cameras and all 'prosumer' cameras)
- the ability to do a sequence of shots rapidly, one after the other (varies lot between cameras - look for burst mode of, say, 8-10 shots)
- a telephoto lens focal length that retains good resolution (again, most good consumer cameras and all 'prosumer' cameras, but be wary of digital zooms)
So, a sequence of pics as the car drives by me:

And then after selecting and cropping:

Final shot:
- Nikon D300
- Focal length 195mm (35mm equivalent)
- F9 aperture at 1/500th of a second shutter speed
- +0.3 stop exposure compensation
(This pic is showing the airflow pattern without Edgarwits front external air curtains)
And here is another, literally taken in the middle of suburbia (the driver was braking for the culdesac at the end of the street - note neighbour's post box!):
