04-16-2025, 01:56 PM
|
#1 (permalink)
|
|
Master EcoModder
Join Date: Dec 2008
Location: Eugene, OR, USA
Posts: 384
Thanks: 90
Thanked 170 Times in 126 Posts
|
Model Y vs. EV6 Cd Analysis
So I just bought a Kia EV6, and I am fascinated by the discrepancy in claimed drag coefficients of these two cars.
Their profiles are very similar, but Tesla claims 0.22Cd for the Model Y, while Kia claims what I feel is a more believable 0.28 for the EV6. So I am wondering if Tesla simply appears to be lying, or if there are some obvious improvements to aerodynamics that Kia left on the table that Tesla has not. I can't see much that would account for that much difference.
Thoughts?
https://photos.app.goo.gl/9WFpu8oatV7kWTEy7
__________________
2015 BMW i3 REx
2023 Kia EV6 GT
|
|
|

|
 Today Today
|
|
|
|
 Other popular topics in this forum...
|
|
|
|
|
04-16-2025, 02:06 PM
|
#2 (permalink)
|
|
Master EcoModder
Join Date: Aug 2012
Location: northwest of normal
Posts: 29,458
Thanks: 8,383
Thanked 9,141 Times in 7,547 Posts
|
One should test both vehicles in both wind tunnels and average the result.
__________________
.
.Without freedom of speech we wouldn't know who all the idiots are. -- anonymous poster
___________________
.
.Necessity is the mother of invention, but simplicity is it's favorite aunt --Amish proverb
|
|
|
|
|
04-16-2025, 07:31 PM
|
#3 (permalink)
|
|
Moderator
Join Date: Feb 2012
Location: Urbana, IL
Posts: 1,940
Thanks: 199
Thanked 1,807 Times in 943 Posts
|
The short answer is, cars aren't 2D bodies, don't have 2D flow fields, and so any analysis that relies on 2D assumptions (e.g. looking only at a profile) won't lead you to correct conclusions about their aerodynamic drag.
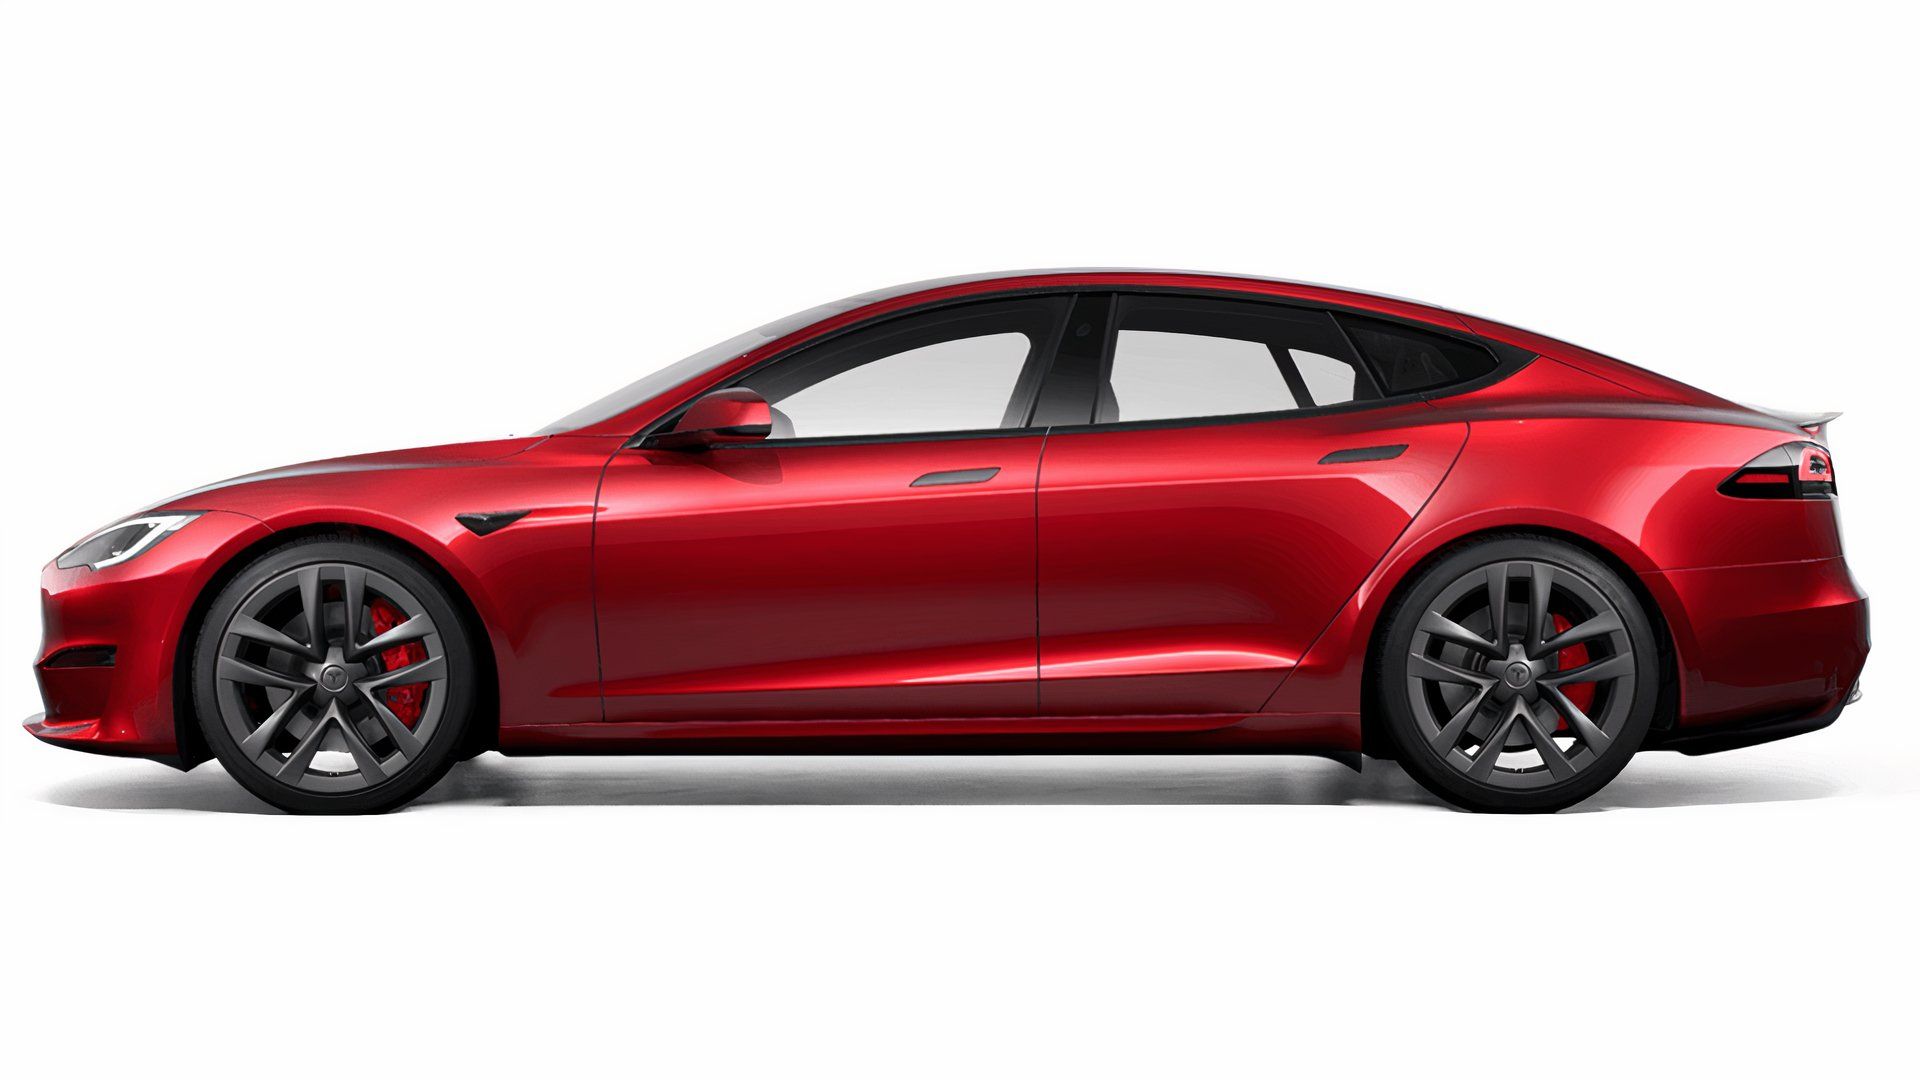
For example, this car has a drag coefficient of 0.24:
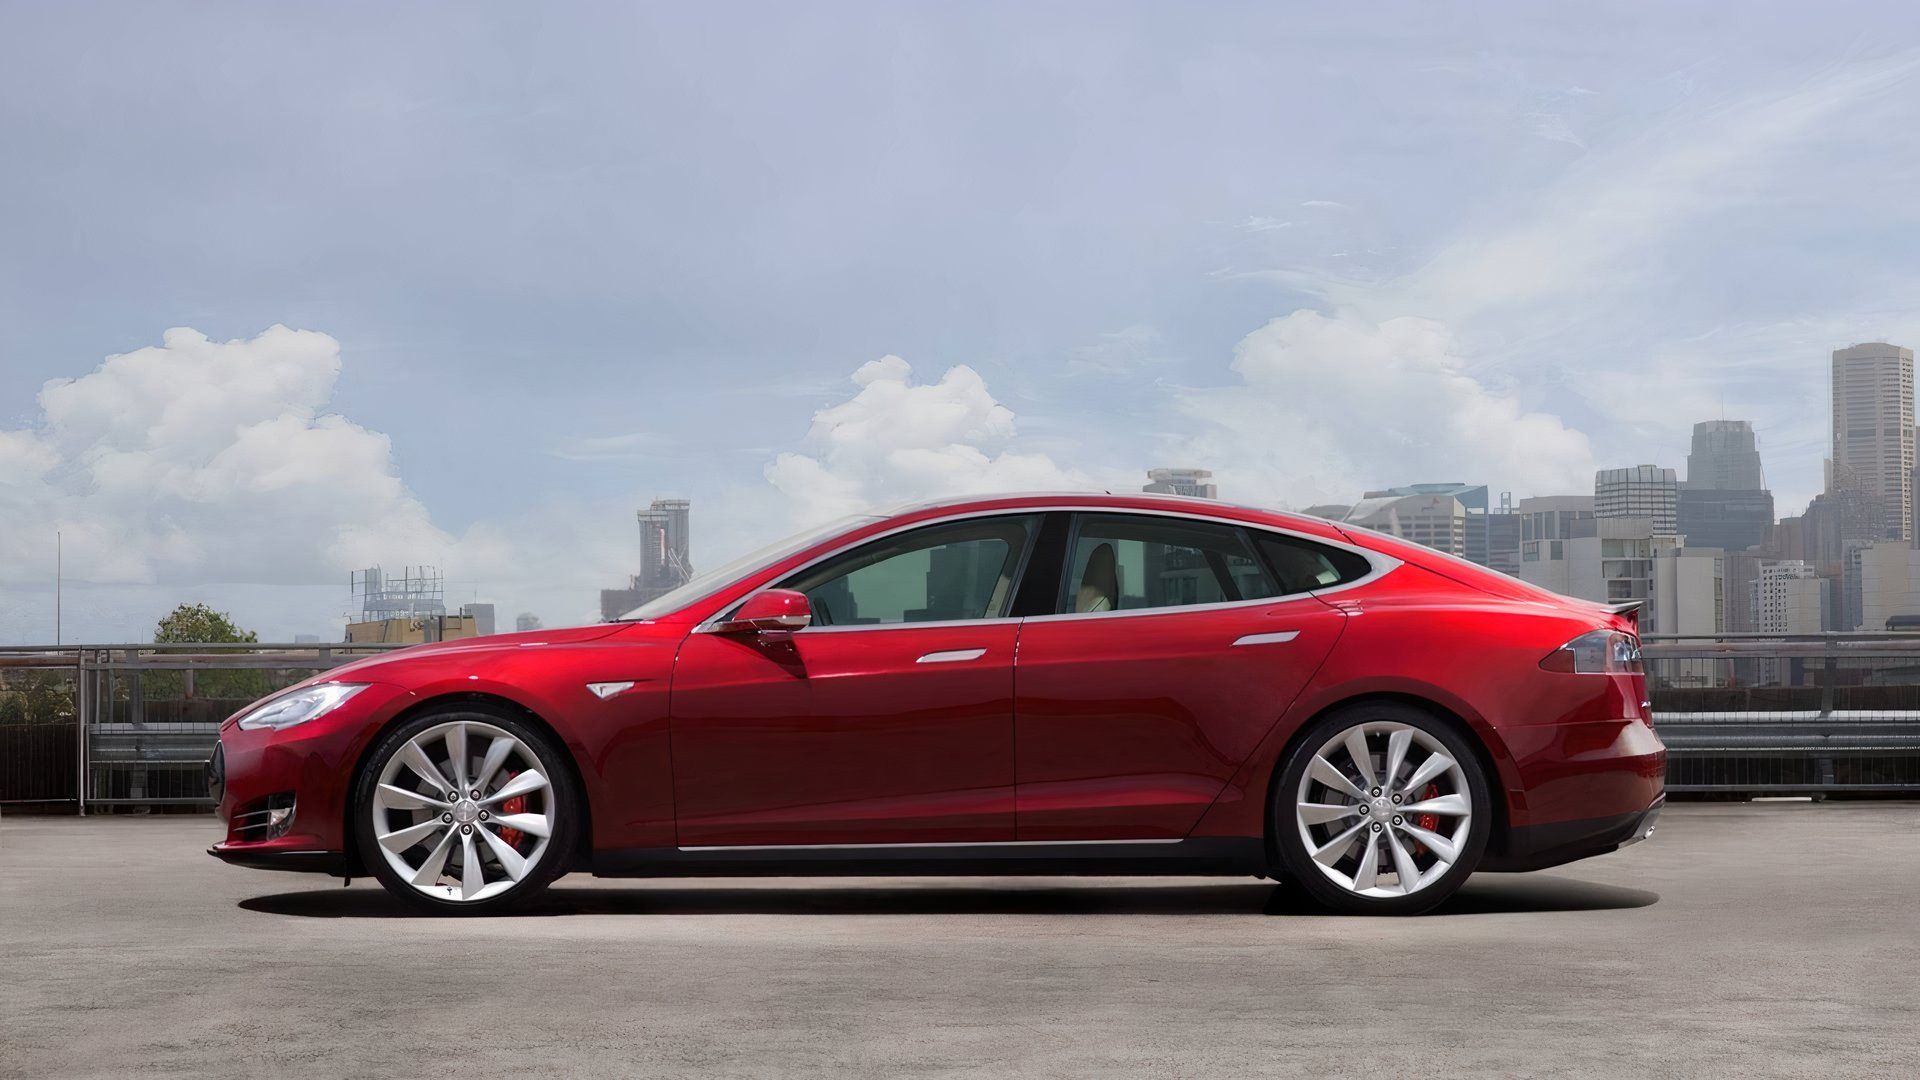
And this car with an identical profile has a drag coefficient of 0.21:
 |
|
|
|
|
04-16-2025, 08:12 PM
|
#4 (permalink)
|
|
Master EcoModder
Join Date: Dec 2008
Location: Eugene, OR, USA
Posts: 384
Thanks: 90
Thanked 170 Times in 126 Posts
|
Great examples of what I am half-getting at though. Is it realistic to believe that whatever subtle changes Tesla did here really result in a drag coefficient difference so high?
I'll grant that the Model Y vs EV6 may not be a good comparison given the slopes of the back glasses. Kia obviously recognized there would be some flow separation off the roof or they would likely not have added the spoiler.
__________________
2015 BMW i3 REx
2023 Kia EV6 GT
|
|
|
|
|
04-17-2025, 11:59 AM
|
#5 (permalink)
|
|
Master EcoModder
Join Date: Jan 2008
Location: Sanger,Texas,U.S.A.
Posts: 16,548
Thanks: 24,522
Thanked 7,442 Times in 4,822 Posts
|
' comparison '
The vantage point of the camera producing the images can distort the actual geometry of both cars.
A GOOGLE search produced blueprints for both cars, in at least three-views each, with dimensions.
The roofline of the KIA is 'discontinuous' with respect to the total length of the body and will offer a penalty in pressure recovery compared to the TESLA.
TESLA wheels probably also have an advantage.
The Hyundai IONIQ 6 sedan, with it's flow-mending rear spoiler represents a fine compromise roof contour.
__________________
Photobucket album: http://s1271.photobucket.com/albums/jj622/aerohead2/
|
|
|
|
|
04-19-2025, 05:38 PM
|
#6 (permalink)
|
|
Master EcoModder
Join Date: Jul 2011
Location: Ann Arbor, Michigan
Posts: 4,218
Thanks: 146
Thanked 2,829 Times in 1,985 Posts
|
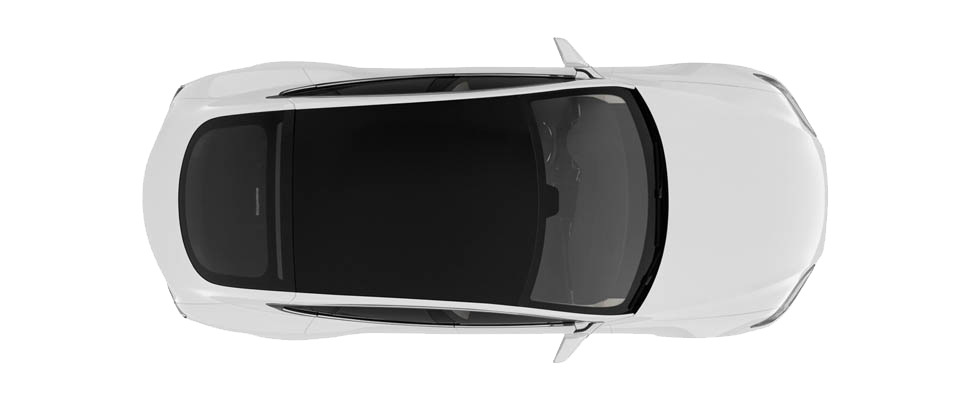
Every Tesla I've driven behind ( except Cybertruck) has a distinct greenhouse taper to it ( on the sides).
I doubt the Kia EV6 has the same 3 dimensional thinking behind it.
https://pluglesspower.com/learn/tesl...y-worth-money/
 EDIT:
https://www.cochesyconcesionarios.co...v6-ev6_gt.html
EDIT:
https://www.cochesyconcesionarios.co...v6-ev6_gt.html

Closer than I thought, but perhaps enough taper differences in plan to warrant the discrepancy.
That said, take any projection, promise or number provided by Tesla and just assume it's an overstatement.
At least that has been their track record.
__________________
George
Architect, Artist and Designer of Objects
2012 Infiniti G37X Coupe
1977 Porsche 911s Targa
1998 Chevy S-10 Pick-Up truck
1989 Scat II HP Hovercraft
You cannot sell aerodynamics in a can............
Last edited by kach22i; 04-19-2025 at 05:46 PM..
|
|
|
|
|
The Following 2 Users Say Thank You to kach22i For This Useful Post:
|
|
|
04-20-2025, 02:24 PM
|
#7 (permalink)
|
|
Master EcoModder
Join Date: Feb 2014
Location: Missoula, MT
Posts: 2,669
Thanks: 305
Thanked 1,188 Times in 814 Posts
|
The Ioniq 6 is the one to get if you want aerodynamics on the Hyundai/kia platform. You can see the difference in range the .21 vs .28 or .29 gets you.
|
|
|
|
|
The Following User Says Thank You to Hersbird For This Useful Post:
|
|
|
04-21-2025, 11:03 AM
|
#8 (permalink)
|
|
Master EcoModder
Join Date: Jan 2008
Location: Sanger,Texas,U.S.A.
Posts: 16,548
Thanks: 24,522
Thanked 7,442 Times in 4,822 Posts
|
TESLA numbers
Rob Palin, aerodynamicist for all TESLA's uses Dassault-Exa PowerFlow CFD, which is known to generate Cd accuracies within 1% of those generated by full-scale wind tunnels.
The final 3-D data cloud, 'frozen' after testing, is what will generate the tooling used to manufacture the entire car.
__________________
Photobucket album: http://s1271.photobucket.com/albums/jj622/aerohead2/
|
|
|
|
|
The Following User Says Thank You to aerohead For This Useful Post:
|
|
|
04-22-2025, 11:38 AM
|
#9 (permalink)
|
|
Master EcoModder
Join Date: Aug 2022
Location: South Africa
Posts: 901
Thanks: 345
Thanked 360 Times in 312 Posts
|
Quote:
Originally Posted by Snax

So I just bought a Kia EV6, and I am fascinated by the discrepancy in claimed drag coefficients of these two cars.
Their profiles are very similar, but Tesla claims 0.22Cd for the Model Y, while Kia claims what I feel is a more believable 0.28 for the EV6. So I am wondering if Tesla simply appears to be lying, or if there are some obvious improvements to aerodynamics that Kia left on the table that Tesla has not. I can't see much that would account for that much difference.
Thoughts?
https://photos.app.goo.gl/9WFpu8oatV7kWTEy7 |
Remember that 68% of fuel is used accelerating weight in city driving,
vs 14% for Aerodynamic Drag.
And that 98% of driving worldwide happens in cities.
"...For every 100-kg reduction, the combined city/highway fuel consumption could decrease by about 0.4 L/100 km for cars..." (not; just city...)
https://ecomodder.com/forum/showthre...ban-41665.html
So it's possible that some underfloor covers or something may be omitted in one make, as doing so actually drops the average...
ie: there is a fine line between weight adding aero and leaving it off as far as overall fuel consumption goes.
Such is the physics!  |
|
|
|
|
04-23-2025, 09:28 PM
|
#10 (permalink)
|
|
Somewhat crazed
Join Date: Sep 2013
Location: 1826 miles WSW of Normal
Posts: 4,576
Thanks: 597
Thanked 1,258 Times in 1,109 Posts
|
Annnnddd being a test tech, where and how you put your sense devices, even the sense method, affects what data you get.
__________________
casual notes from the underground:There are some "experts" out there that in reality don't have a clue as to what they are doing.
|
|
|
|
|