DIY secondary air dam for 3rd Gen Dodge 4x4 Rams 1500 Mega Cab & all 2500/3500's
MPG improvement TBD (if any)
Parts:
1 3/8" x 3' pre-drilled flat steel
1 1/20" thick x 3/4" x 48" (or 96") aluminum angle
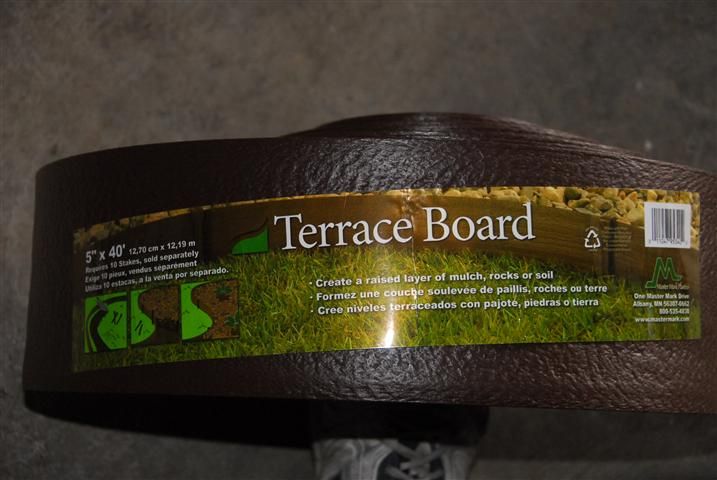
5" x 40' Landscape terrace board (see pic) or equivalant
Nuts, washers & Bolts as needed (use nyloc nuts)
black paint (or coating of your choice)
Measure & cut the length of terrace board desired for the air dam.
Unbolt swaybar from frame and allow to droop, support with jackstand or something sutable.
Note: I did not drop the bar because of the steering stabilizer and just loosened/remove bolts on both sides as needed.
Cut the flat steel approx 10" and drill out holes to mount onto swaybar mounting points. I had to open up the holes some and redrill them so they would fit correctly. Once complete, install the flat steel (now refered to as brackets) under the swaybar and re-install the swaybar.
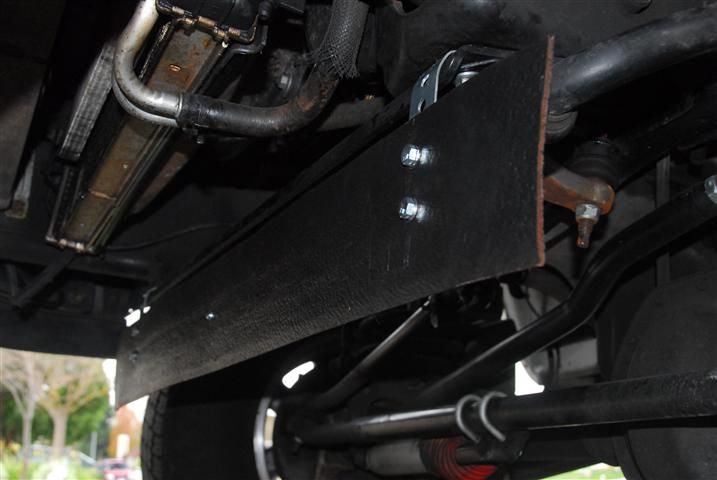
Position the terace board where you would like it, I set mine so it was at least 2" below he OEM air dam, and mark the terrace board (now referred to as air dam) for drilling.
Drill & mark holes 1 at a time, the air dam will want to bend back to its packaged state so it's easier this way.
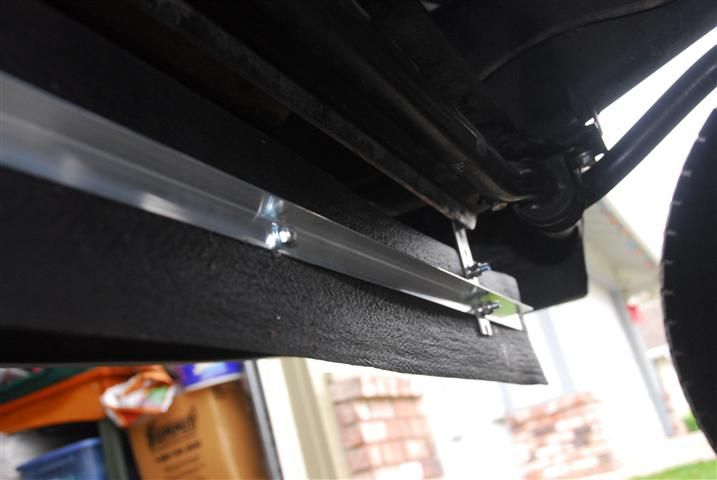
Cut aluminum angle so it is approx 2" shorter than the length of the air dam.
Mount the air dam using just the 2 upper mounting holes, tighten nuts snug so it is not flopping around.
Place aluminum angle on the lower mounting holes, mark and drill
Install remaining lower bolts and install aluminum angle prior to installing the nuts.
Drill 1 or 2 more holes in the middle of the alumnum angle & air dam to secure it from wind vibrations.
Remove and paint as needed, reinstall when ready.
Radius the outer edges/corners to your liking (I still need to do this)

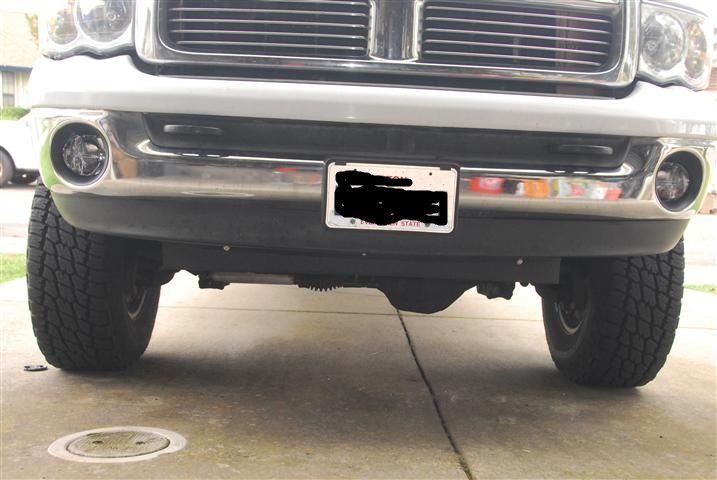
Before
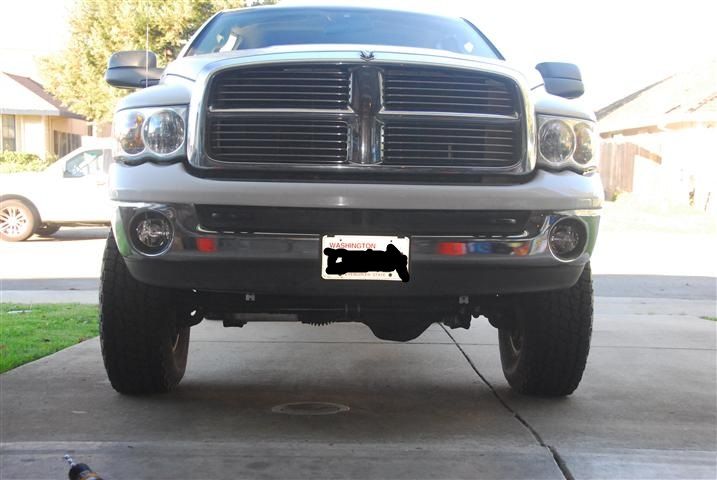
After
motivated by this video


 Today
Today


