Hello -
Ok, I took my own advice and started a v2.0 wheel skirt. The problem was, the v1.0 skirts took maybe 15 minutes to take off but then it took at least an HOUR to put them on. This discouraged me because I would take them off before taking the car for service and then *leave* them off because it was too exhausting to reinstall them (mee lay-zee).
Now, I already had this idea of turning the outside of the skirt into a flush "trim piece" with holes :

I made a cover piece like this :

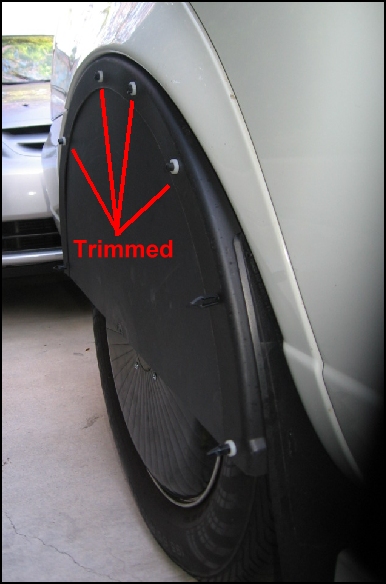
I used plastic pop-rivets, but I was fearful that they might hit the tire if I went over a pothole or something. Therefore I trimmed some of the rivets and used a plastic washer to reinforce them :

To demonstrate how little they stick in, I did this demo reverse-mount :
Once it is installed it looks like this :
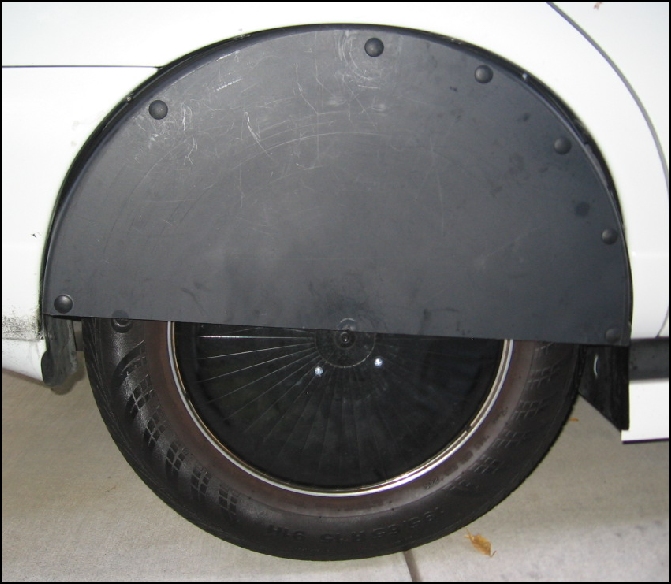
The number of rivets is not symmetric. The forward leading edge has two extra rivets to keep the wind from sneaking in and trying to open up the skirt.
Now, there was a problem that I predicted but didn't see for maybe two weeks. One morning on the freeway I heard a loud *BAM* like a rock had bounced up under my car or something. Once I was at my destination I realized that one of the wheel cover bolts had hit the skirt. Here is a view of the inside of the skirt :

The good news is that :
1 - The skirt was barely damaged, it looks normal on the outside.
2 - The wheel cover did not fail. It does have a 2" crack near one of the bolts, but it's otherwise fine. So fine, in fact, that I have left it on.
This makes me happy because the system "failed gracefully". It has also motivated me to look for a more flush wheel cover bolt system. This is the direction I am going :

And here is another comparison showing the old sticky-outy bolts and the new flush bolts + the skirt :

In addition, my cohort and I will be working on a trim piece to keep the lower edge of the skirt from *ever* doing this again.
I will publish the new wheel cover bolt installation system in another thread, but me too tired.
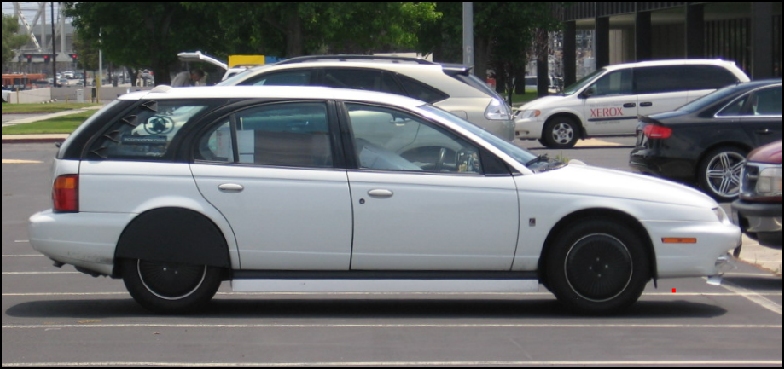
Here is the current look :
CarloSW2