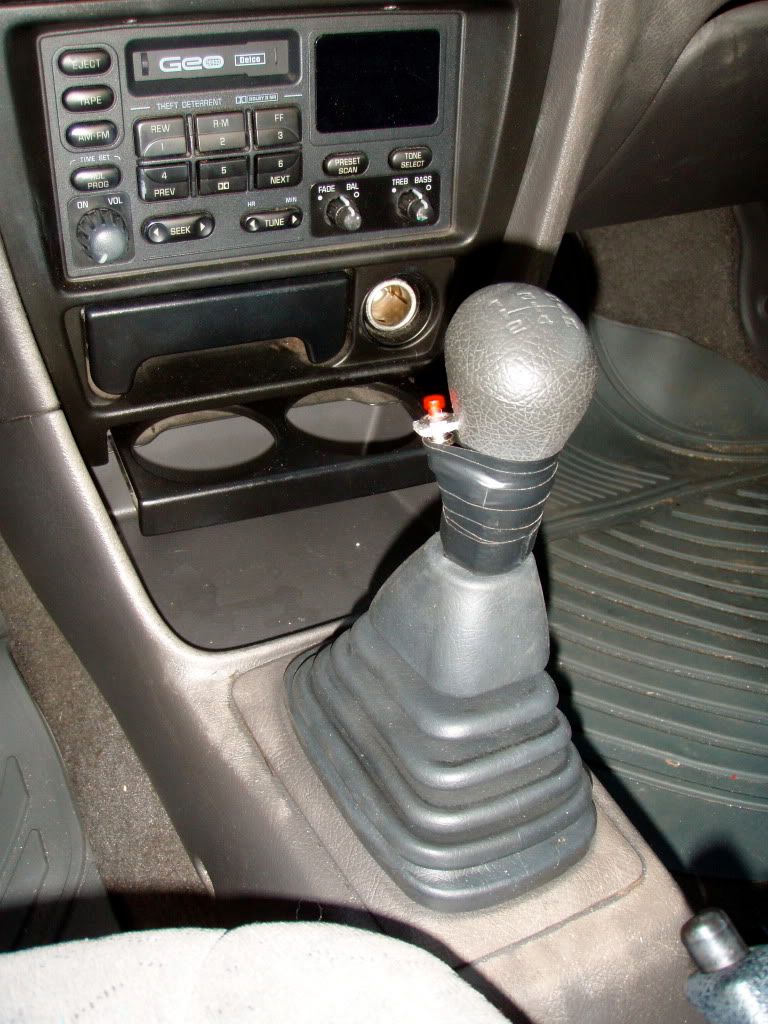
I pretty much used the awesome how-to that bbjsw10 put up. Things weren't identical because our cars are not the same. Anyway, it's very similar but this could be helpful for any 96 metro owners.
Step 1 -> Bend a small piece of aluminum and install a momentary (normally off) push button switch:
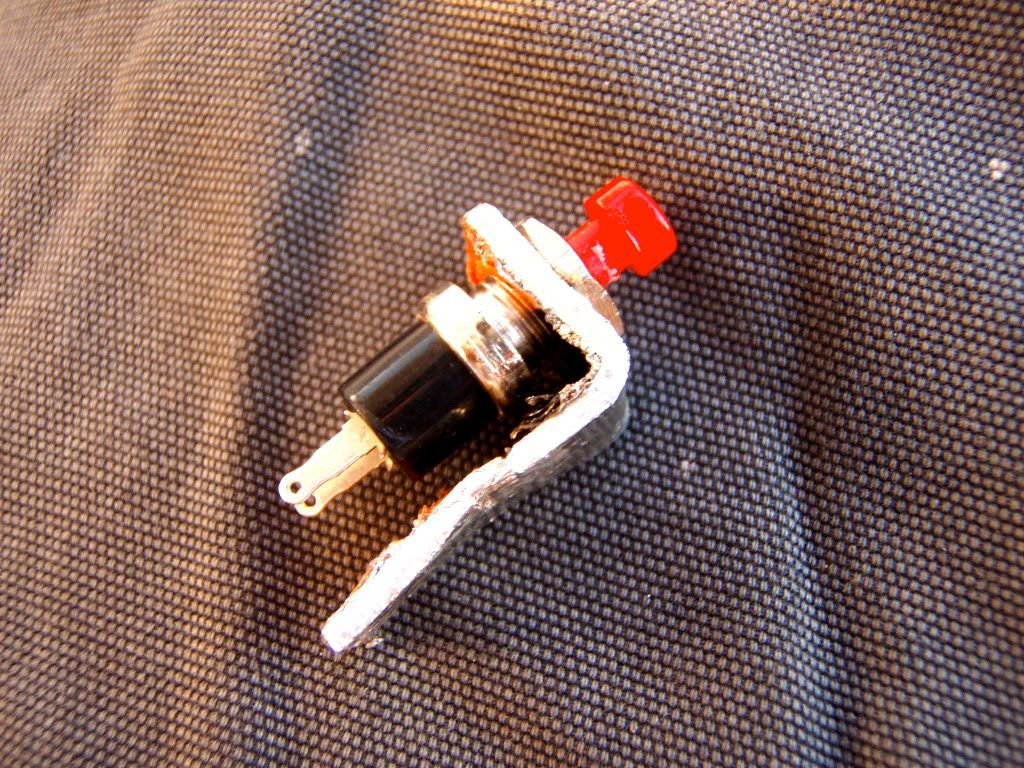
Step 2 -> Solder on two 16 gauge wires (about 6' long each) then fasten the switch bracket to the shifter. I mounted mine this way because I wanted the button on the shifter in such a way that it was easy to press when you wanted to but not easy to press on accident. In this position I can't accidentally hit it whether I am shifting it with a top cane-type grip or a side pistol-grip method, but either way I can simply press the button with my thumb. I cut away some of the rubber outer part and used some stainless wire to secure the bracket like this:
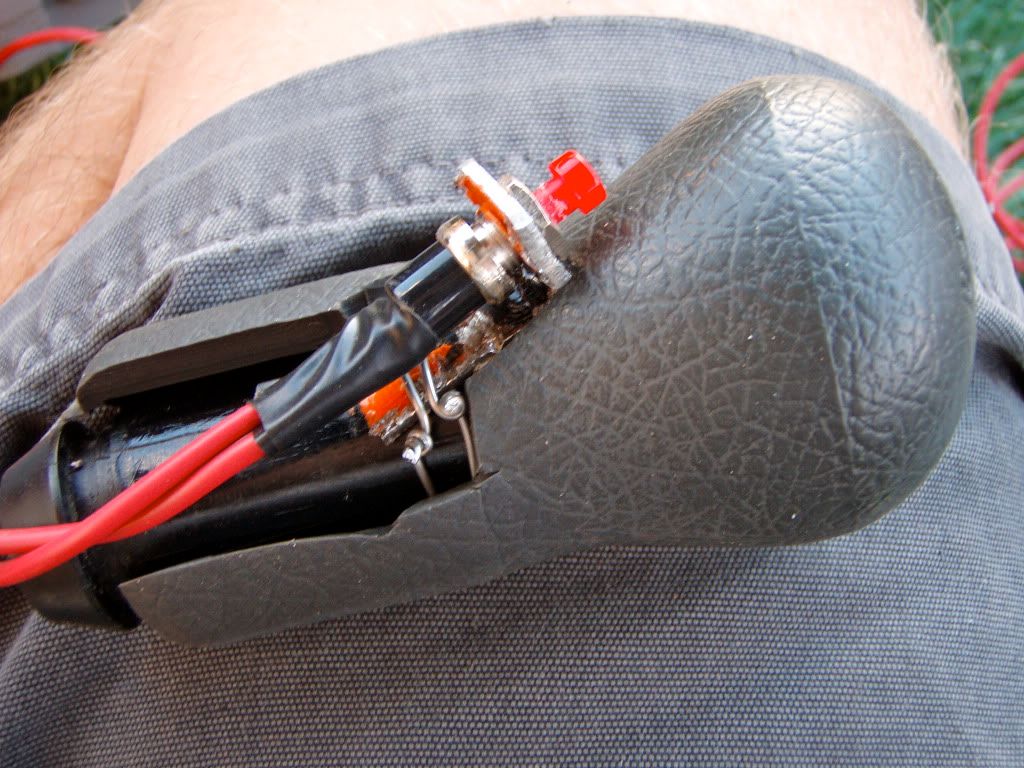
Step 3 -> Run the two wires through the firewall into the engine bay. This can be intimidating if you haven't done it but it's really pretty easy so let me explain it. (If you know how to do this ignore sub-steps A-E)
A: I removed the plastic center console (3 screws on each side along carpet) and the lower dash panel (Three screws along bottom, some clips along the top edge - just pull the top straight back toward the driver)
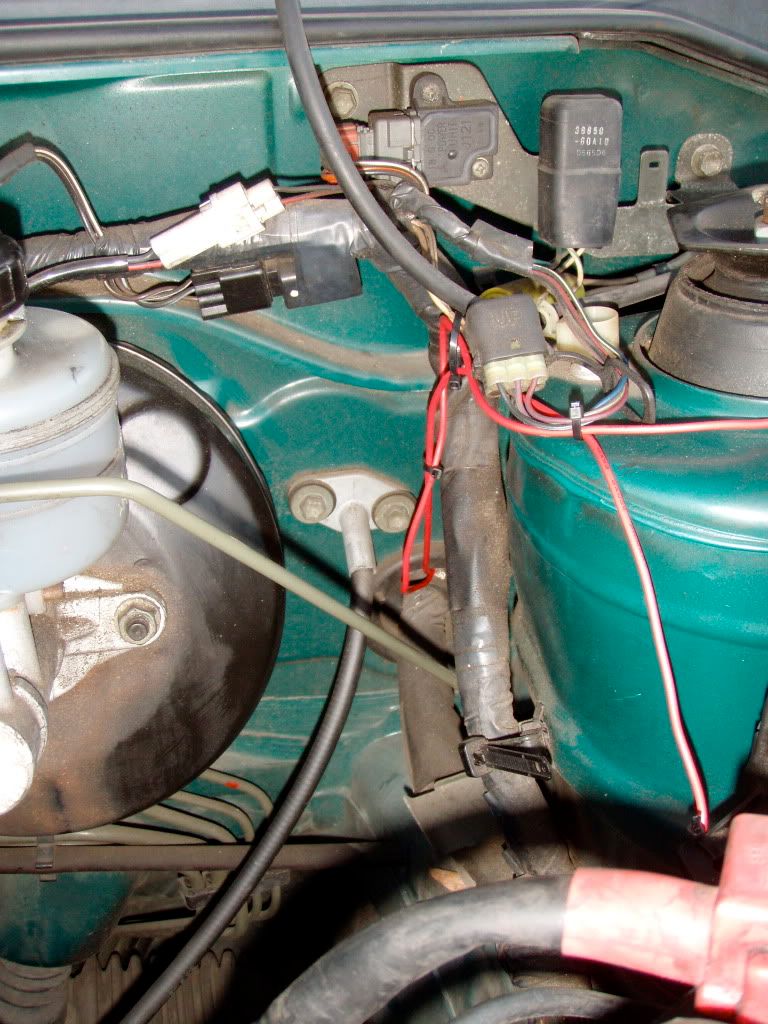
B: Take a piece of bailing wire, or other stiff-ish wire (like a clothes hanger) and push it through the rubber grommet that feeds wires from the engine to the cabin. The rubber grommet is securing say a 1" bundle of wires in a 2" diameter hole. You're goal is to pierce the grommet somewhere between the wires and the firewall by stabbing it with the bailing wire. You can see the two red wires I used traveling down then disappearing into the grommet in this picture:
 C
C:Run the wires from your interior switch through the shift boot, into the center console, up behind the radio, Through the mess of stuff that lives under the steering wheel, and to the bailing wire that you stuck through the grommet. When you're running these wires take your time to go up and over various things so the wire won't be able to fall down where you can catch it on feet or whatever. Also be sure you don't run it in such a way that it will interfere with moving parts (like the petals or vent controls).
D:Now take the end of the bailing wire (you can pull it through enough to get better access down by the pedals) and using pliers bend the last 1/2" or so around the wires from your switch and back on itself so it is like the eye of a needle. Now take some electrical tape and wrap it around this "needle eye" and an inch or two of the wires you are running.
E: Pull the bailing wire from the engine bay side and it should come back with the wires you're running

Step 4: Wire things (Relay, and fuse jumpers) up just like described in bbjsw10's awesome how-to ->
http://ecomodder.com/forum/showthrea...-how-4356.html
The big changes were the location of the fuse. You can see which fuse it was in my fusebox here:
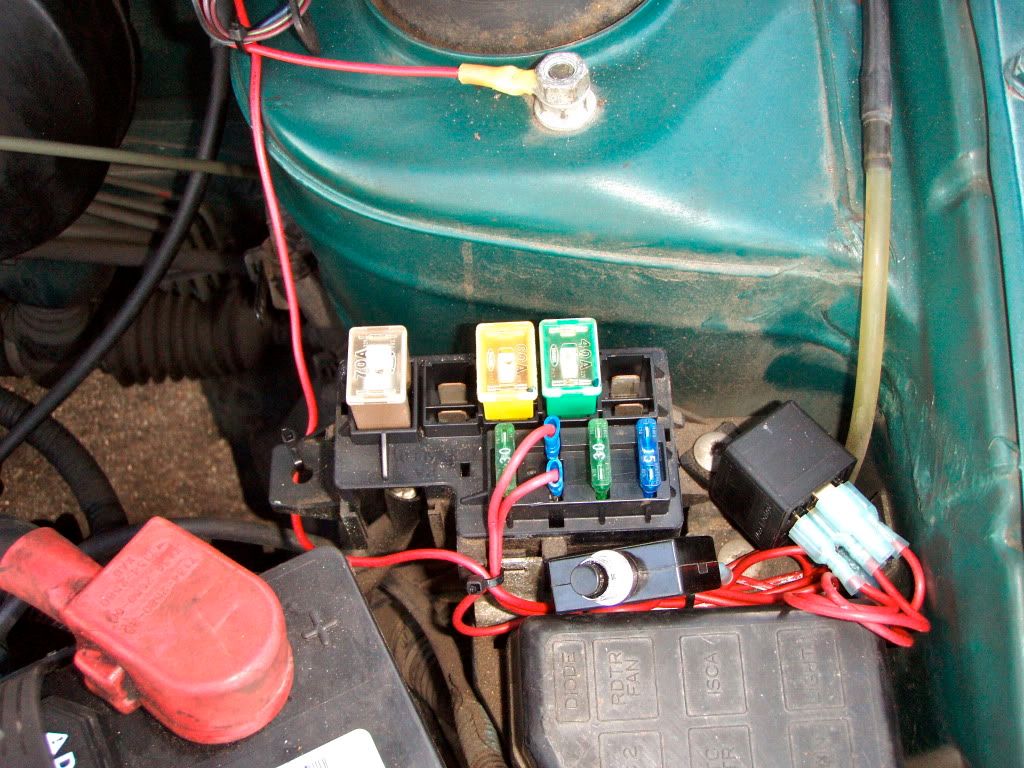
Optional: I decided to replace the fuse with a 15A breaker instead. This way if an event happens that would blow the fuse, I simply push a button to restore the circuit

You can also see the ground wire in that pic (it's one of the wires that runs to the momentary switch)
I used electrical tape to neatly secure it all in the end. I want to buy some giant heat-shrink tube to cover up that tape but it will do for now. Here's how she looks:
