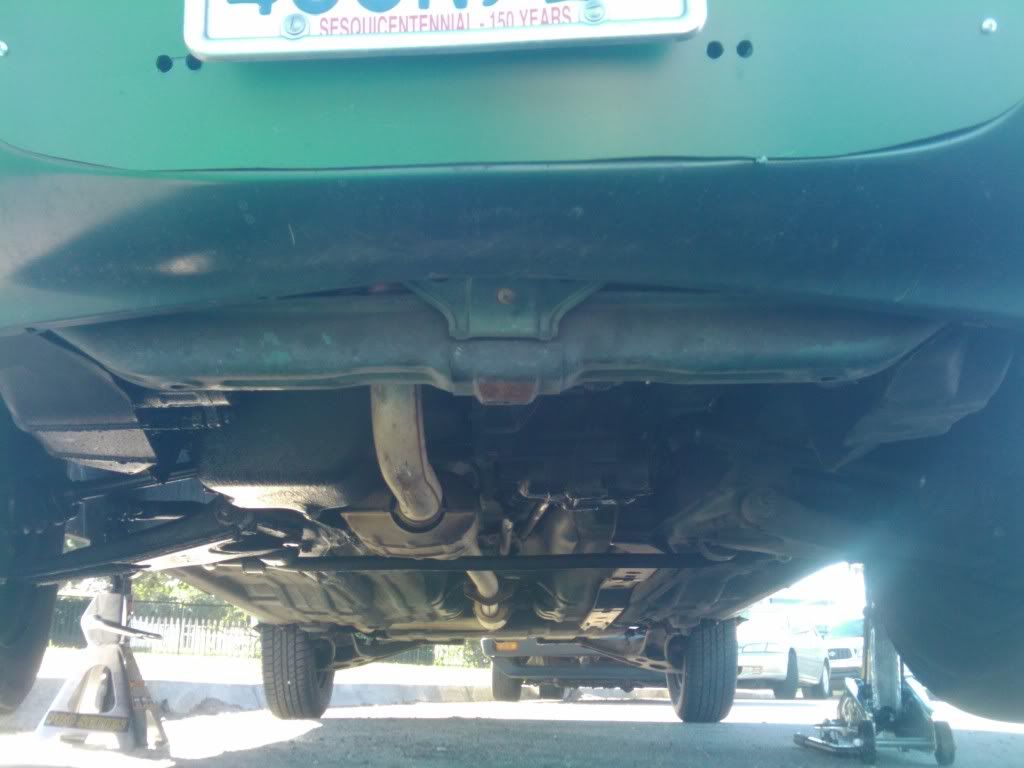
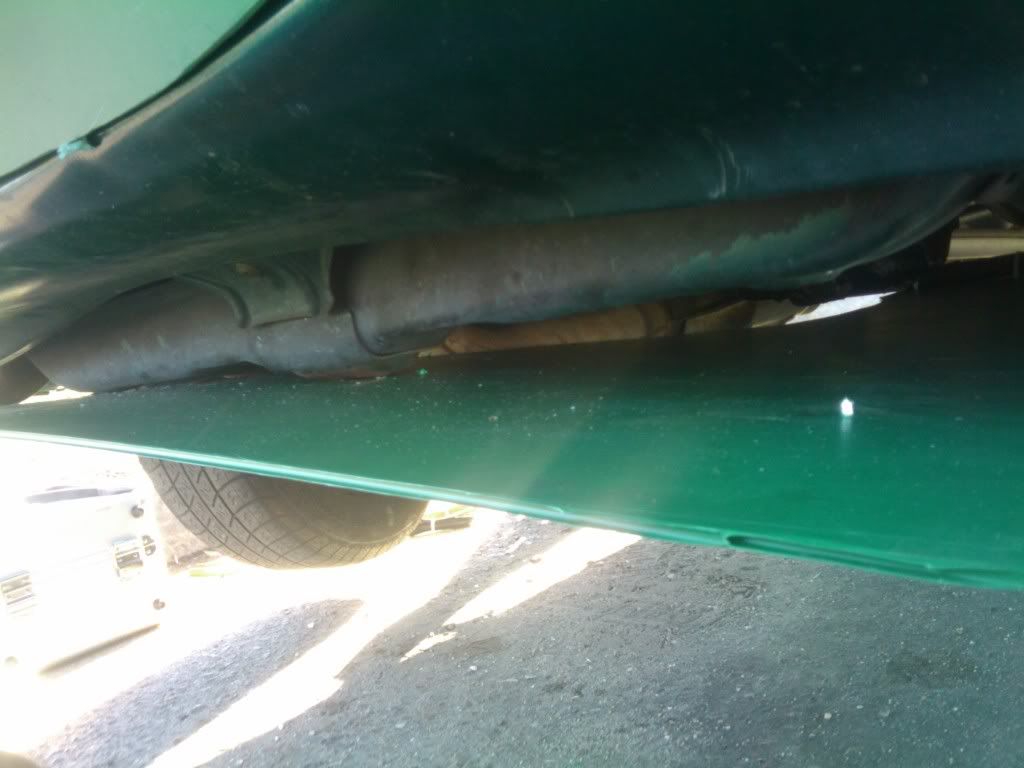
Hooray for my days off (Mon/Tues)! I decided to start with the front portion of the belly pan. The Geo is kind of a mess underneath for aerodynamics. It has a ton of clearance so a lot of air goes under the car but there is no under engine cover of any kind, and the frame and suspension hang well into the flow. I plan on making a complete belly pan but today I did only the front portion. Here is the before shot:
Tools / supplies Needed:
- 1/2 sheet (4'x4') of coreplast -> $7
- Zip Ties -> already owned
- Self Taping sheetmetal screws -> already owned
- cordless drill
- Boxcutter
- Time - 3 hours
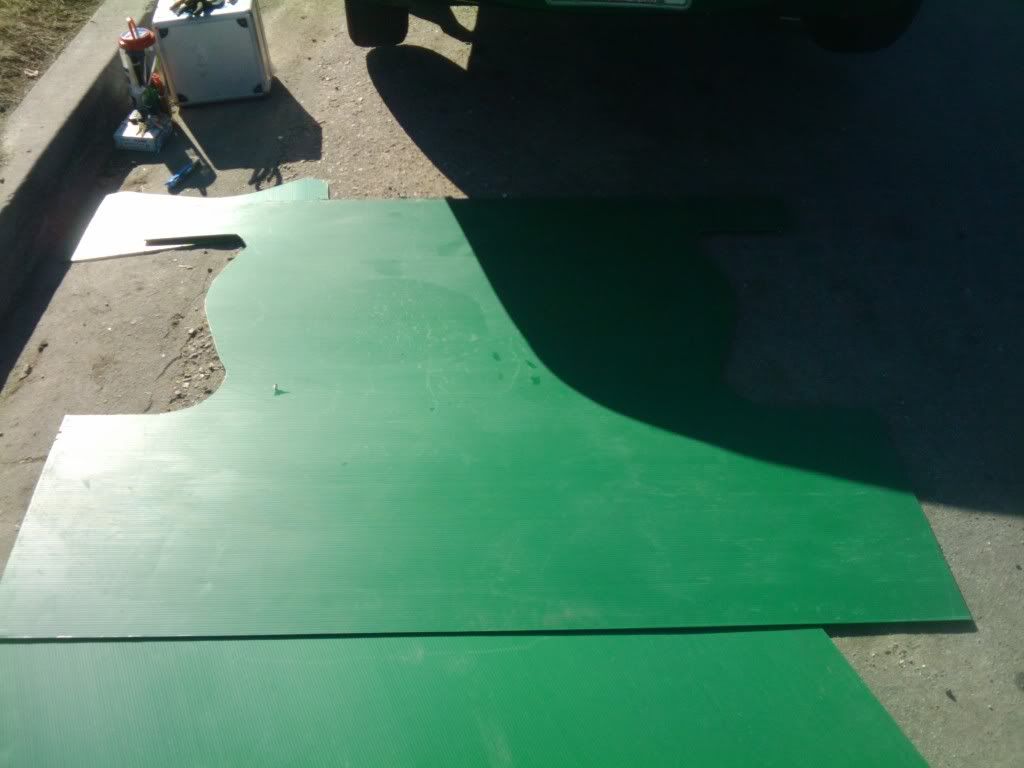
Step 1:Jack up the front of the car, lay the coreplast under the engine bay and eyeballing it from above cut it to the width of the car(generously). The boxcutter cuts through the coreplast easily. I cut two rounded m shapes to allow for wheel turnage (generously again because you can trim it all perfectly once it is in place)
 Step 2:
Drill a small hole in the frontmost portion of each jack point. Hold the coreplast in place and drill two small holes on either side of the jack point. Now secure the back of the belly pan with two temporary zip ties (I used big ones at the end but small ones were sufficient for getting started) Don't cinch these down all the way as you'll be moving the coreplast around for a while, you just want a hingepoint that gets it more or less in place.
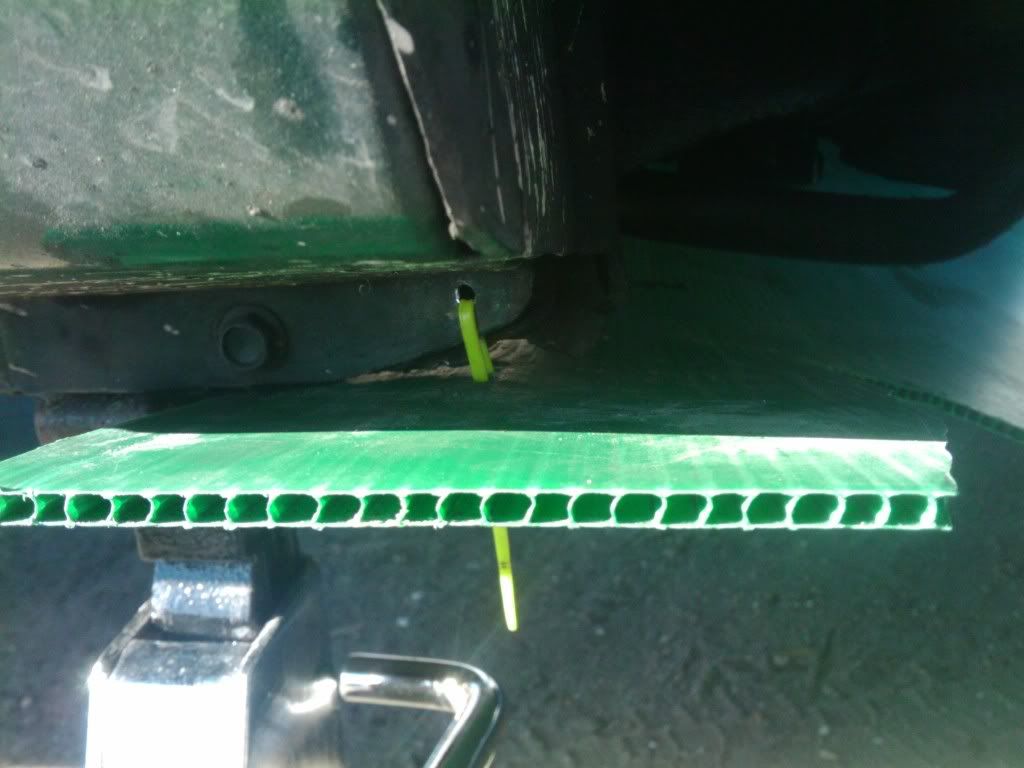
These two points will act as extra hands holding the back where it should be and allowing you to hold the belly pan in place with one hand in the front

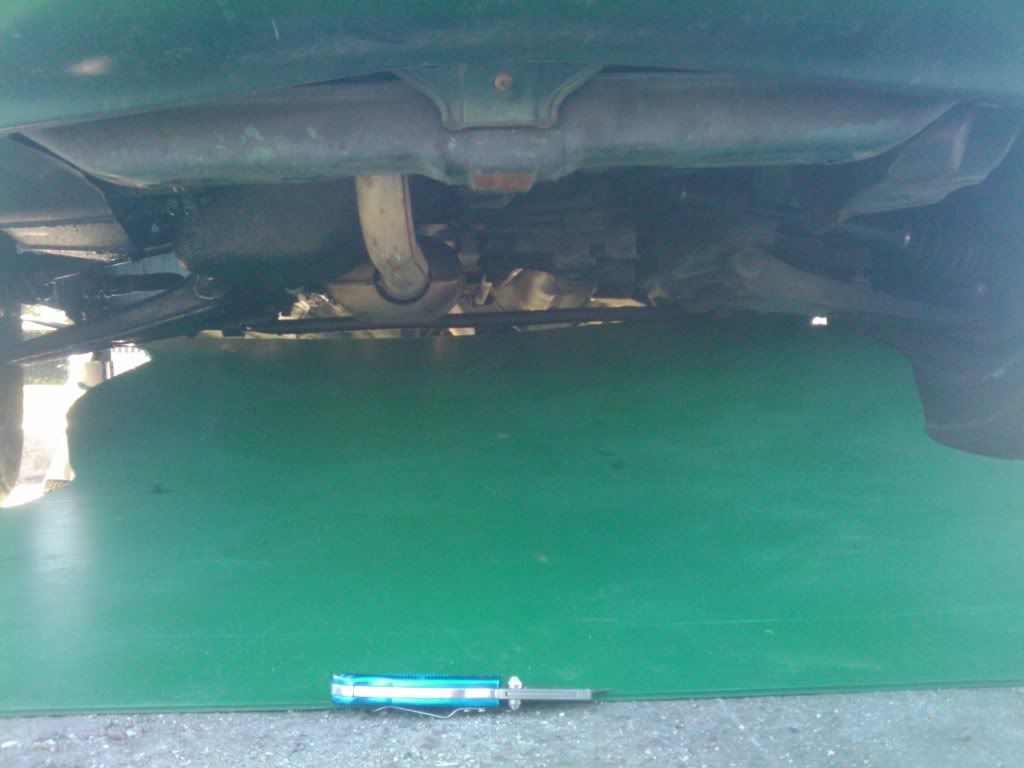 Step 3:
Hold the front of the belly pan flush with the bottom edge of the bumper and scratch yourself a line around the edge (Again I was about 1" generous here, it's best to trim it perfectly once it's mounted)
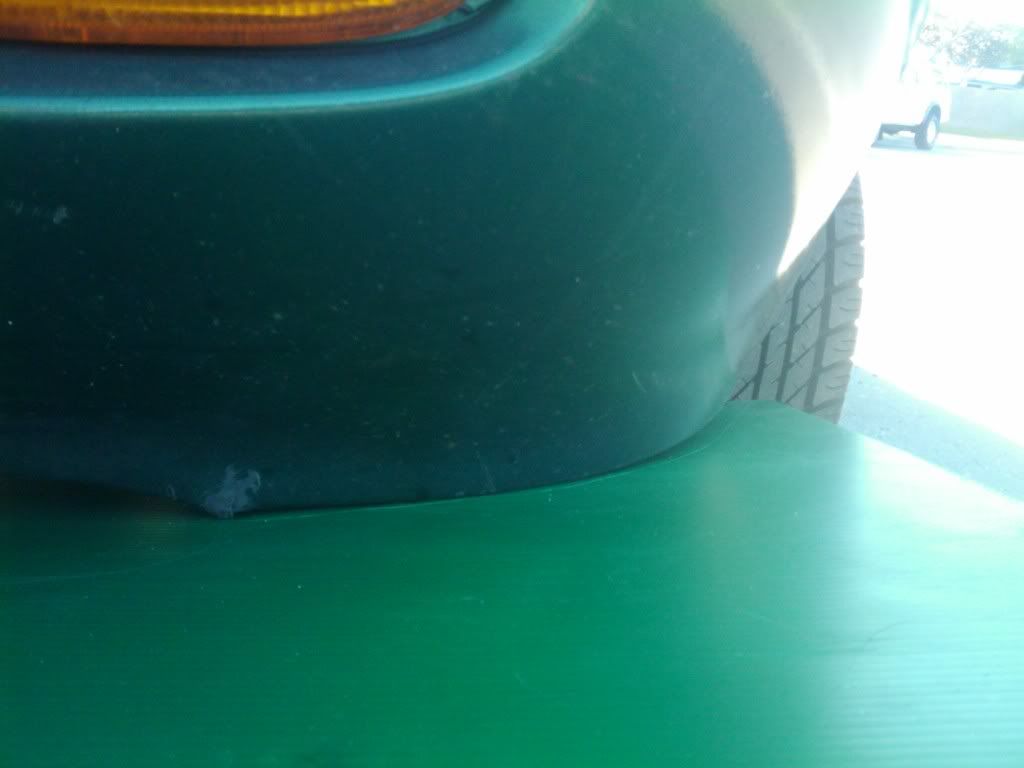
The Geo bumper flattens out at the bottom higher than the front of the frame so I made a long tab running from tow-hook to tow-hook that will be tacked up to smooth the flow over the frame's hard angle. It looks like this:
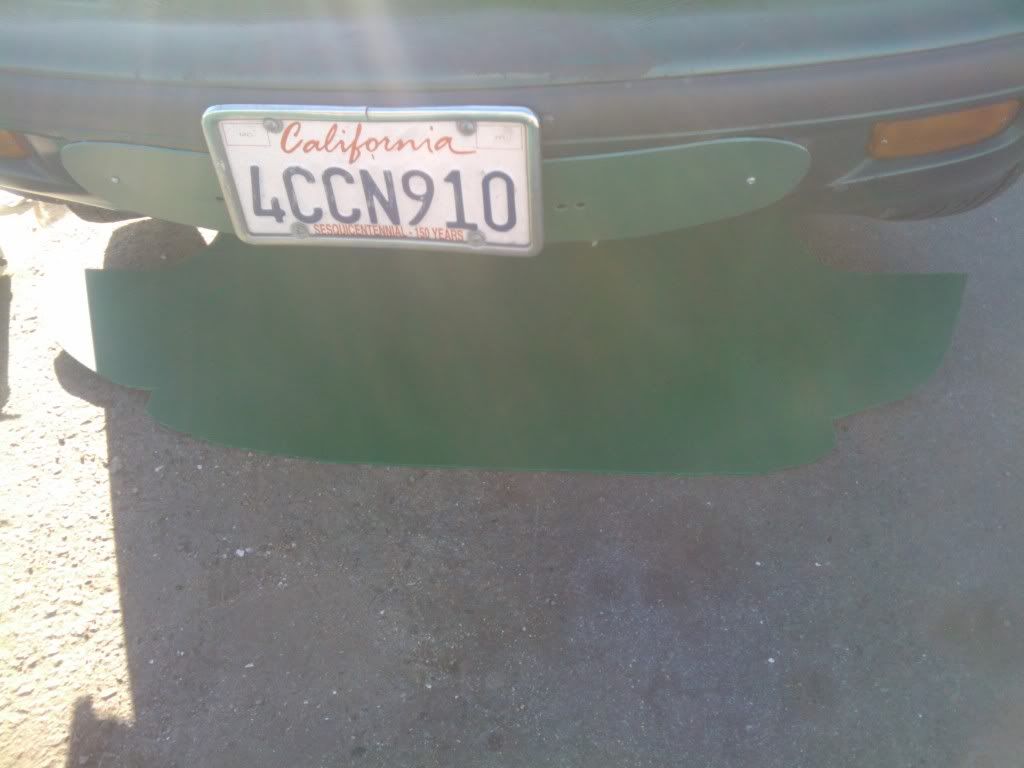 Step 4:
 With the Back hinged like this it is easy enough to cutout some space for the exhaust and cat. I just gave it like 2" around, later I'll rivet in some aluminum flashing.
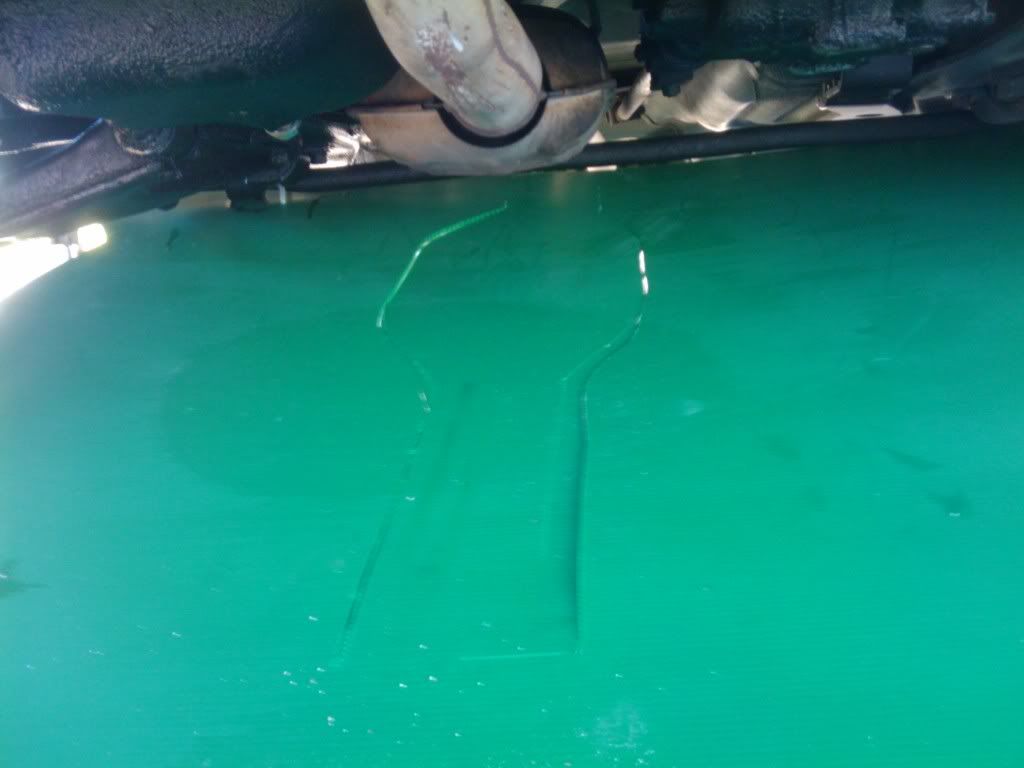 Step 5:
Now that we have a generous template it's time to begin securing it. I started at the back again by drilling small holes in the coreplast and ziptie-ing it to the bar that runs from jackpoint to jackpoint (I think this is the lower strut bar? Whatever it is, I'm sure it will move some with the suspension but a few zip ties looping over it shouldn't impede this nor put a ton of stress on the ties but it will keep the bellypan nice and secure so it doesn't flap about.
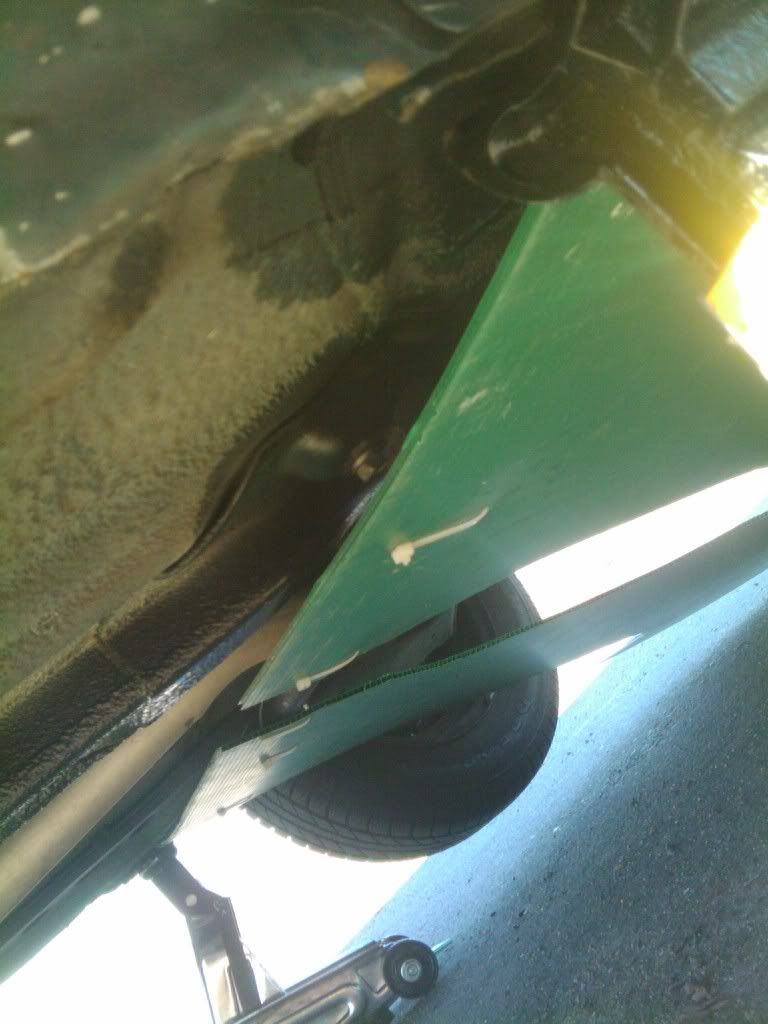 Step 6:
Now from the front of the car, hold the bellypan in place and pull it forward to remove any sag/slack. Using 3 self tapping screws secure it to the bottom of the frame front (Do the center first so you can ensure things are nice and straight)
 Step 7:
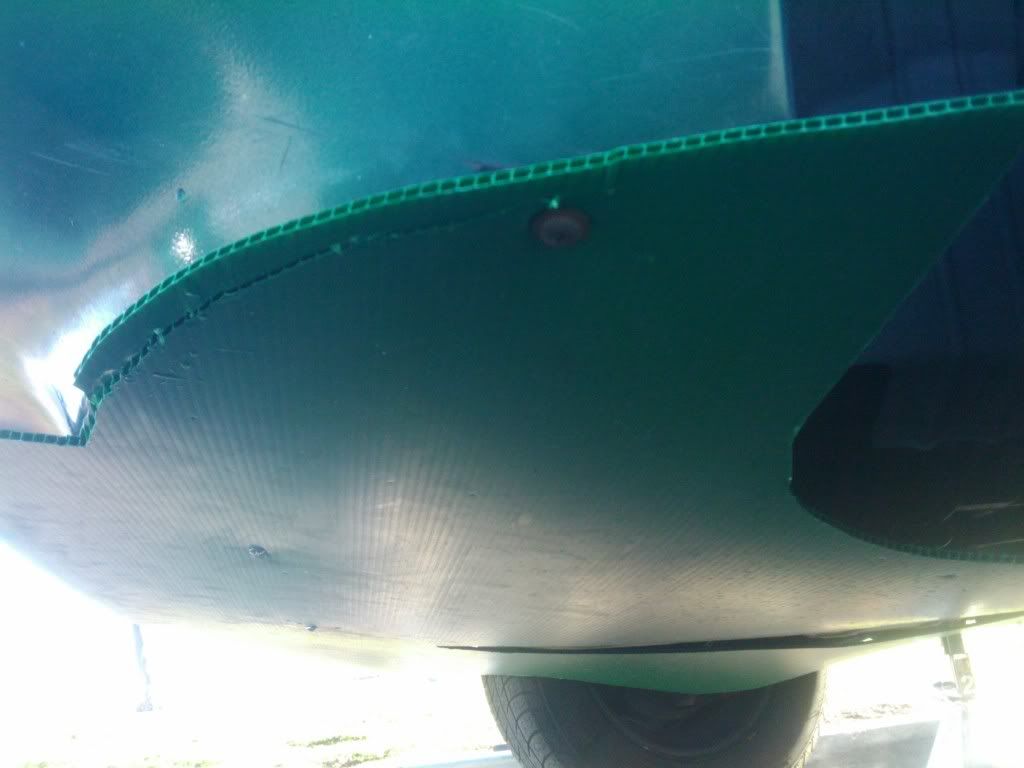
Next undo the existing screw under the bumper that secures it to the wheel-well splash shield and use it to secure the coreplast to the bumper corners
 Step 8:
Now that it's secured in place, use the boxcutter to carefully trim off your excess. I kept the knife at like a 45 degree angle, cutting from below so the tip of the blade was away from the bumper. This worked well and even gave the coreplast a little angle continuation from the bumper.
 Step 9:
Now it's time to bend that tab from the frame edge up to the lower part of the bumper and secure it with some self tapping screws into the bottom of the bumper. like so:
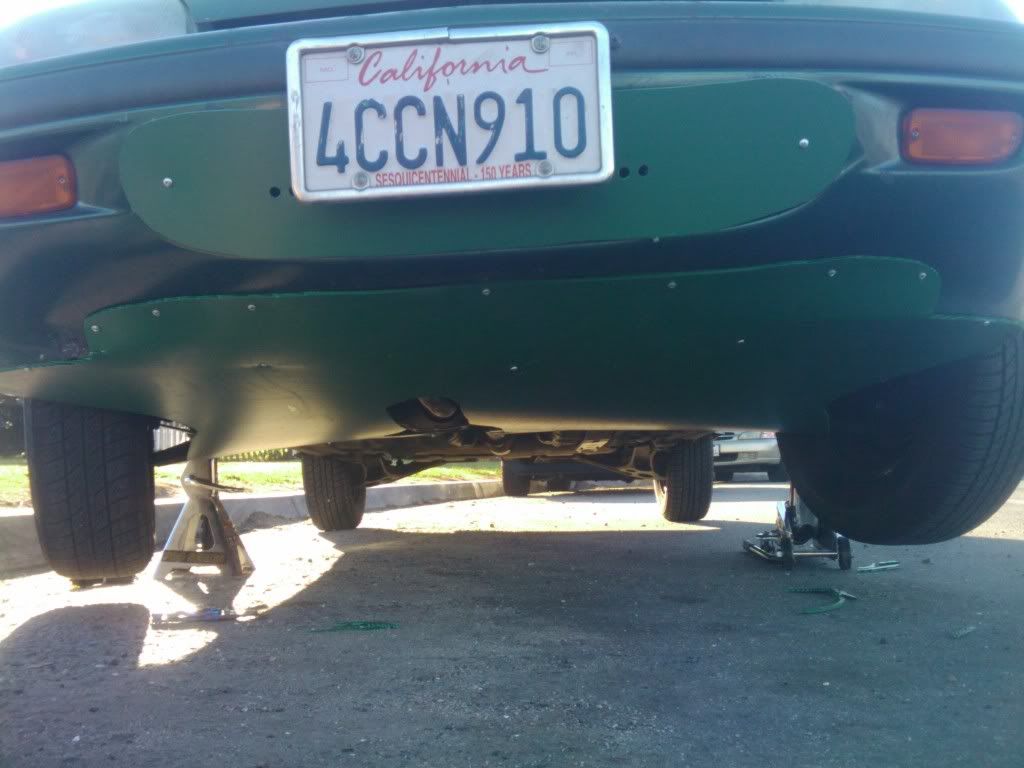
I ended up adding a few more screws after this pic just because I wanted to be sure no air get's between the coreplast and bumper. If I find some green tape I may tape over the coreplast edge just to smooth it out and seal it even more.
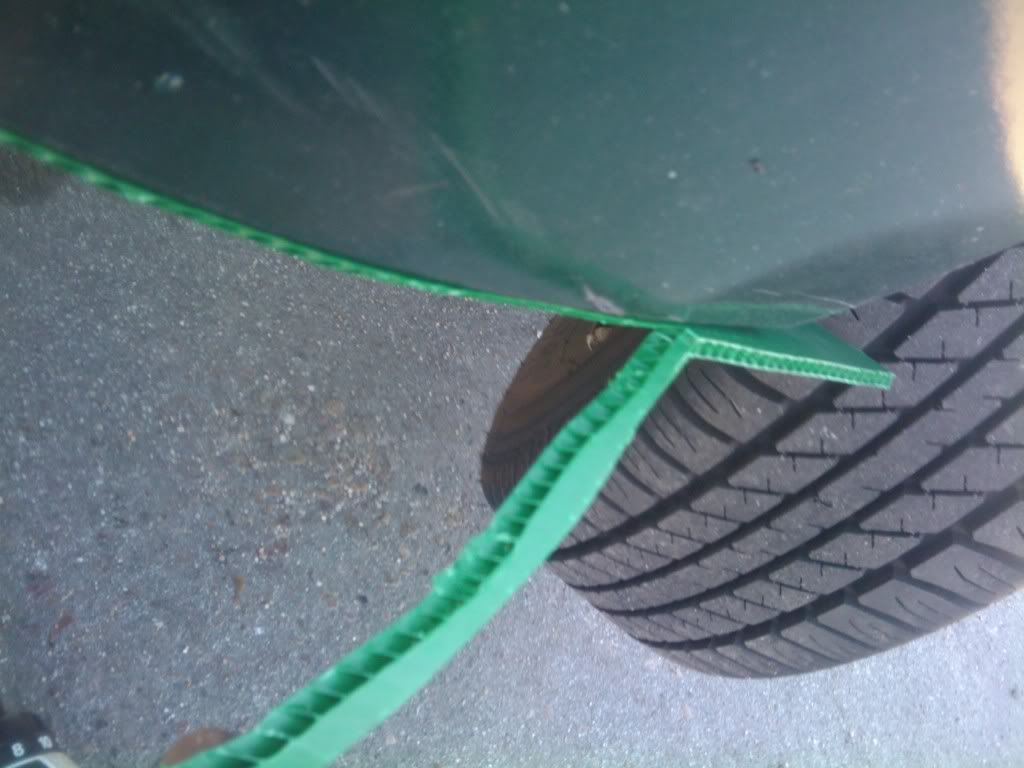
Step 10:Last thing to do is turn the wheels to the max and trim the coreplast so that it does not impede wheel turning or rub at all. If you have the key in the on position so the steering is unlocked you can easily turn the wheels themselves so there is no need to go back and forth to the steering wheel. My M became a bit more pronounced and the clearance looks like this:
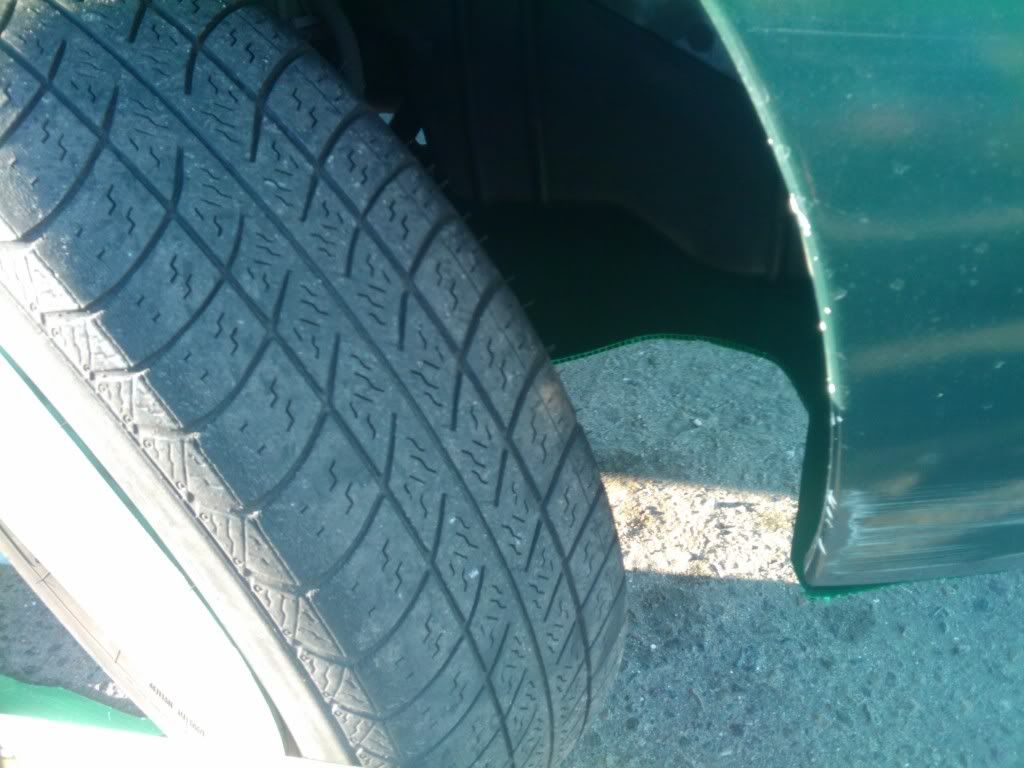
and
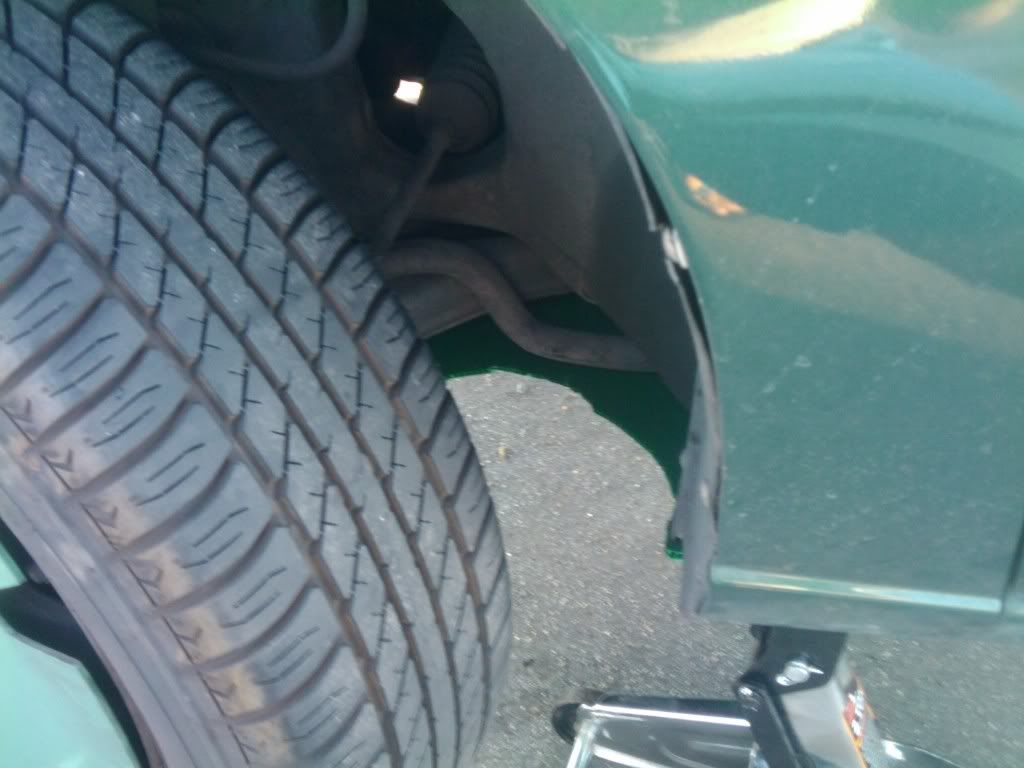 Step 11:
Last thing was trip the coreplast so there is a slot where the jackpoints can go through and replace those cheezy zip ties with sometihing beefier.
Step 12:Enjoy improved aero. MetroMpg's testing seemed to indicate this would be about a 2% gain in FE. I think it was Basjoos but someone was saying a full bellypan significantly lowers road noise as well. I'll have to drive it around and see
