After driving it for a week with the front section belly pan installed, I "learned" that it needed two issues corrected before I could proceed to the middle and rear sections.
1) The oil change access panel came loose within the first 50 miles;the duct tape attachment method was completely useless and potentially dangerous if I were to snag the dangling panel, say when backing up. I decided it needed a resuable fastener, ideally something that would screw into solid threads.
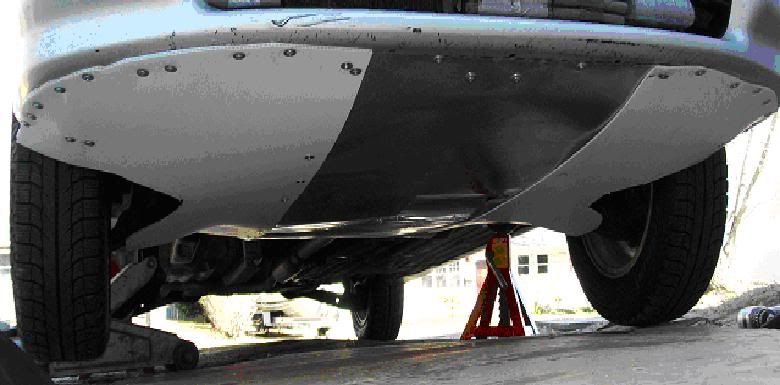
2) The belly pan was sagging too low to the ground. I think this was because I built it with the car on jack stands so the wheels were dropped to maximum depth while building. I had pulled the pan material tight when I built it the first time but there simply was too much slack.
This pic exaggerates the sag, but it did come within about 2 inches of the top of the 2x6, which approximates the level of the tire treads on the ramps.

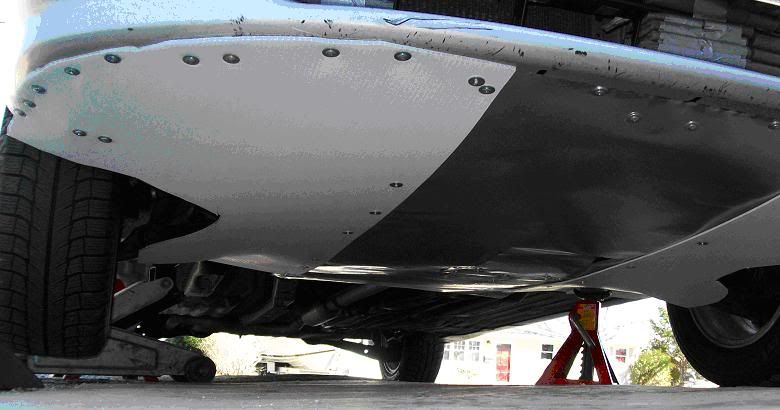
Today I detached the fasteners at the rear while I had it up on ramps - not jack stands. So when tightening, the wheels were pressed up into normal position. I pulled it taught rearward and refastened. Next I put it on the stands to let the wheels drop - to verify enough give in the material, and to check wheel/tire clearance. Sure enough, it needed some additional trimming of the coroplast at the wheel cutouts.
Here's a shot of the driver's side control arm area. You can see the belly pan is pretty taught against the "dropped" control arm (car is on jack stands).
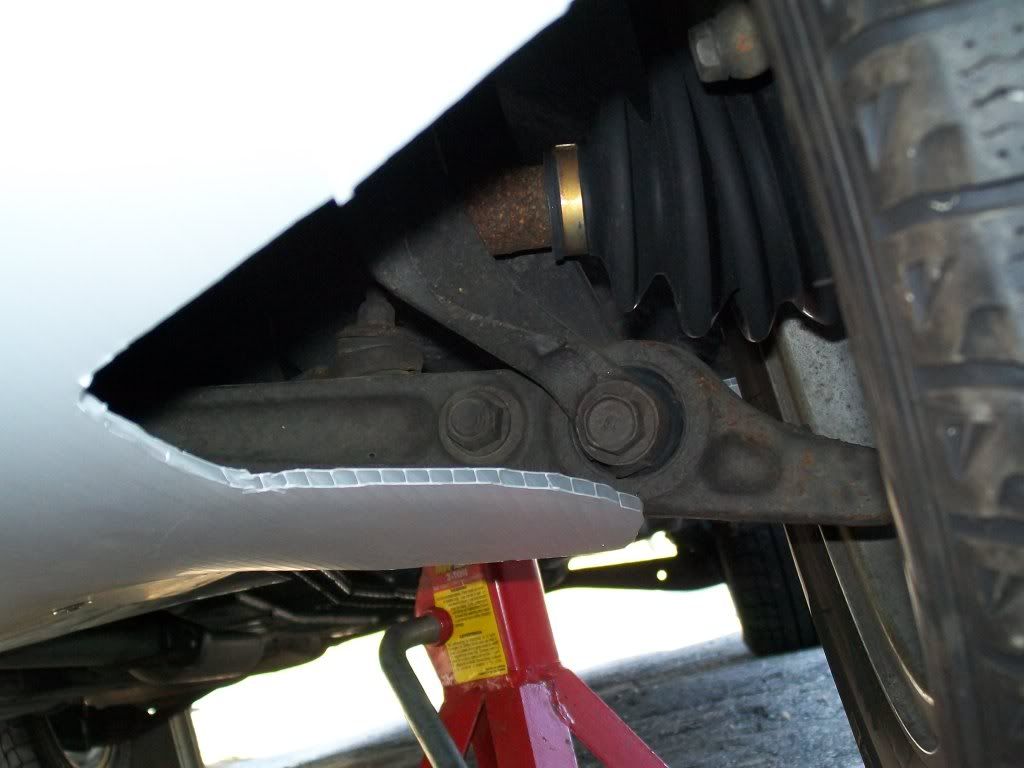
This photo reminds me - I think I need to run a bead of silicone sealer along all the coroplast edges where the channels are exposed. At the front I could make a regular bead so it has a pretty smooth transition from oem bumper cover to the coroplast.
Next I revisited how to attach the access panel. Here's a shot of the older version. The duct tape is gone and I had used a couple sheet metal screws to tack it together. Not very durable, as the aluminum flashing doesn't have enough "beef" to hold the screws.
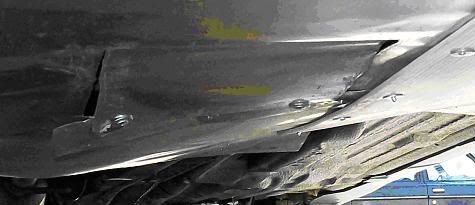
This view is rearward, you can see the panel is cut on 3 sides so it will hang down when the fasteners are removed. Last weekend I'd riveted in a 3" wide strip across the rear so there would be something behind the panel when I push it up into place. You can kinda see the added strip here, but the next pic is more clear.
Before today's upgrades:
After today's upgrades (notes are below the pic):
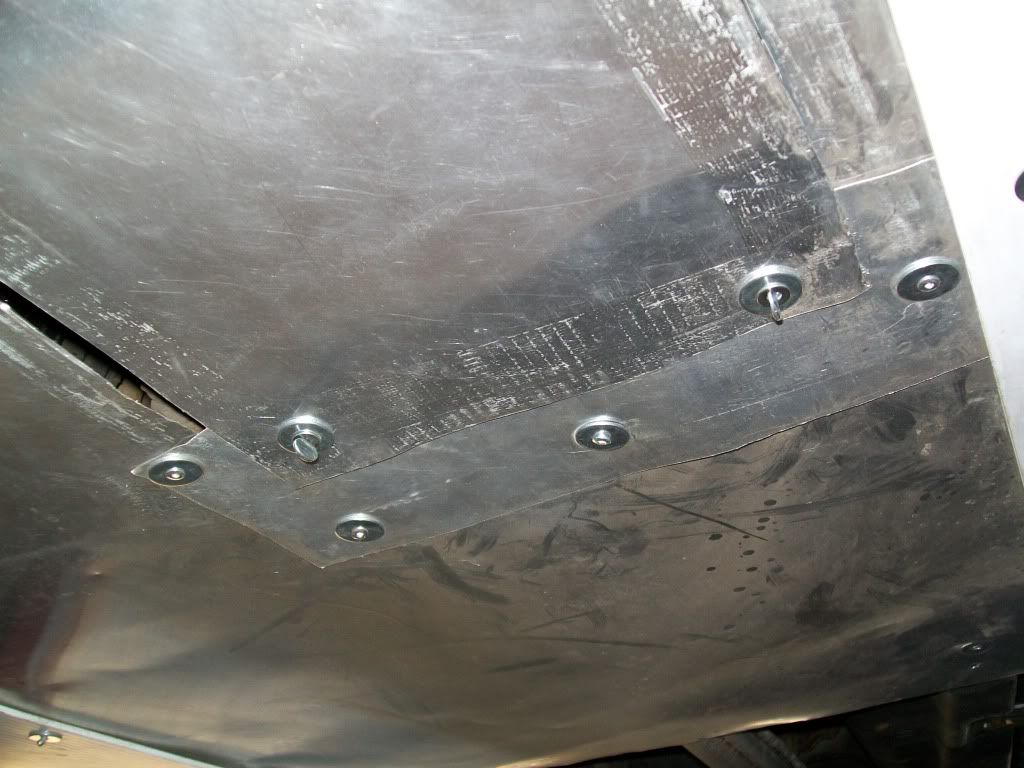
Here you can see the 3" wide strip at the rear of the access panel, riveted in 4 visible places. Those are #6-32 thumbscrews holding up the rear edge of the panel, with a couple washers each. They go into threaded fasteners that are similar to a wall anchor - when you tighten the screw the fastener gets fatter and shorter, pulls tight against the sheet metal. I put some thin lauan plywood behind the narrow flashing strip to give it some strength 'cause I consider the flashing alone to be kinda flimsy for holding the female threaded fastener. If ya don't like plywood on your car (I do!), use plastic or metal.
So here's how it looked today, up on jack stands, when I was all done.