I started on front wheel airdams for my Avalon. The underbody is not totally hideous, but the front wheels and suspension parts need to be screened. The pics below were taken when I was assembling the passenger-side airdam; the driver's side is not very different, just reversed

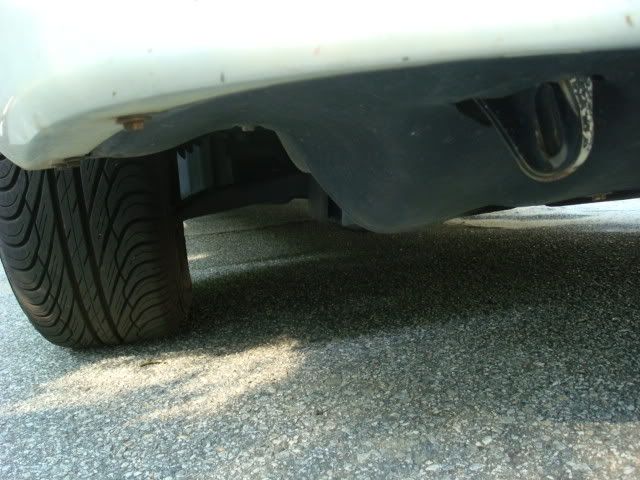
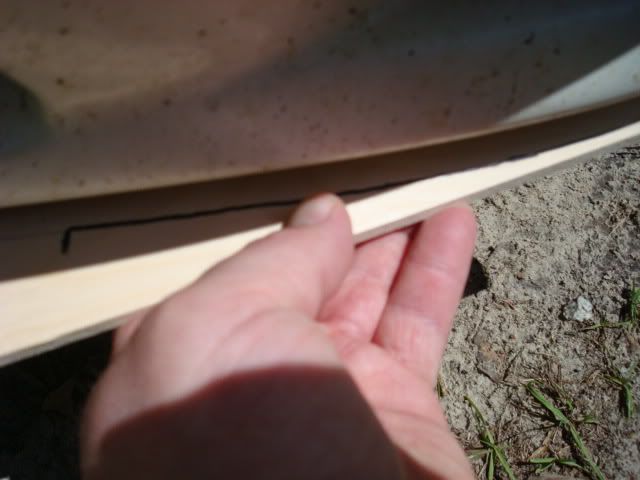
So, I searched the shop for 1/4" and 1/2" birch plywood, and some sheets of 1/32" balsa. I traced the outline of the bottom of the front-end plastic onto the 1/4" plywood...
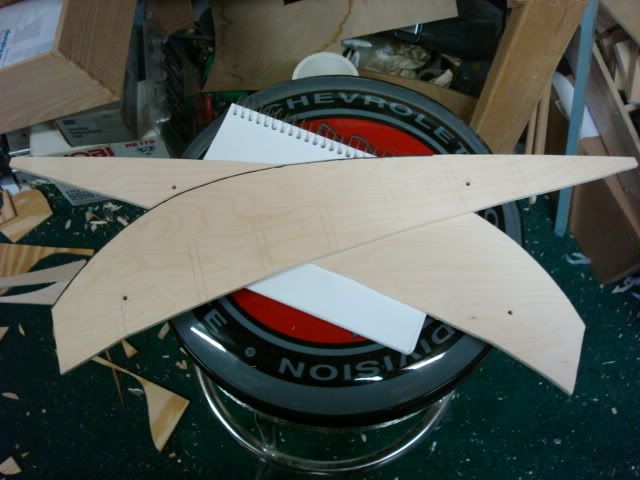
then cut out a right and a left, and then transferred that to the 1/2" ply, and cut out those 2 pieces, seen below. The skinny end of the 'swoosh' points towards the centerline of the car. Oh, almost forgot... I drilled holes to line up with existing trim mounting holes on the car, so I could use longer screws and bolt them up.
I wanted to allow 4" of ground clearance, so the airdams would need to be 5.75" high. Factoring in the 3/4" of plywood (1/2" top, 1/4" bottom), I cut six 5" high sections of 1"x1" poplar to use as columns between the upper and lower pieces:
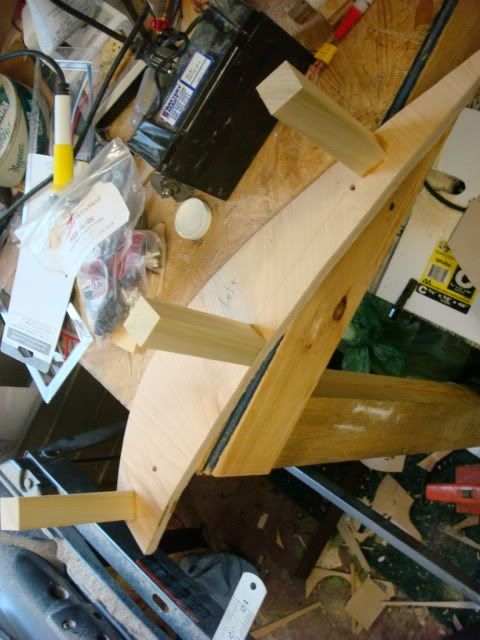
They were assembled upside-down:

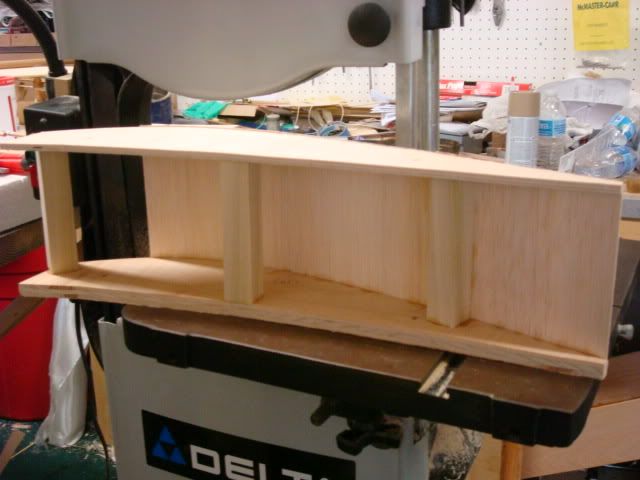
And then the 5.75" high sections of 1/32" balsa sheet were CA-glued to the frame; This is where it really started to look like something worth doing


These will be covered on the outside with a layer of medium glass cloth and 2 layers of very fine glass cloth, sanded like hell and painted as close as I can get to the right shade of white. The inside will get some reinforcing of the balsa and more layers of medium cloth. The ends of the columns will also get fiberglassed to the upper and lower plywood pieces. All exposed wood will be painted with West System epoxy (it's used to make boat hulls, so it's fully waterproof)(it's also what I have laying around the shop... score for no extra cash outlay!)
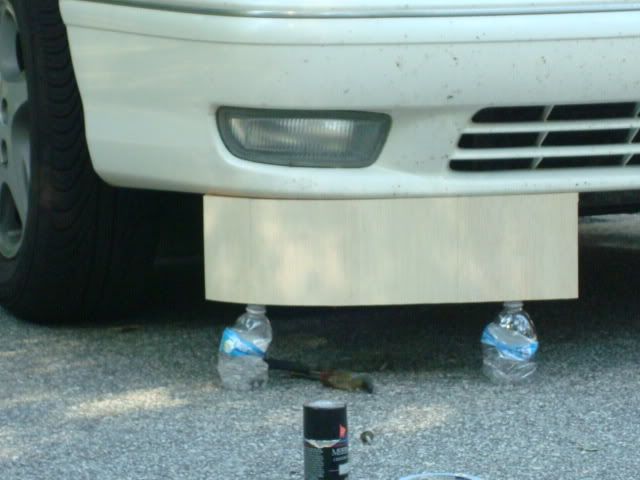
Just for giggles, I loosely fitted the passenger side airdam to the car, held up with high-tech, er, holders.
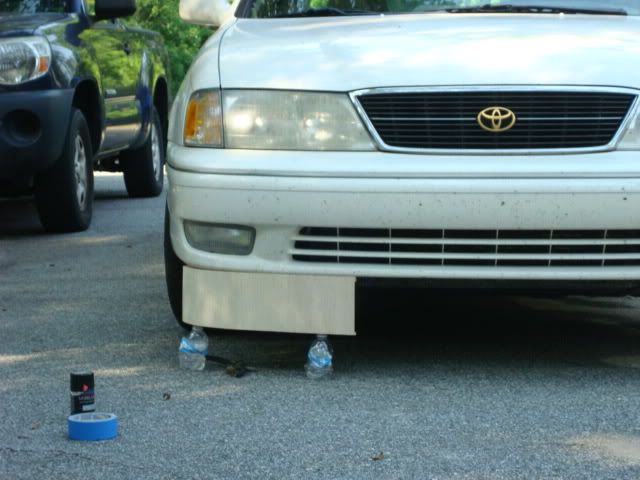

The airdam will be extended aft to blend with the wheelwell. This will happen tomorrow; more pics to follow. The top edge of the airdam that looks like it sticks out too far is not a mistake; I plan to extend the airdam upwards to cover the fog lamp inlet and part of the lower grille. The front edge of the airdam sticks out so that the material-yet-to-come can clear stuff above it, up to the lip on the bumper plastic below that chrome trim.
