First I must thank metroMPG for his inspiring innovation, measurements and suggestions, they were invaluable in making this happen. My goal was simply to mimic the shape and size of his kammback but construct it more simply with aluminum and coreplast and the addition of a plexiglass window for improved rear view.
Here are the tools/supplies needed:
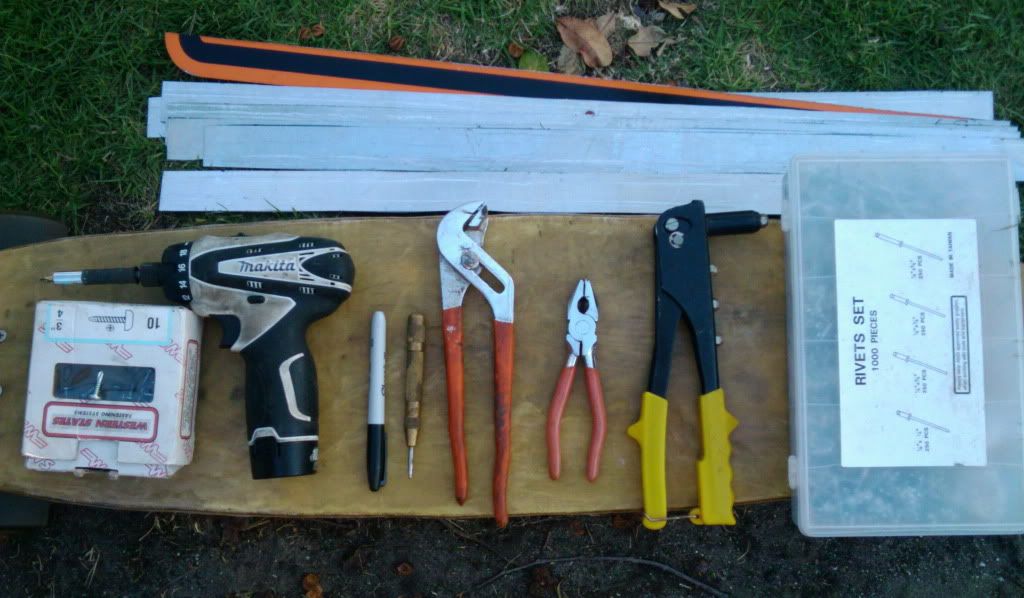
- Aluminum bar stock or strips. (I cut up an aluminum construction sign I purchased at a scrap yard)
- Self Tapping Screws
- Tinsnips (these worked amazingly well for aluminum trimming/cutting)
- Drill with drill bits and screwdriver bits
- permanent marker
- Metal Punch (optional but helpful)
- two sets of pliers (for bending the aluminum)
- Rivets/Rivet tool (optional - I ended up not using it)
- Coreplast
- plexiglass
- Boxcutter or razorknife
- Tape for sealing/smoothing edges
- Time - about 5 hours
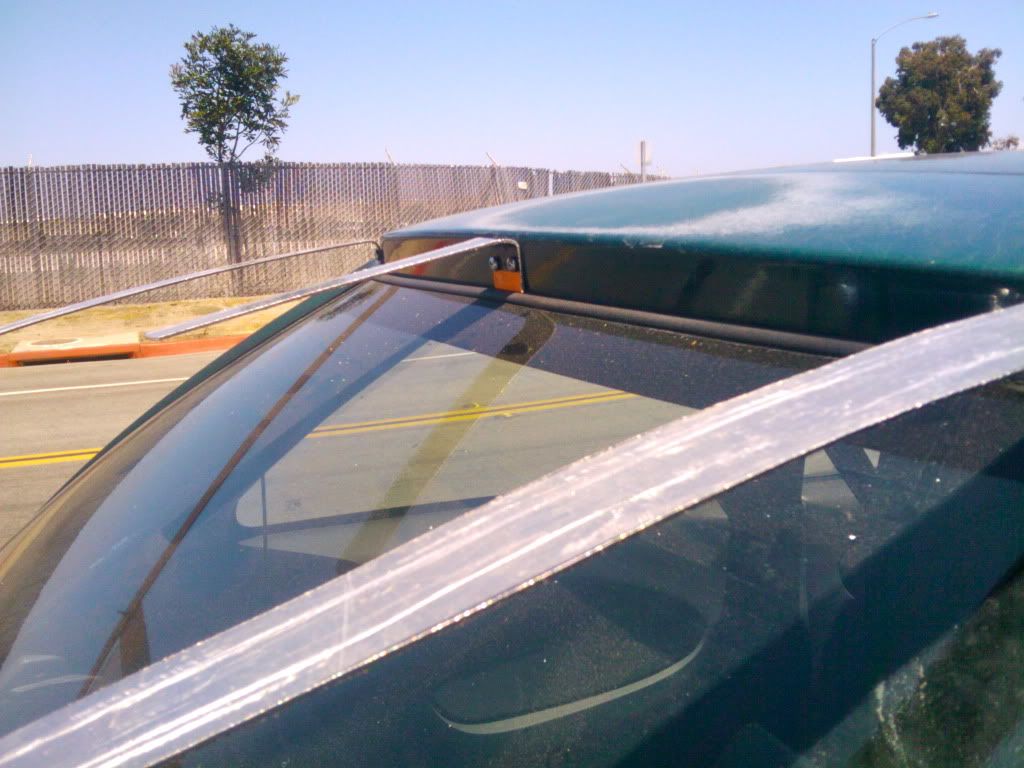
STEP 1: Using the self-tapping screws attach two equal lengths of aluminum to the hatch above the window (Yes I drilled into the car) right around the width of the drip rails. Bend them roughly to a 15% angle from the roof and be sure your bend is about 1/4 inch short of the actual roofline (so the coreplast will sit flush when attached on top. I recommend you 1) use both sets of pliers to grab and bend the aluminum precisely where you intend to, and 2) hold the aluminum in place and use the metalpunch to mark the spots you want to install the screws. Step 1 should look something like this:
 Step 2:
 cut a strip of aluminum to be roughly the same length as the distance between drip rails and - using the self tapping screws (even if you plan on riveting later - because you'll be adding lots more layers to these drill points) - attach the ends to the ends of your first two pieces so that you have something like this:
 Step 3:
 Build the bottom outside braces. For these I chose to screw into the hatch again, this time between the taillights and the hatch window. Bend them so they will make a correct angle toward the ends of your trailing cross piece (again leave about 1/4 of an inch to accommodate the coreplast you'll be adding). Ensure you have the correct angle then using the pliers bend the end not attached to the car so that it will hold up the rear corner of the kammback. The angle will be funky and leave some extra aluminum sticking out, mark it with the marker and trim it with the tinsnips. Do this on both sides and then screw the braces in using your existing self-tappers. Should look something like this (except hopefully you're working in the day):
 Step 4:
 I fitted a plexiglass scrap I picked up at the plastics place to ride across the top of the kammback overlapping the aluminum all the way to the trailing edge. I then tied in one more crossmember of aluminum to act as a support for the leading edge of this window. I suggest you lay it in place then screw it on then mark and trim it. I originally made it match the length of the trailing crossmember but it need up kinda closing the width of the whole thing so I undid those screws and redrilled. You can see the crossbrace here:
 Step 5:
 Step back to admire your skeleton and compare it with MetroMPG's (his was tuft-tested and adjusted to near perfection). At this point I began to get excited:
 Step 6:
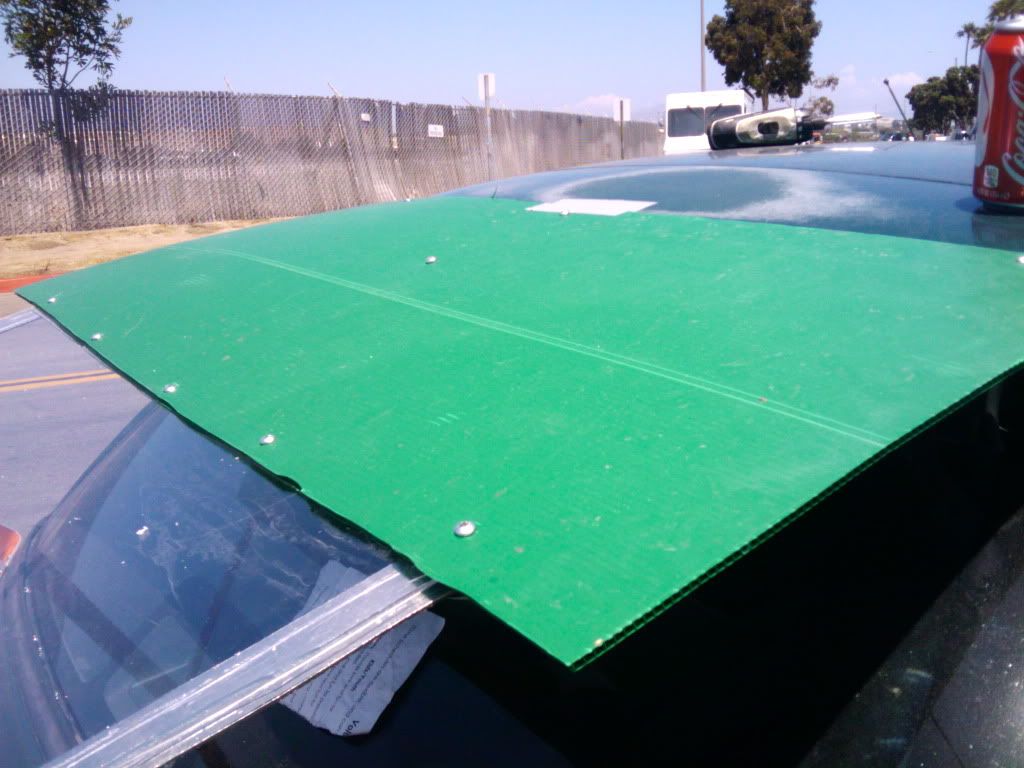
 Cut a generous piece of coreplast to the rough shape of the roofline, width of the kammback top, so that it extends down over top frame of the window. Should look something like:
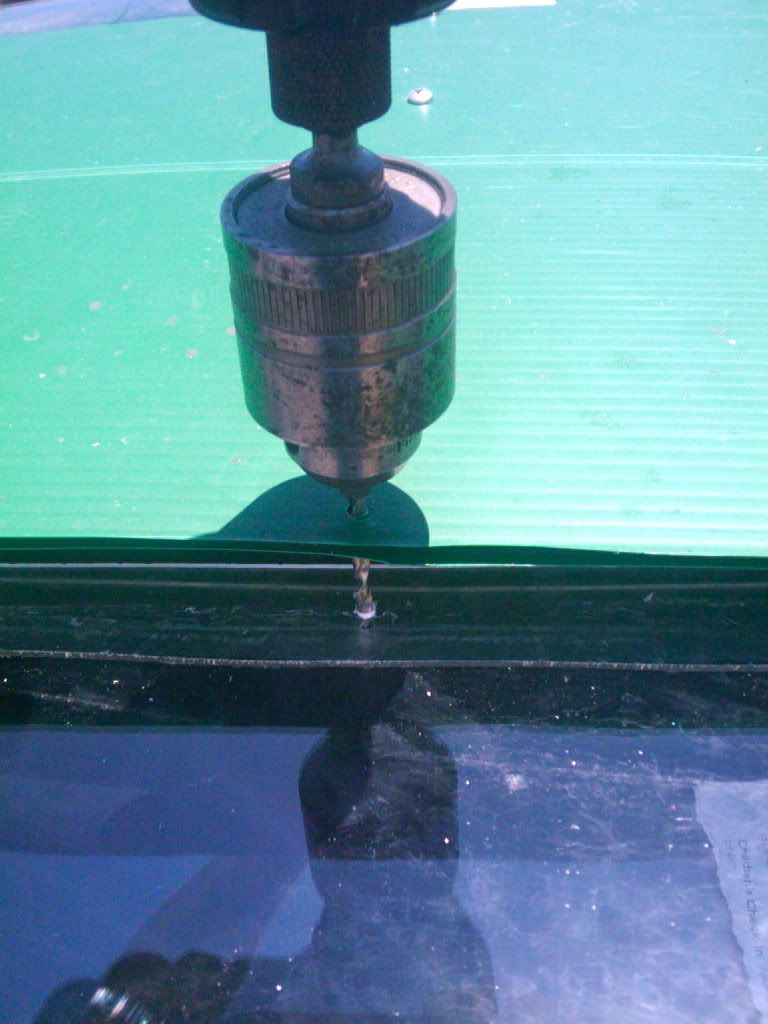
 Step 7:
One at a time pull the screws that make up the kamm-window frame, carefully mark and drill through the plexiglass and install it over the top of the frame. Be really careful to pre-drill, I recommend you do not use self tappers until you've predrilled and definitely don't use the metalpunch to mark your drill spot. Once this is done, begin securing the coreplast to the plexi, to the aluminum. You can see that here:
This was feeling a little flimsy in the middle so I added another brace at the top of the hatch. It looks like this:
Once everything is in place trim the coreplast top layer along the side edges of the kammback top so that it can be bent down.
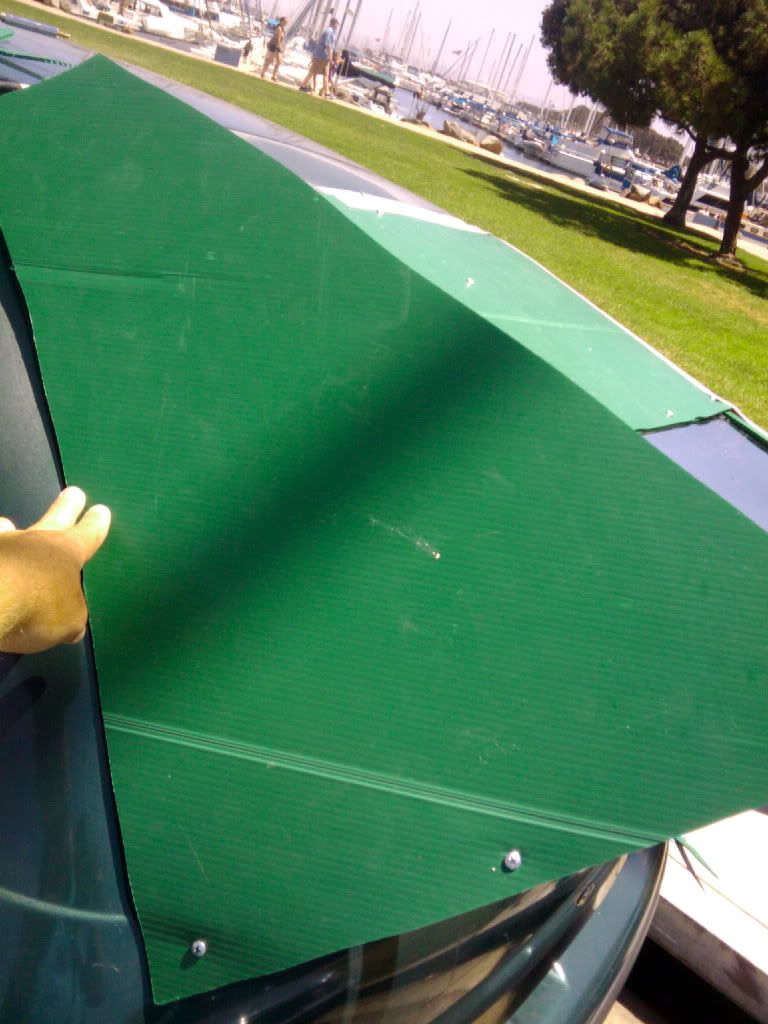
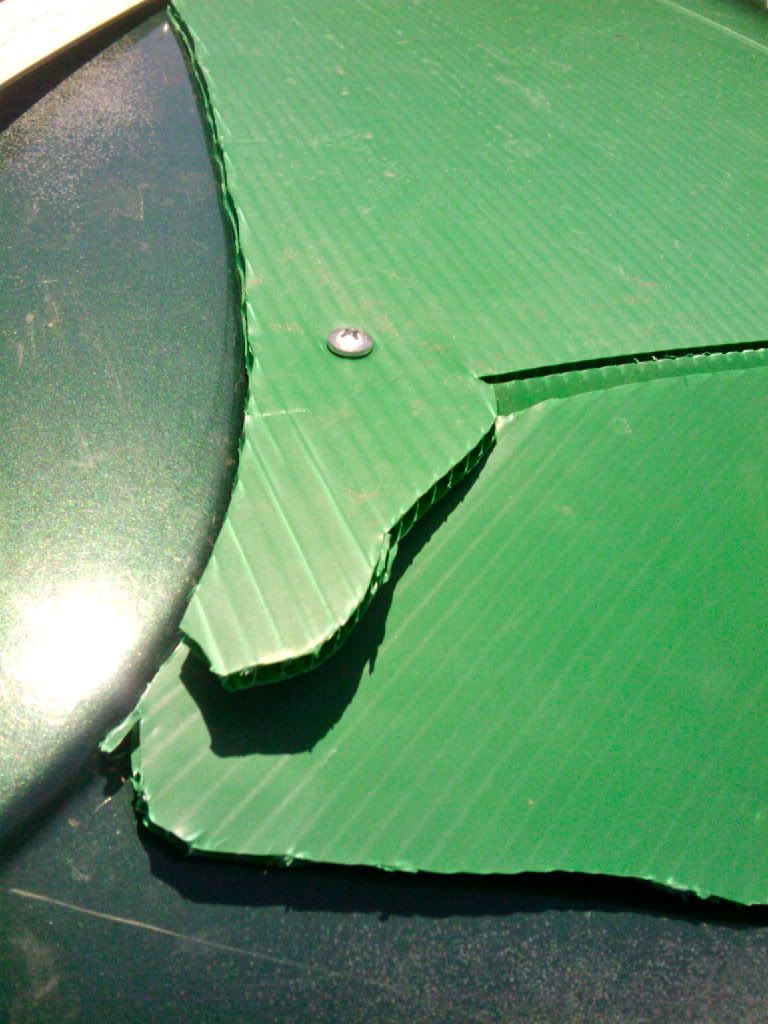
Step 8: Hold a piece of coreplast along one side of the kammback and trace a marker around things to make a good template for the side. Cut it like so:
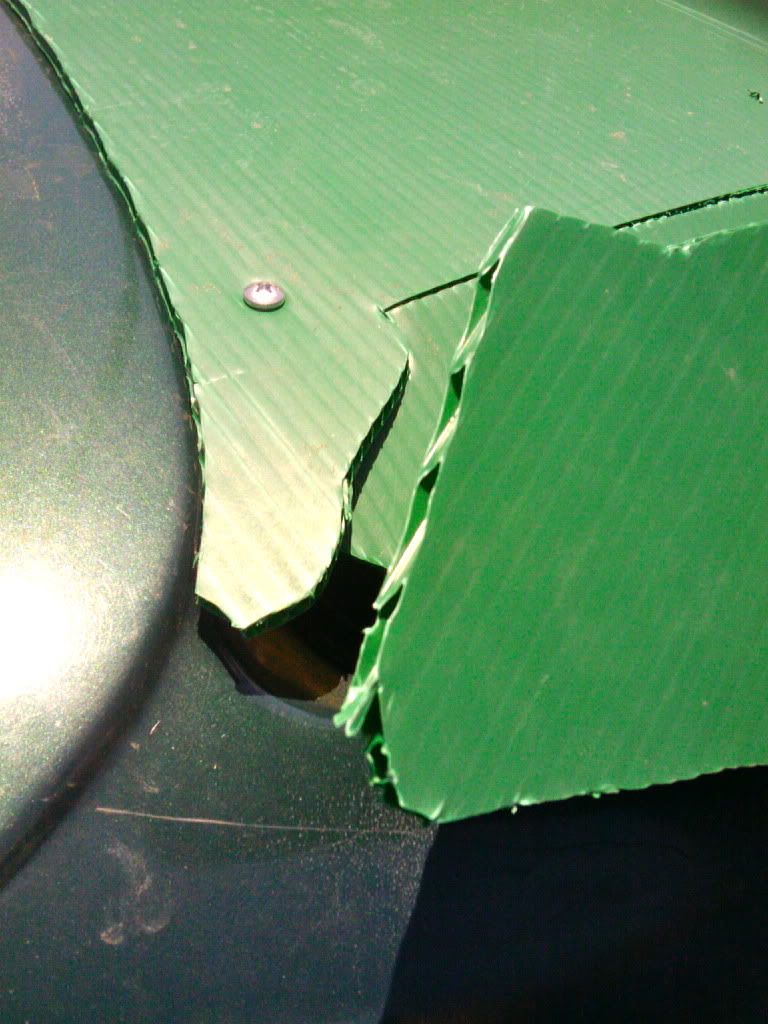
 Step 9
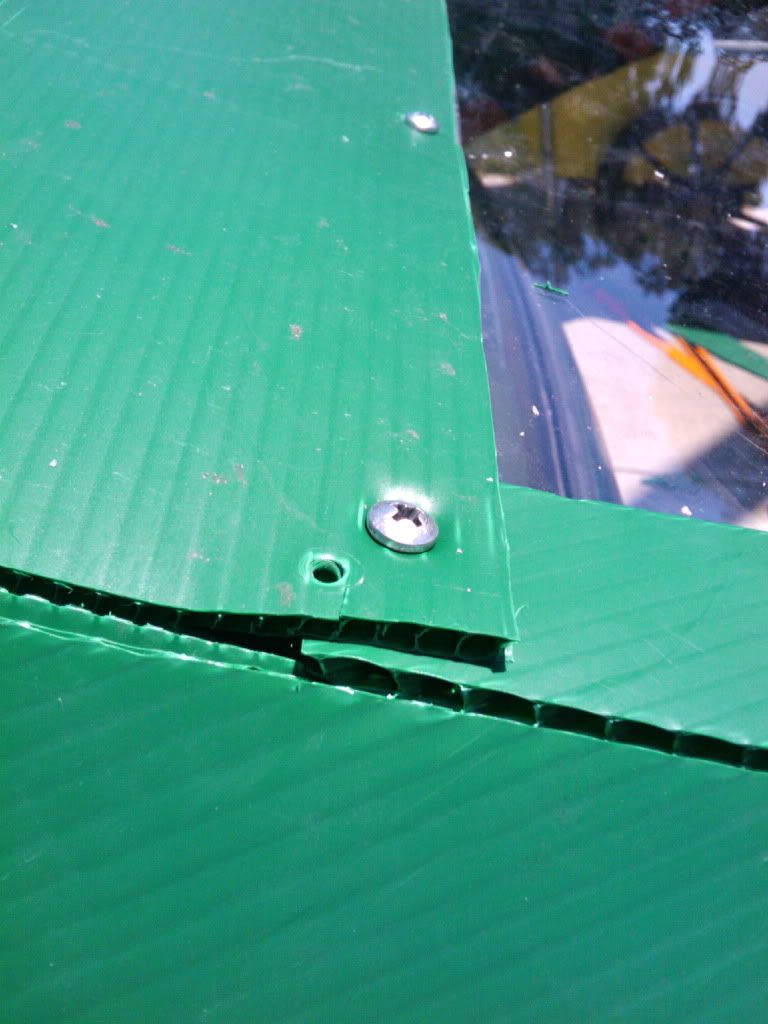
 Trim the top layer of the coreplast side pieces along the side edges of the kammback top so that it can be bent to and attached from the top. Should look something like this:
 Tep10:
 Attach coreplast with a generous amount of screws and figure out how you'll trim/overlap the extra bits like so:
from this...
to this...
and this...
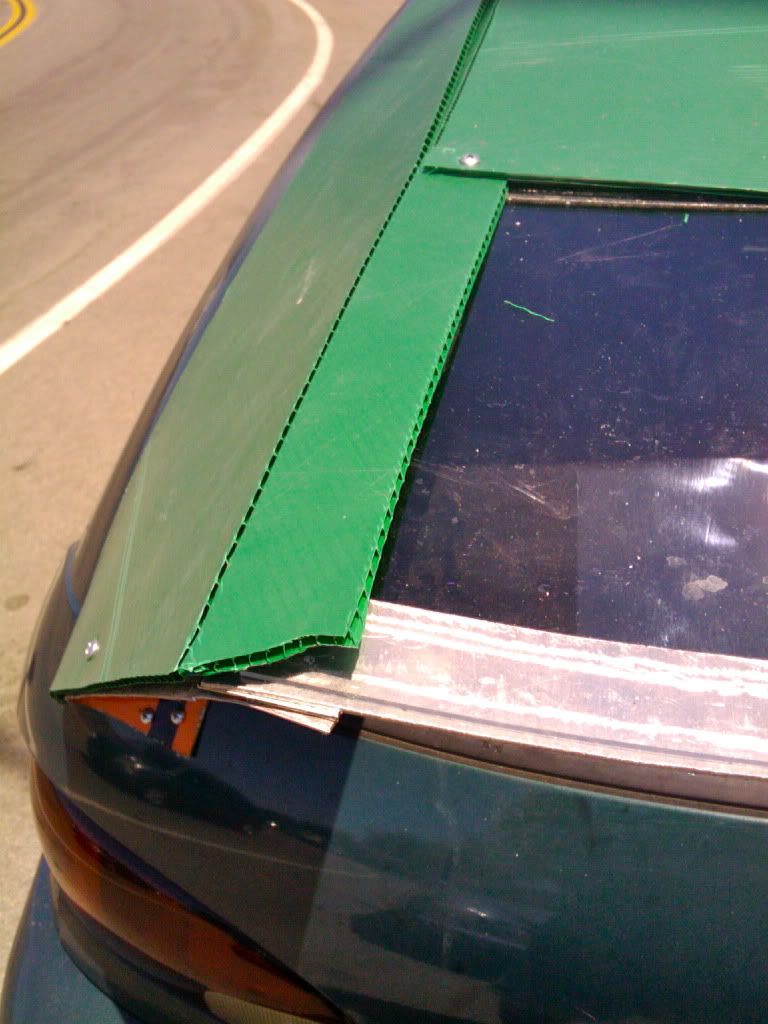
 Step 11:
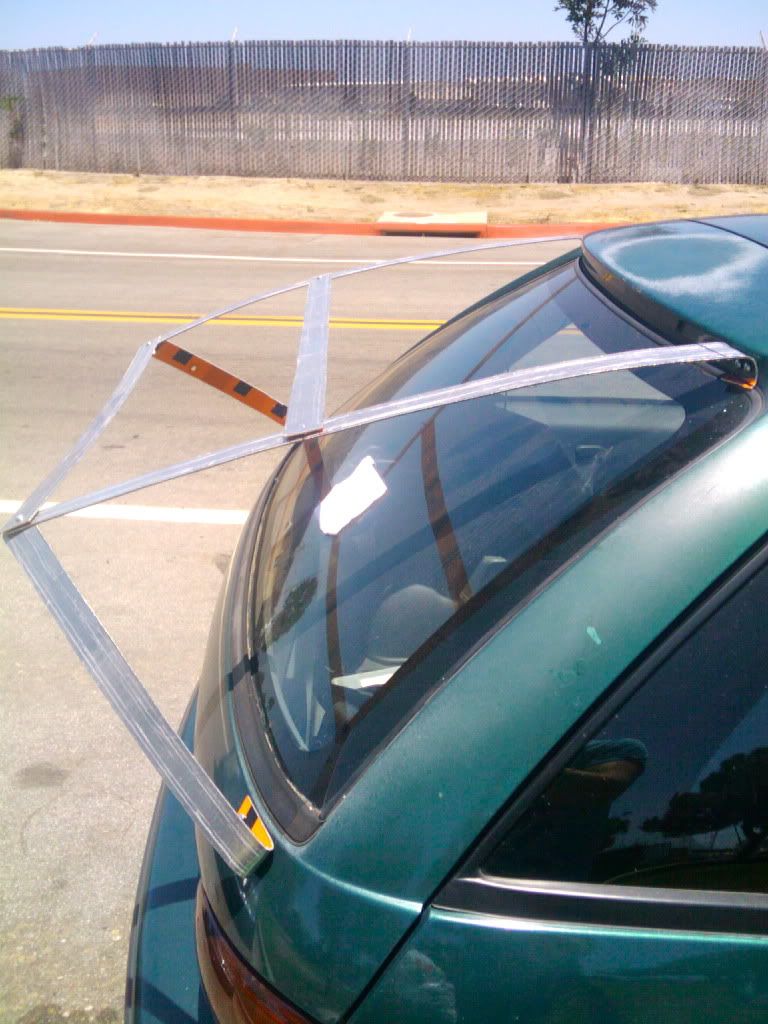
 At this point the whole thing is pretty solid but i wanted to be sure air wasn't catching on things and would flow smoothly so I added tape to the car's connection points like so:
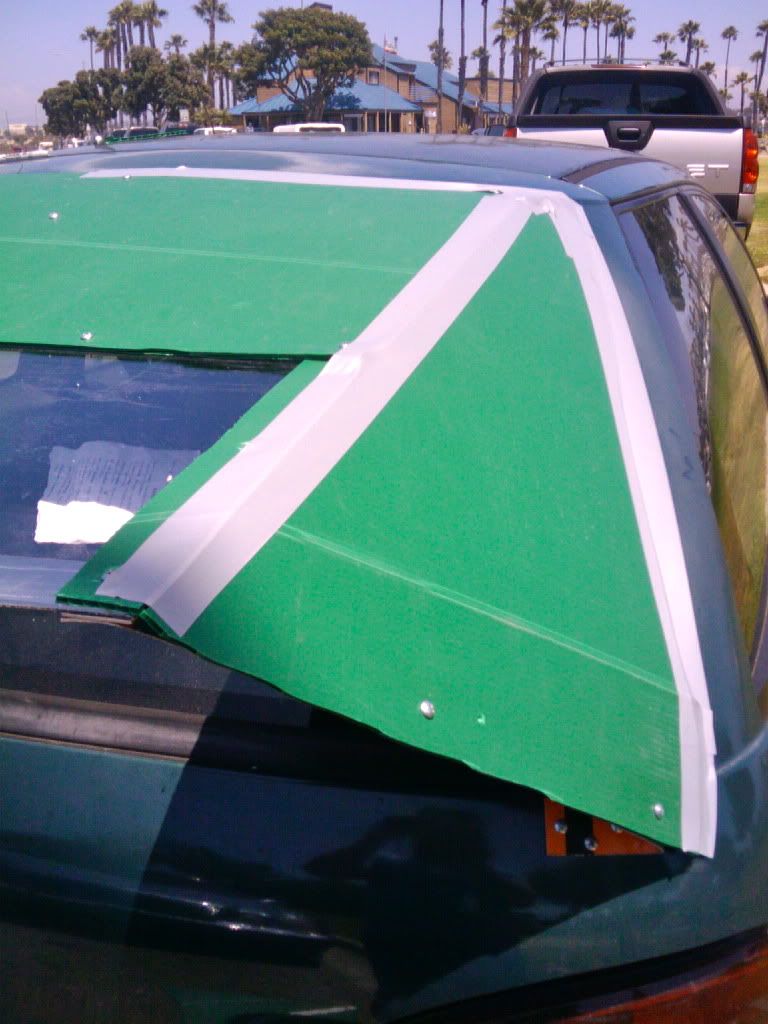
I'm not a fan of the tape color, I'll either paint the tape green or find green tape soon.
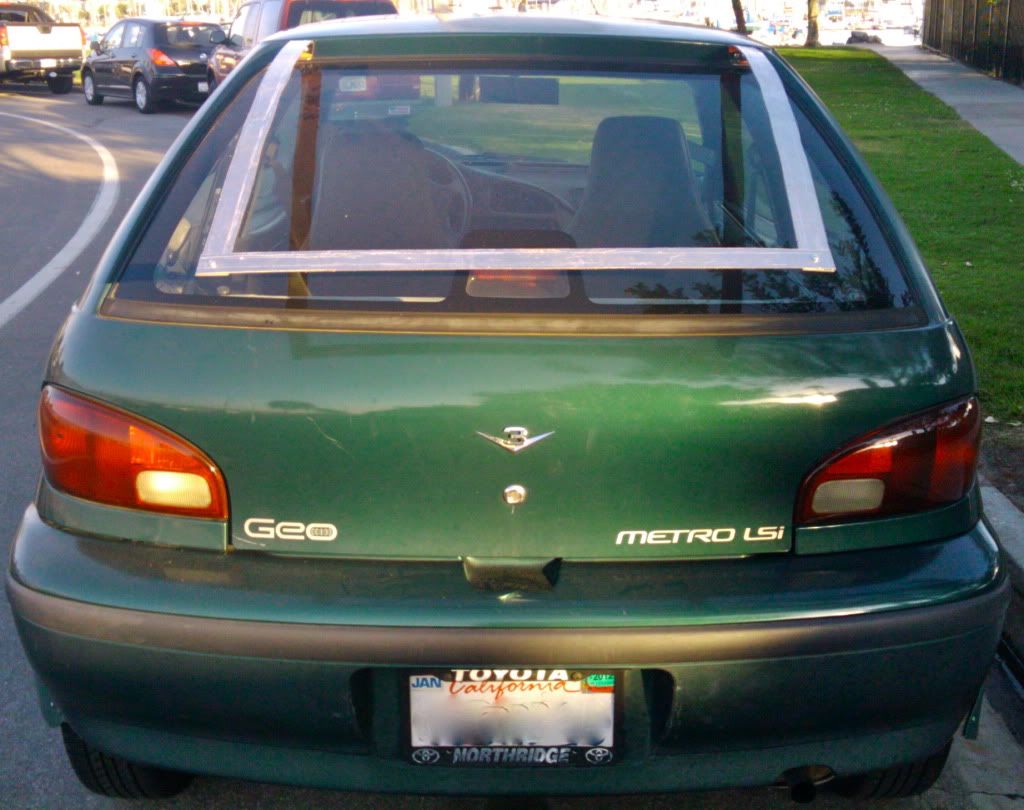
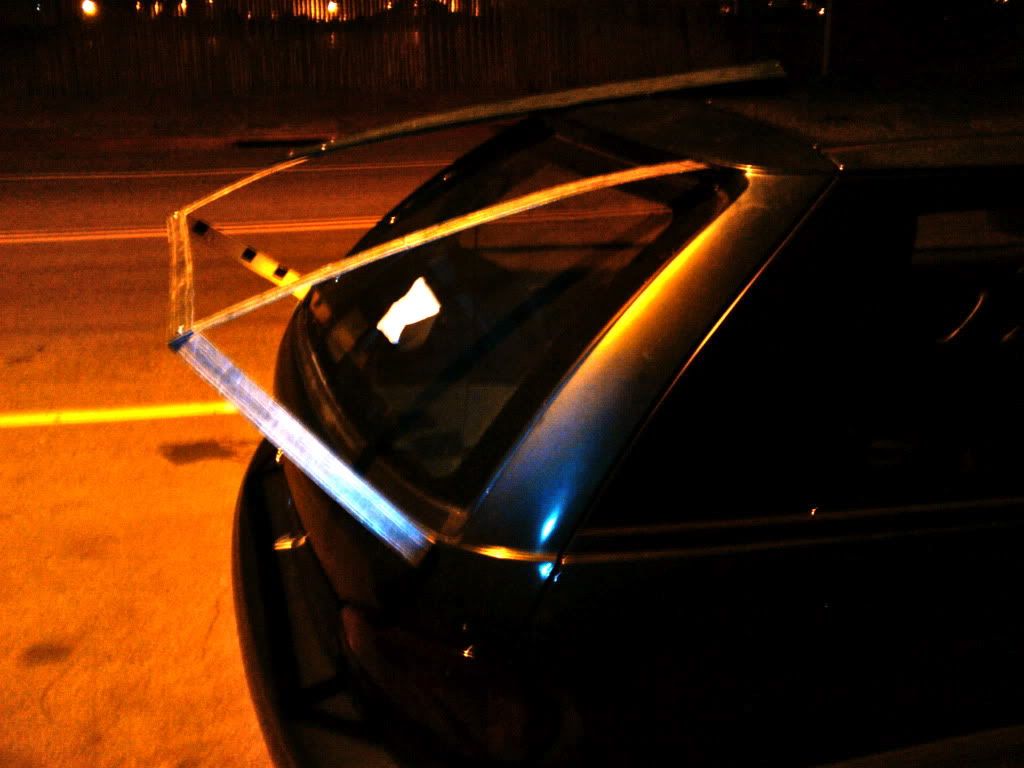
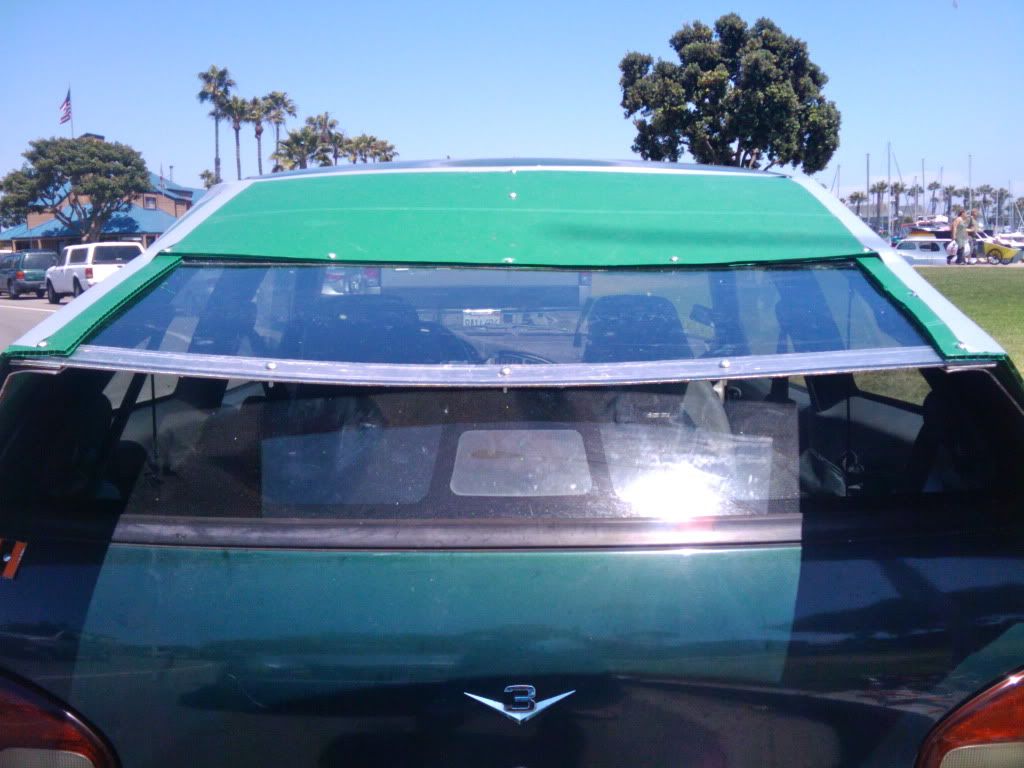
Check out how little of the window is actually blocked with the addition of the plexi-window:
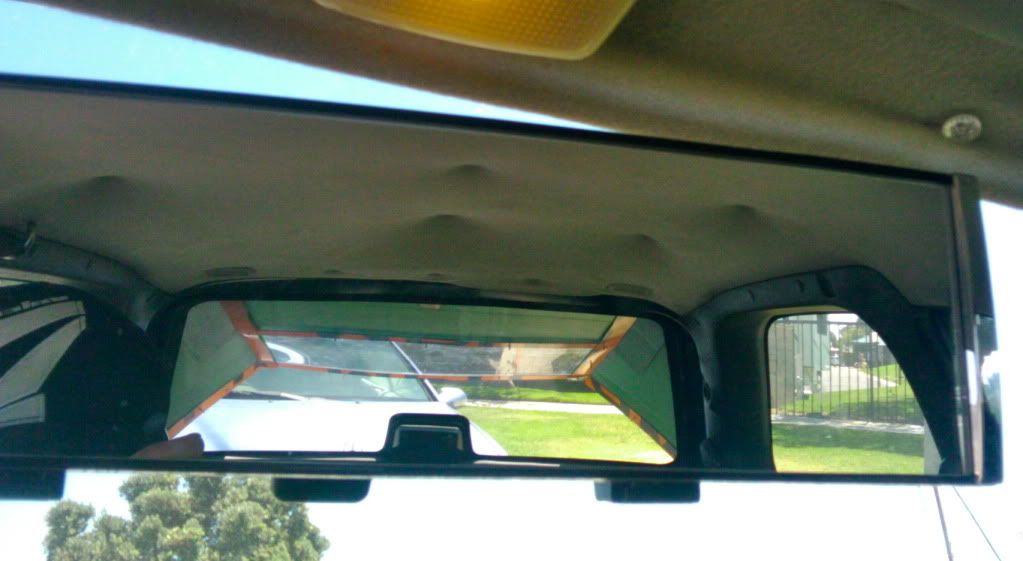
View from back:
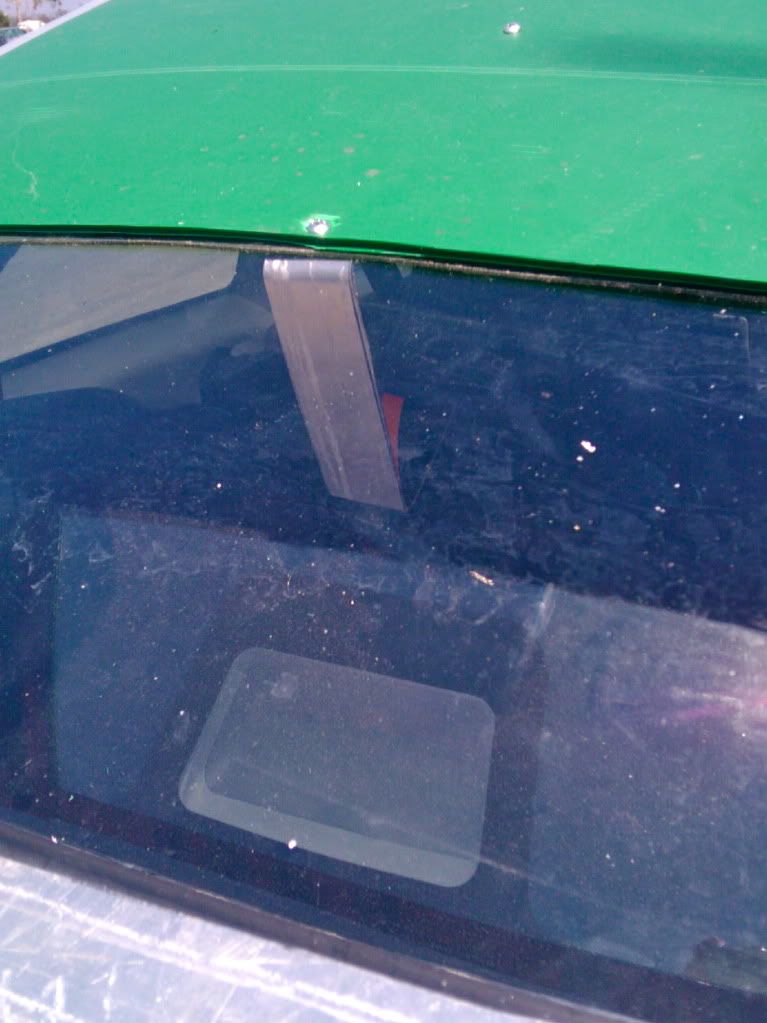
Because I screwed the plexiglass window in at the four corners then into the middle (rather than from the middle out) it caused the top of the kammback to bow or sag a bit:
To fix this I added a brace that simply pushes out from the window:
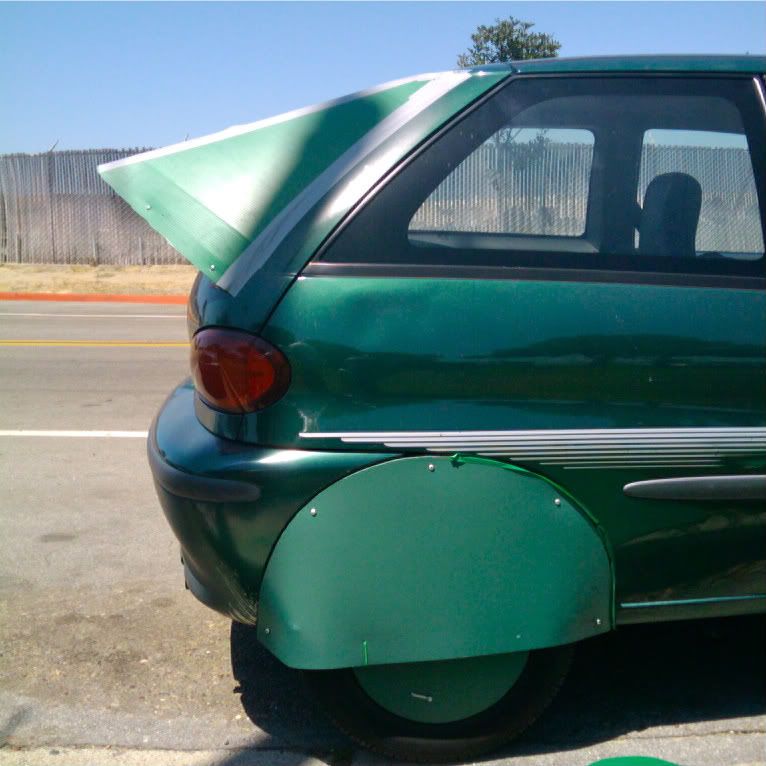
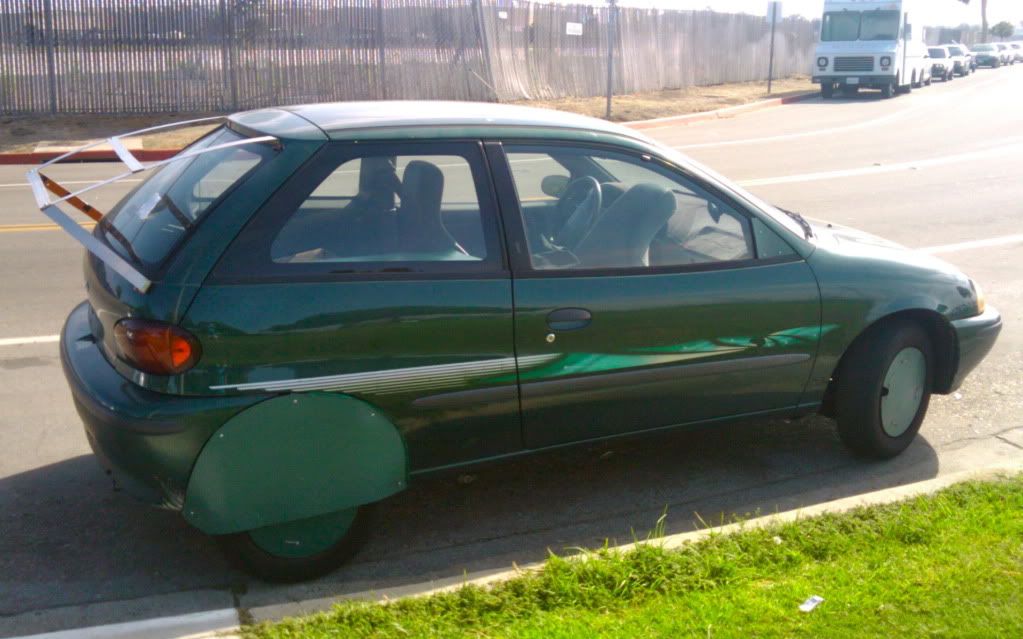
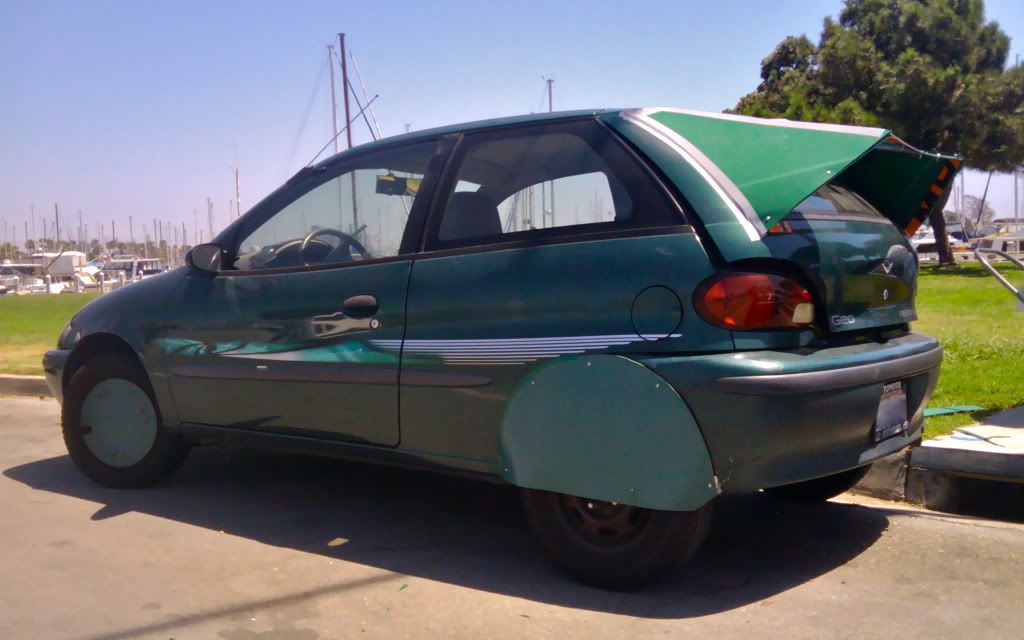
Here's the finished product: