Finally got my latching idea ironed out. It works pretty good, and it's cheap. Not as user-friendly as I originally wanted, but at $20/ea for a t-handle, I figured this way would work juuuust fine.
Weld a nut onto the top rail of the cover. I used 1/4" nuts, and 3/16" rods.
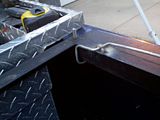
View from other side. You have to make sure the nut is close enough to the inside edge of the rail so that the latching rod can slide over far enough for the hook to clear the bed rail. you'll see what I mean in a moment.
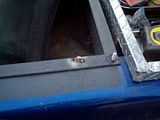
Here's the completely bent & welded latching rod.
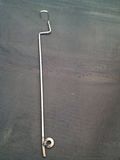
Here it is installed, but not bent into locking position. I made all 4 latching rods sit like this so it pre-loads the latch and keeps it from vibrating as much since it's not actually bolted down.
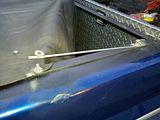
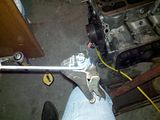
Super hi tech bending apparatus.
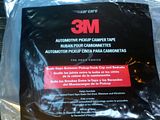
I've noticed there is a lot of noise from the bed when going over bumps, so I added some camper tape all the way around on the front & rear panels. I didn't unbolt the center section, so there is no tape there.
Here it is all locked down:
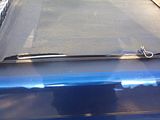
The locking pins:
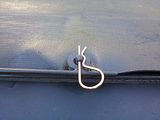
And, bedliner coating on the rod.
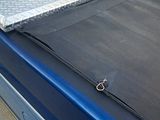
I thought it turned out pretty well.
Design notes:
- Make sure the hook will clear the bottom of the bed rail. This criteria is mainly influenced by the depth of the hook, and the distance between the pivot, and the vertical portion of the hook. Keeping this distance short and the other end (handle) long, also increases the amount of 'spring' you can get out of the rod to really clamp the lid down to the bed.
- Make sure all your bends are wide enough to be able to thread the rod through the welded nut. I found it bad it nicer to drill out the threads from the nuts.
- Don't leave too much room between the ID of the nuts, and the OD of the rod. This gap allows the cover to rattle and bounce on the bed rails. 1/4" nuts with the threads drilled out, and 3/16" rods worked really well.