Alright, Time for another update. After this one, Im going to try and stay up to date every Monday. Lets start with a video from October:
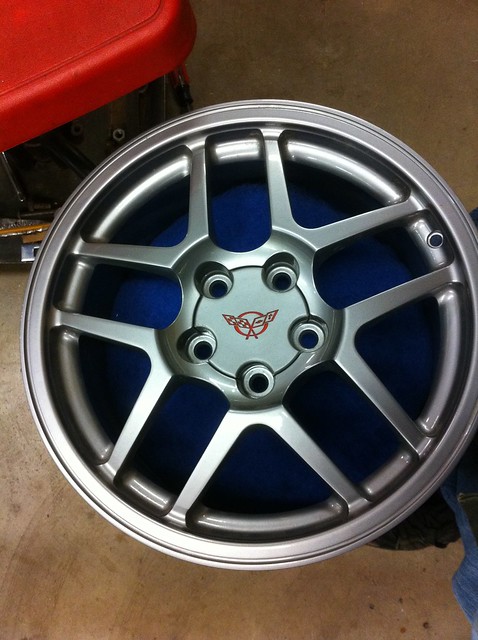
The car is moving right along. I have completed all work on the frame except for some simple little things like installing the brake calipers and shocks. I have gotten a set of S10 wheels that have the same bolt pattern as the corvette, but had the wrong offset. Well since they are temporary, I just put them on backwards. Good enough while I do the body work. The wheels that will be going on the car when its done are some of my favorite wheels. 2001 C5 Z06 Corvette wheels.
 Untitled
 by
AdamBrunette, on Flickr
This is a 17" wheel thats 9.5" wide. I know it will be killing my efficiency, but it needs fat tires so it doesn't just smoke them off with the slightest pedal movement.

I will be running a 275-40/17 tires on all 4 corners.
Now, to travel back in time.
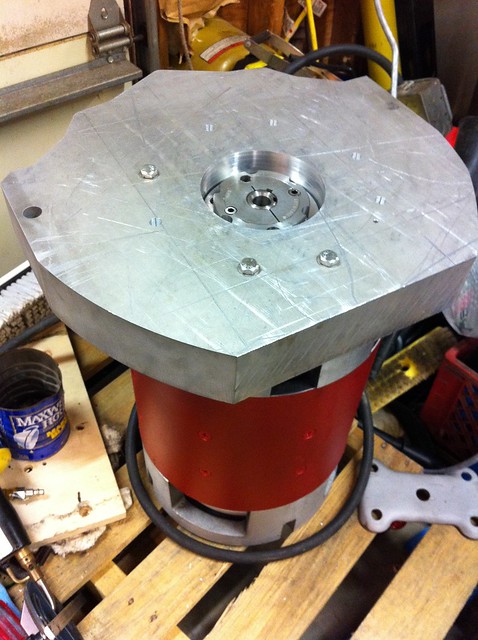
I picked up the aluminum plate for the adaptor on ebay for $208. It was a cut off from a surplus place. It cost me something like $48 for shipping as it weighed 70lbs. As soon as it came in, I dropped it off at the local waterjet shop for them to cut the profile of the bell housing and the center bore as well as the dowel pin holes. When I got it back, All I had to do was open up the center bore with a boring bar on the mill to the 4.0005" to fit nicely on the location boss of the motor. Here it is temporarily bolted to the motor.
 Untitled
 by
AdamBrunette, on Flickr
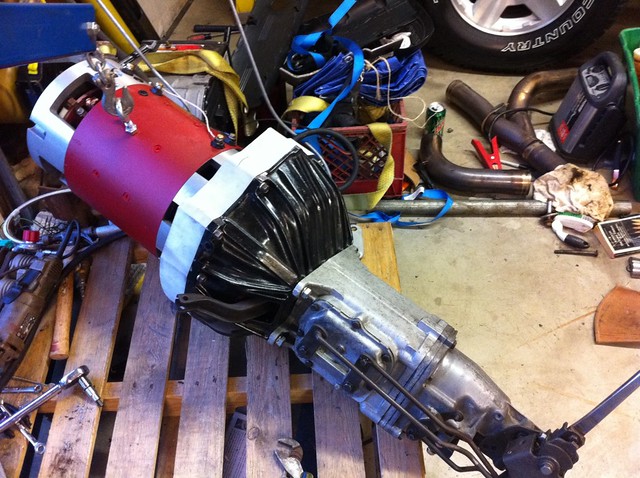
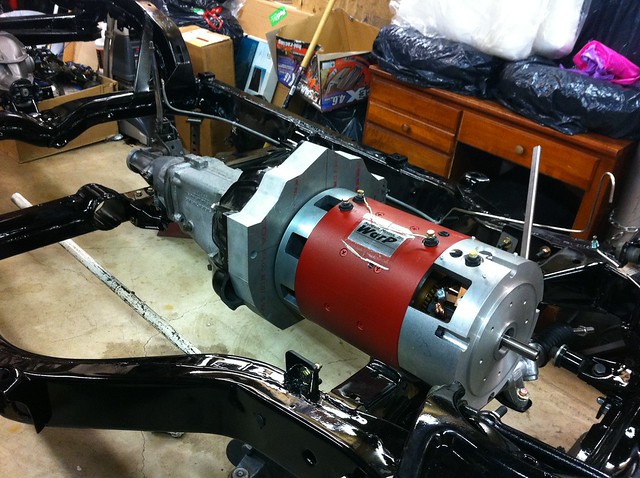
After that, all I had to do was bolt up the clutch and transmission and it was all set to go in the car. That was an exciting day. Here are some pictures of the the motor installed and a time-lapse of the actual install!
 Untitled
 by
AdamBrunette, on Flickr
 Untitled
 by
AdamBrunette, on Flickr
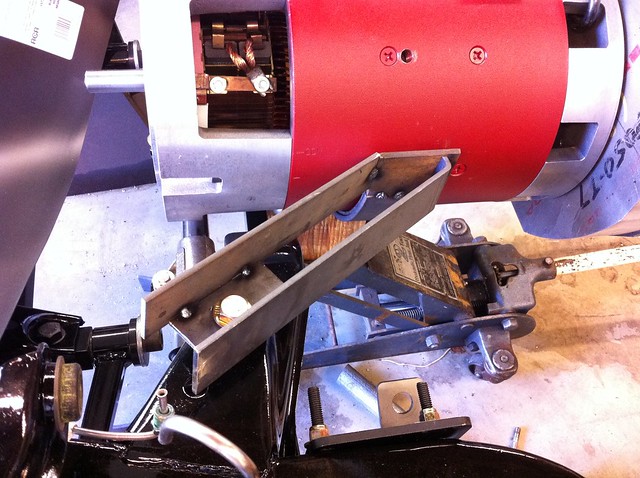
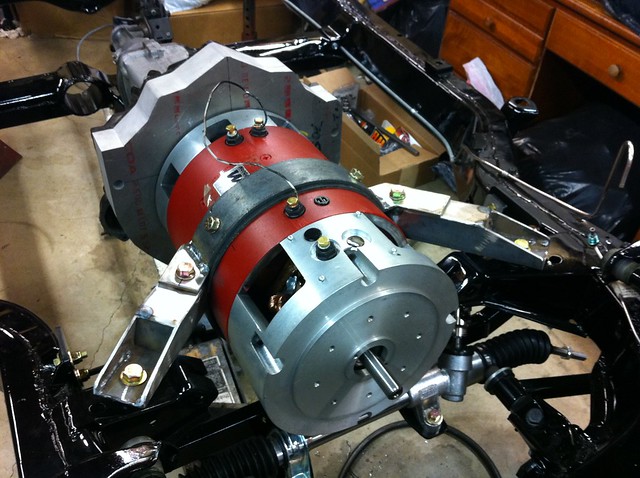
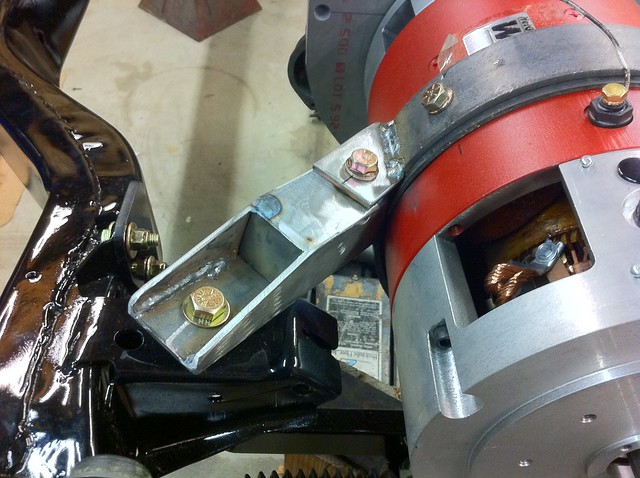
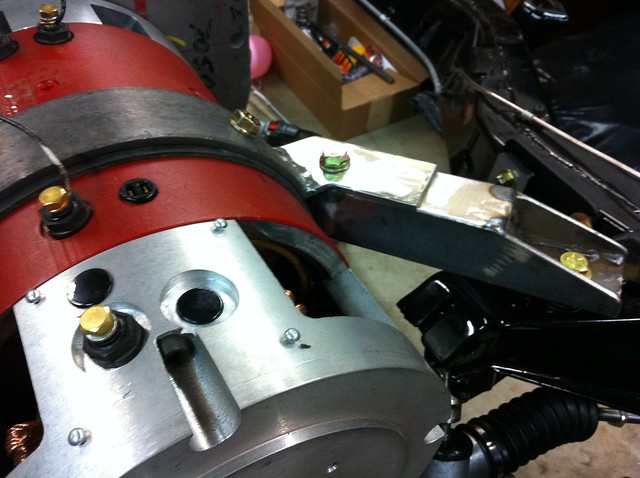
The weekend after that, came the motor mount. I originally tried to use factory motor mounts, but since the motor sits so low, and is much wider then the stock engine, they would not fit. What I ended up doing was drilling 2 holes, 1 in the top of each engine mount arm, and using some urethane bushings to isolated the motor from the frame. 2 bushings per side, 1 on top and 1 on bottom with the frame in the middle. I spent an entire saturday building the mount. I had a local metal shop bend me 2 bands of 1/4" thick 3" wide steel to wrap around the motor. This would be padded with rubber to absorbe some vibration. Next, I started building the arms that would secure the motor. I put the lower center band in place and held it there with a jack holding the motor as well. This way, nothing would move around. I first cut the plates on each side that would sit on the bushings and bolted those in place. I then started bending, cutting and welding pieces in place to form a box structure to hold the motor.
 Untitled
 by
AdamBrunette, on Flickr
When I was done with all the grinding, I ended up with this:
 Untitled
 by
AdamBrunette, on Flickr
Here is each side:
 Untitled
 by
AdamBrunette, on Flickr
 Untitled
 by
AdamBrunette, on Flickr
And a video walk through of the motor mount.
Skip forward a few months, More work happend on the frame, body and other parts of the car.
I now have the blower mounted to the motor!
 Untitled
 by
AdamBrunette, on Flickr
The unit is a Jabsco vent fan for boats. Its rated at 250CFM and has a 4" intake and 3.625" exhaust port. It runs on 12V and WOW does it move alot of air. I have no doubts that it will keep the motor cool.
I started mounting the blower by removing the studs that hold the original shroud on and drilling and tapping those holes to 5/16-18 mostly so I could use nice looking pan head cap screws. I then wrapped a piece of 4" wide 1/16" aluminum around the motor. I cut 2 slots in each end of the band and used pieces of hose clamps to create a way to pull the shroud tight around the motor. Along then edges of the band, I applied strips of 1/16" thick 1/2" wide cork with sticky back to act as a gasket.
Here is a shot of the band with the 2 hose clamp straps. Once the clamps are pulled tight, the screws will be inserted to hold everything.
 Untitled
 by
AdamBrunette, on Flickr
I then started building the box that will mount the blower. I did this out of 4 pieces of aluminum and while making this, taught myseld to tig weld. This is the first tig welding of aluminum I ever did! Here is the final result with the blower mounted.
 Untitled
 by
AdamBrunette, on Flickr
And a front profile:
 Untitled
 by
AdamBrunette, on Flickr
In the end, I will end up using some 4" aluminum tubing to move the air cleaner to the nose of the car and make room for the front battery tray.
Other then the blower, I finished up the frame. Here is the whole rear suspension and drivetrain together:
 Untitled
 by
AdamBrunette, on Flickr
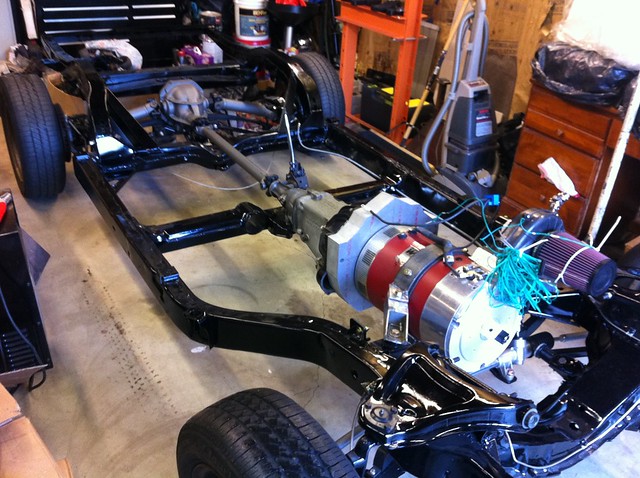
Last weekend, on sunday, I finally sat the frame back on wheels of its own for the first time in 1.5 years!
 Untitled
 by
AdamBrunette, on Flickr
Its so LOW! Currently the frame rails sit 9.5" off the ground and I expect the rails to end up at 6" above the ground. It looks like a skate board!
I had to take the car out to the driveway, I was just too excited. It was pushed out with less effort then it takes to push a wheel barrow! And, this is with tires that are so far out of alignment that they squeak when rolled.
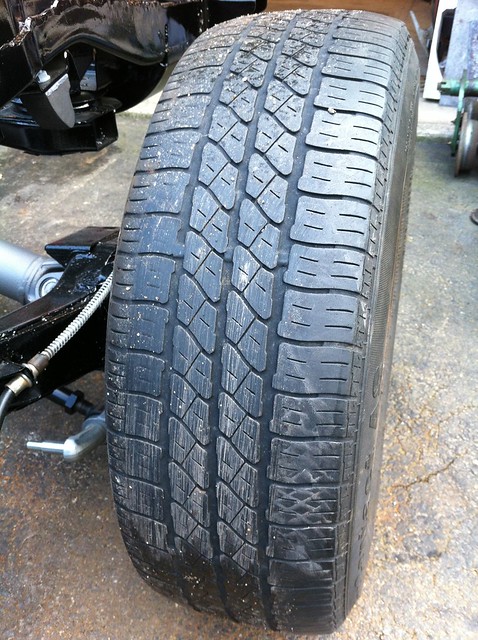
Well when it was outside, I wanted to see how it would roll under its own power. I put it in reverse, pulled in the clutch with a pipe and started the 12v jump pack. I slowly let out the clutch, the motor slowed and the car started moving backwards! Well that was exciting! I rolled forward again and had to do it again. This time, My hand slipped and I let the clutch out a little fast.... well...even 12v can spin the tires!
 Untitled
 by
AdamBrunette, on Flickr
Yup, 1/4 revolution tire spin. That made my day!
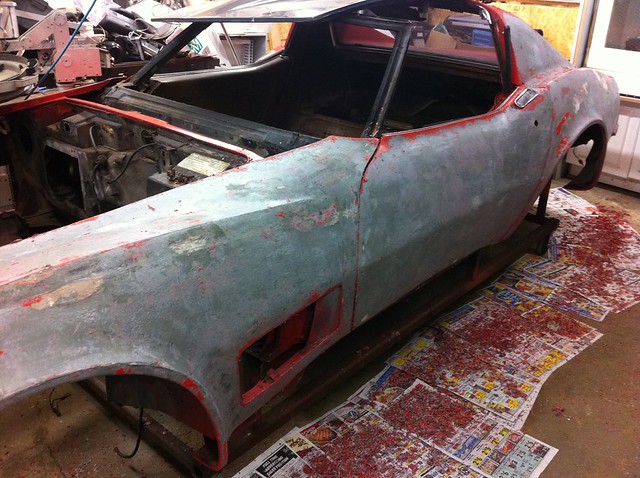
Currently, I am working on the body work of the car. I have started strippin the paint and have just the passenger side left to do.
 Untitled
 by
AdamBrunette, on Flickr
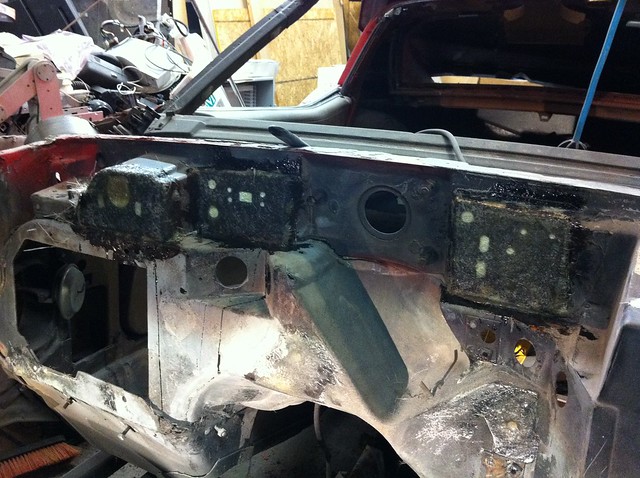
Last friday, I pulled the nose off the car to get to the firewall for repair.
 Untitled
 by
AdamBrunette, on Flickr
There was so many cracks, that it barely could hold itself together. Once the firewall is repaired, the body can be put back on the car.
Well thats it for now. Hopefully on monday.
-Adam