In March 2012 I built the EPES for my Civic: Externally Powered Electrical System. Basically, an alternator delete with a dual deep cycle battery system that's capable of 3+ hours drive time with headlights running and full recharge capability via AC plug in. For longer drives, alternator can be reconnected via a switch. For details, see thread
http://ecomodder.com/forum/showthrea...ery-20008.html for details on the EPES project.
Having dual 12-volt deep cycle batteries begs for a nice dual voltage gauge display. So I finally built it. The real driving force behind that need was that my particular ScanGauge has a very jumpy voltage display; the apparent voltage goes up and down seemingly without rhyme or reason. So it's not a good tool for monitoring batteries, a critical task in my application. This gauge solved that issue. Readings respond instantly to known changes, such as lights being switched on or off. Otherwise the display stays perfectly stable.
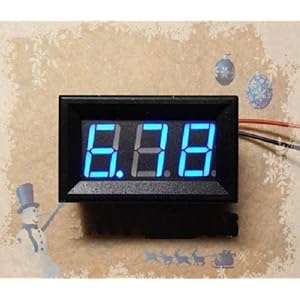
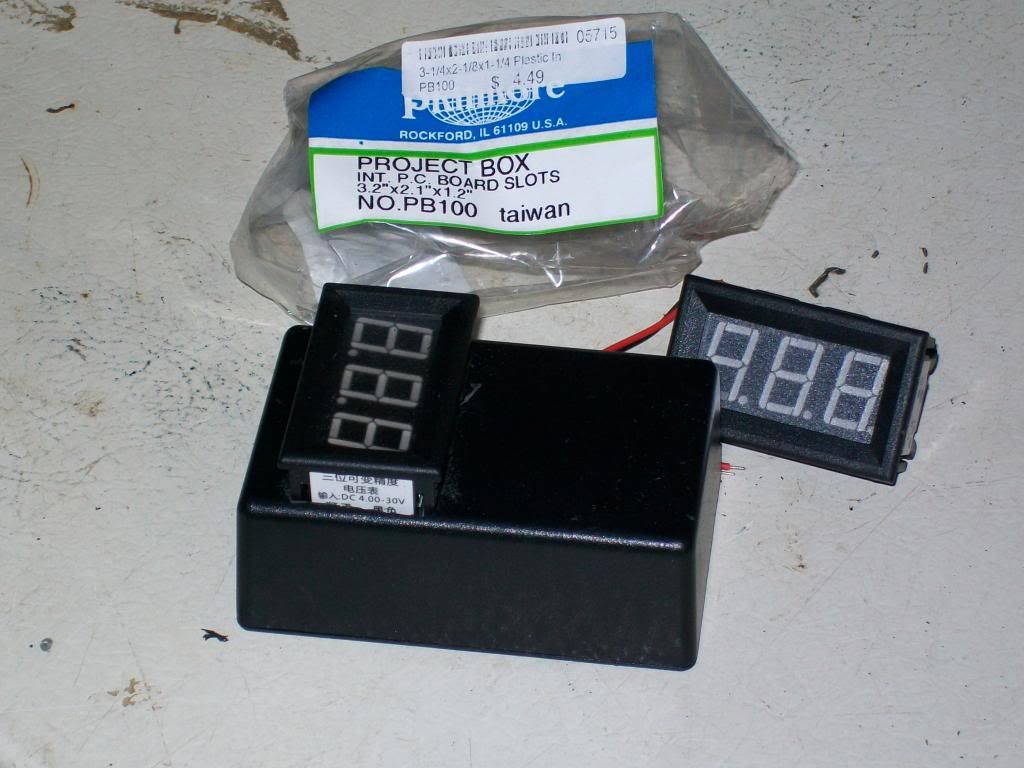
I found this panel gauge available on Amazon for $10.98 plus shipping:
Here's the link to the item:
Amazon.com: Mini Blue LED Digital Volt Meter 4.5~30v for 9v 12v 24v: Electronics (also available in red)
The good:
Low cost.
Easy to understand wiring: One red wire, one white on each gauge.
Relatively small: 48mm x 29mm x 21mm deep.
Very accurate: the two gauges read identically when connected to the same source and match my nearly new, ~$60 multitester.
The leads are detachable via a plastic connector.
Not quite so good:
No brightness control. They are the brightest thing on my dash, can be read in full sunlight.
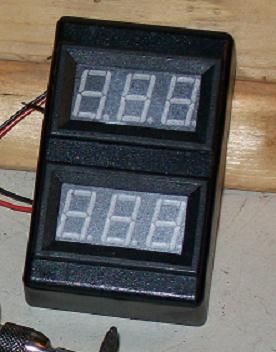
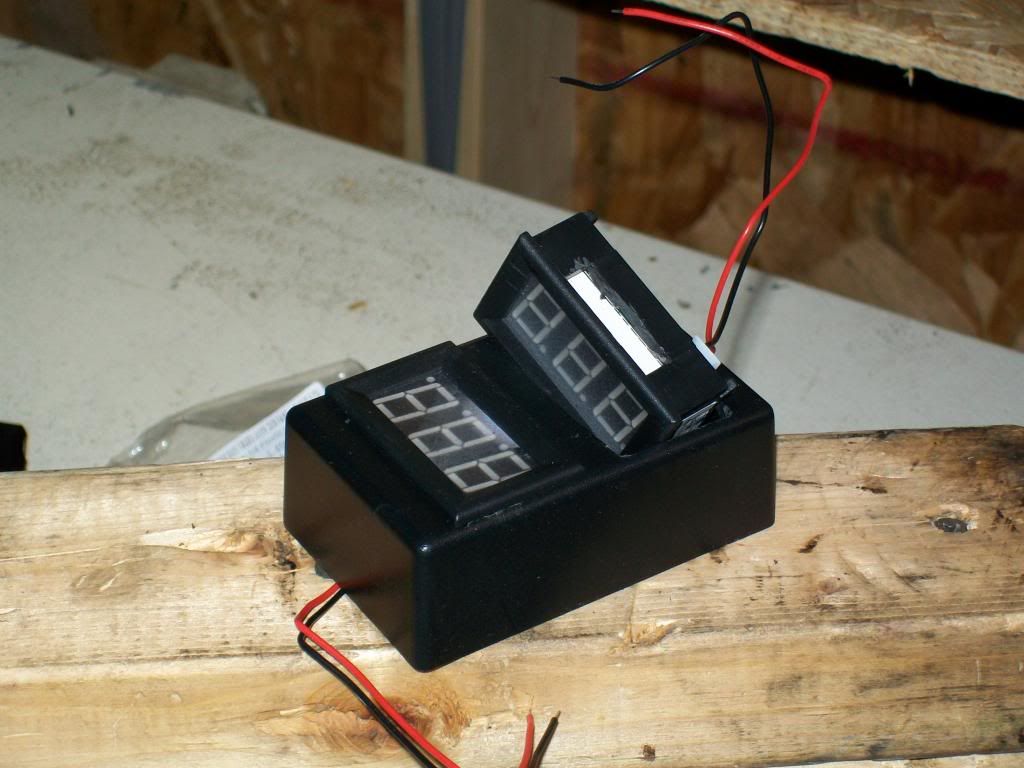
I built two of these into one project box, which I then velcro'd to my dash. One hot lead goes to my lead acid battery, the other to the lithium. I joined the ground leads inside the case and ran that lead to a switch, and then to ground. I soldered the ends of the gauge leads to my 6' long, 22 gauge wire leads. The other connections at ends of those leads are crimp connectors. I folded over the 22 ga wire so the red crimp connectors would have a double thickness of wire to grab onto.
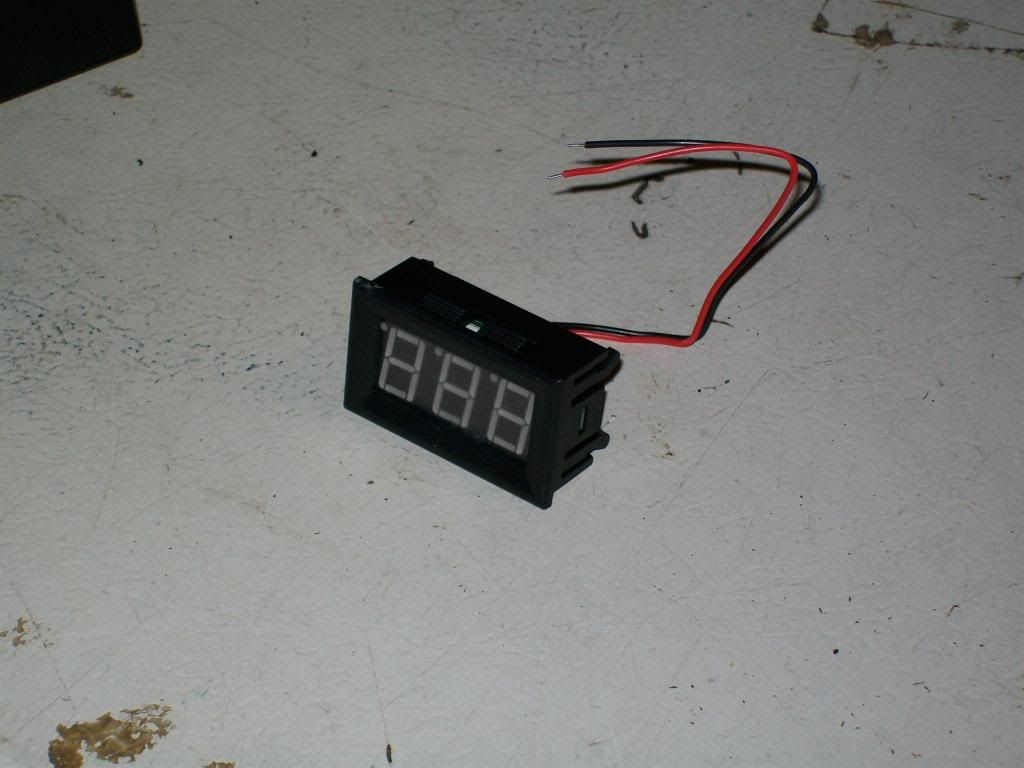
Panel gauge out of its wrapper:
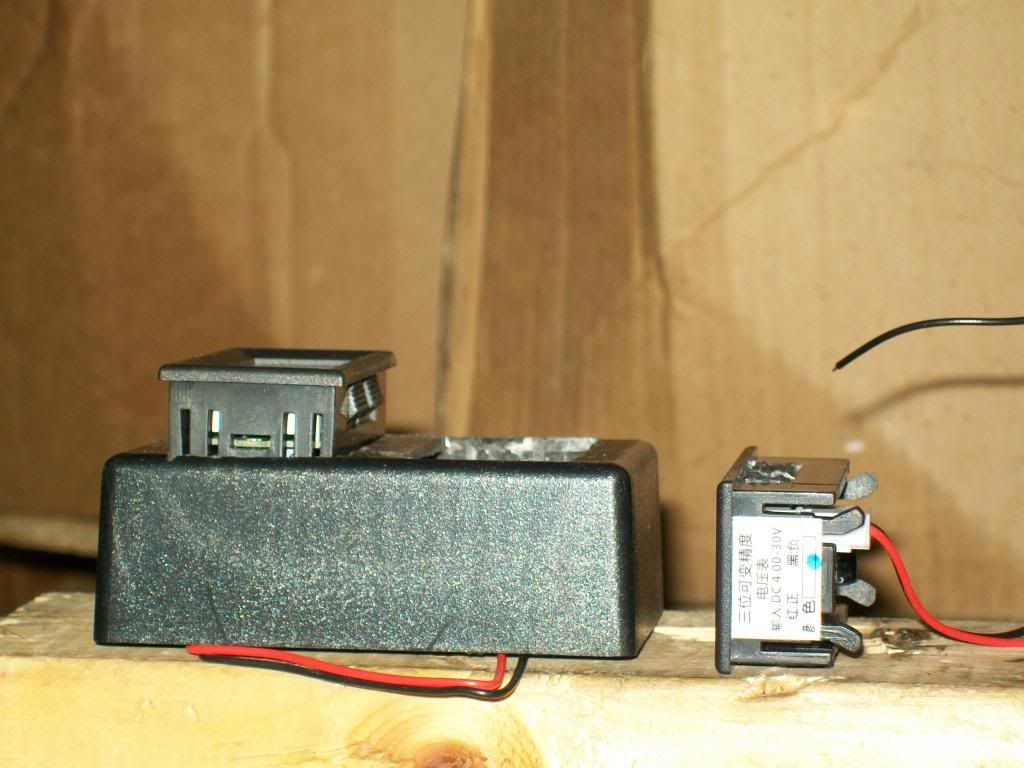
The back side with removable connector:
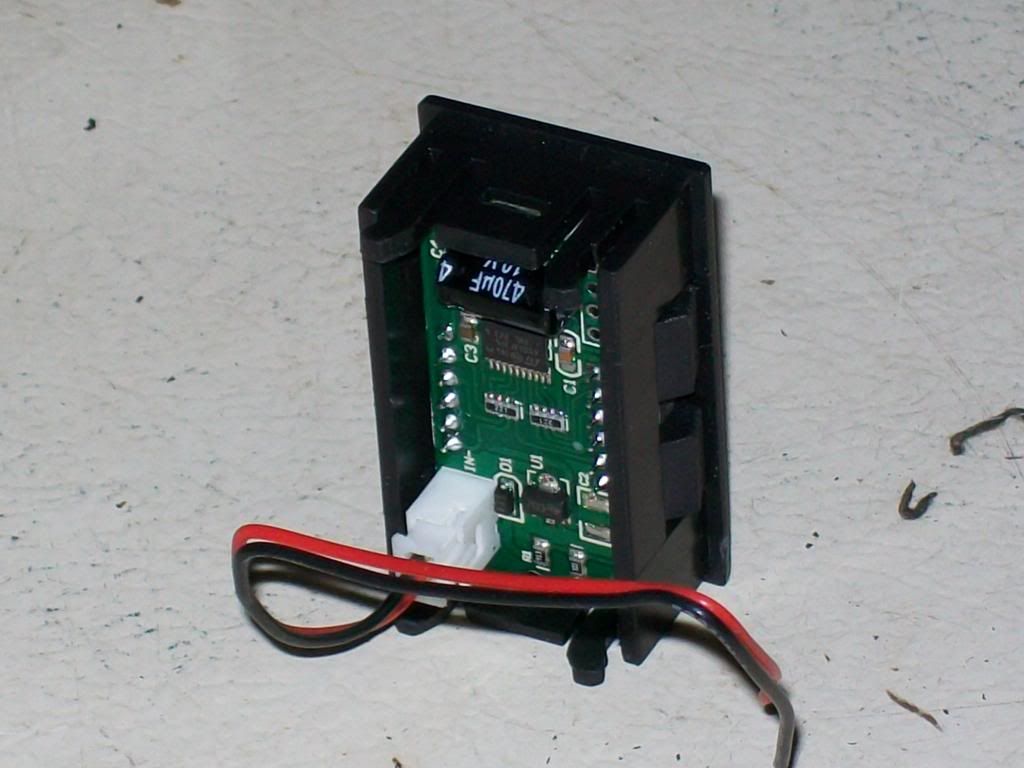
Partially assembled, with project box dimensions visible:
Squeeze tabs visible here.
They do not depress enough to allow insertion into mounting hole.
This is due to gauge innards fully occupying the available cavity.
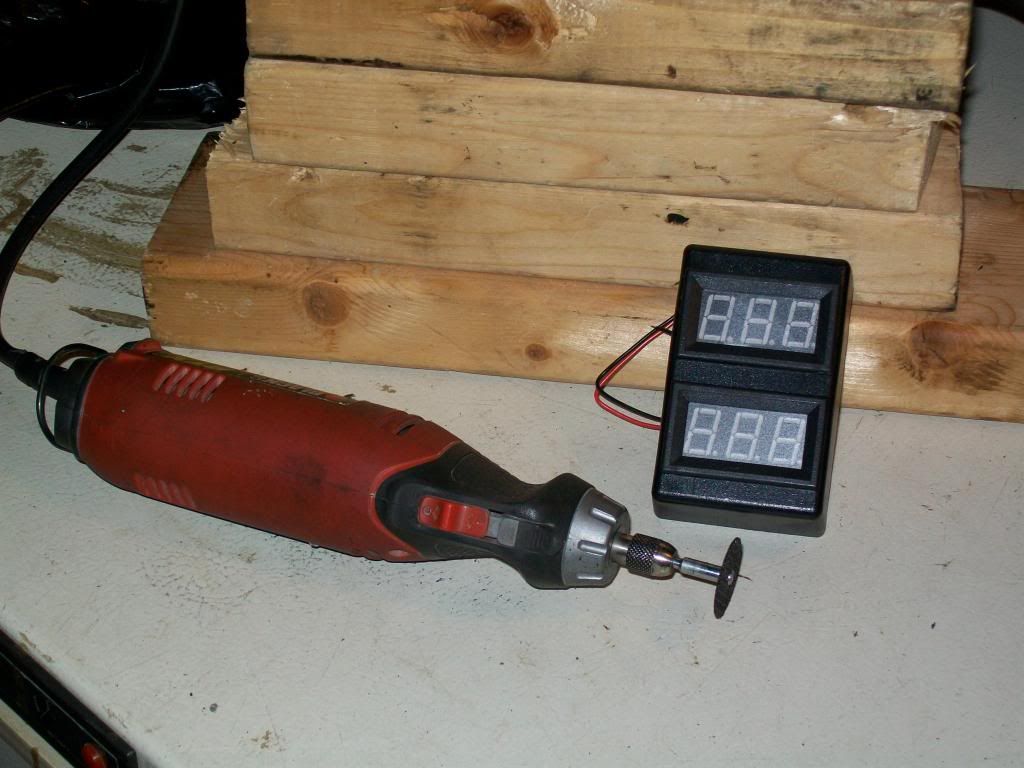
Shows squeeze tab ground and cut away to allow mounting.
My "Dremel" (actually a Black & Decker) did all the plastic cutting, except a few small cuts done with a box cutter.
I still plan to post a photo of how it looks on the dash. Any day now!!