Building the hose routing
As I recall, the shorter 2' 5/8" hose you bought becomes the lower supply hose to the heater canister. Cut it to size after checking it in position between the lower rad hose's tee and the canister.
Install drilled out plug into lower supply hose:
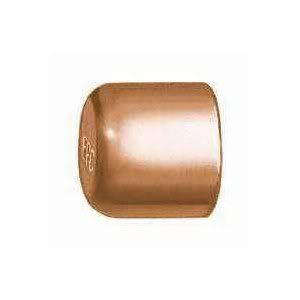
Drill out a 3/16" hole in the copper end cap plumbing fitting I told you to get. Install the fitting down into the trimmed heater canister supply hose. You'll probably need a bit of grease on the outside of the fitting to get it into the hose.
Why the drilled out end cap?
Because otherwise your heater won't blow fully heated air.
As great as it is to have your engine preheated, this layout creates a feed from the lower rad hose to the oem heater hose that supplies the cabin heater. This doesn't alter the direction of flow of coolant, no problem there. The problem is that the heater is now getting a mix of water that's already been cooled by the radiator, along with the fully heated water it normally gets. In its normal configuration, it only gets water that's fresh from the "hot" end of the engine's water jacket.
Confession time: I didn't do this. I only realized after I'd built it all that it would be an issue. I did try putting a flat nose Vise-Grip pliers on the canister's output hose to squeeze it shut, that worked and the heater blew very hot again.
Due to the upside down "U"s in the other available hoses, I think you are limited to the hose layout in the drawing in post #1. I suppose a more drastic revision of the hose layout (custom hose routing) might avoid the issue but for my money, a restriction in the canister's lower supply hose is a good deal. Another possibility would be to install a heater control valve, either in the heater's supply or output. Of course you'd need to open it before running the engine heater.
Slip insulation over hose, preferably before installing the hose. Trim to fit. As I noted earlier, the more expensive rubber hose holds up OK where it goes past the exhaust manifold. The cheap foam stuff melts.
Installing hoses
I installed the lower rad hose and it's tee to feed the heater canister. The tee has to be inserted in a straight section of rad hose, fortunately there's one very close to the bottom of the hose, just above the right angle bend. When installing a tee, you remove a length of hose equal to what will be replaced by the tee.
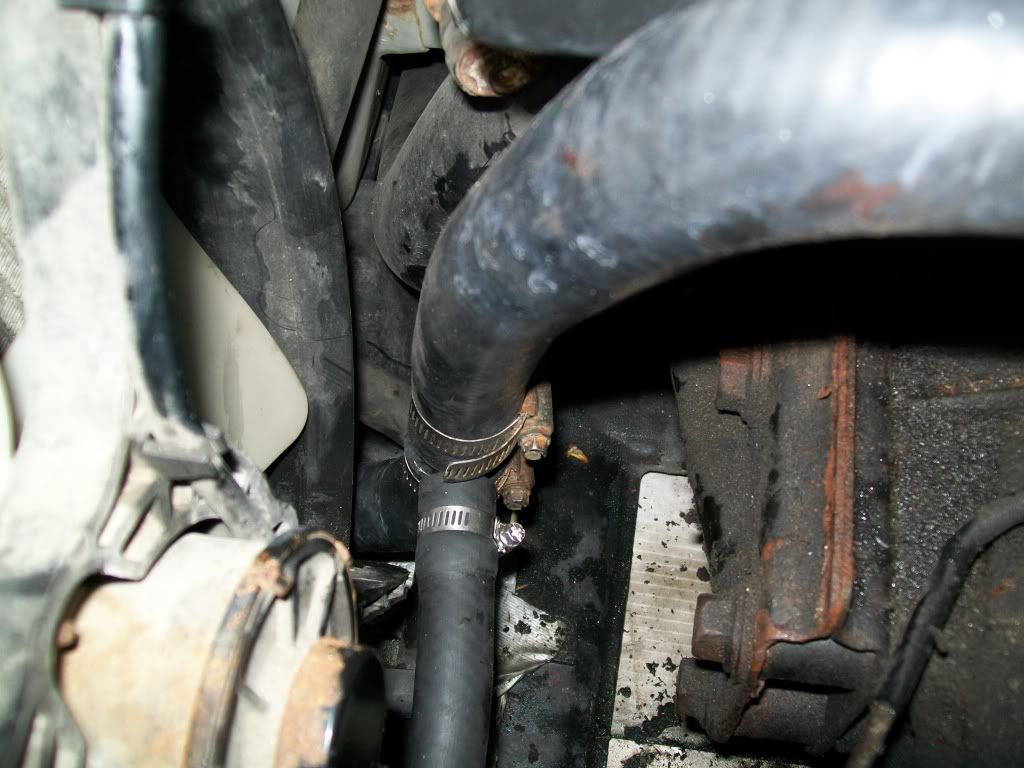
Below is the lower radiator hose, rising off to the upper right, with the tee installed. Radiator fan is at left of photo, transmission housing and bracket are at right side. Also visible: white coroplast belly pan.
With the belly pan blocking convenient access from below, I decided to remove the radiator+fan as well as the lower rad hose, to build the tee into the lower rad hose.
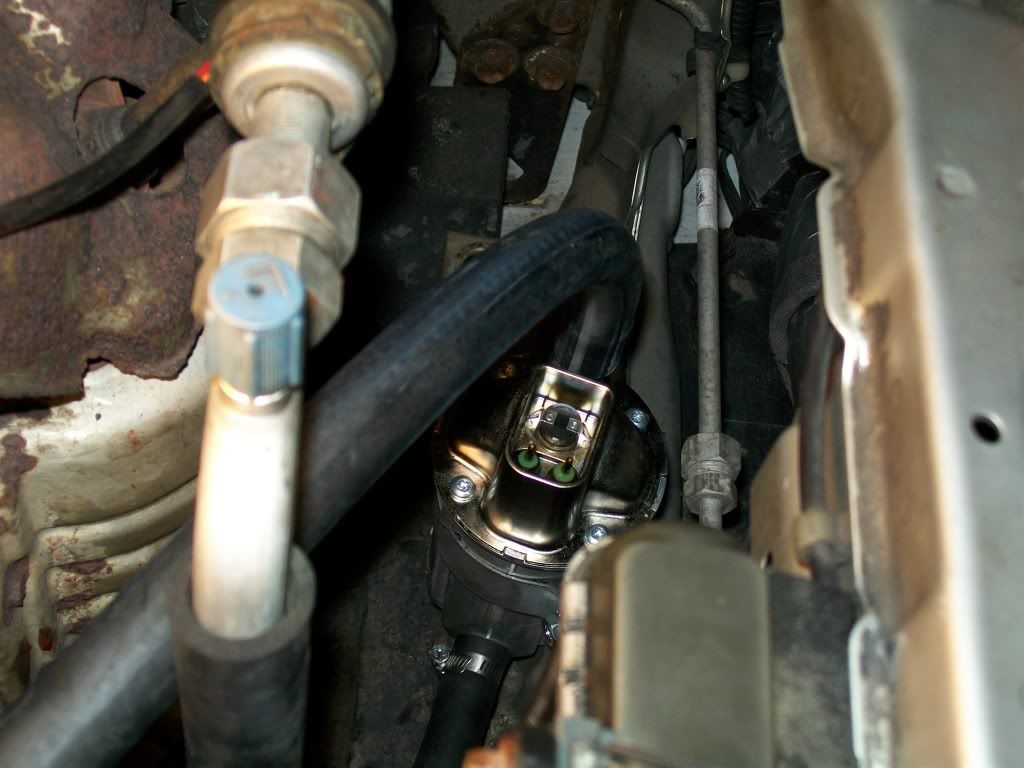
Below is the heater unit with feeder hose barely visible at the bottom and output hose at the top. Exhaust manifold/cat is at left and empty a/c condenser bay is at right. Insulation not yet installed on either hose. This is
NOT the final setup of the output hose, more on that later.