Alright, the MPGuino worked all the way home last night. So I'm HOPING my frustrations are over.

Here's what I did:
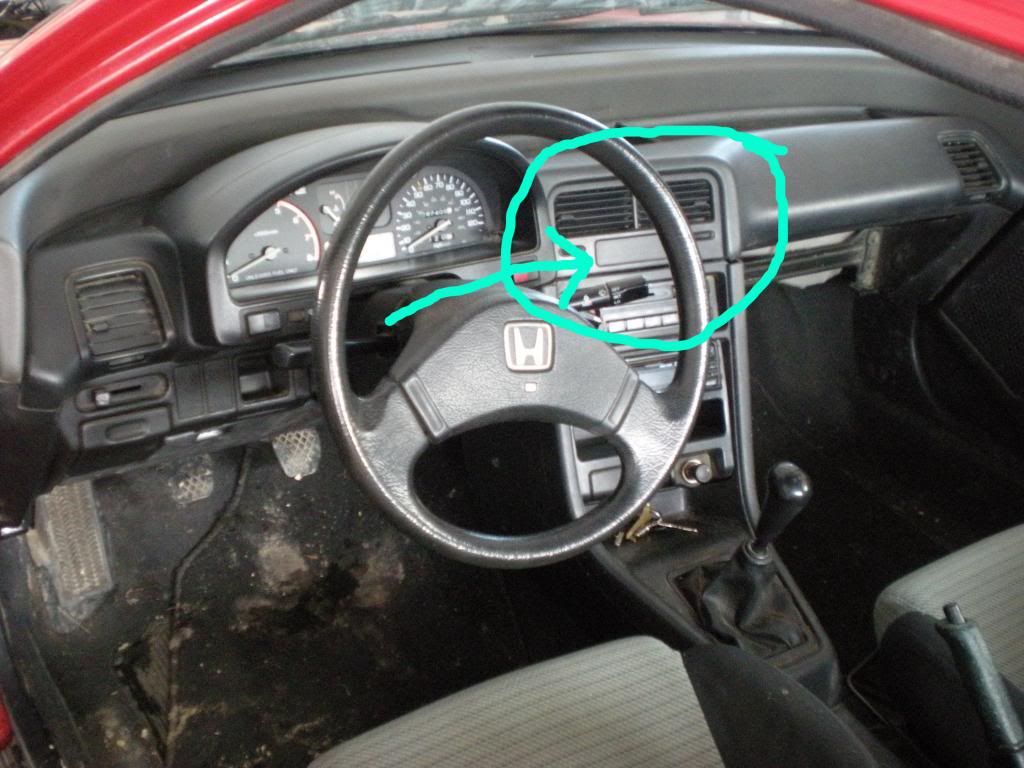
This is where I wanted to put the MPGuino (that I bought from Meelis -
LINK).
I should have taken a picture of the vent/clock housing before doing any cutting, but I must have been TOO anxious.

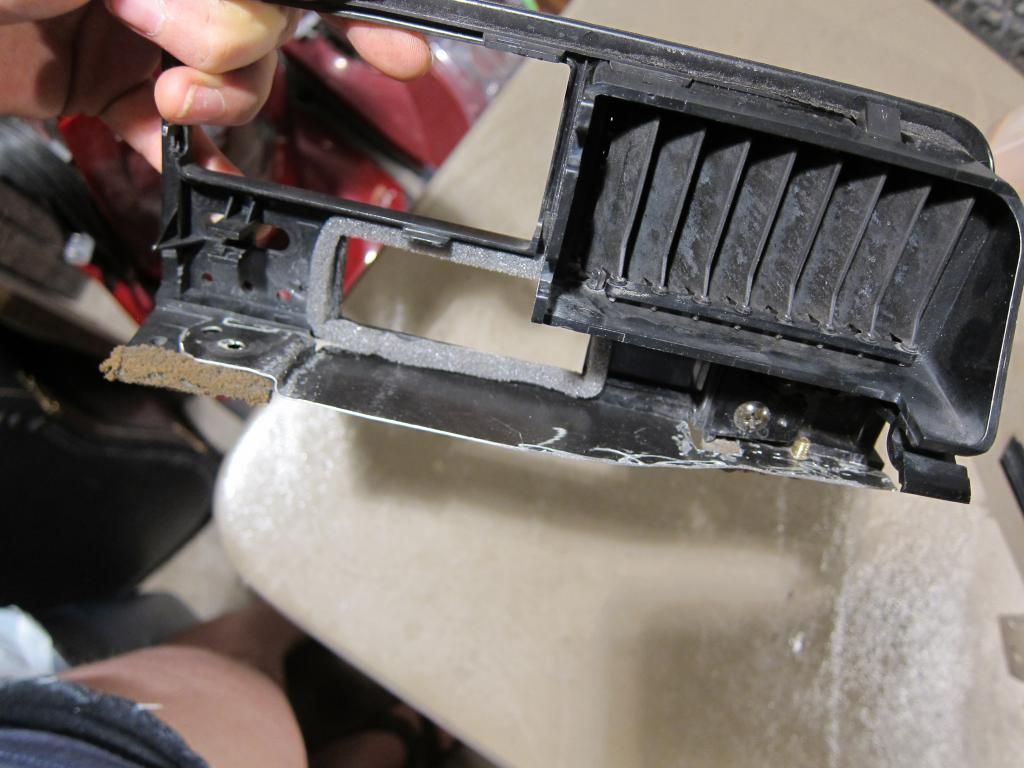
I took out the blank panel where the clock would be if I had an Si (Sportier edition), and cut out the bottom part that made it too tight for the gauge to fit. I also cut out the lip around the clock opening. I wanted the gauge to set flush against the housing and stick out on the other side some when finished.

Then I cut off one side of the clock blank, as the gauge didn't span the whole opening from side to side.

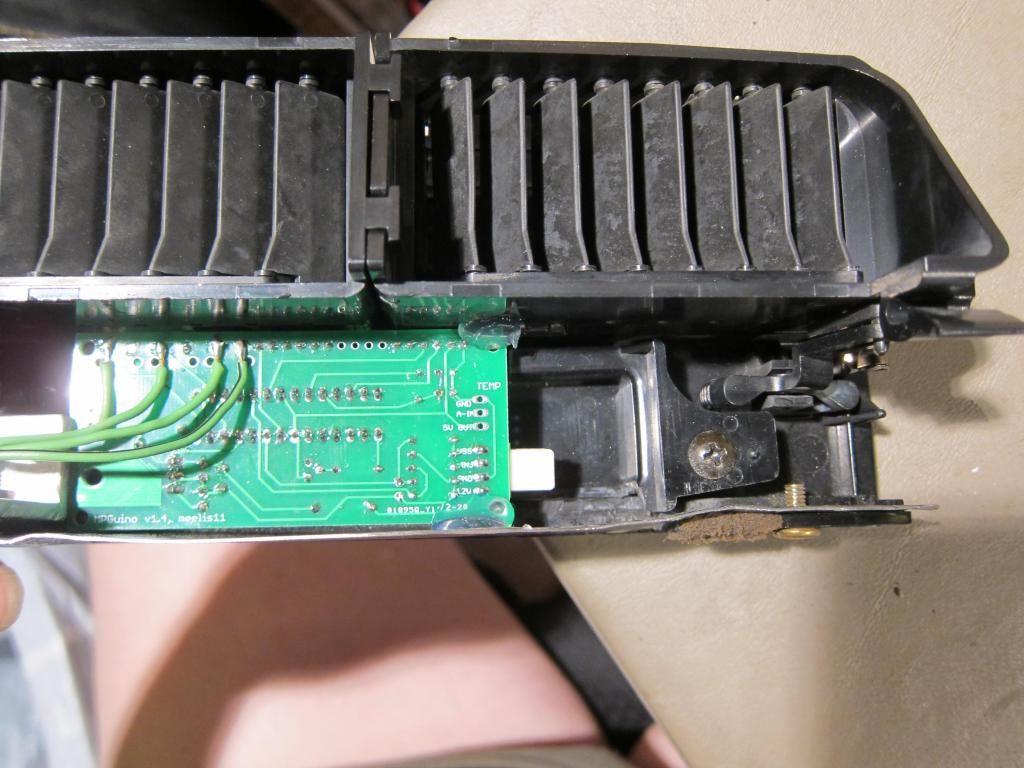
This is with the clock blank in place, and I'm using the extra button board that's provided.

I added a soft foam to keep the gauge from getting scratched or damaged from being up against something hard.
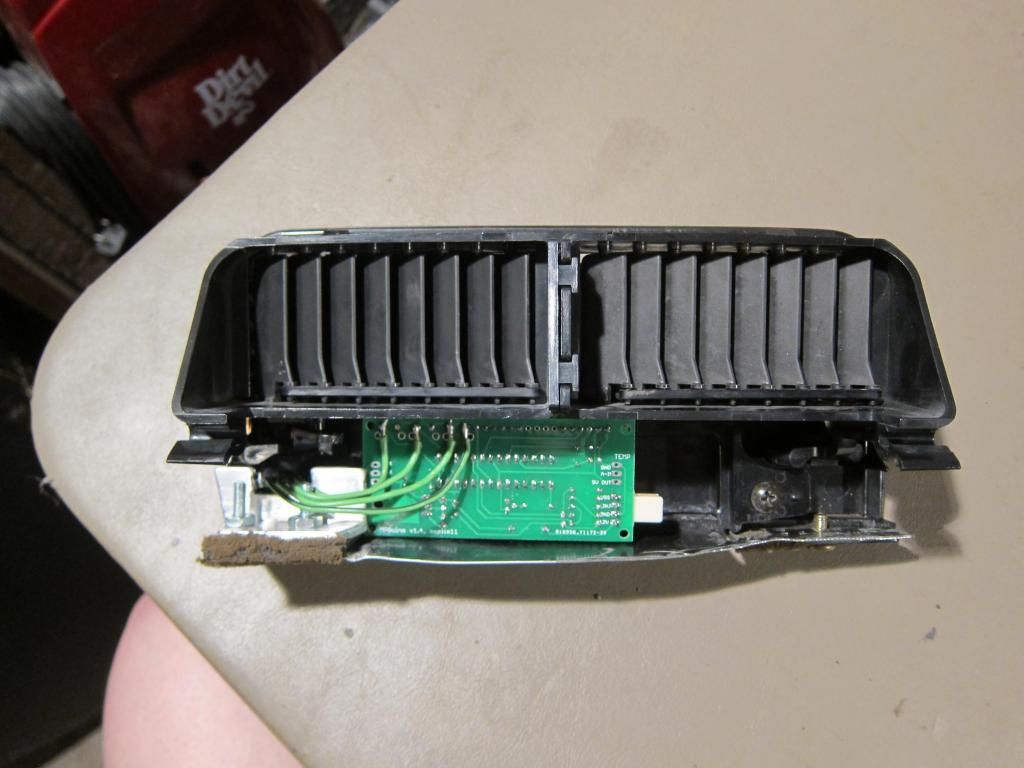
Then I added a bottom that allowed the gauge to fit. It was just a scrap metal plate that I had. It looks bad because I was using a Dremel tool to cut and sand it.
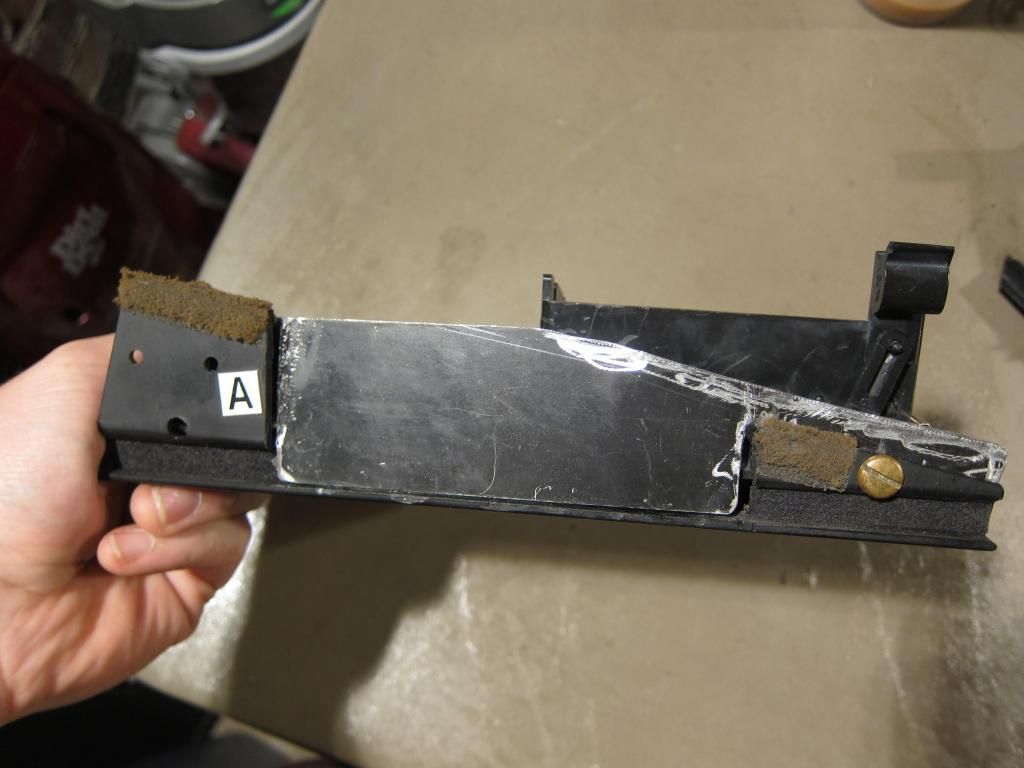
Bottom side.
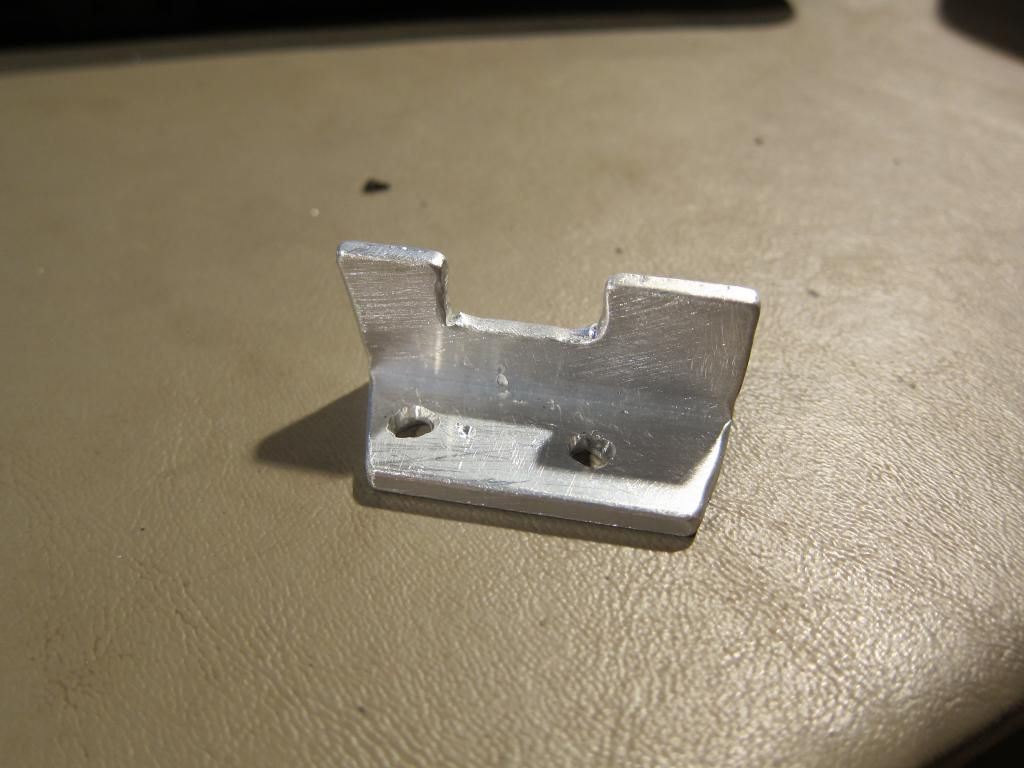
Then I made this little bracket from left over aluminum L bars from RAVadoodle's belly pan project. It's to hold the button board in place, against the housing.
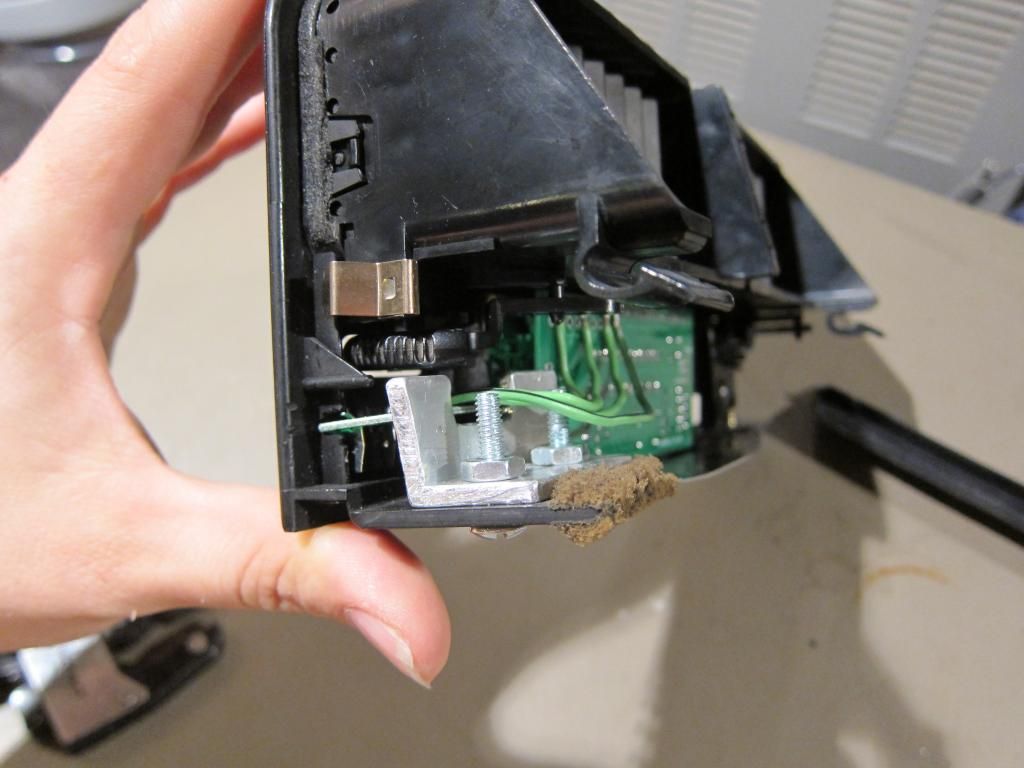
Button board in place with bracket.
Gauge in place.

Then I added a couple globs of hot glue to hold the gauge in place.
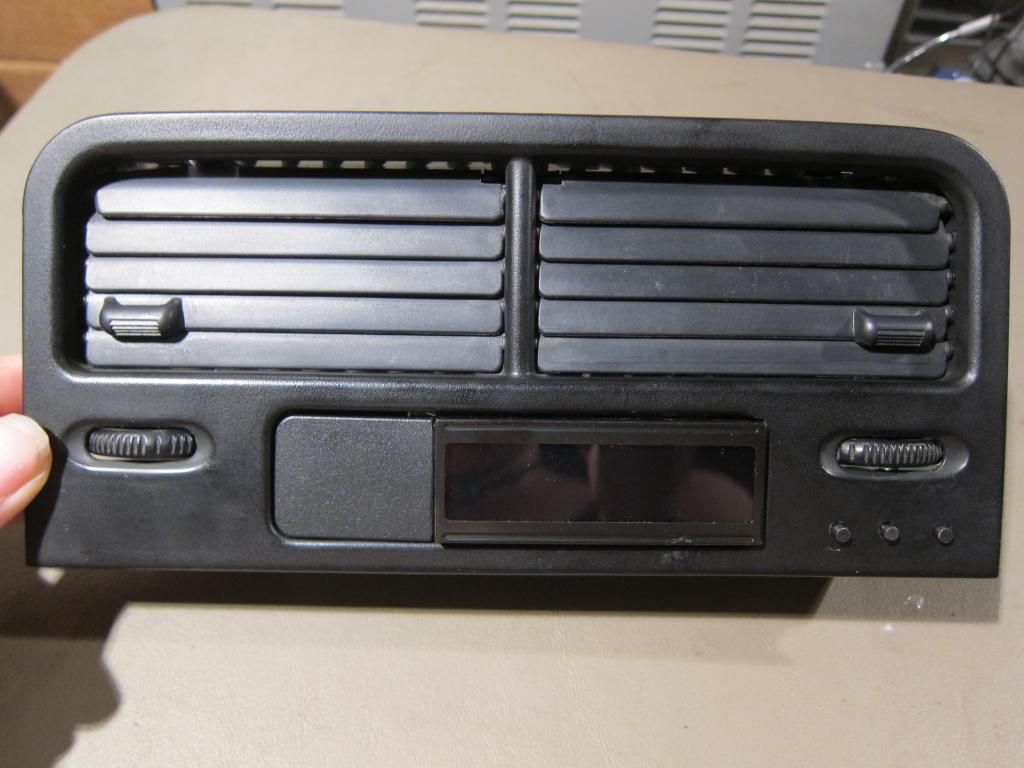

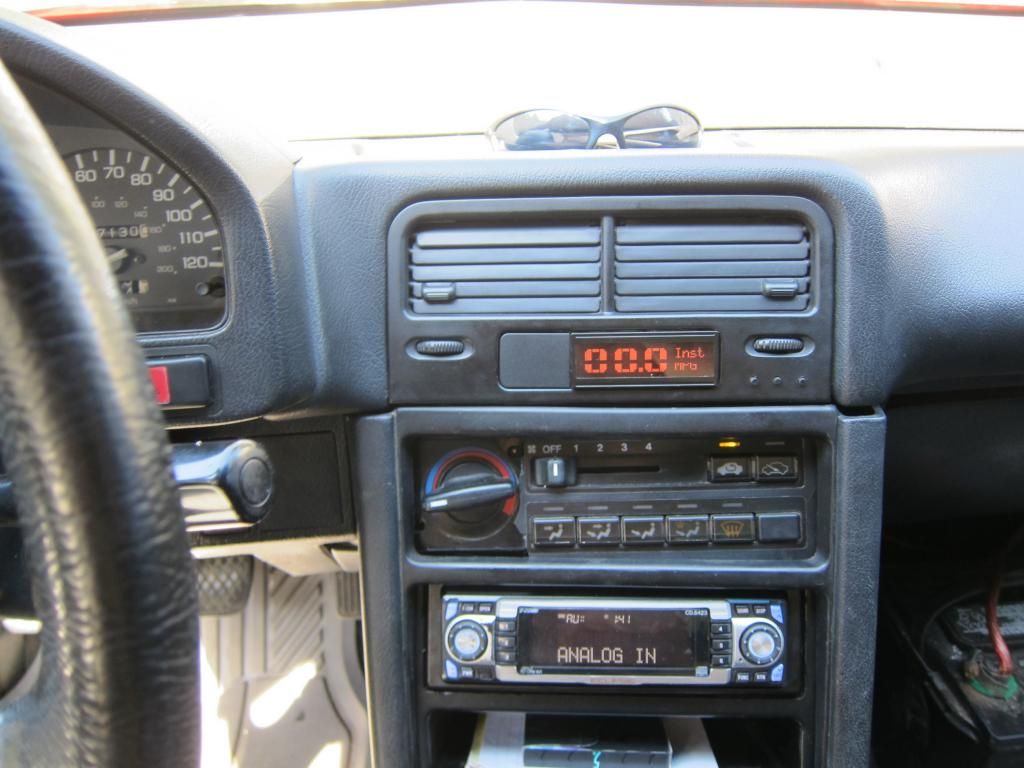
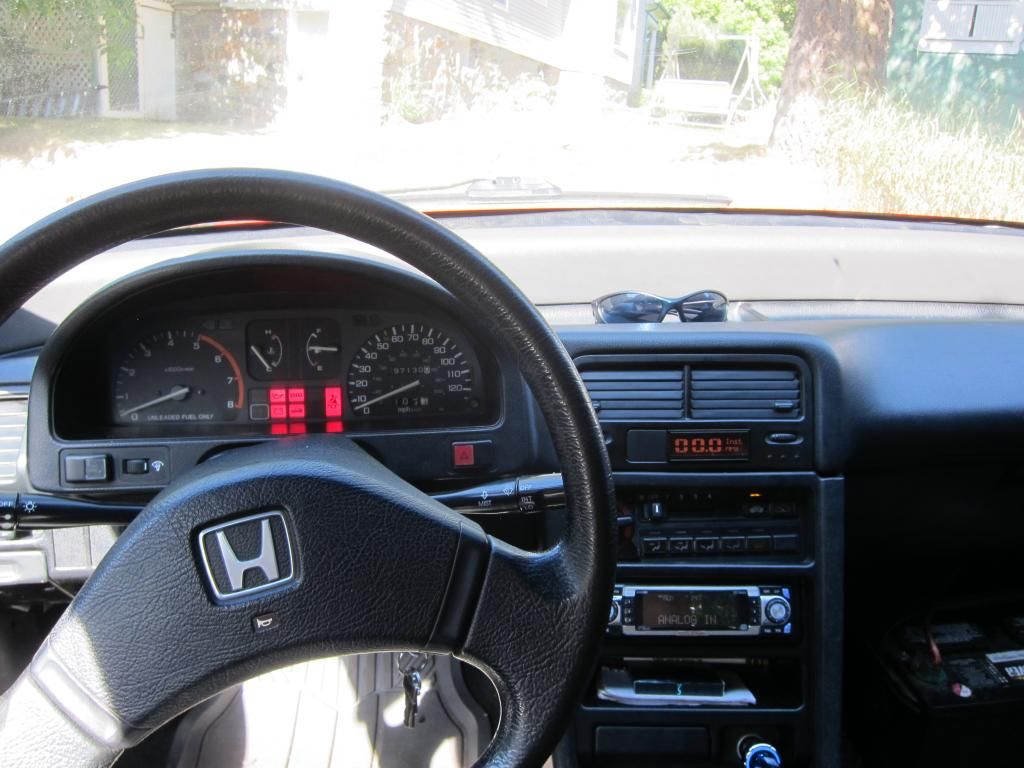
MPGuino from the front.
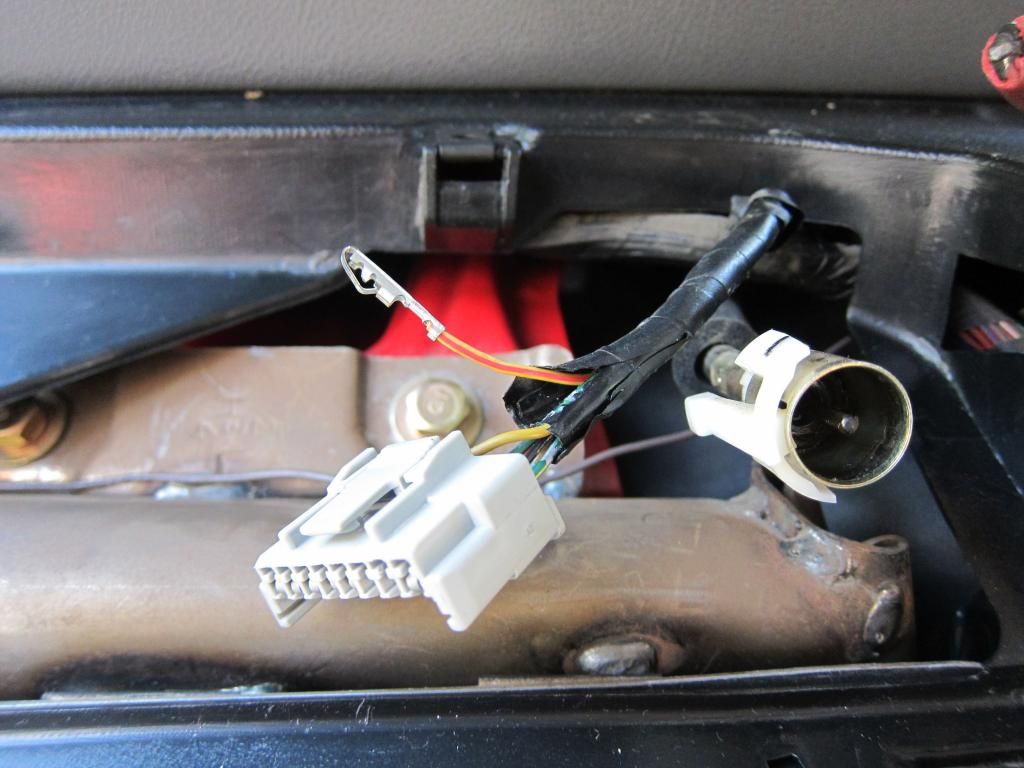
VSS (Vehicle Speed Sensor), wire behind the instrument cluster.
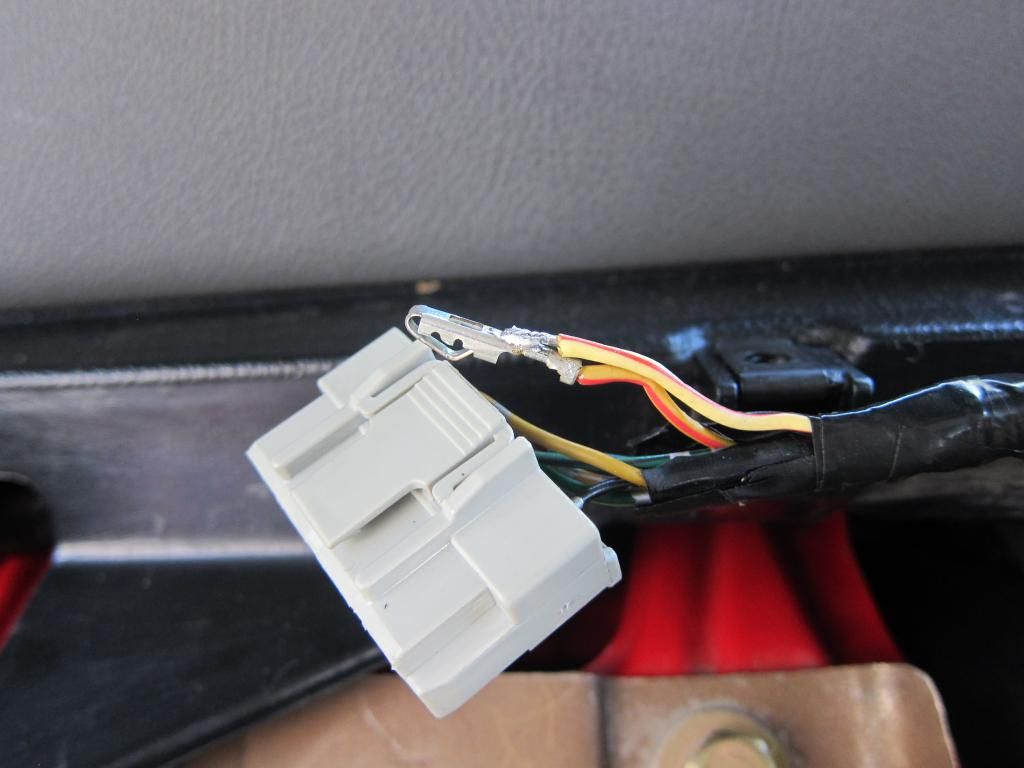
Soldered directly to the connector. I'm avoiding damaging the harness...
#1 fuel injector wire. Again, avoiding damaging the harness.
Soldered it onto the connector. I also have a piece of shrink tube to the left of the connection. So I actually soldered the connector piece together also. Because it doesn't have a housing to keep it together now. BUT solder is reversible. I wrapped it with electrical tape to the original injector connector after shrinking the shrink tube.

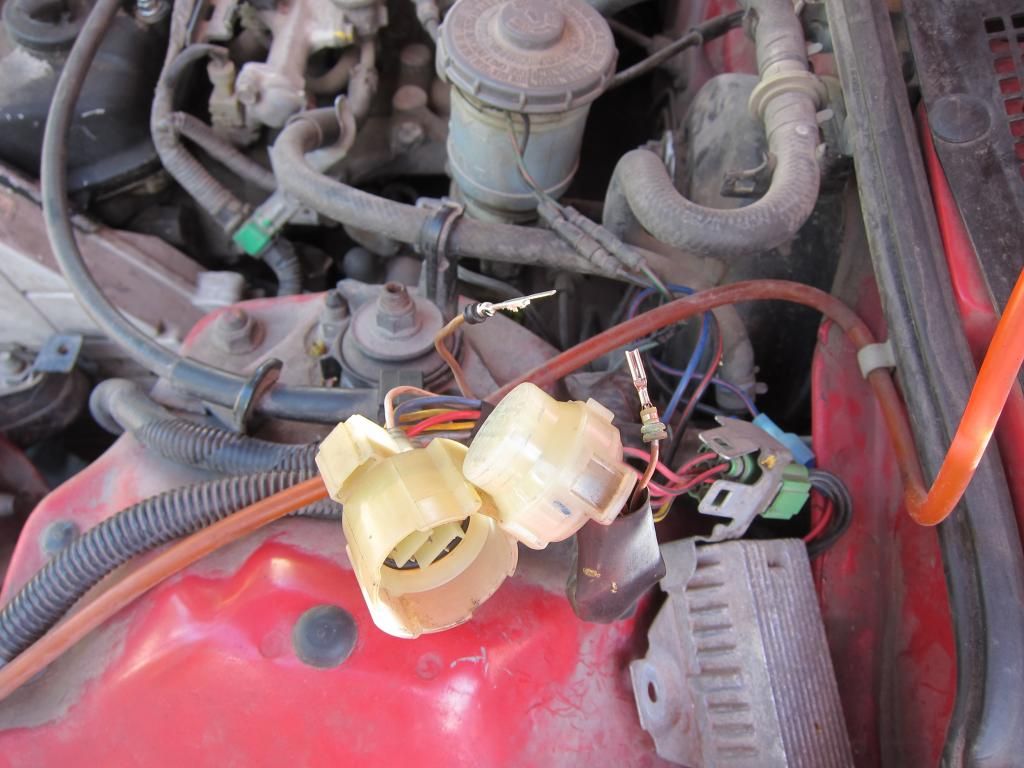
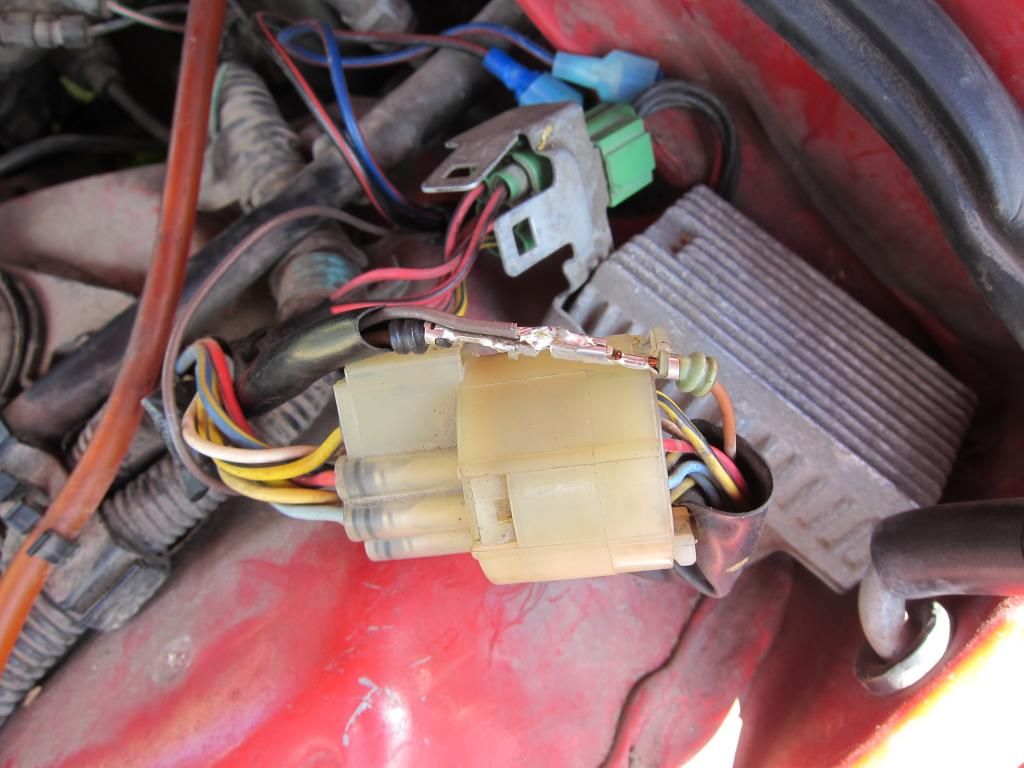
This is how I did it at first. But it doesn't look like that now. I had some various........... issues.
Here's a new update, that I just did as a temporary fix. I'm planning on redoing the wiring, and utilizing the clock's harness. I can get constant power and ground there.
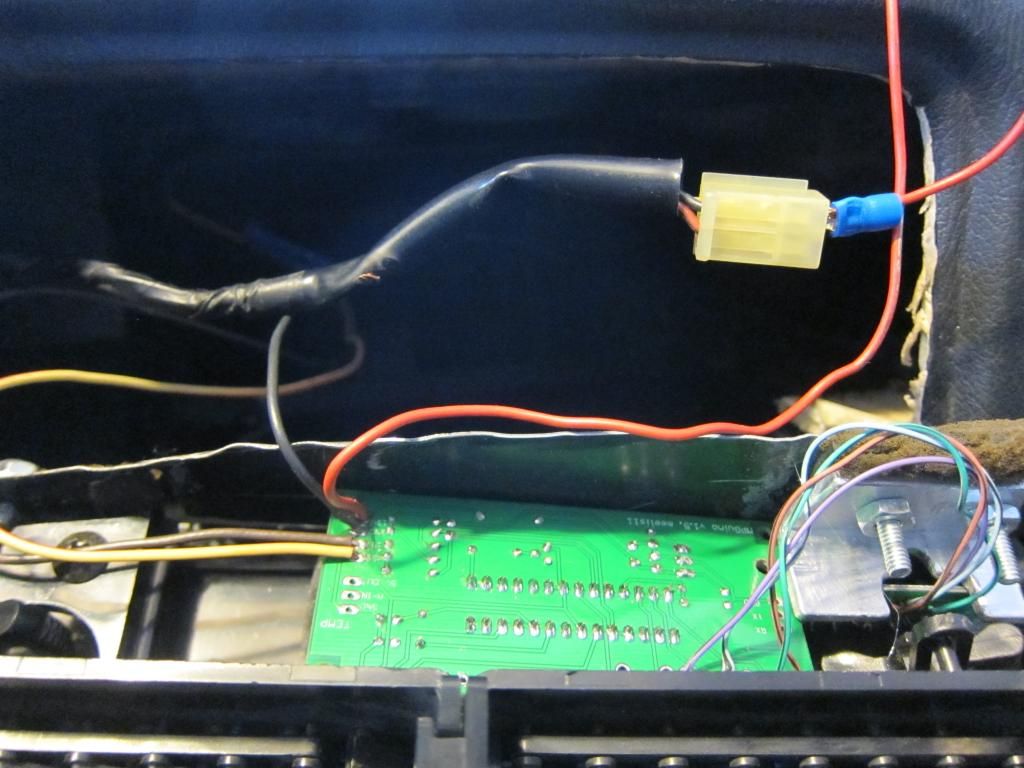
Power wire goes to a quick connect to the adapter wiring harness for the stereo, to the CONSTANT wire. I ALSO have it fused again, with the smallest fuse I had, 4A. Grounding wire is hooked up close to the gauge.
This MPGuino is not displaying one bar, so I bought another one from Meelis. It was damaged by something I did. I just haven't updated the picture.
So there it is.

I hope it will help with ideas and know-how. I'm also HAPPY to talk about the installation in greater detail with anyone that wants to.