Update 10/31/14: Front Grille Block + Fog Light Covers
Hello all, here's an update to the project. I was off yesterday, and had some extra time to (finally) get this project done.
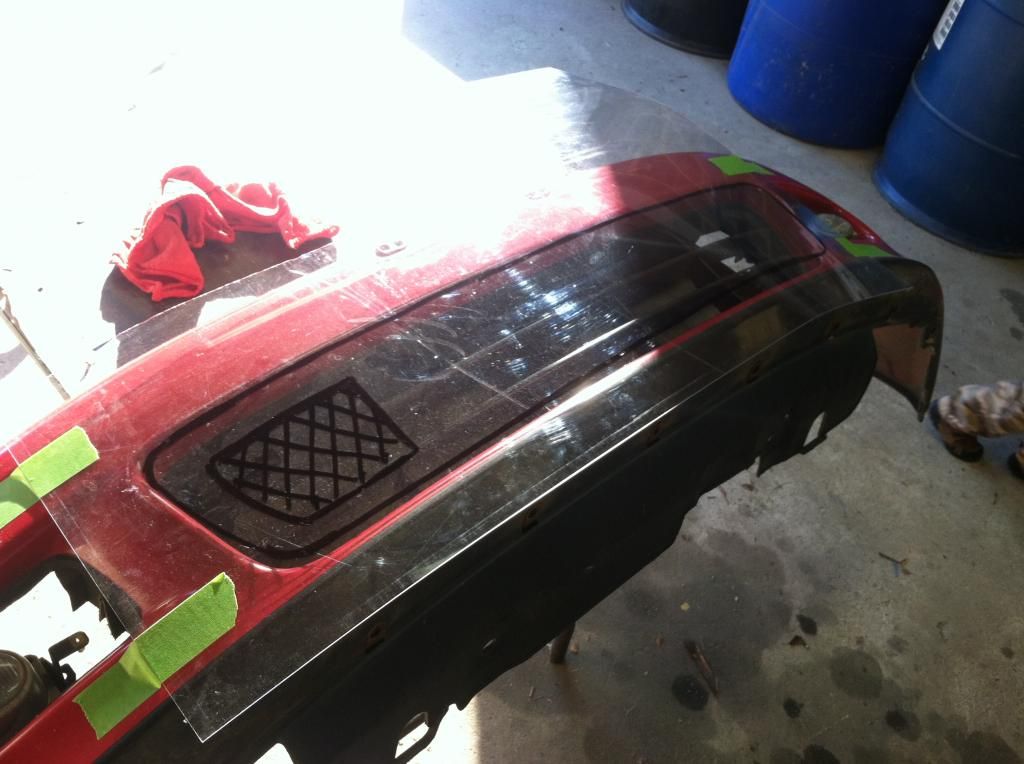
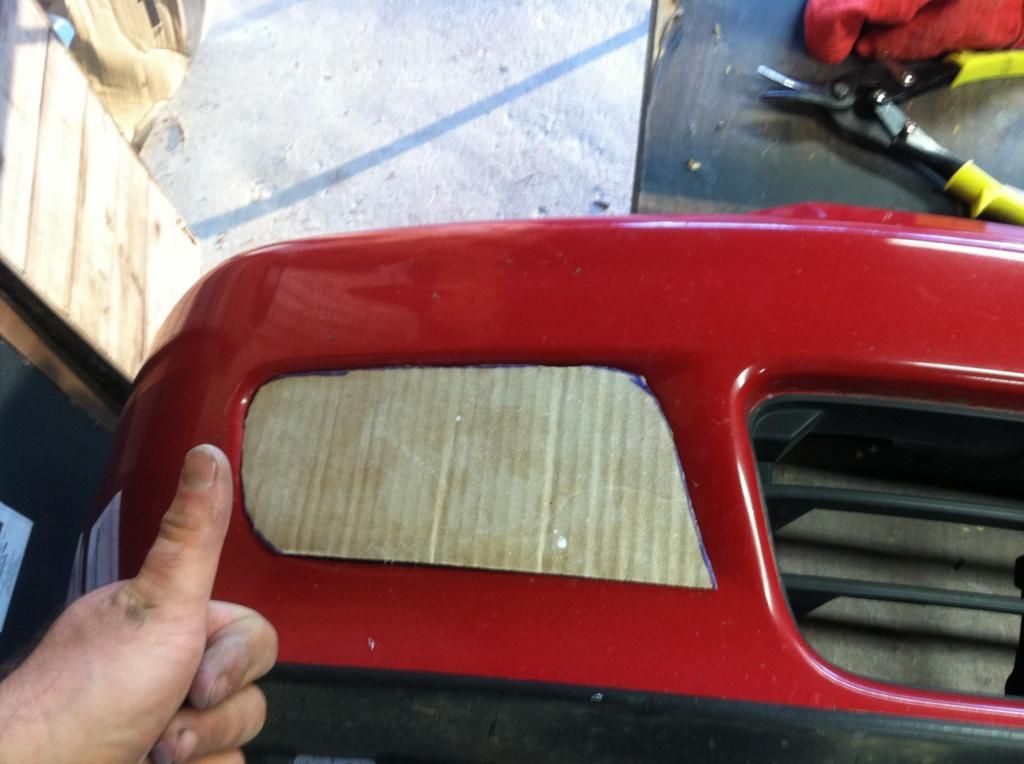
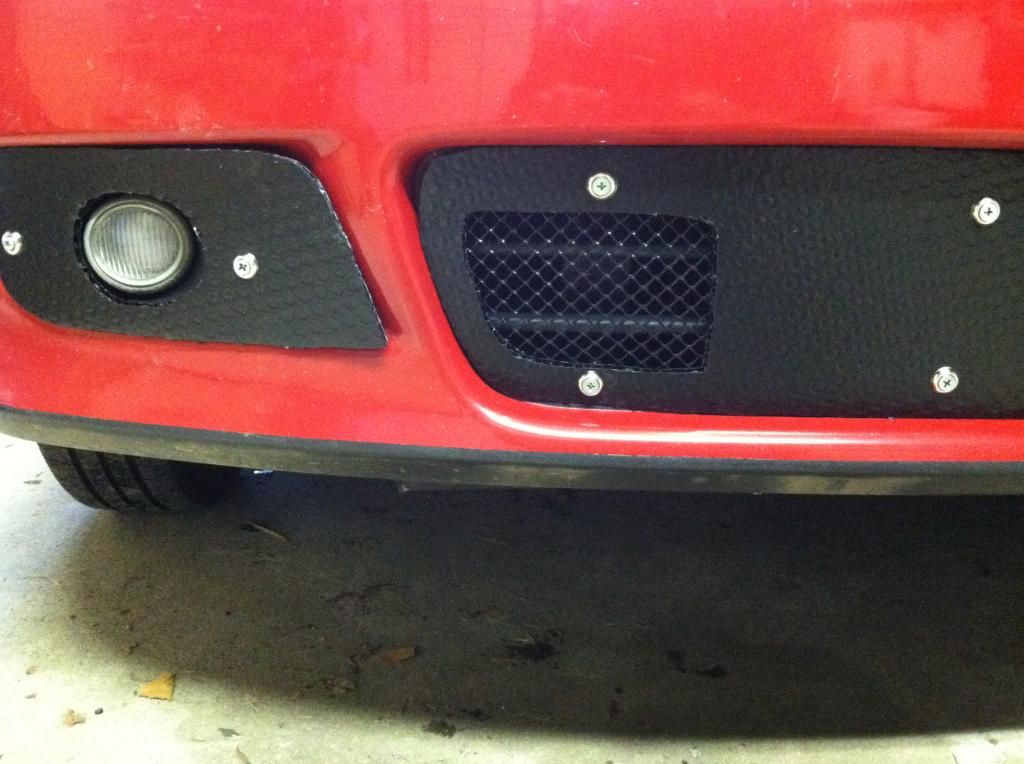
I started with the Grille Block first. I mocked up the design by using some medium-thick clear plastic that was sourced from an old poster frame.
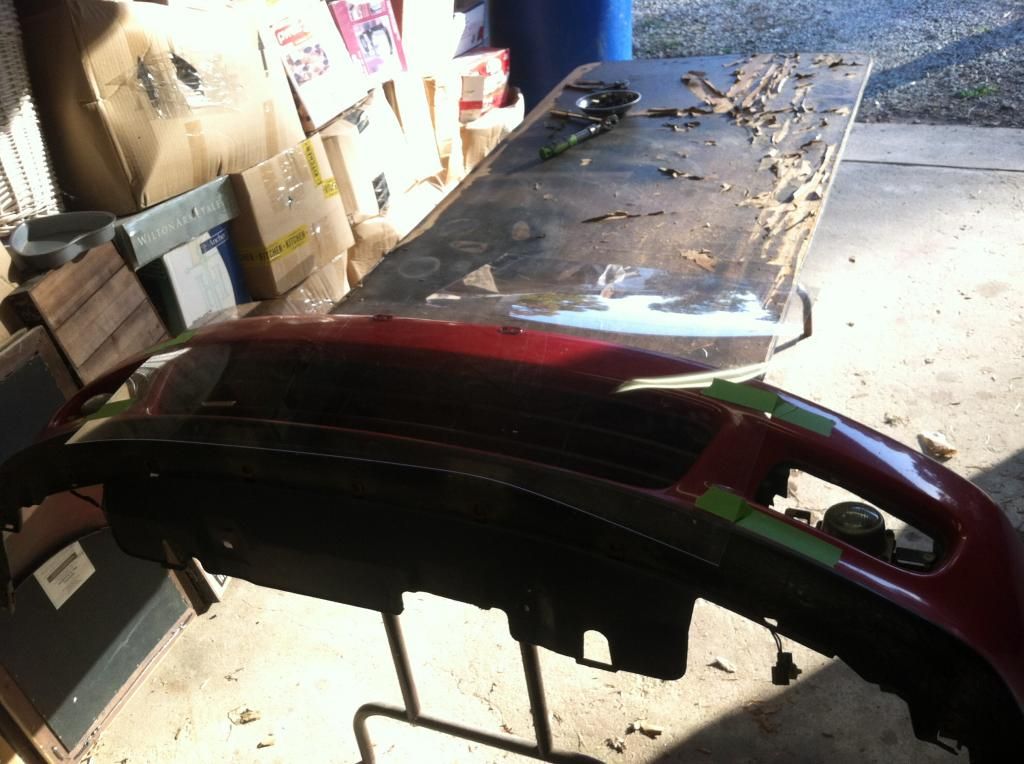
I then used a (Magnum) sharpie to mock up the shape of the finished panel.
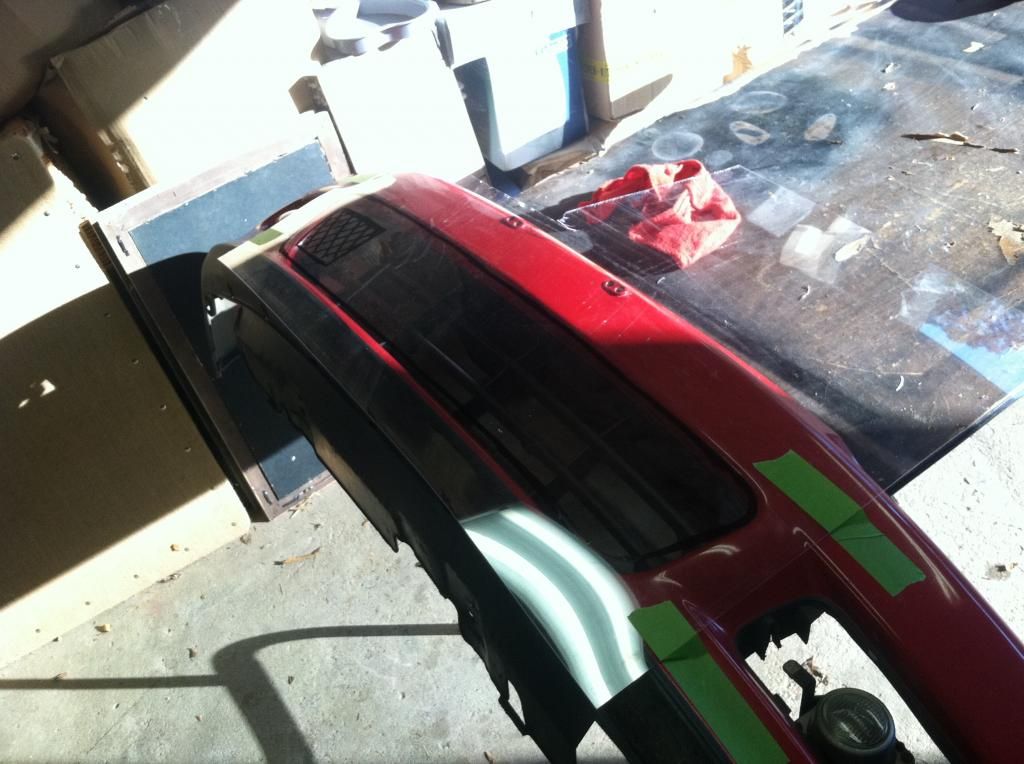
The shape was then cut out and I did some more test fitting/cutting to get it to the correct fitment. The translucent plastic made the mock-up incredibly easy.
I choose the location of a breather hole for the radiator at this point as well.
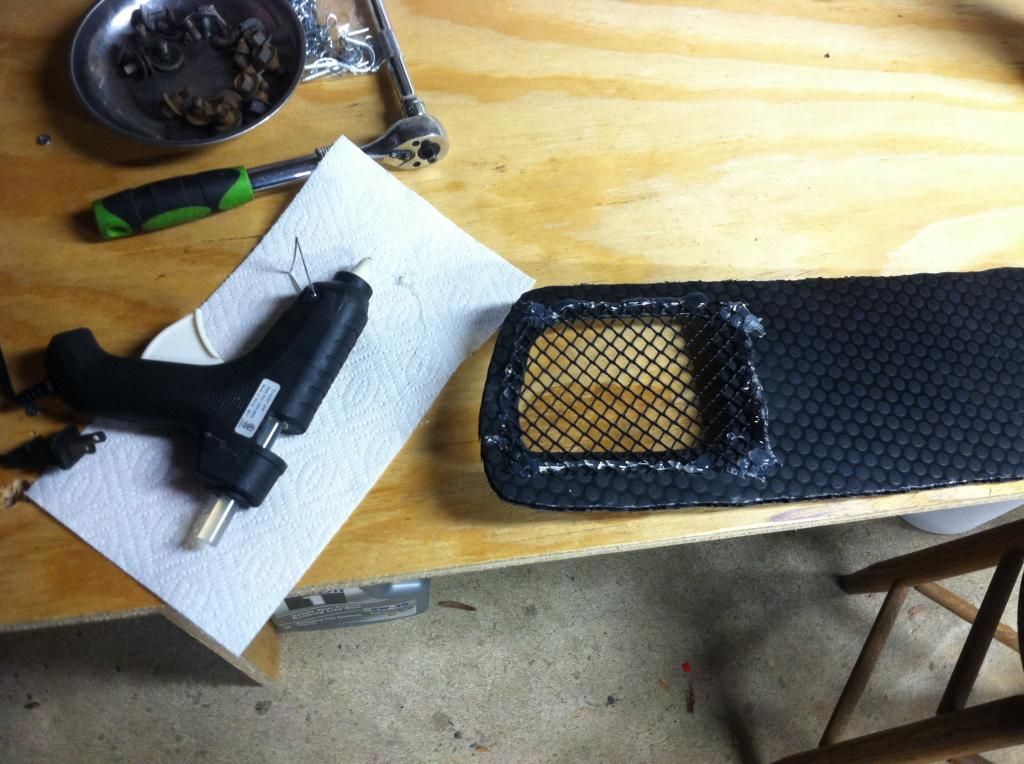
The design was then transferred to the finish material. As shared in a past post, the material I'm using here was actually the OEM base board material from the hatch that came with the car. It was bowed and no longer suitable as a floorboard. However, it's PERFECT for this project. The black doesn't need paint, won't chip off, is weather/impact resistant, strong yet lightweight, cut-able with shears, has a cool spherical stamping/design...the list goes on.
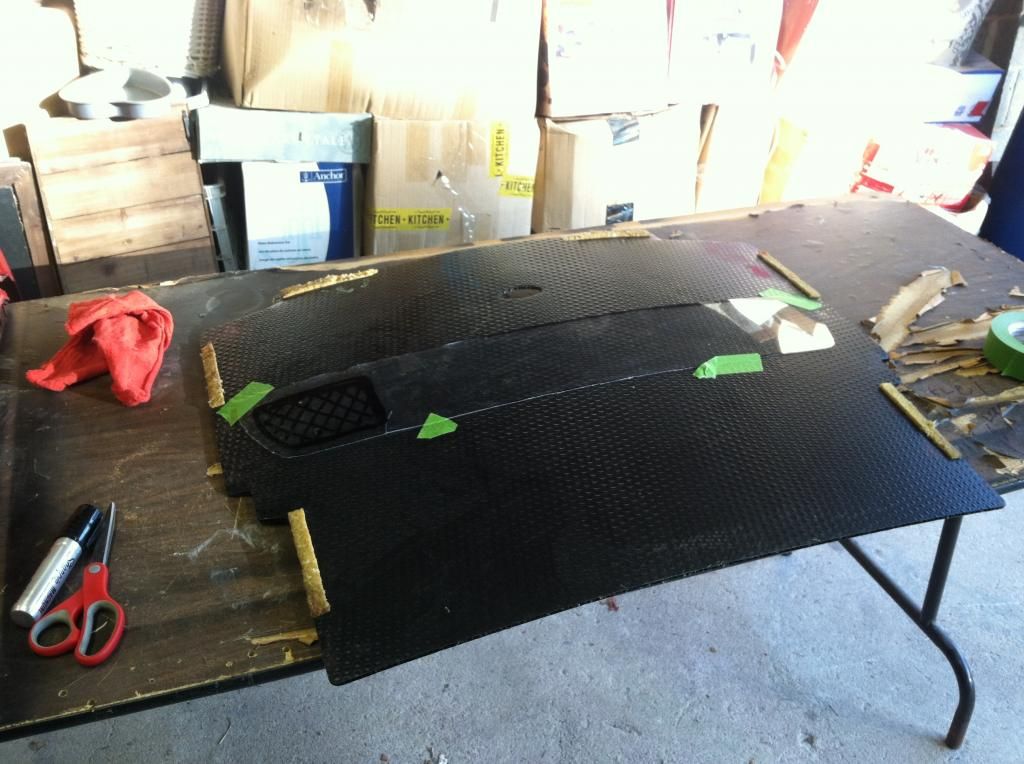
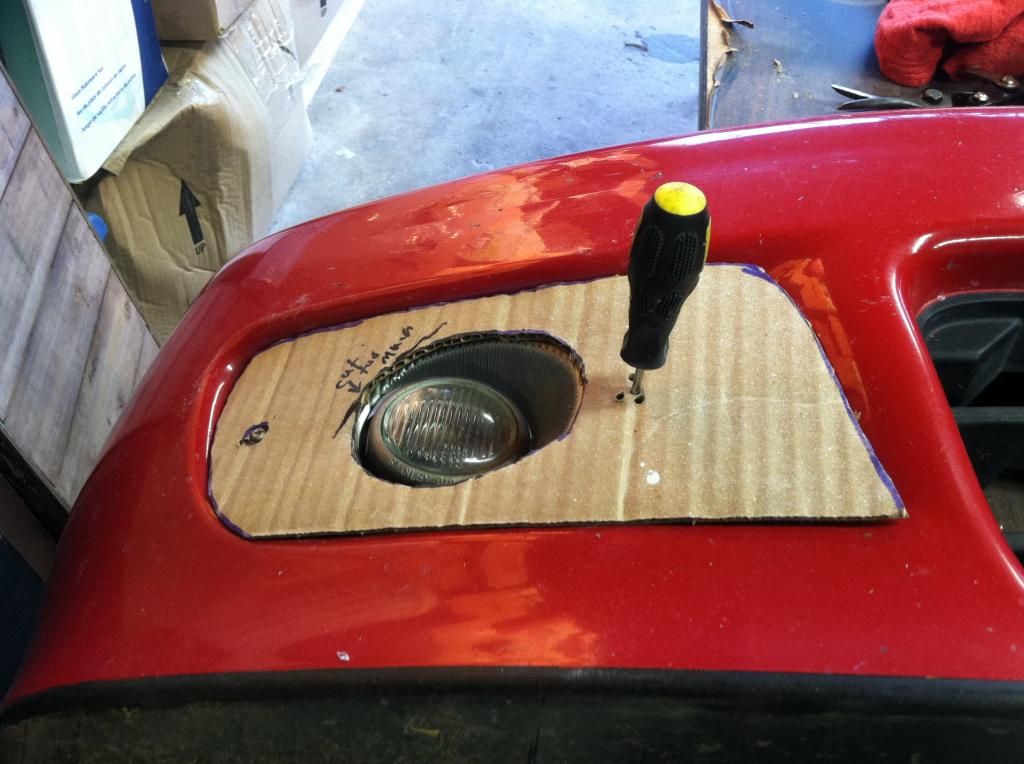
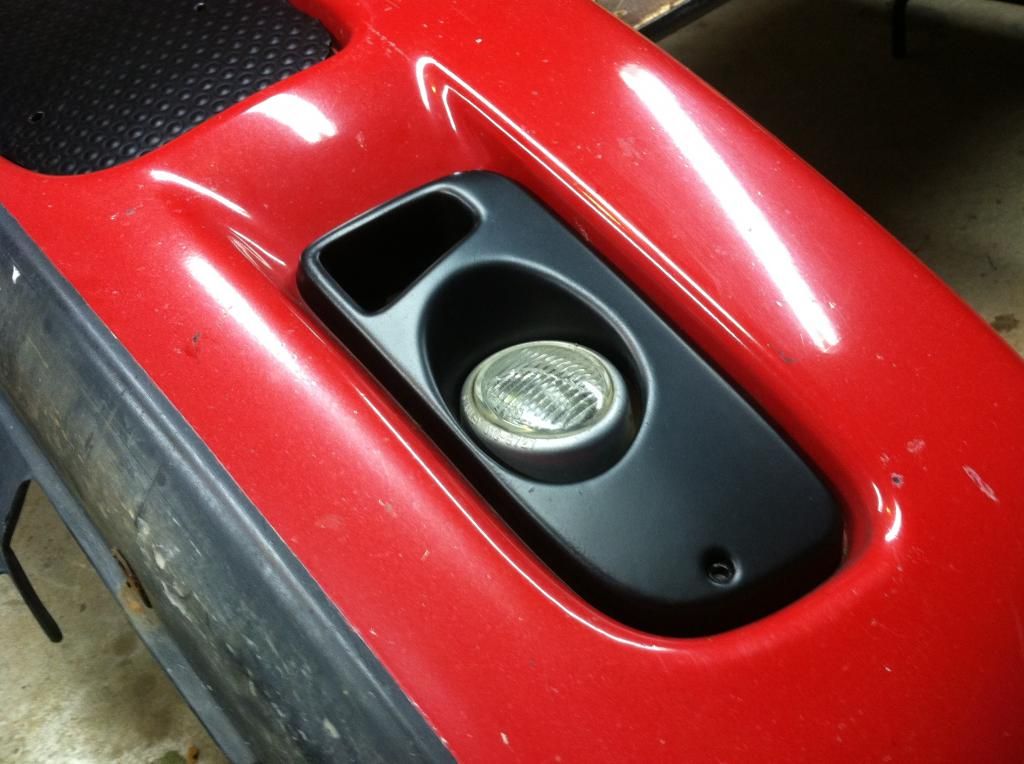
I then completed the fog covers. The goal of these covers is to smooth out airflow over the fogs, voiding the OEM recession. Initially, templates were made of cardboard to design and check fitment.
Fog light holes were then cut...
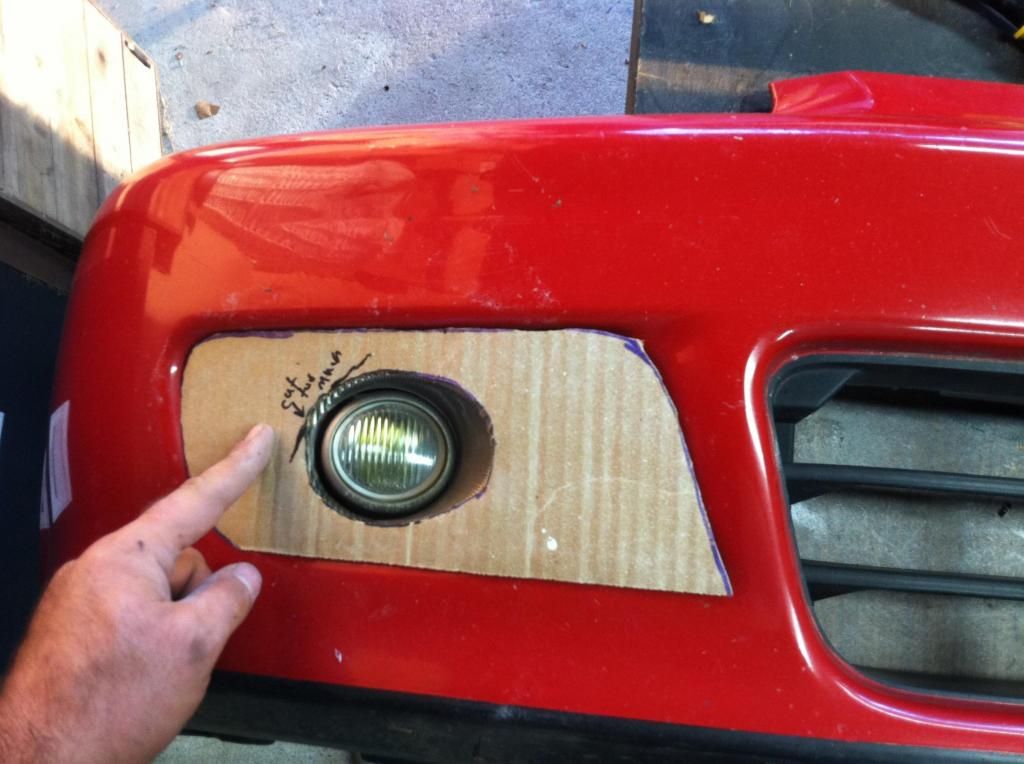
Holes locations where then integrated using the OEM fog light cover hole locations.
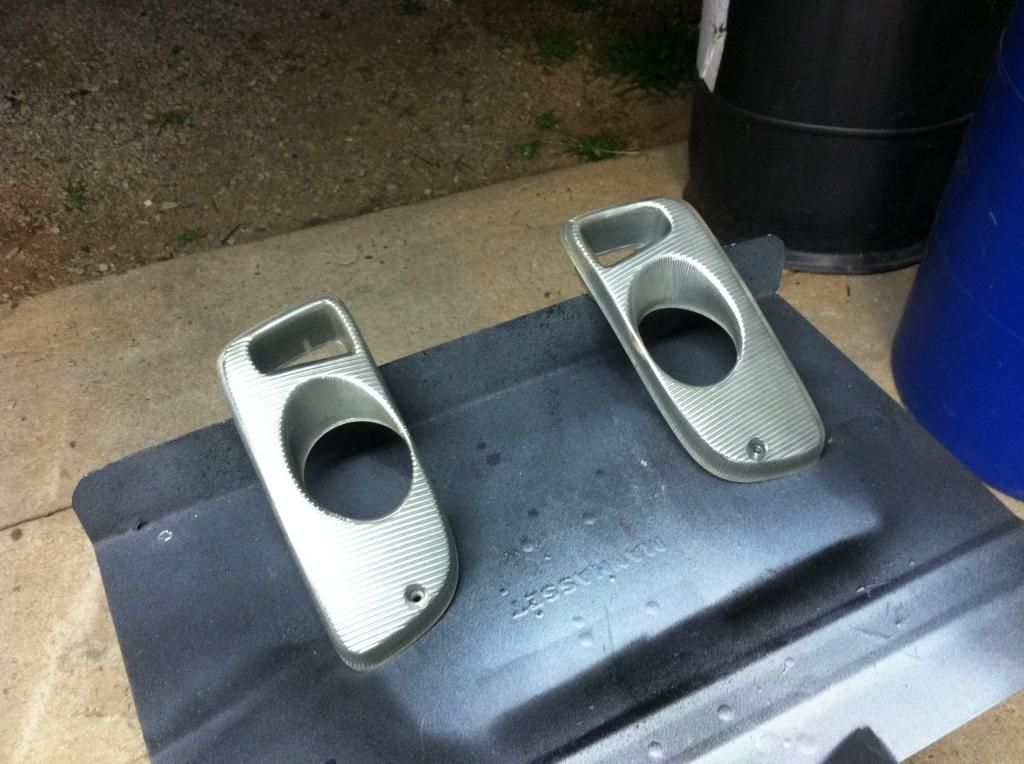
Since the covers were black, the OEM fog covers (underneath) needed to be black as well, since a small portion of them still shows through the new covers. I am very fortunate to have an OEM fog light set. For that reason, I wanted all mods to them to be totally reversible. So, PlastiDip was choosen to cover them, in case I ever wanted to remove the coating and go back to an OEM set-up.
I picked up a roll of black plastic Gutter Guard from Lowers for a few bucks for the radiator hole, just to clean up the look a bit. It was cut then hot-glued into place.
I used finish washers on the frontside. Nuts, washers, and lock washers were used on the backside to bolt everything down. I forgot to take a pic of the back of the bumper. Sorry about that! Basically, I cut (4) 1.5" x circa 5" strips of the same material I made the grille block out of. I used those strips to brace against the backside of the OEM grille and to bolt the grille block to. The material is sturdy enough to serve this purpose well.
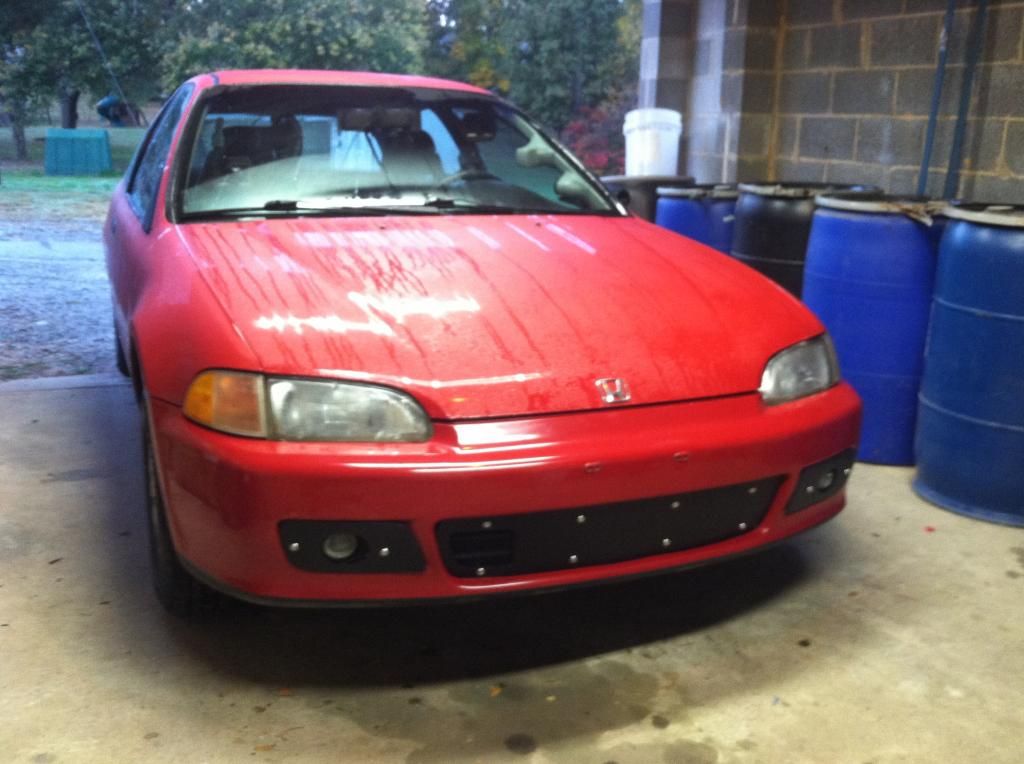
-And here's some pics of the end result.
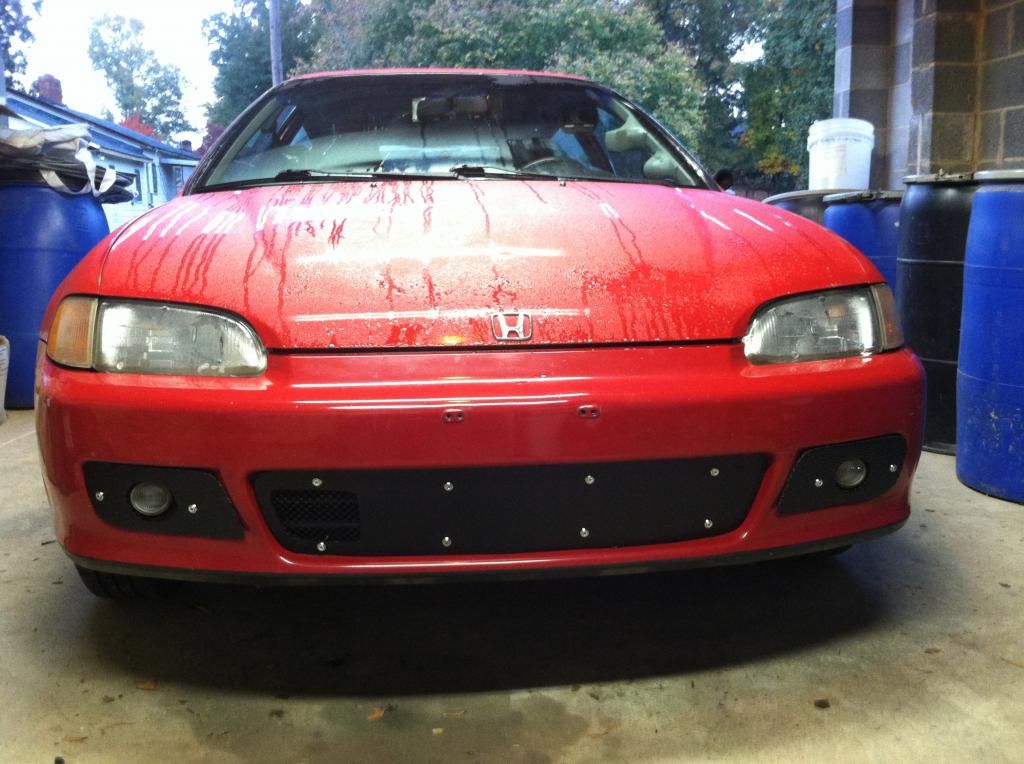
The bolts and washers will get painted with some black touch up paint asap.
Up next for the project, beginning this weekend:
- Front Air Dam (extension)
- Finish EcoSafety Sign + wiring
- Set up a new work bench that I got for free at my part-time job
As always, thanks for
EcoTuning in!