Update 2/20/2015- Sparco Racing Seat Part One: Restoration & Repair
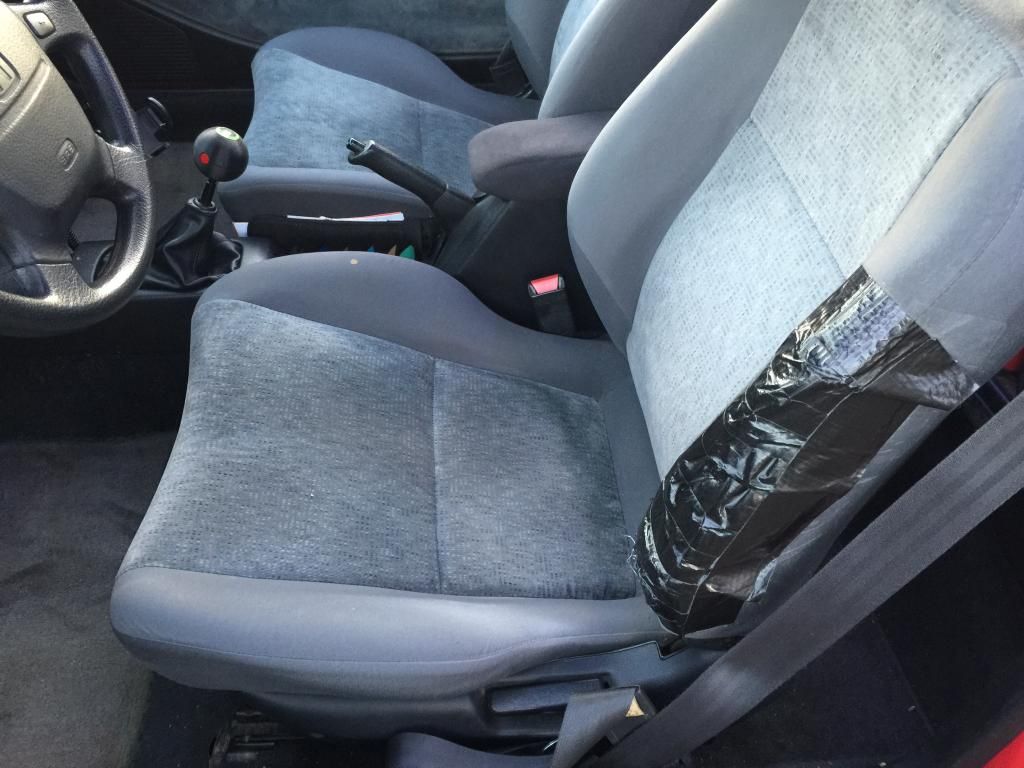
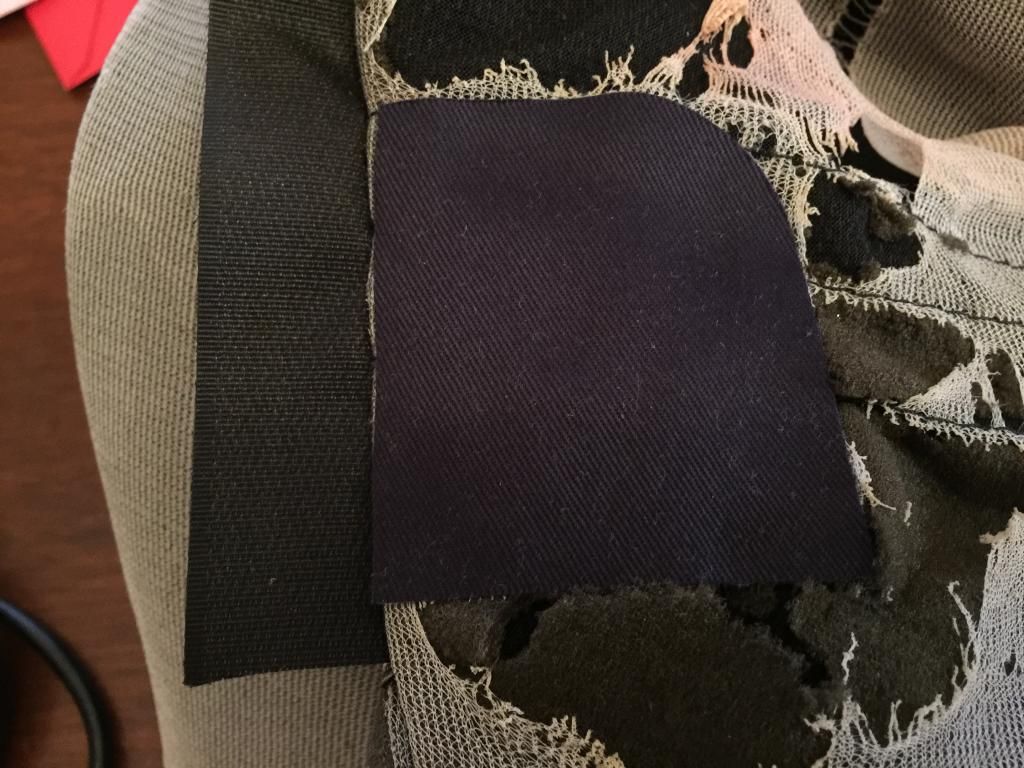
Here’s a pic of the rips in my current seat. Thus the need for a replacement.
Here’s the seat I got on CL for dirt cheap, as received. I usually would not have gone for this, but (1) I love a good restoration project, and (2) I got it so cheap that, I believe now that I have it “fixed”, I could flip this for about 200% to 250% profit.
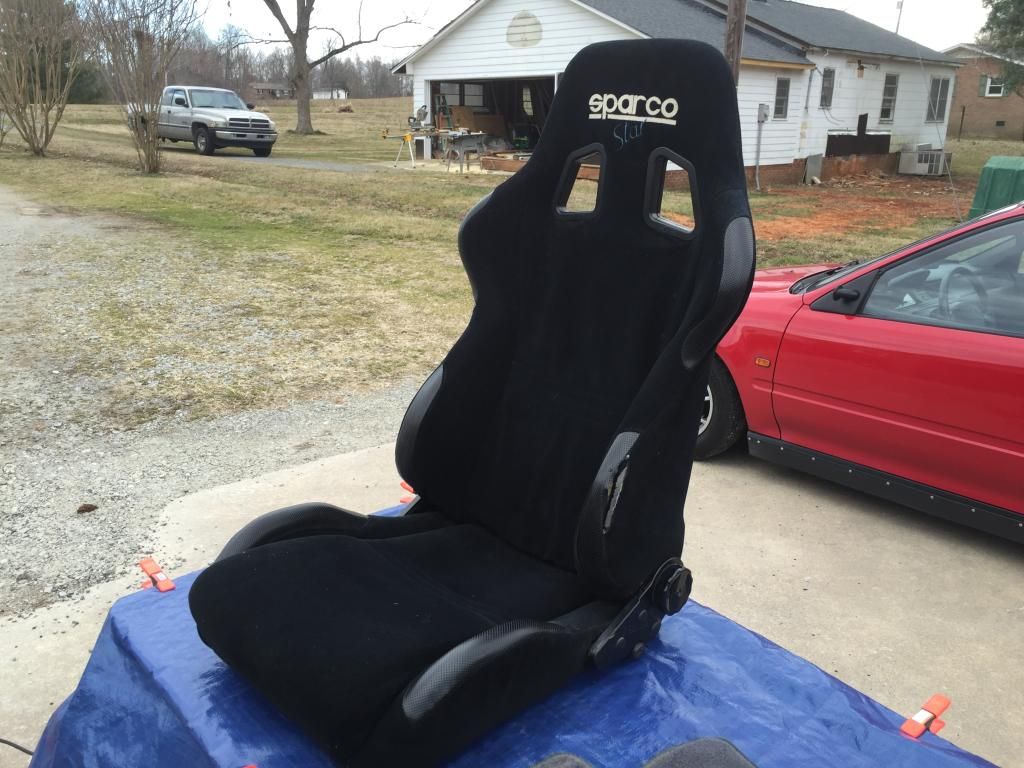
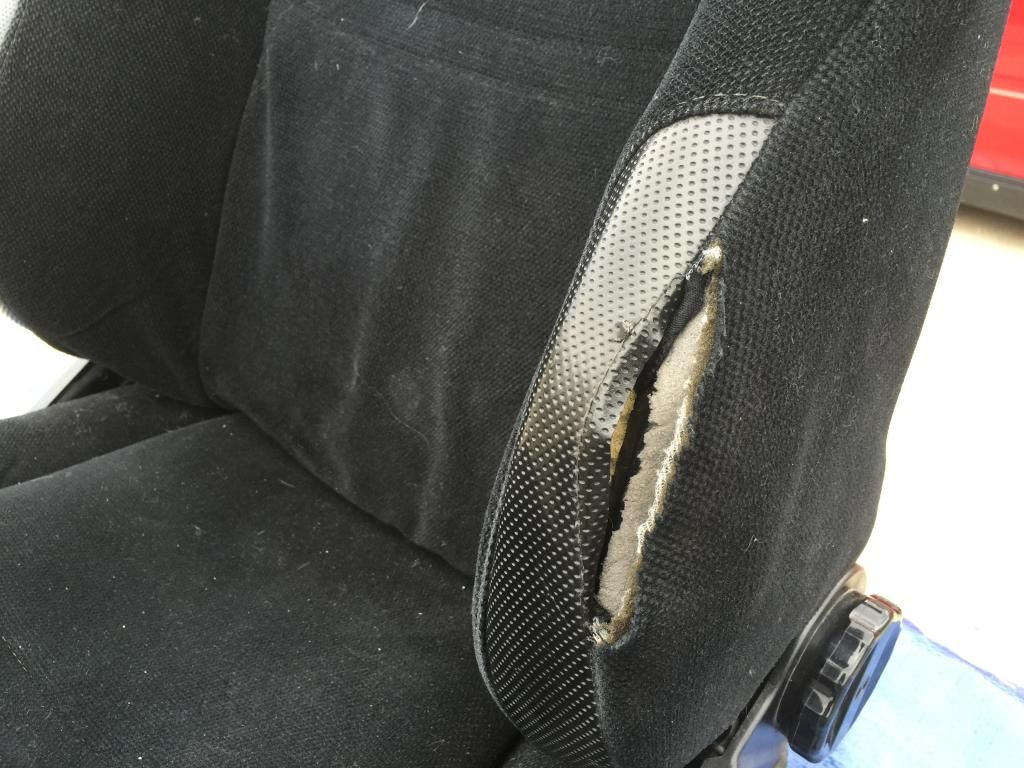
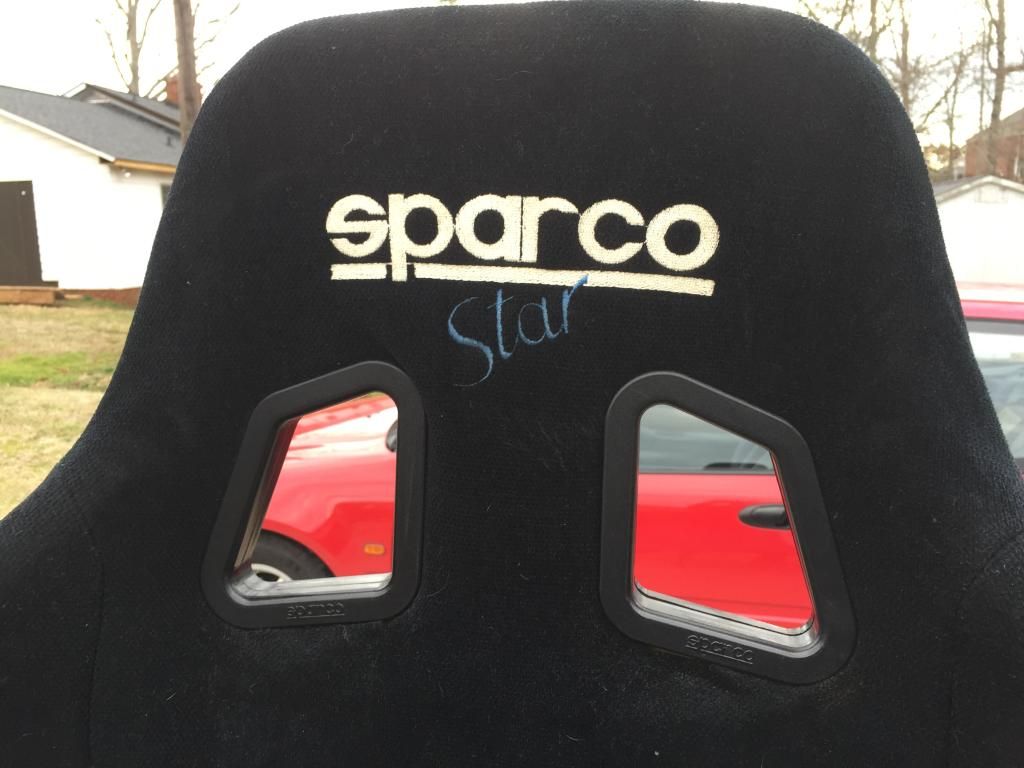
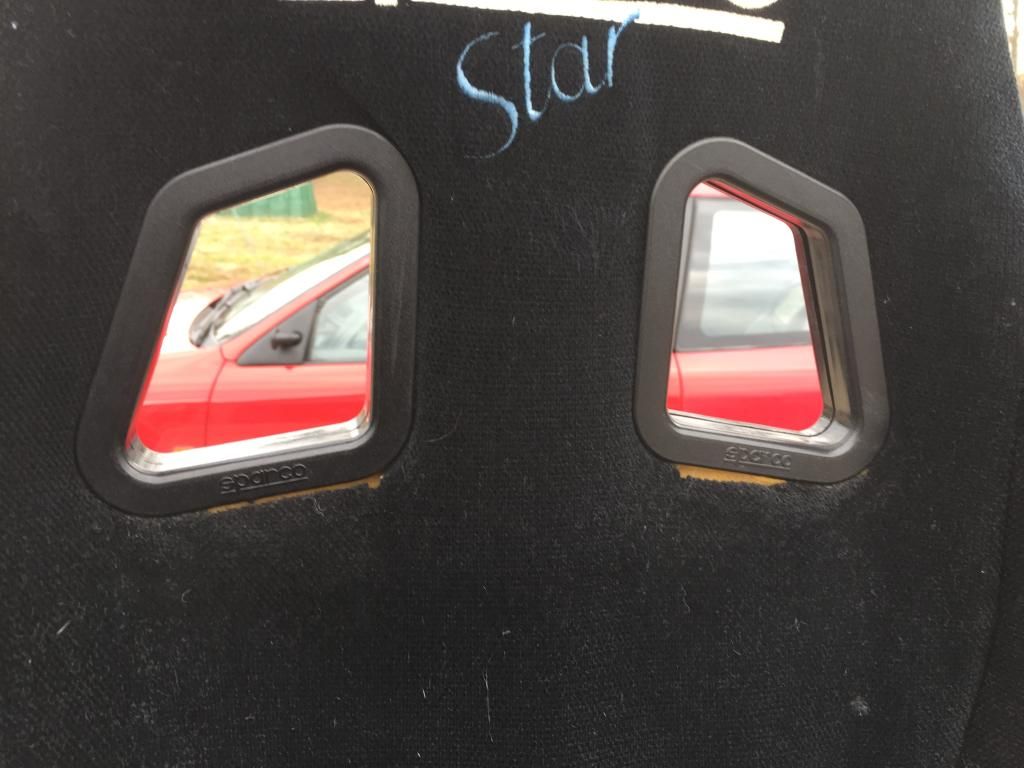
As can be seen, a few small flaws: a “clean” rip on left side upper bolster; two small cigarette burn holes on the back rest. There is also a small amount of “wiggle” in the seat adjustment mechanism.
Step one was to get the cover off of the seat.
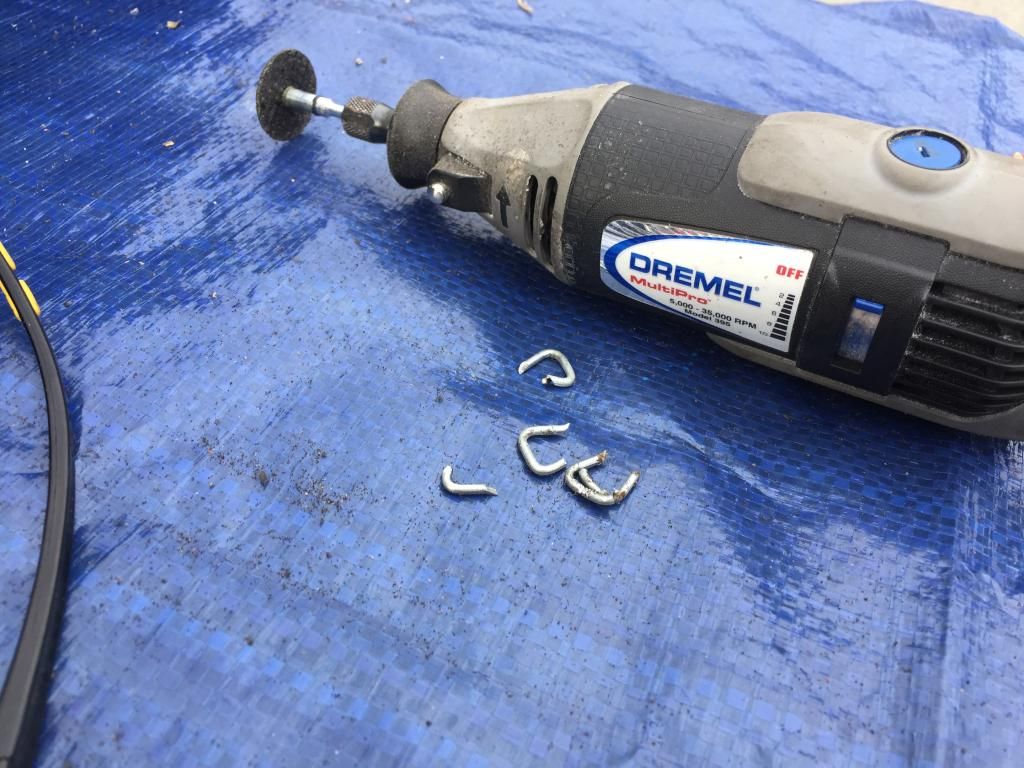
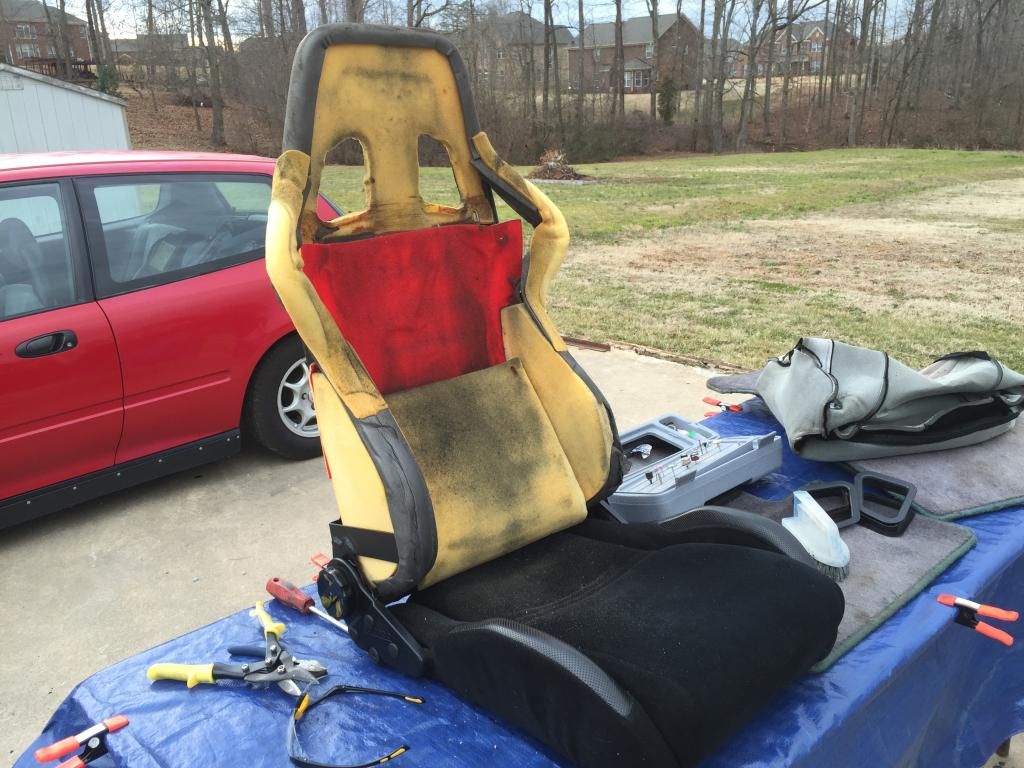
A small rip was present beneath the cover, on the fabric piece that holds the foam tight to the frame on the side bolster. This needed to be repaired as well.
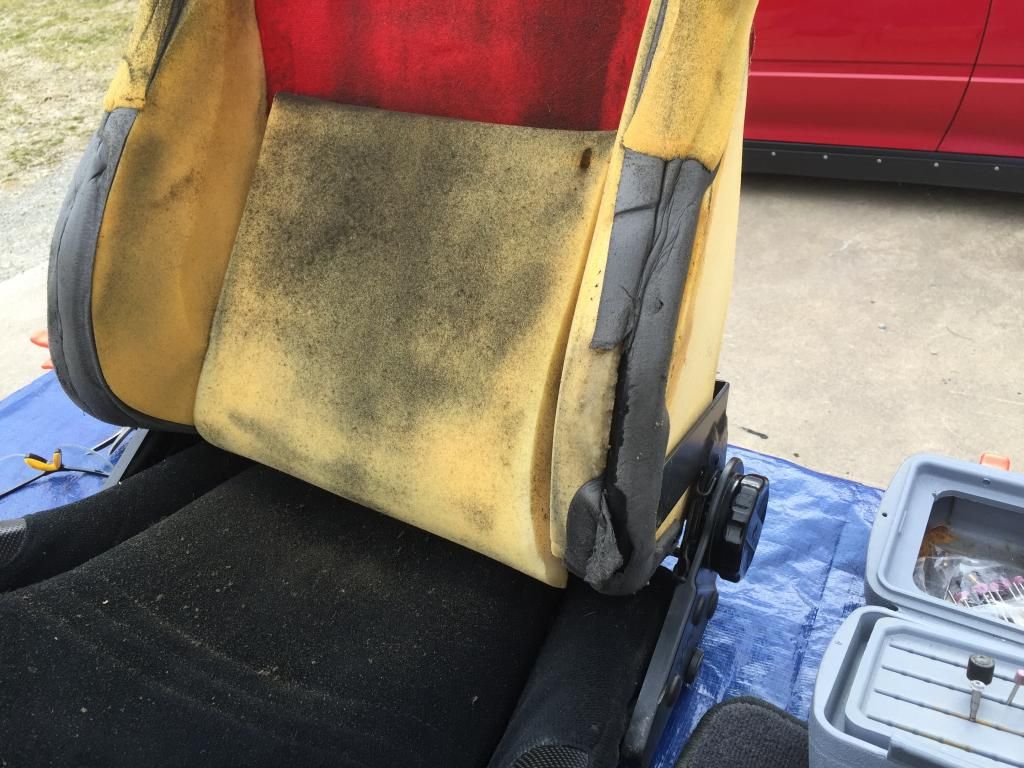
My next step was to vacuum and clean/degrease the seat. While doing this, I decided to go ahead and clean off my floor mats as well. I’m dying them black to match the carpet. I’m also adding a few other touches to them, which I’ll include in a future post. I needed to get them all clean and to a uniform color prior to dying.
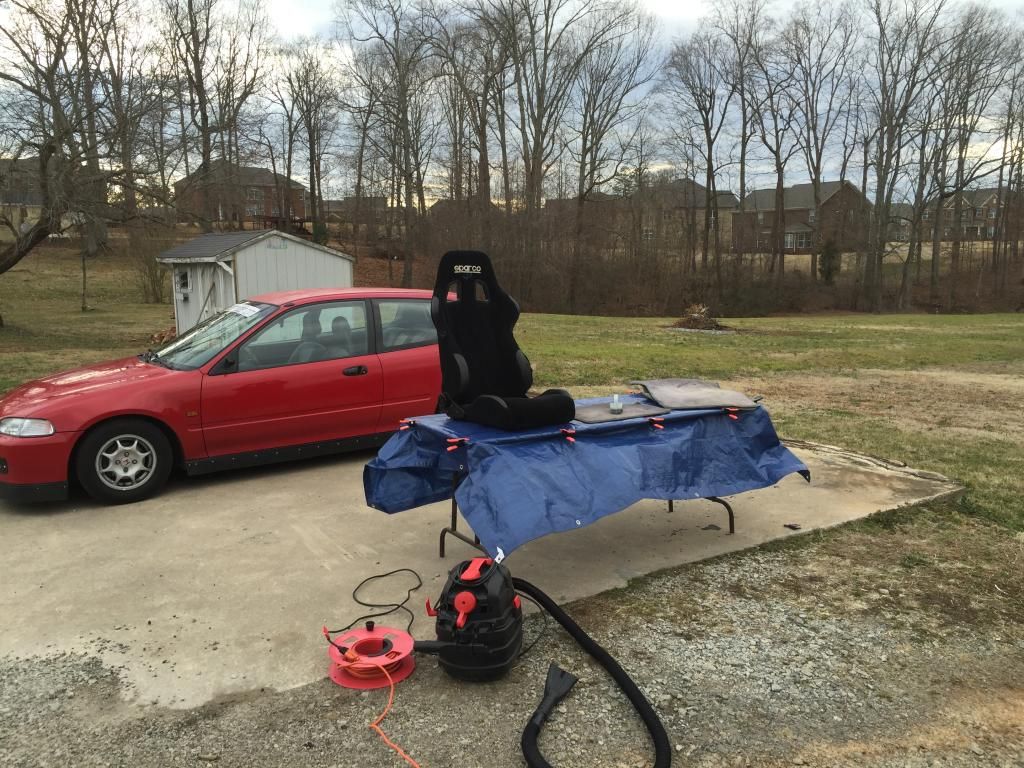
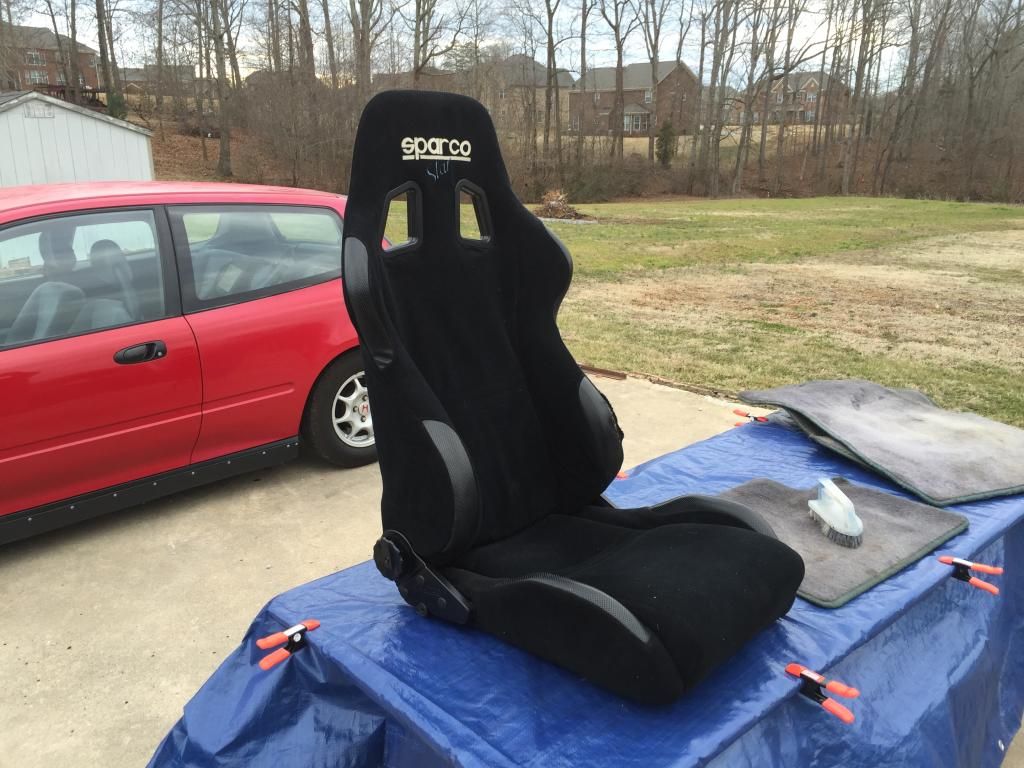
Once all was agitated with a nylon brush and then vacuumed, I moved forward by degreasing everything with Super Clean. I, then, followed cleaning everything with a mild dish detergent and rag. Finally, I rinsed everything clean with a good soak of water.
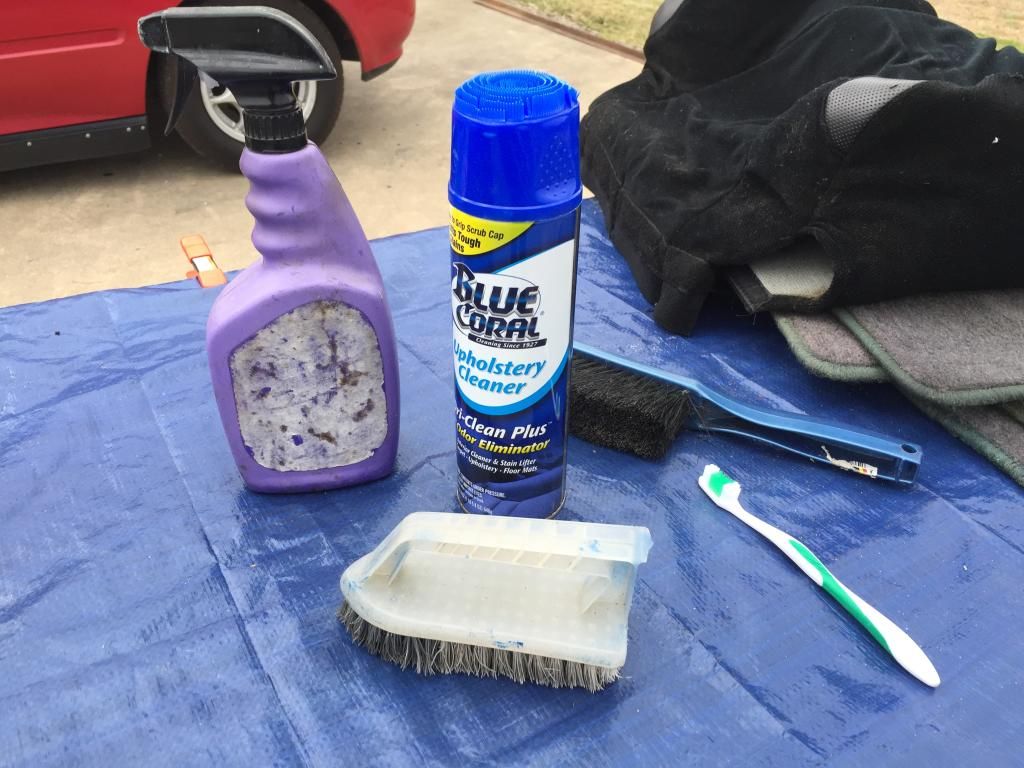
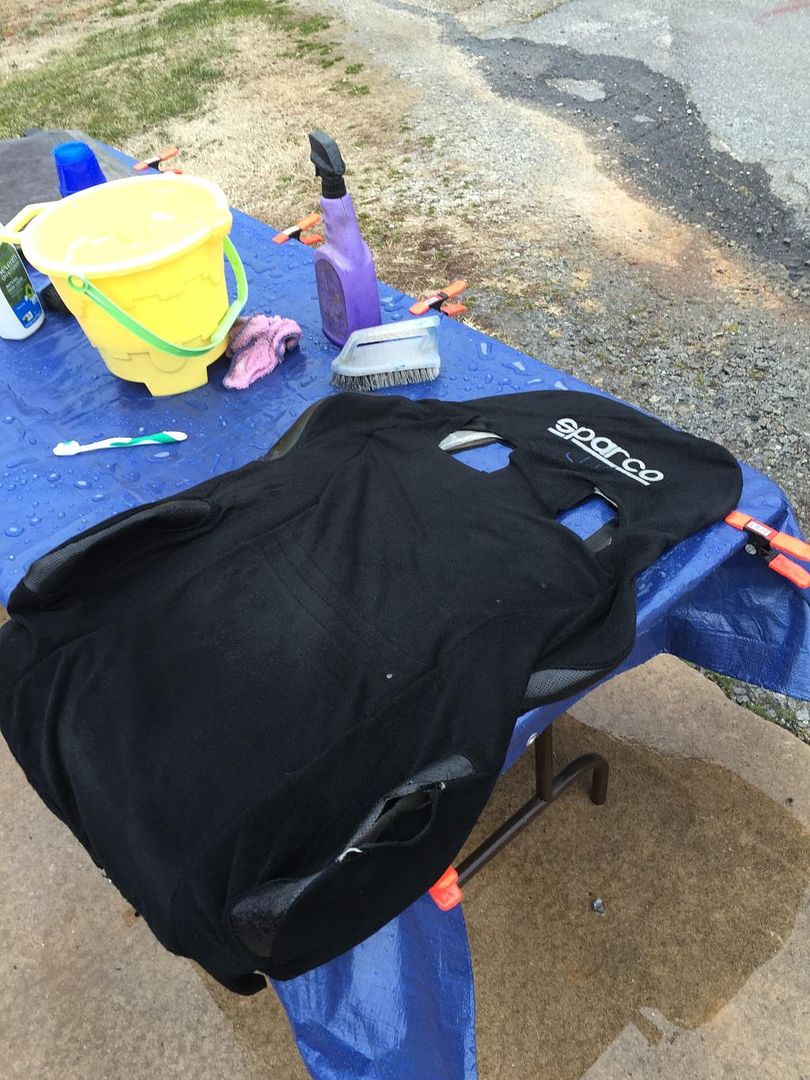
Everything was left outside to dry overnight, sans the seat cover, which I dried in my dryer inside so that I could move forward quickly with the repair work. It should be noted that I added a thick blanket/thrown and a heavy cotton jacket into the dryer, just to absorb some of the heat and protect the cover from abuse in the dryer. Dried on medium setting for about 45 minutes.
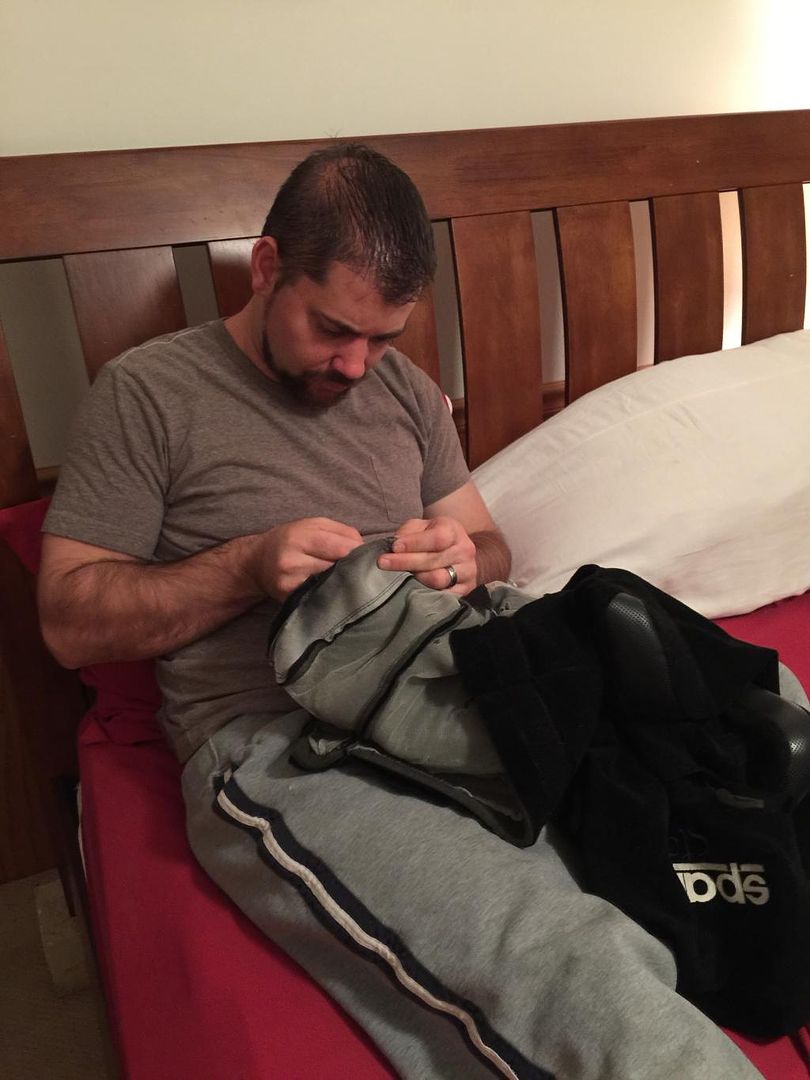
After the cover was dried, I sewed the cover back together from the inside.
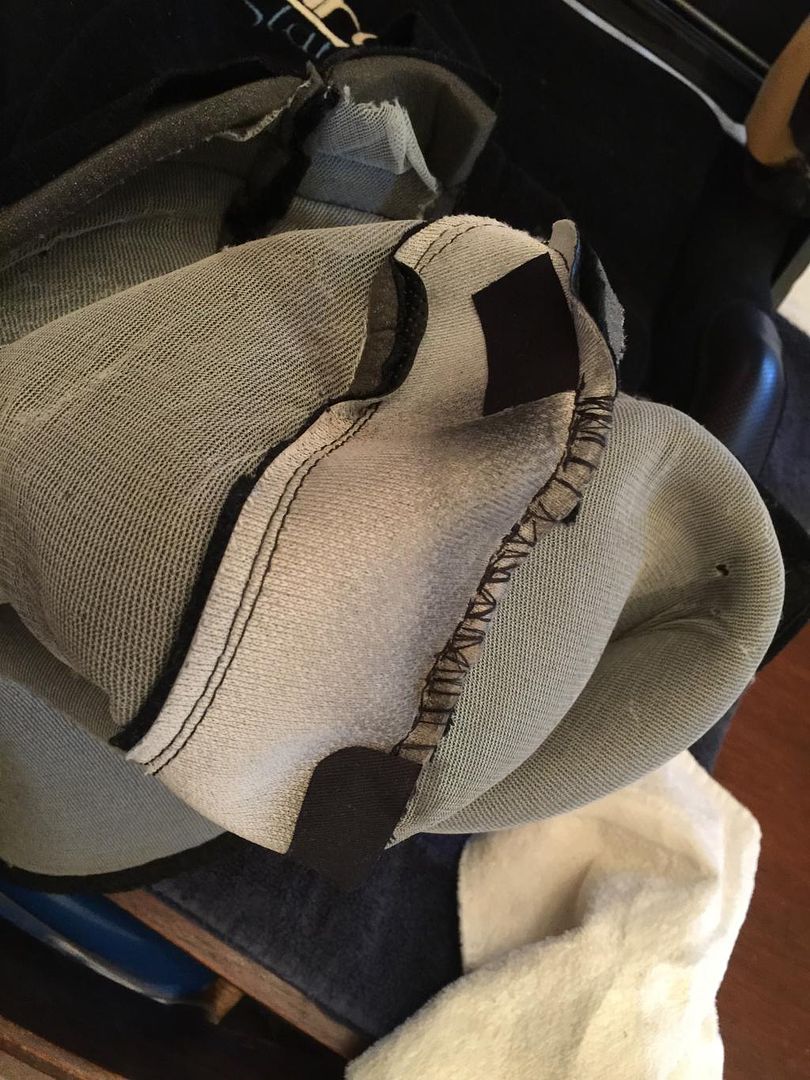
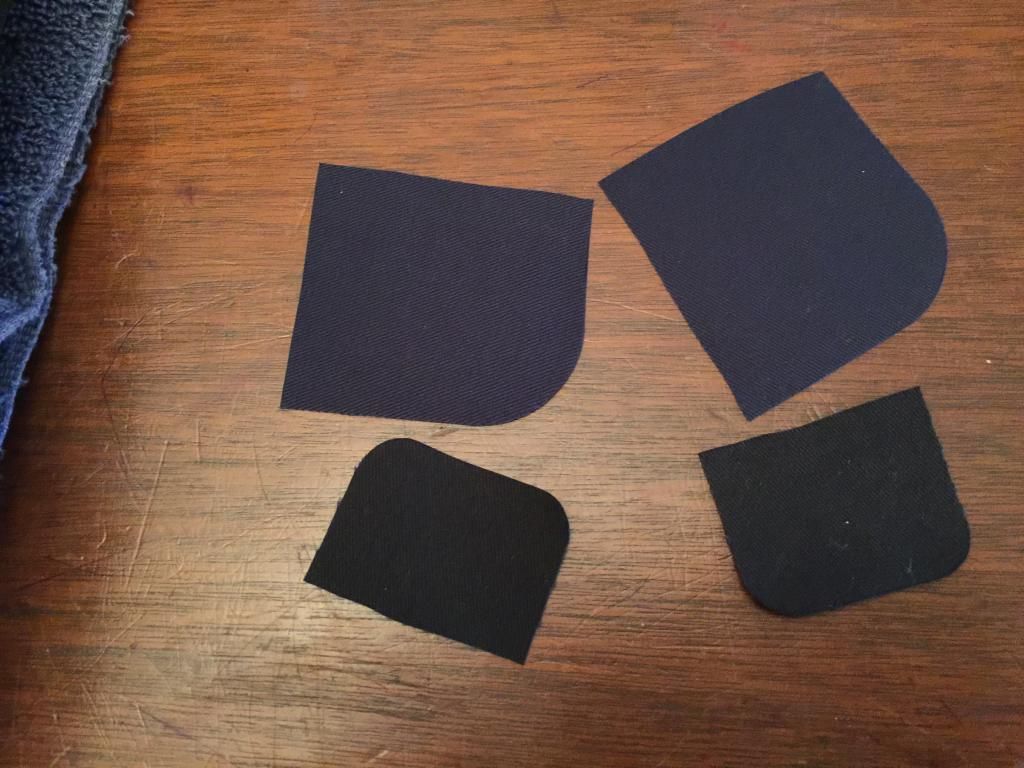
I then “patched” the burn holes with some cut pieces of black iron-on patches and light exposure with a heat gun. They were placed on the underside of the cover, covering the hole from the backside and assuring against future spread of the burn hole/tear.
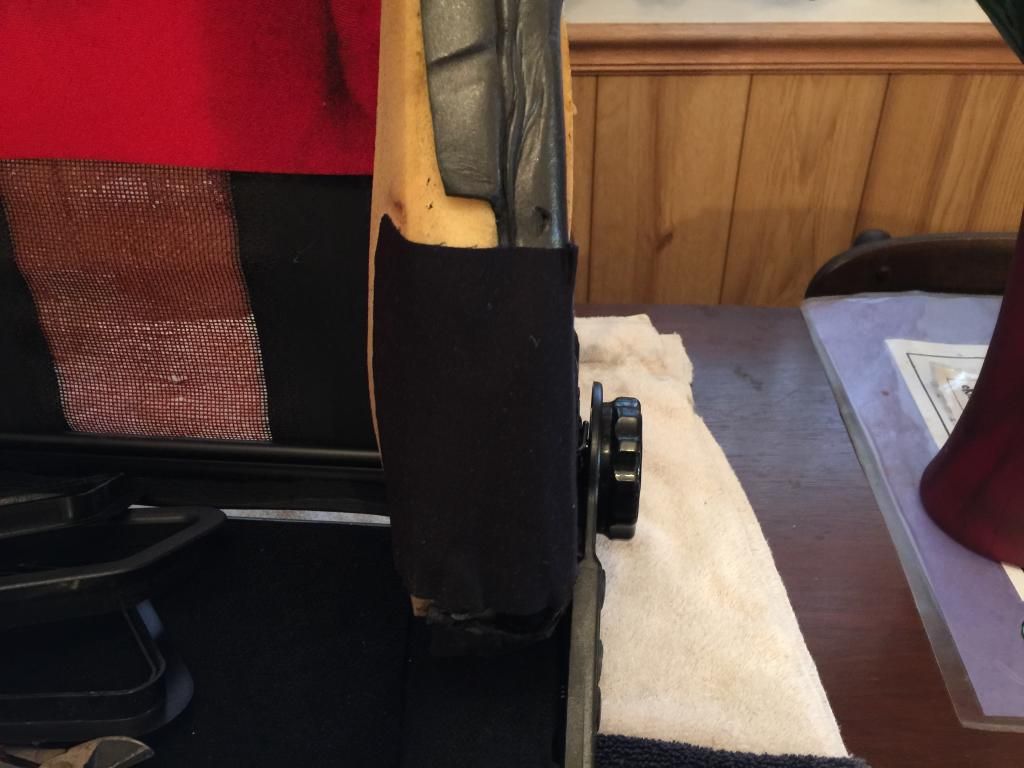
Finally, I re-assmebled the seat.
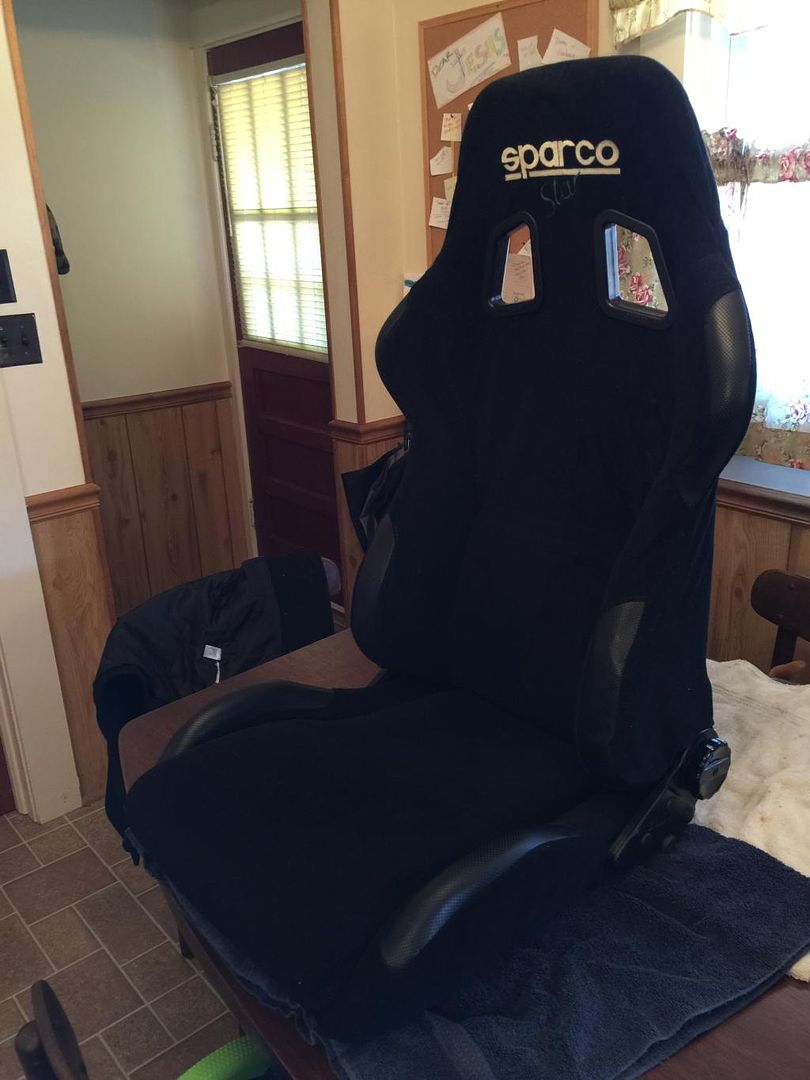
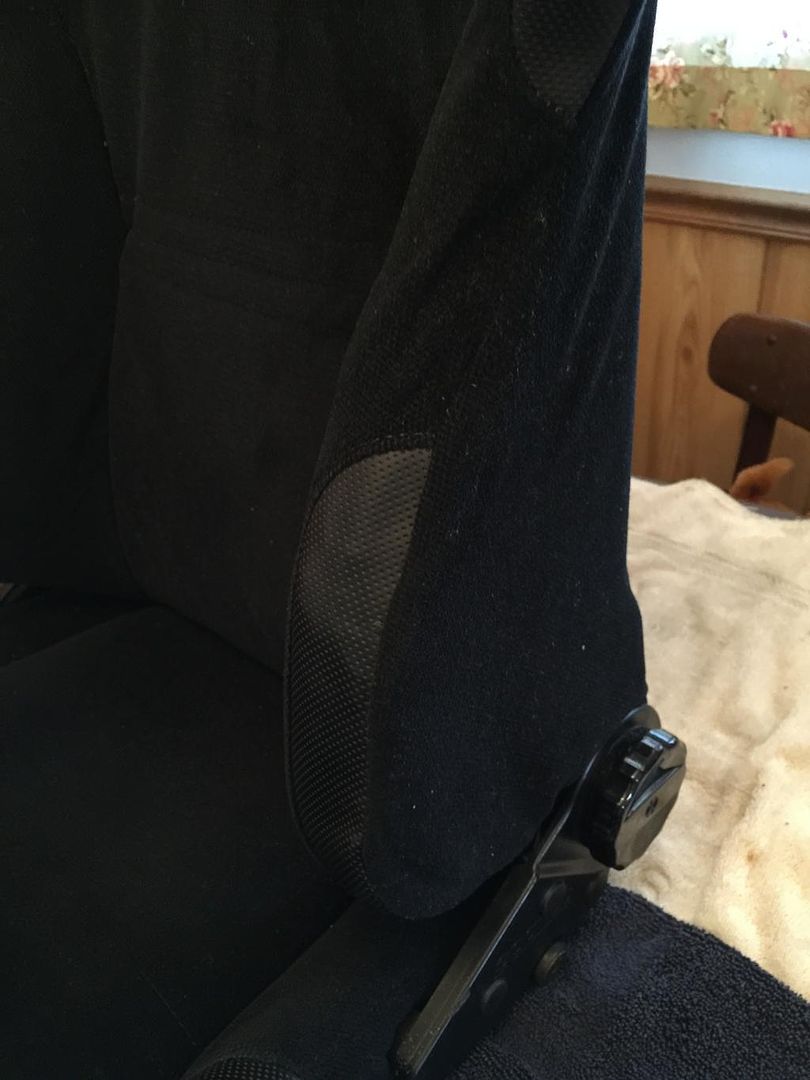
Part One is now complete. The seat looks and feels much better.
I hope to begin Part Two this weekend, which will be fitting the seat to the OEM EG rails/sliders. I will post how I do it. Basically, I have some thick 3/16” steel and a bunch of grade 8 and 10.6 bolts that I secured at my local fastener store.
I’ll update accordingly. Thanks for
EcoTuning in!