Update 2/24/2015- Rear End Aero; Part Two: Cardboard Mock-Up
Hello all,
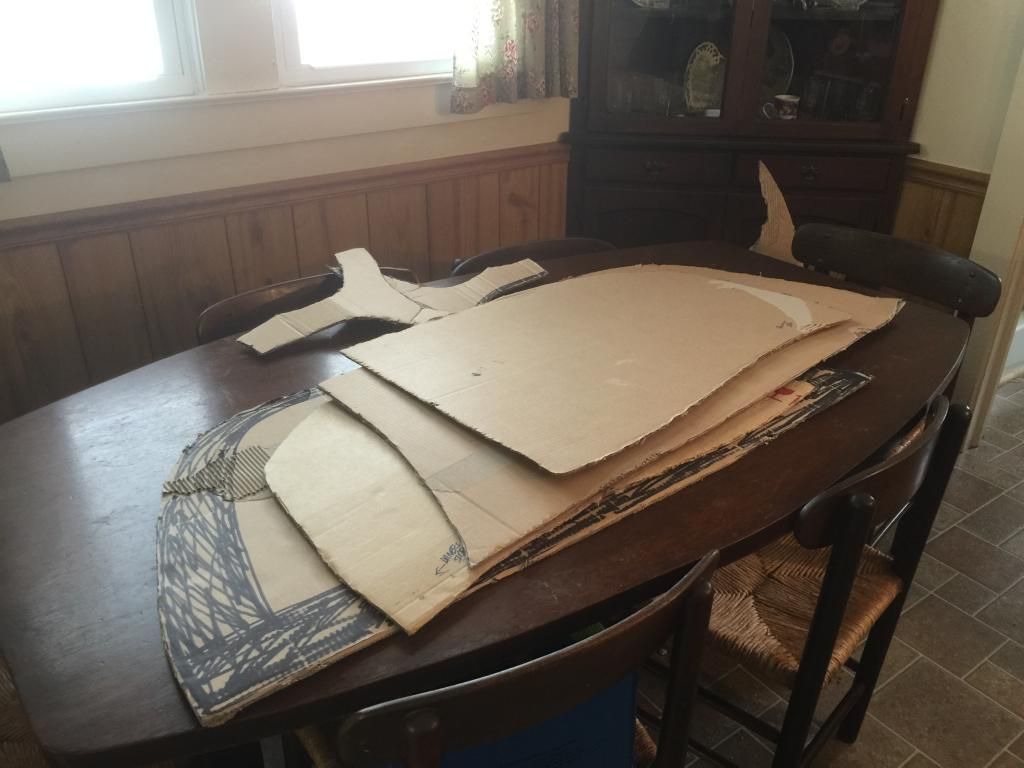
Rather unexpectedly, A BLIZZARD hit NC today (.75 inches). After passing two accidents on my way to work today (yeah, we are pathetic in the snow), I turned around and came home until lunch. Gave me just enough time to complete mocking up my rear-end aero work!! I completed my templates on the aforementioned contractor’s paper, then transferred my designs to cardboard.
Below is the process pics and results.

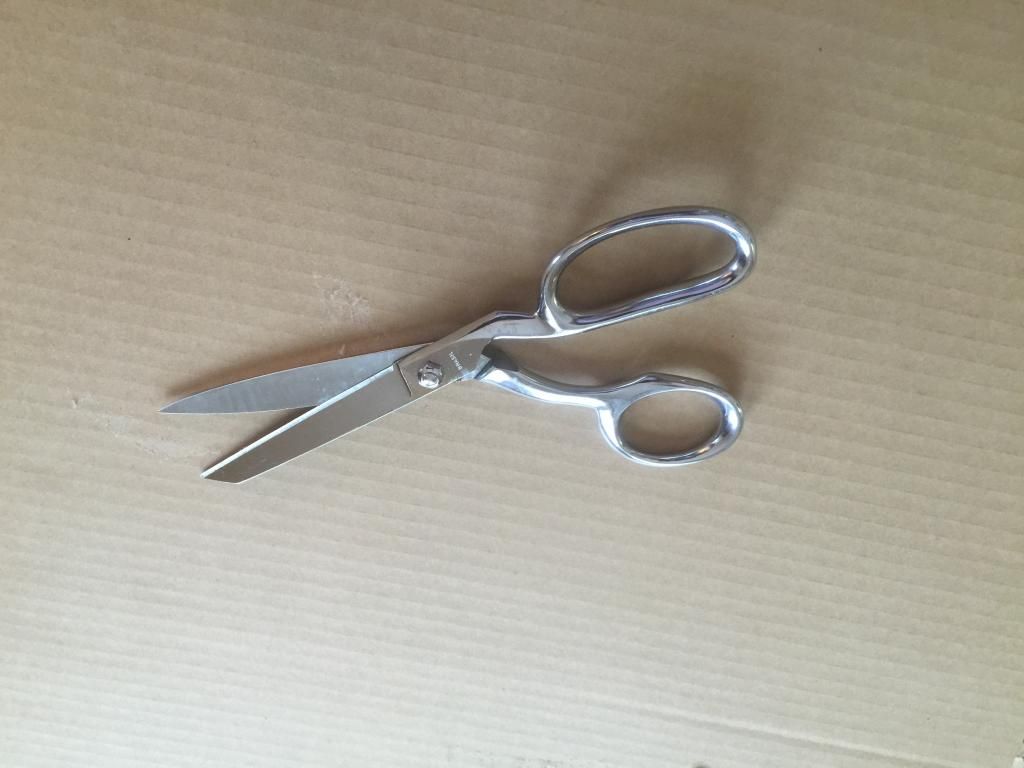
Heavy cardboard needed heavy-duty scissors.


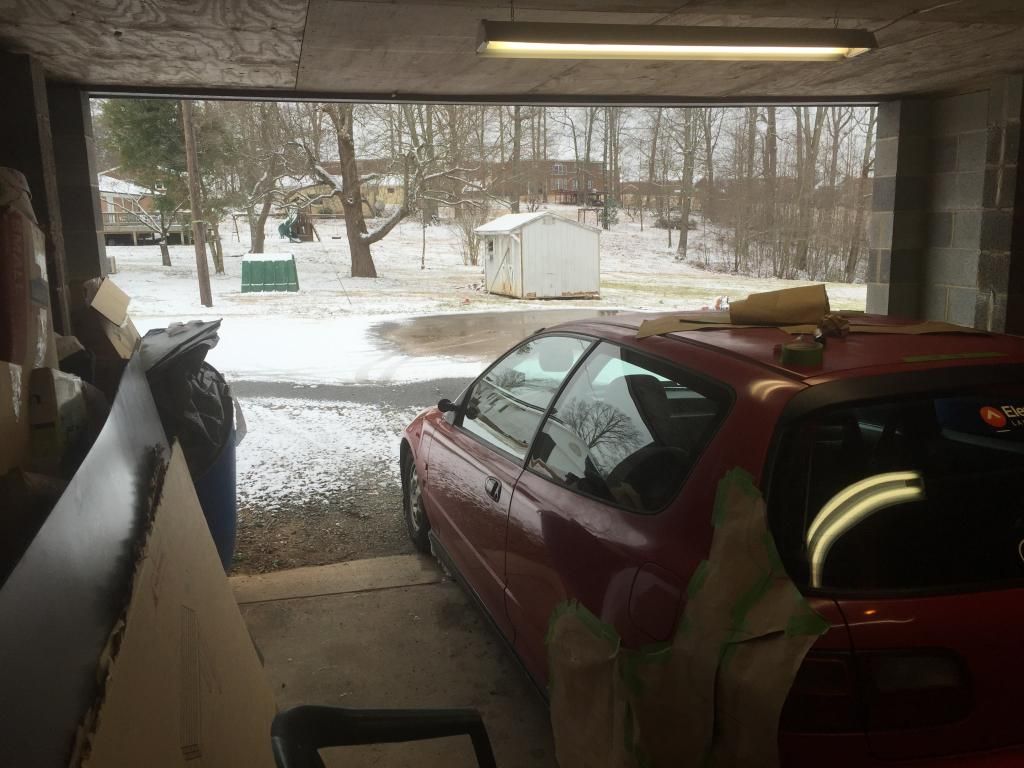
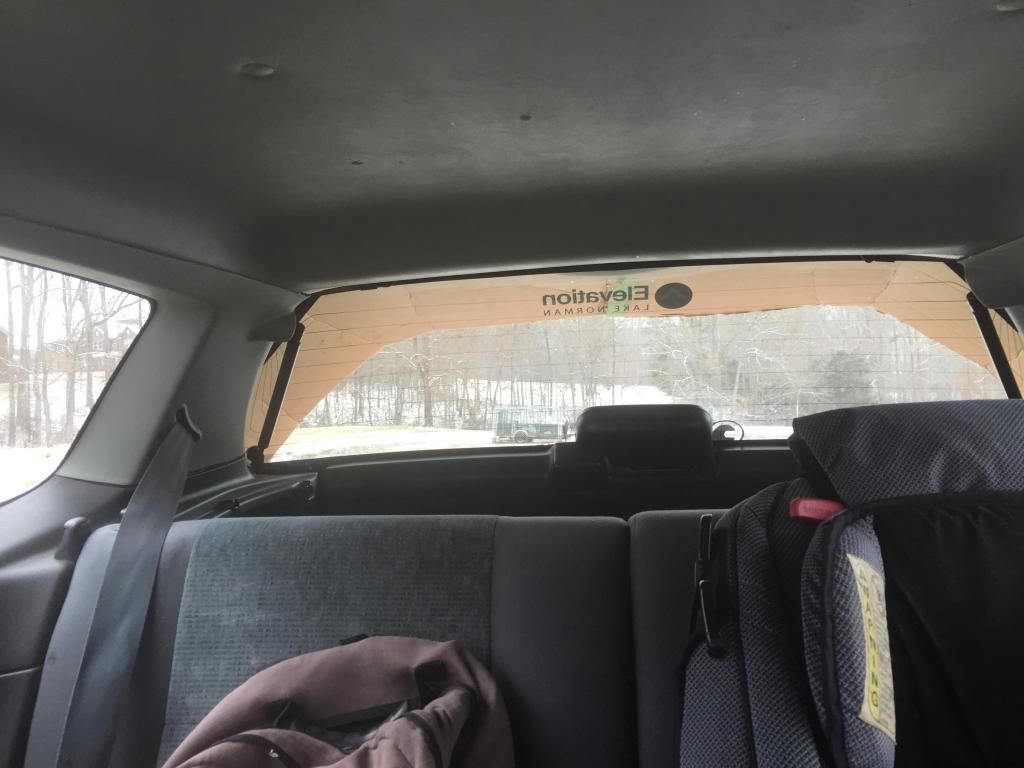
Great view from inside. The Kammback appears to have a minimal effect against visibility.
As you can see, things are still really dirty for now! Some more tweaks are needed here and there...
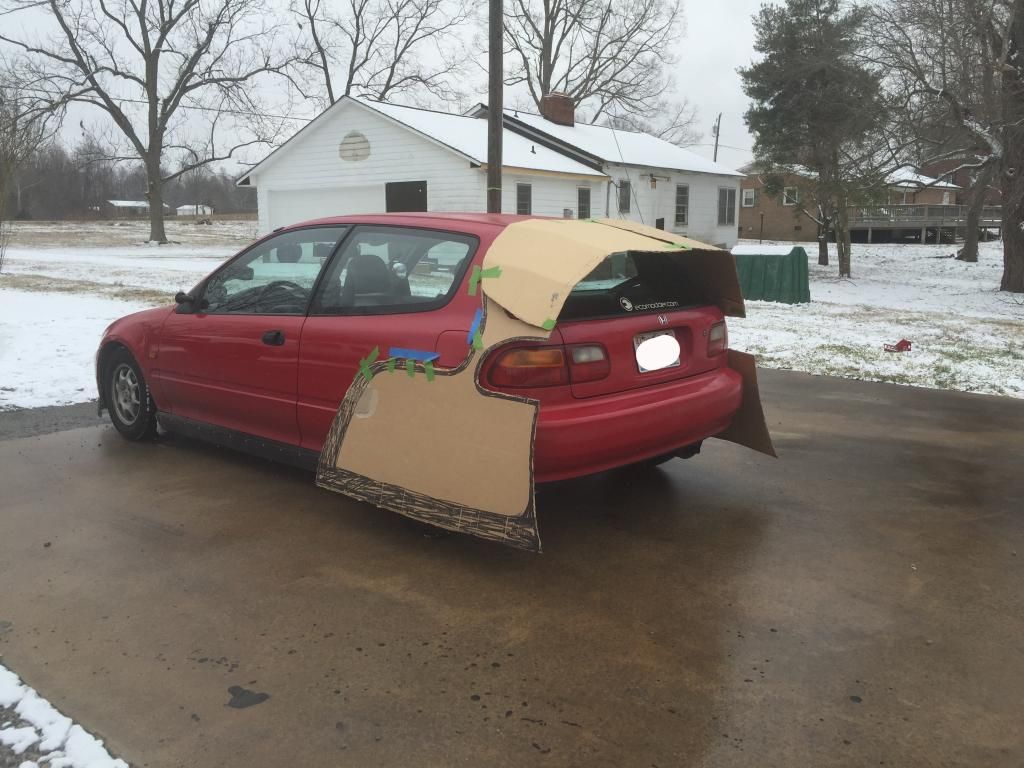
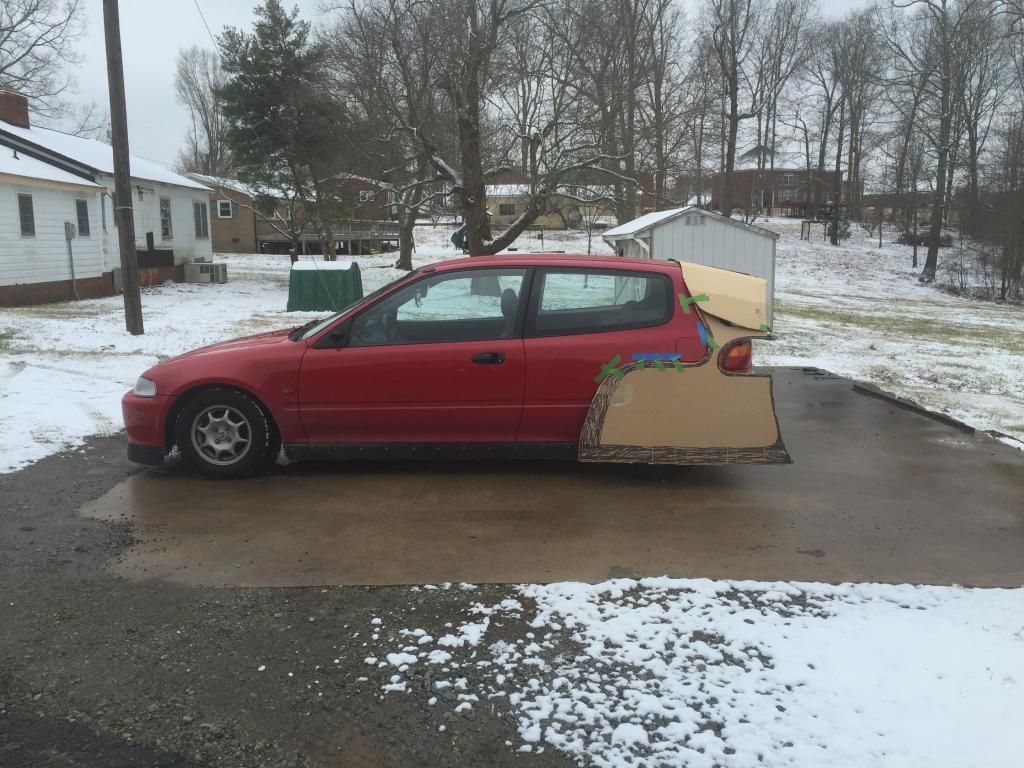
I designed the set up so that the rear hatch is still completely accessible, and when the Kammback and the hatch come back down after being accessed, the Kammback joins the sides and completes the finished aero piece. Plexiglass will be riveted into place to fill in the tail lights recessions. Also, the Kammback will all be one-piece, not two. I just didn't have enough cardboard to make the mock-up version out of one seemless piece.
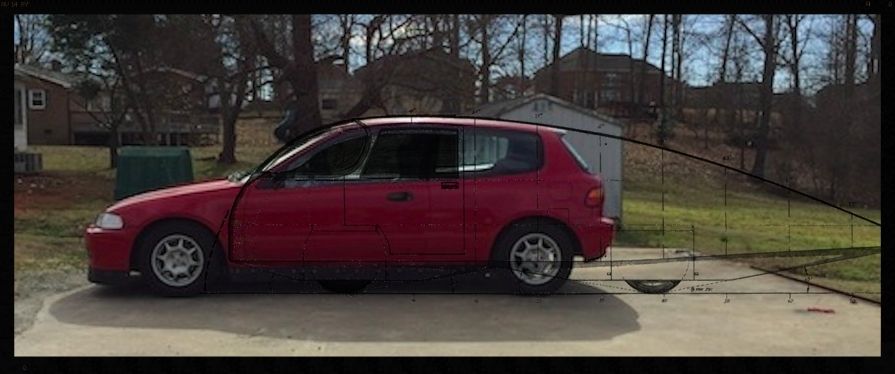
I haven’t put it back on the aero-template yet, but judging by my initial rendering/illustration, the slope/angle of attack on the Kammback appears to be right on the money.
Before:
 After
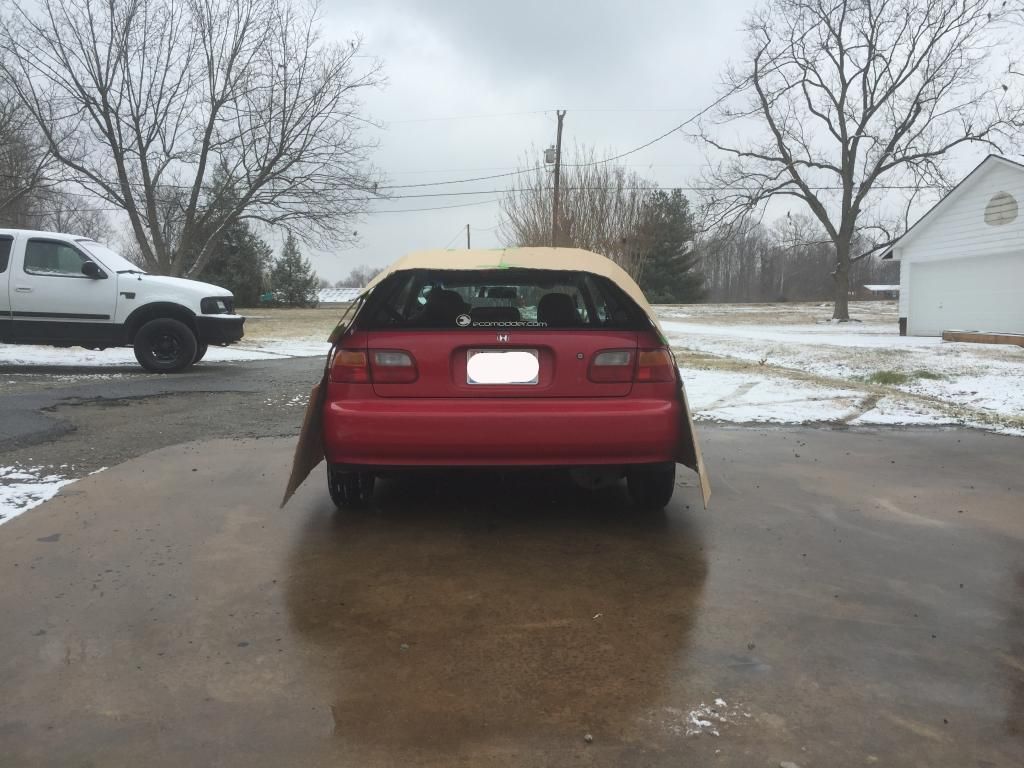
After:
The cardboard is still very loose on the sides in the above pics, and this is especially noticeable in the rear shot. The finished metal panels will be shaped and contoured to the body, so that those pieces are snug and don’t make the car look like an airplane from behind, ha!. Also, I have yet to fab up the rear lower diffuser (w/ splitters) that connects to the bottom of the bumper and both side panels. That will be fabbed up in cardboard asap.
Once the final touches are completed on all of the cardboard designs, I’ll start the metal and paint work. Finally, rivet nuts will then be installed on the body to button up the panels to, using stainless bolts and black anodized washers.
What do you guys think of this mock-up thus far?
Thanks for
eco-tuning in!