I mentioned having trouble earlier with the odometer, and that it quit on me, it officialy died at 128,999. The tenths would still click away, but they wouldn't bring me thru to 129,000 and forward.
This is what I got for $40 shipped, "guranteed to work" ebay is so funny sometimes. this thing's got about 57,000 more miles on it than Skiddy's original!
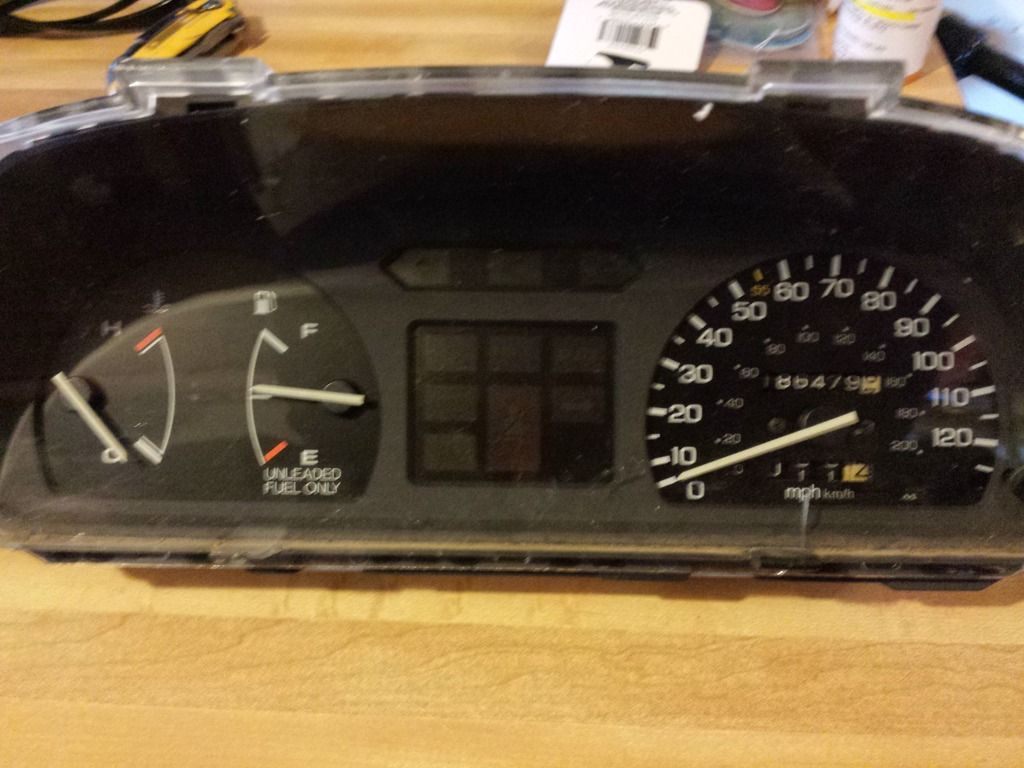
What I got kinda poses a problem as far a re-using most of the stuff for Skiddy's gauges. Here's an old shot:
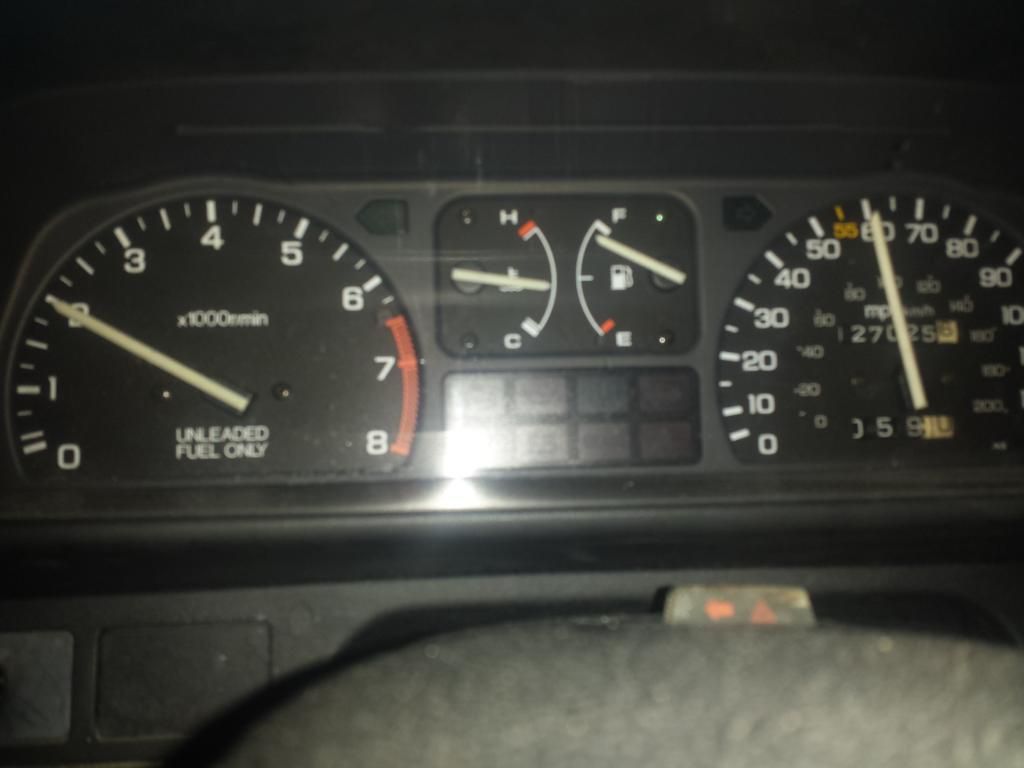
The price was right, but would it work? I think the FSM said something about denso and somebody else making 2 different gauge clusters, and it looks like I now own one of each. CRAP.
Time to get to work! Looking at the backs of the two, not much will be interchangeable. I'm going to try like hell and get my $40 speedo/odometer out of this, so help me!
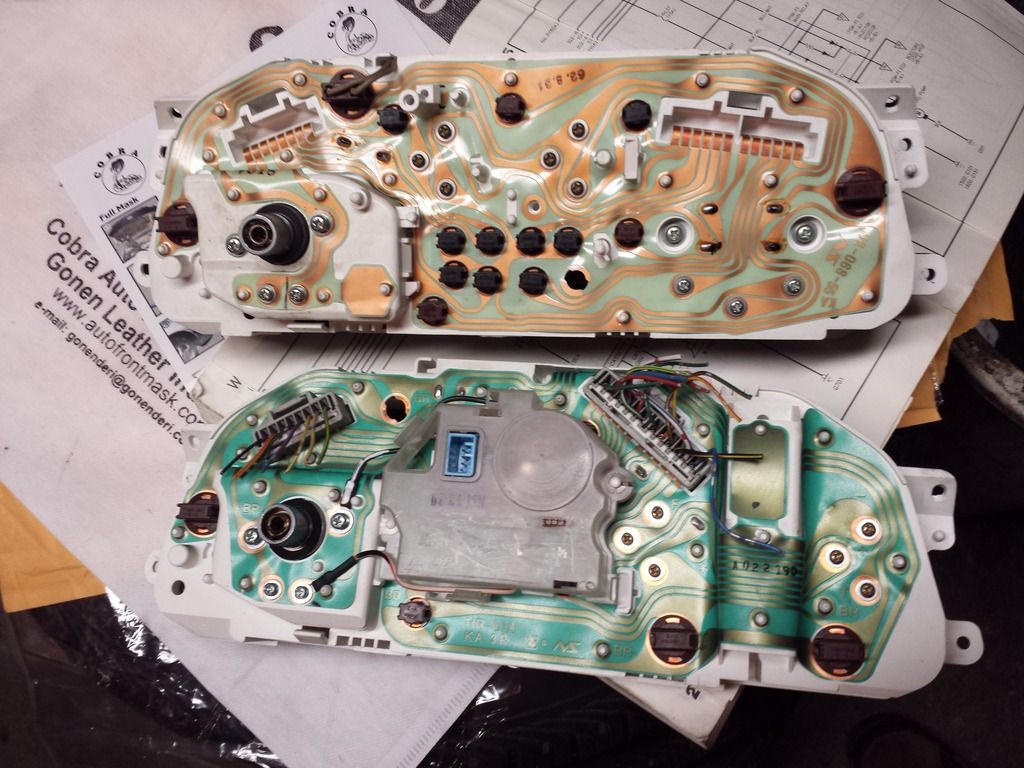
Skiddy's back is on top, and the $40 jobber is below it. See what I meant? CRAP!
So I took the new (old) one apart, and I took the old one apart as well to get them side by side. Without looking into very much detail, it looks pretty close! Looking closer, it's pretty far off. CRAP! From about 40 to 47 mph, big difference. Holes don't look like they'll line up too well. darn dilddly ding dong CRAP. (HAHA! Simpsons)
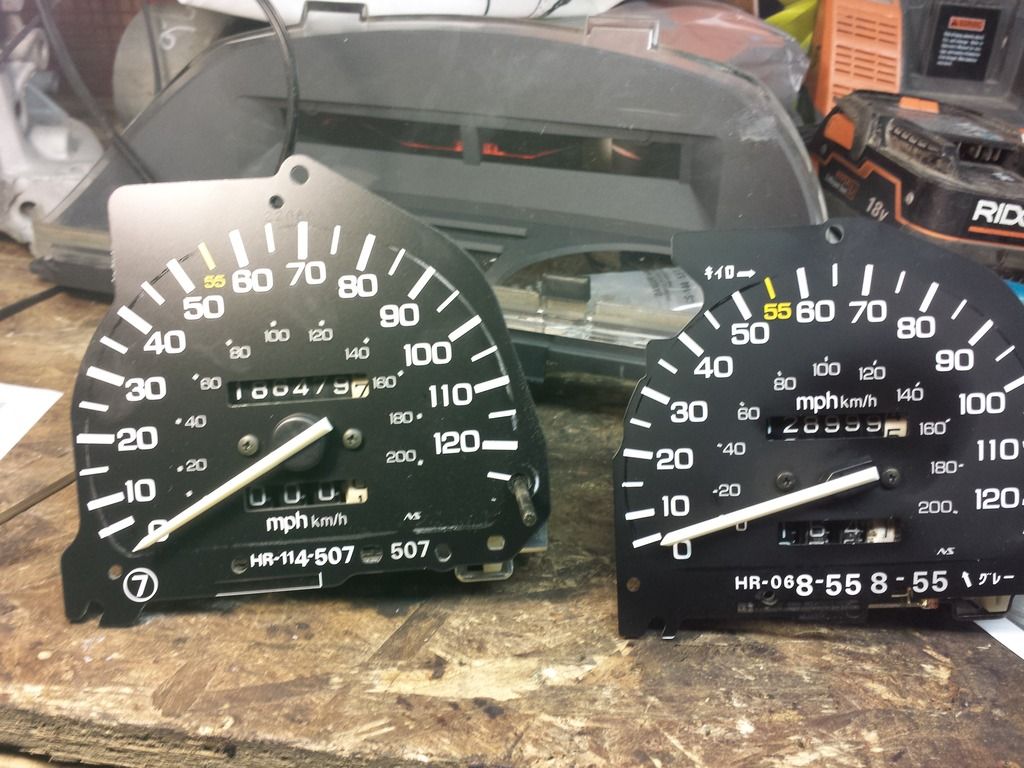
So I took the new (old) part and laid it in place as much as it would fit, and started marking what material would have to be removed.
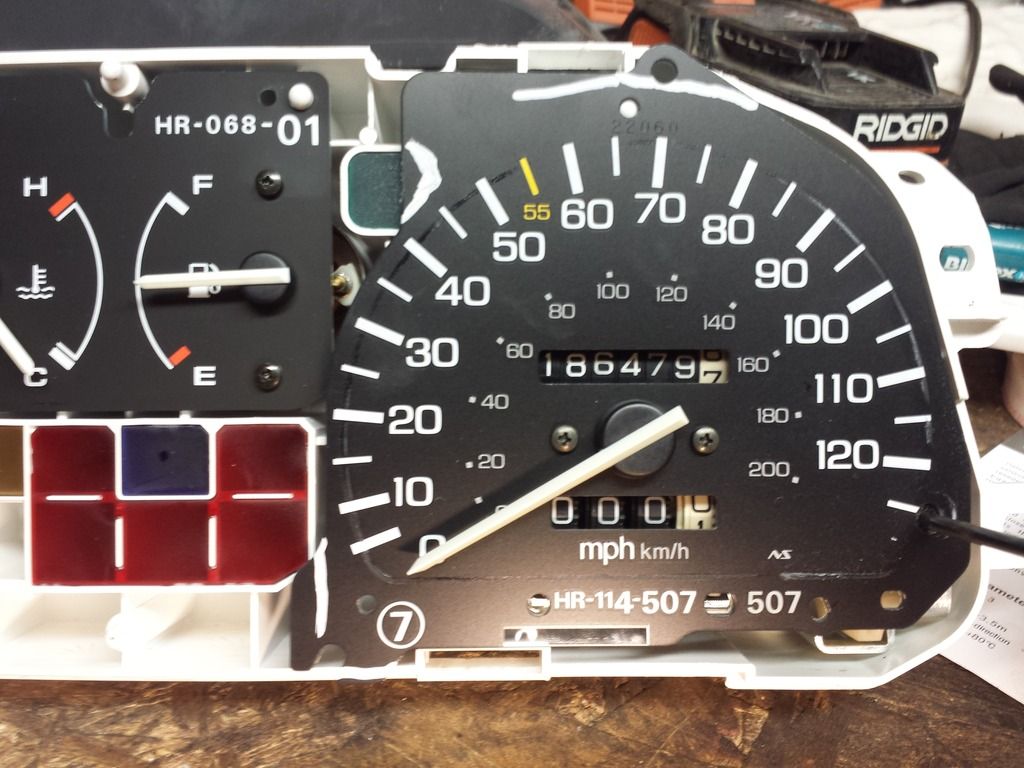
The top would have to be trimmed between 55 - 80mph for the case to close, and the opening for the right turn signal would have to be made, along with the bottom left pin hole and around 0mph.
I didn't want to use snips or anything like that for fear of snapping the plastic, so I used my soldering iron melt/cut thru the plastic and cleaned it up with a razor.
Test fit #2
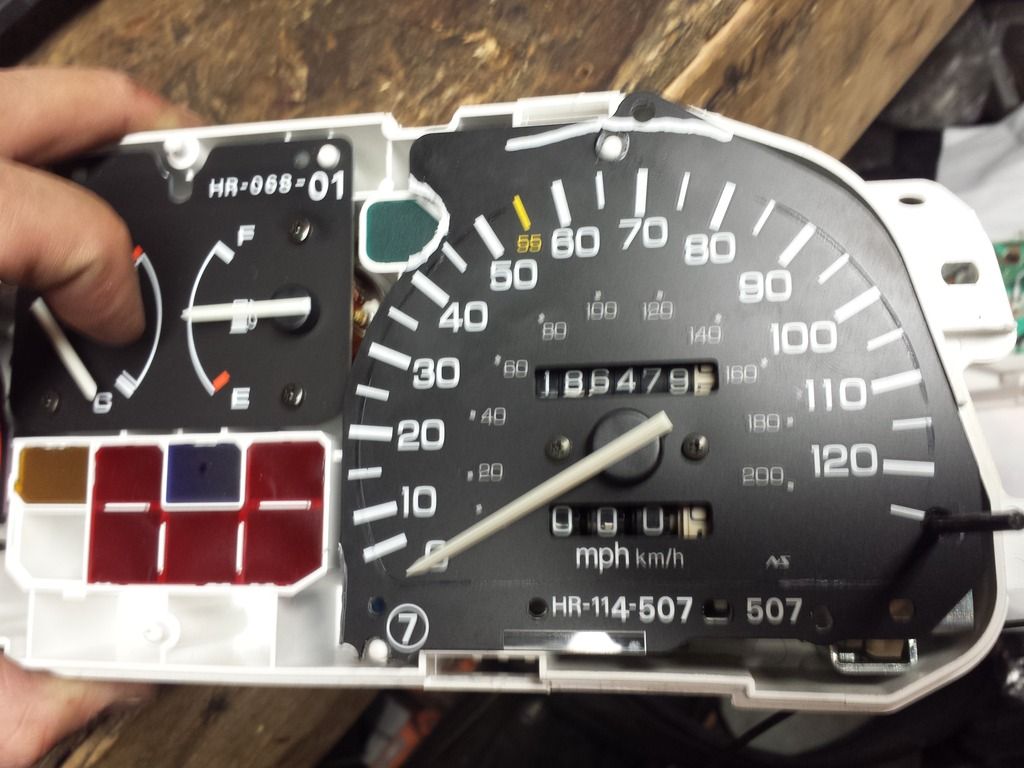
Still needs more notching around the turn signal and across the top. Starting to look like it might work - Bolt holes/electrical connections DO fit on the rear!
Test fit #3
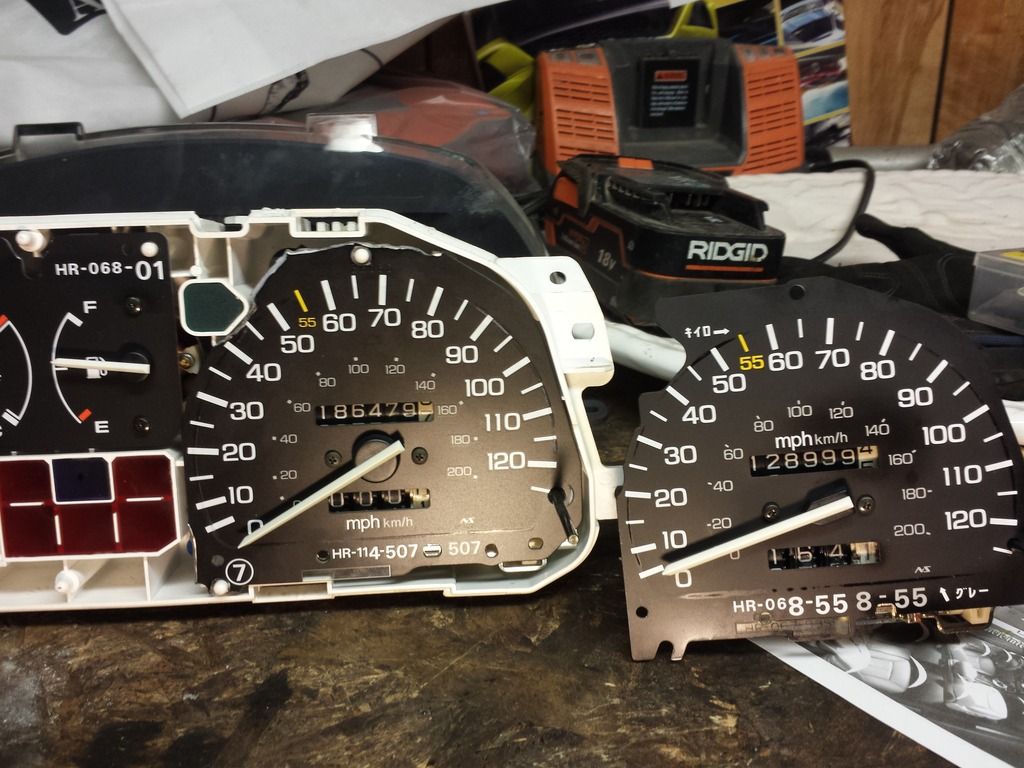
This is looking good now from the front, at least! Time to check operation! Pushing buttons revealed another fitment issue: the trip reset button won't work now that it's screwed in place.
After looking at the way the trip reset works, it looked like I only needed to make room for the backside of the trip reset button to travel. Look into the hole I drilled. see the little black dot? that's the back of the trip reset button:
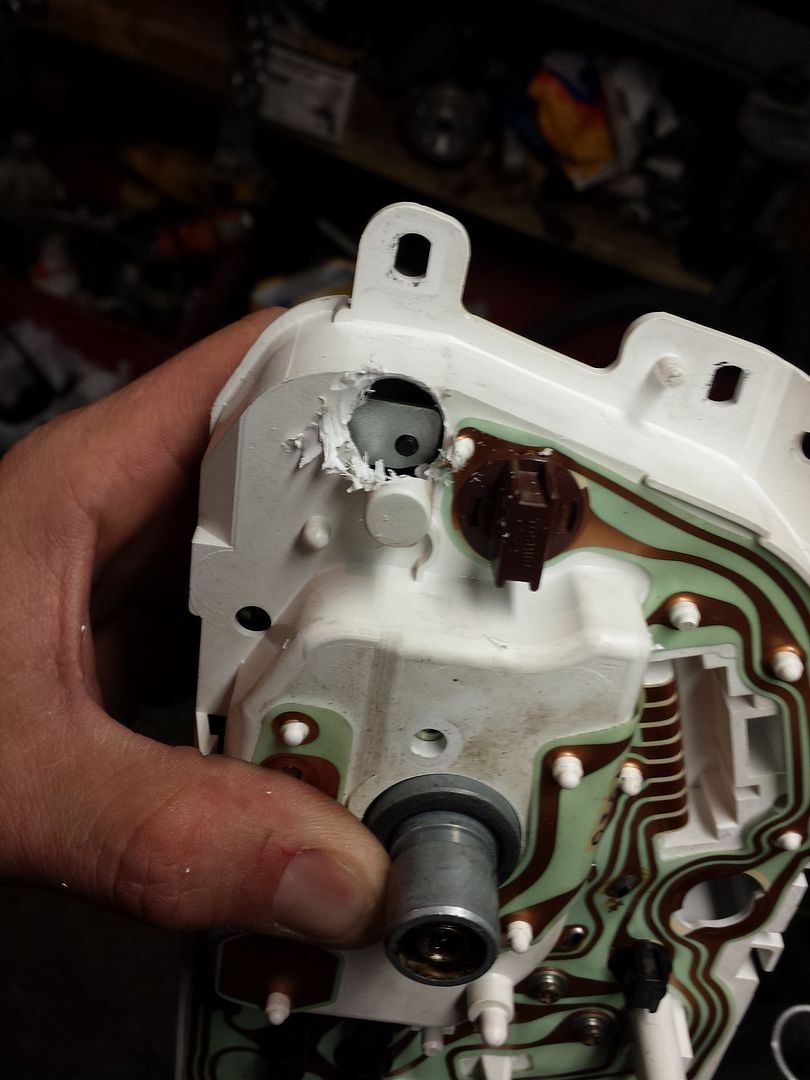
This way, when I push the trip reset button, it will have somewhere to go:
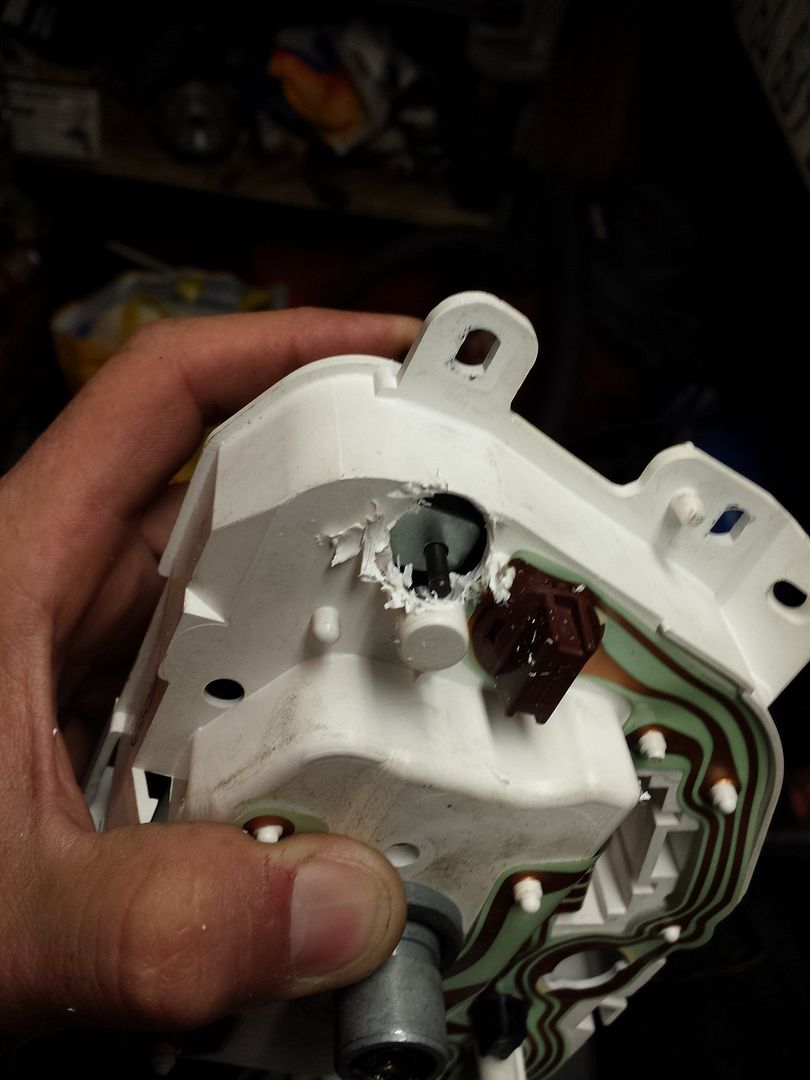
Time to start putting it back together! yay! Then I found another problem. The next layer of plastic tha would shroud the gauges is hitting the trip reset button. Had to offset the hole a little:
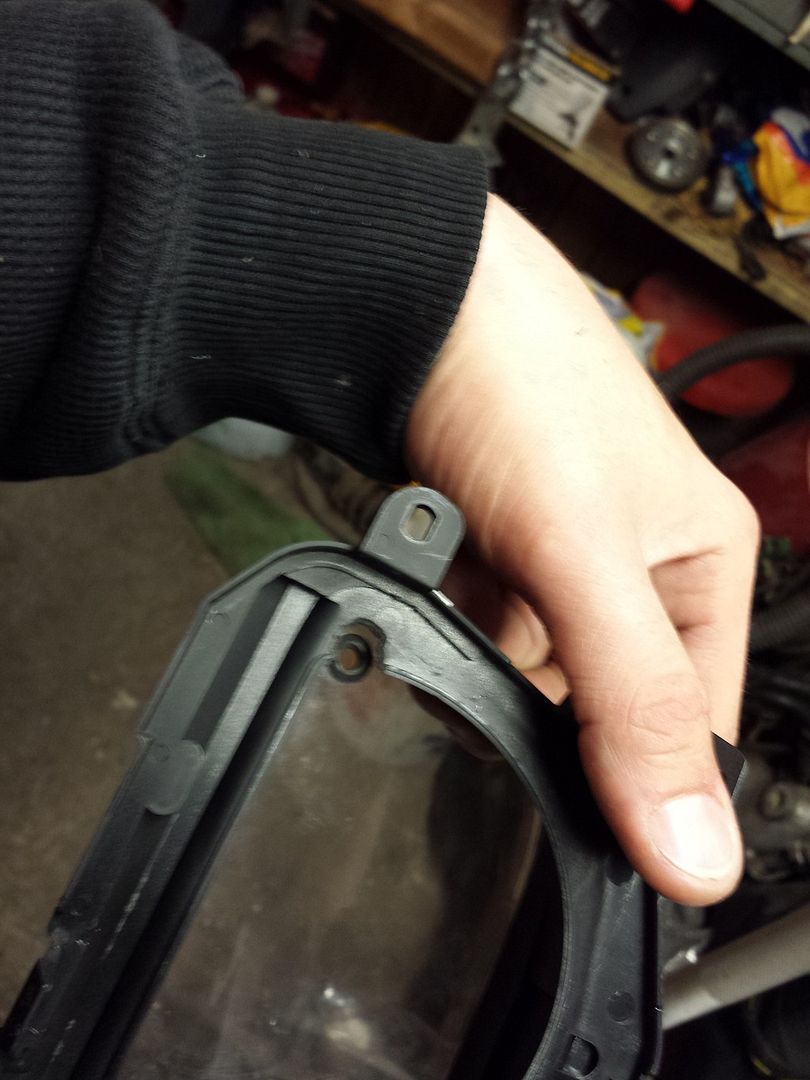
Then, after offsetting the hole in the clear plastic and replacing the little grommet there, all good!
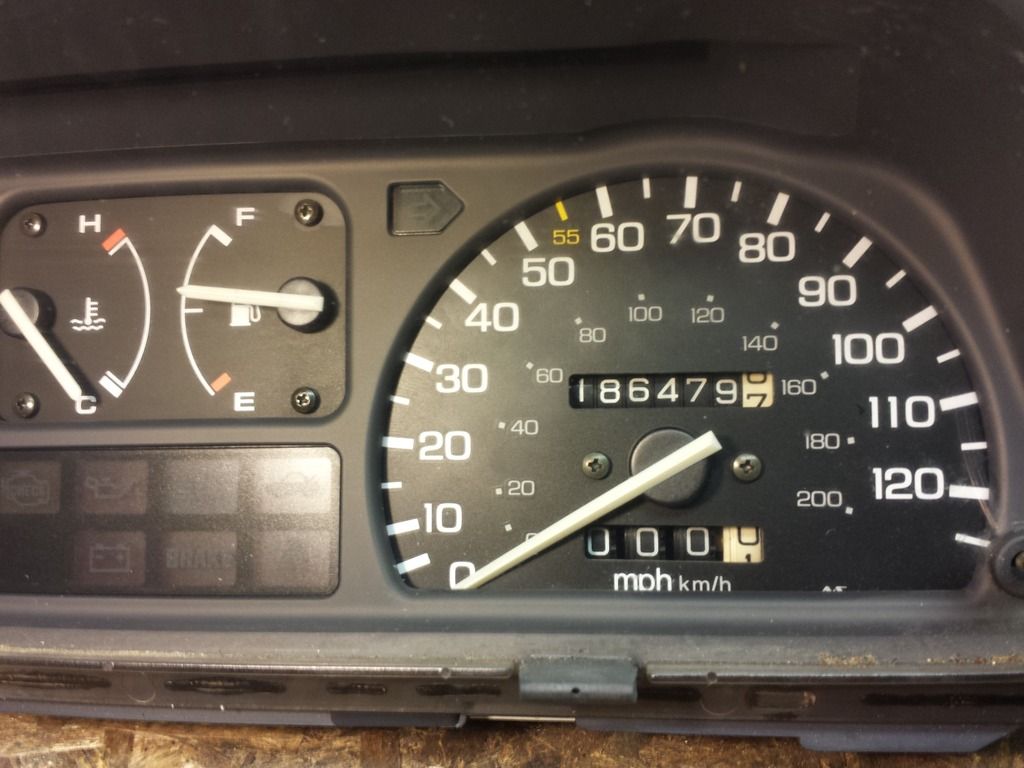
and YES the lights work:
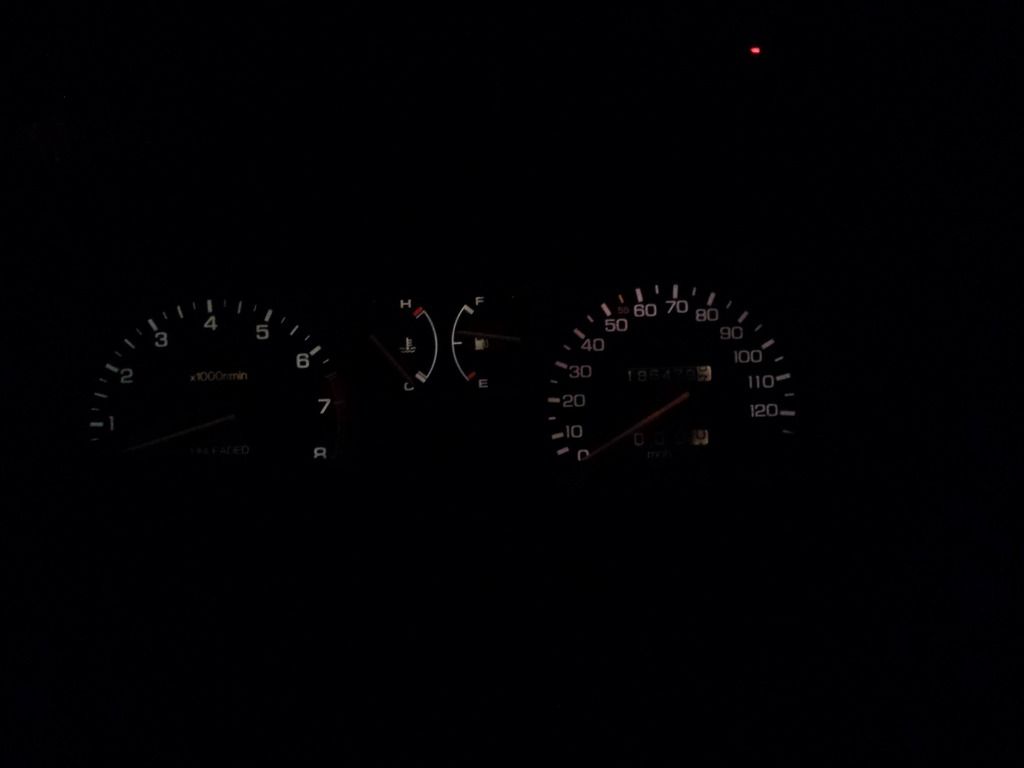
Not bad for 1989, huh? I want the led conversion bulbs bad!
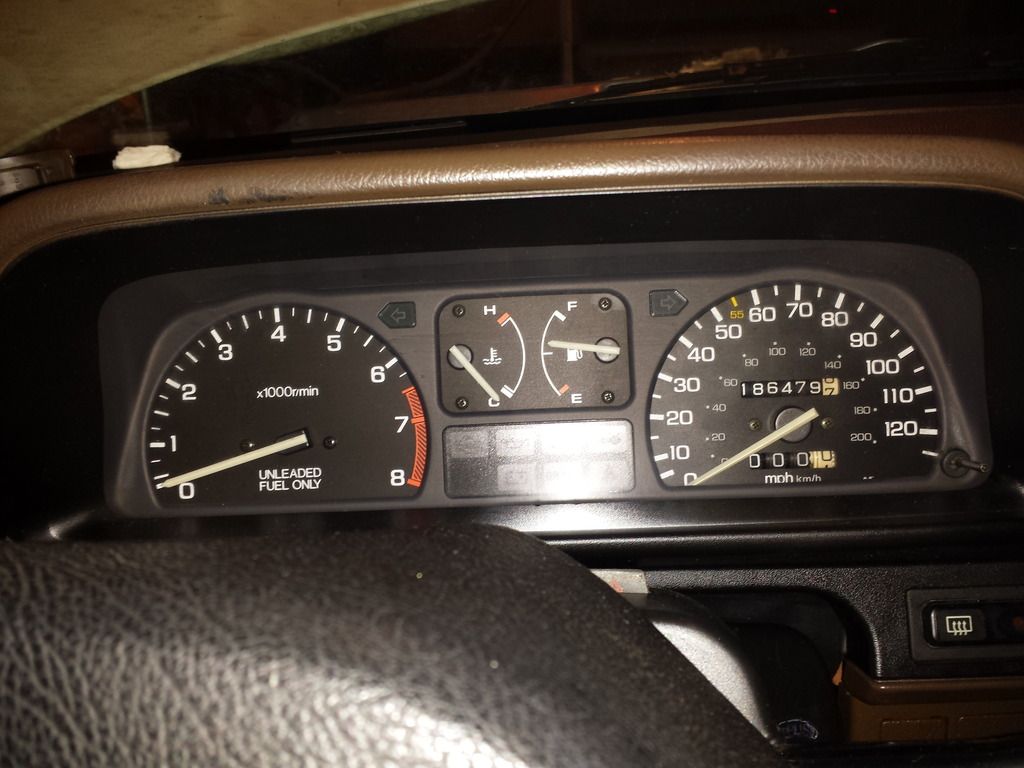
So now it's all put back, together. No test drive tonight, I'll take the "shorty" to school tomorrow and we'll see about the operation and whether ot not I get a check engine light for the VSS - I hope not!
I'll report back tomorrow, hopefully with good news. Anybody need the leftover parts? cheap? P.M. me if you want!
Thanks,
Victor