Update 3/27/2015: Rivet Nut Install + How To
Hello all,
I finally got the hang of the rivet nut install process, and figured out some issues I was having with getting the final holes for them drilled out neatly. There is a good amount of info. on how to install these on the net. Lot’s of different versions of how to make a homemade tool. I thought I’d share my experience and the method that ended up working for me also, in case others could benefit.
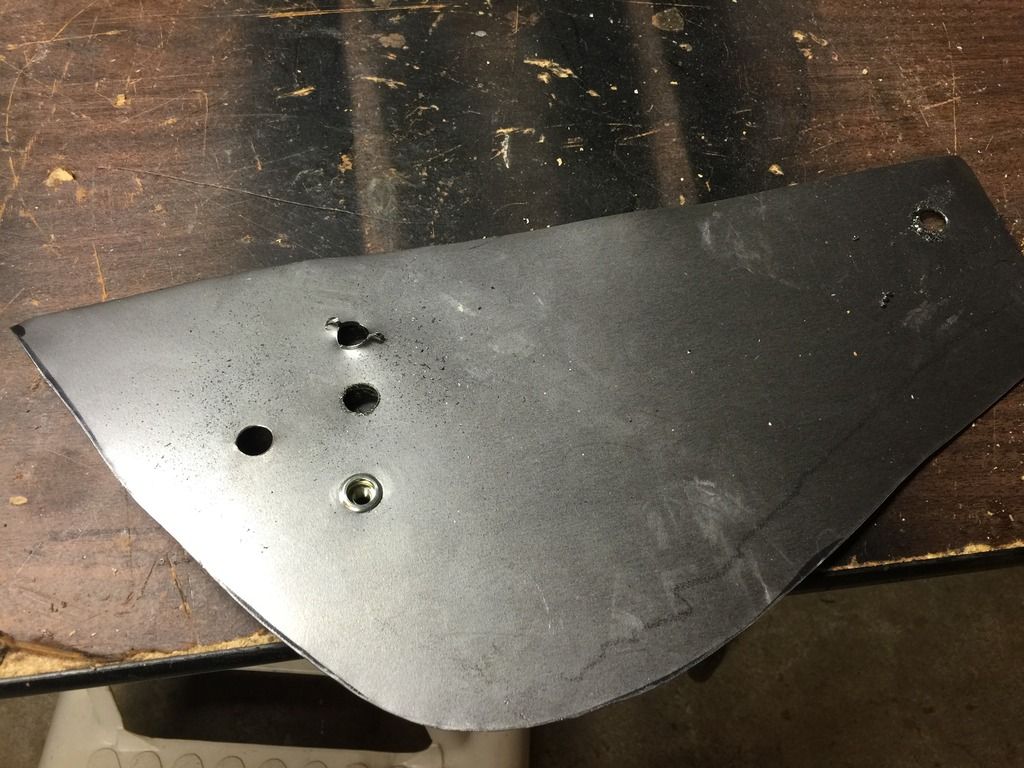
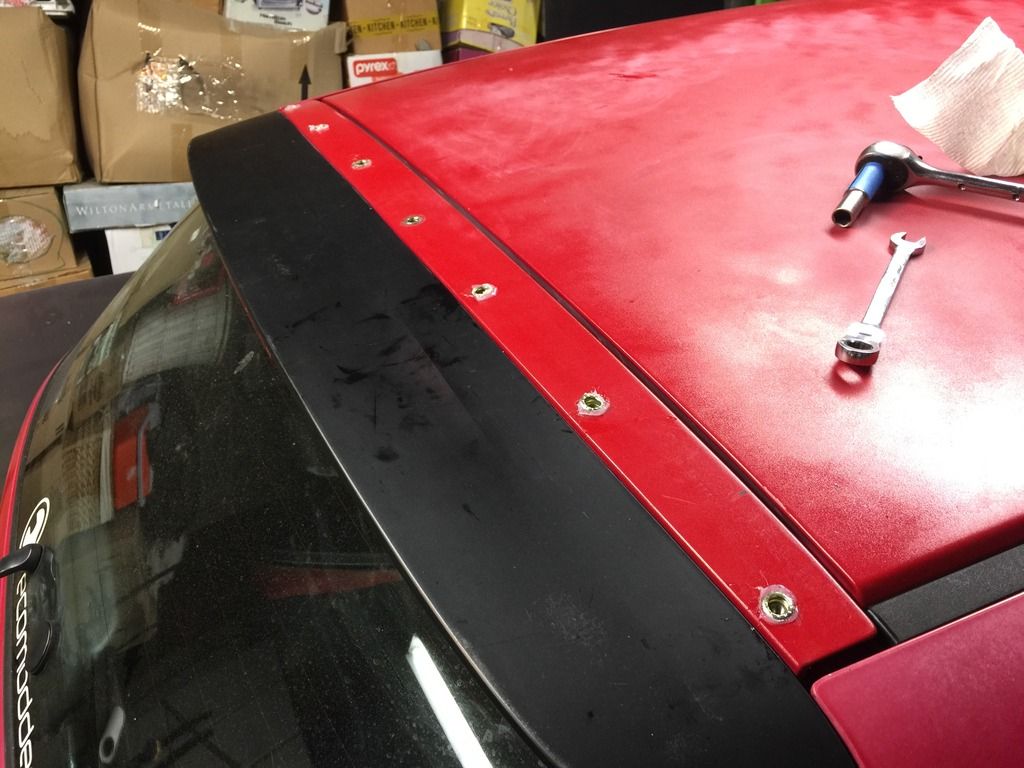
First, I had to drill out all of my holes. I walked my way up to a 13/64th drill bit. I know: odd. But 3/8’ was too small and 7/16” was too big.
I used the following:
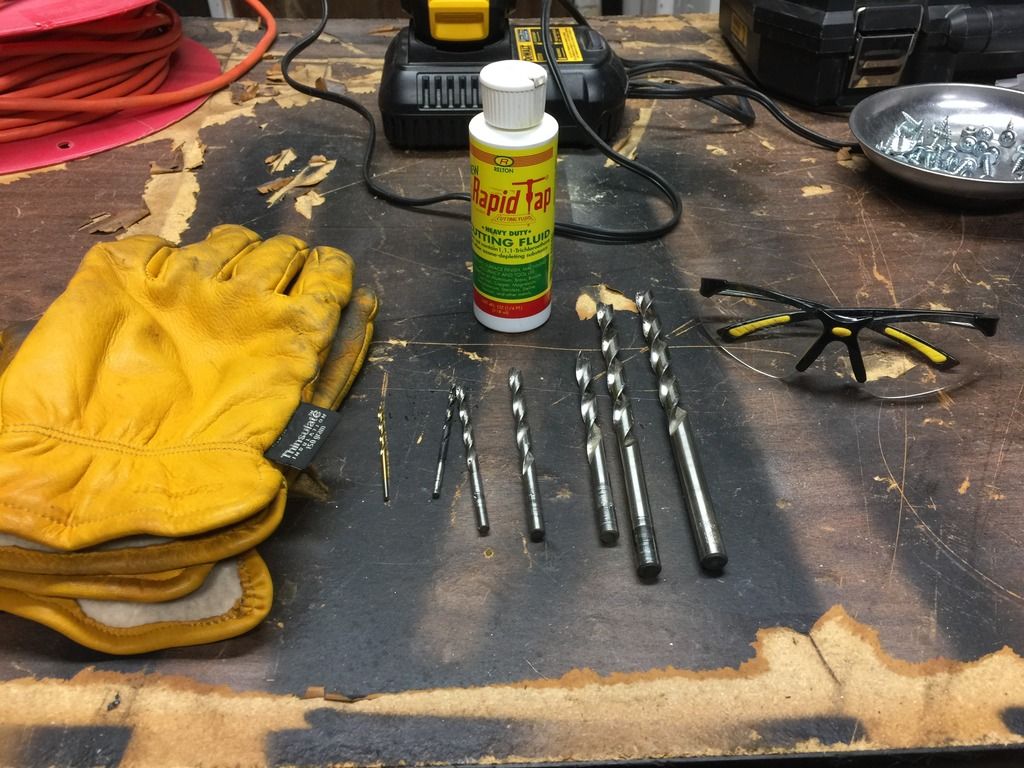
Thankfully, I practiced a good amount on some 20 gauge sheet metal prior to working on the car. I wholeheartedly recommend this! Drilling has never been an issue for me, until this project. So glad that I did my “learning” on the scrap, and made my mistakes there, and not on my completely rust-free, southern car-only, EG quarter panels.
Once I (finally) put away a 25/64th drill bit I picked up at Lowes that kept kicking on me as it drilled the hole and scaring the metal, and borrowed another quality bit from my father-in-law, things started going great. I also used some good leather gloves to hold a cordless 20v drill steady, and plenty of cutting oil. This all made for smooth cuts that didn’t warp the metal.
Once the holes were drilled, I started installing the rivet nuts.
I found these links helpful in how to configure my on tool and install process:
$1.87 Rivet nut tool for step/running boards. - Honda Ridgeline Owners Club Forums
Rivet Nut Installation Tool - GoWesty Camper Products - parts supplier for VW Vanagon, Eurovan, and Bus
^^There’s a video within the link above also, which is great. I found the “GoWesty” tool and process to be the most simplistic and straightforward approach. It uses the addition of a couple of knurled washers, and greatly simplifies the tool. I bought everything I needed at Lowes. The knurled washers are in a speciality drawer in the hardware section. Basically, the knurled washer sits on and “grabs” the top flange of the rivet nut, preventing it from turning while you are compressing the nut down against it.^^
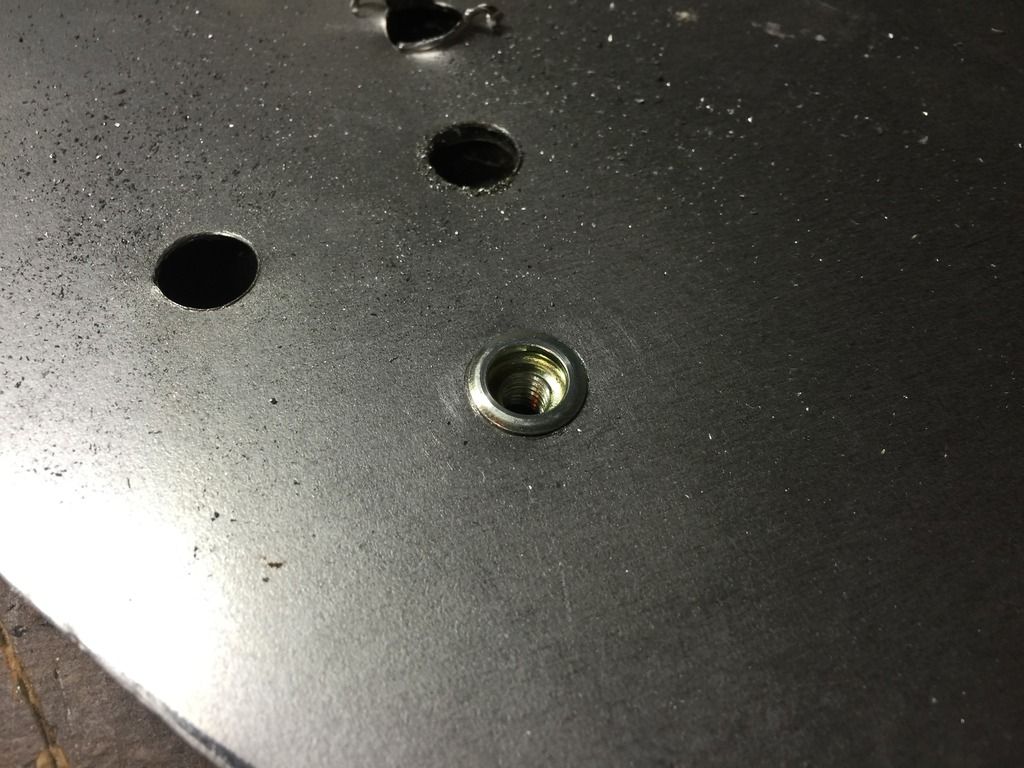
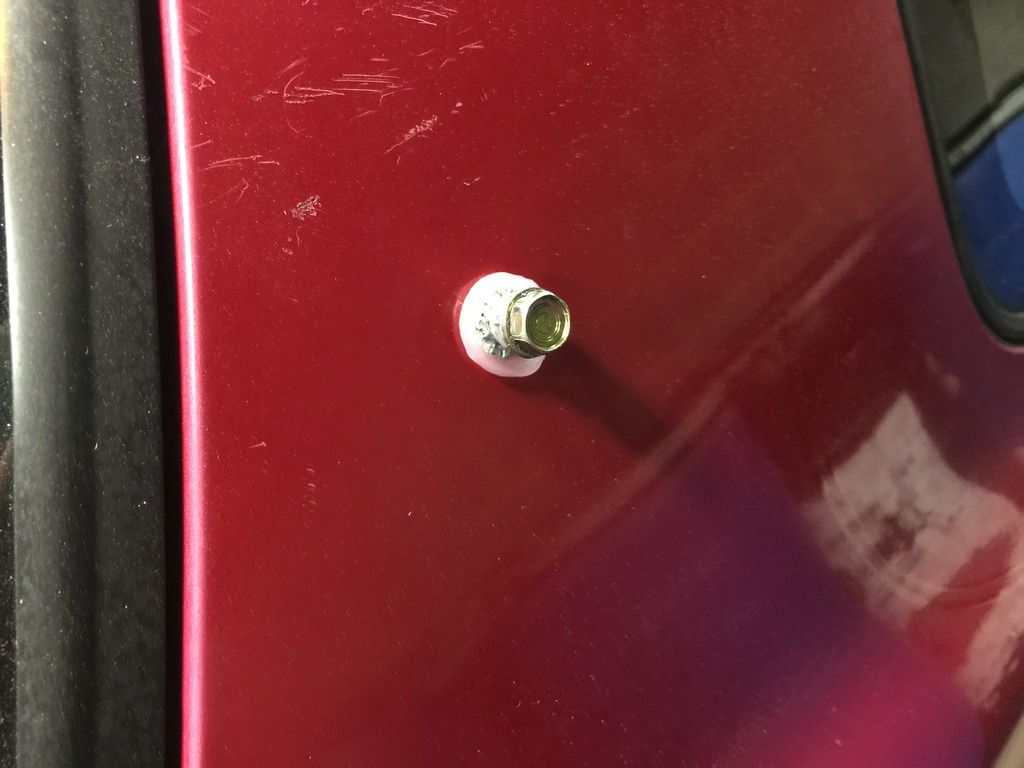
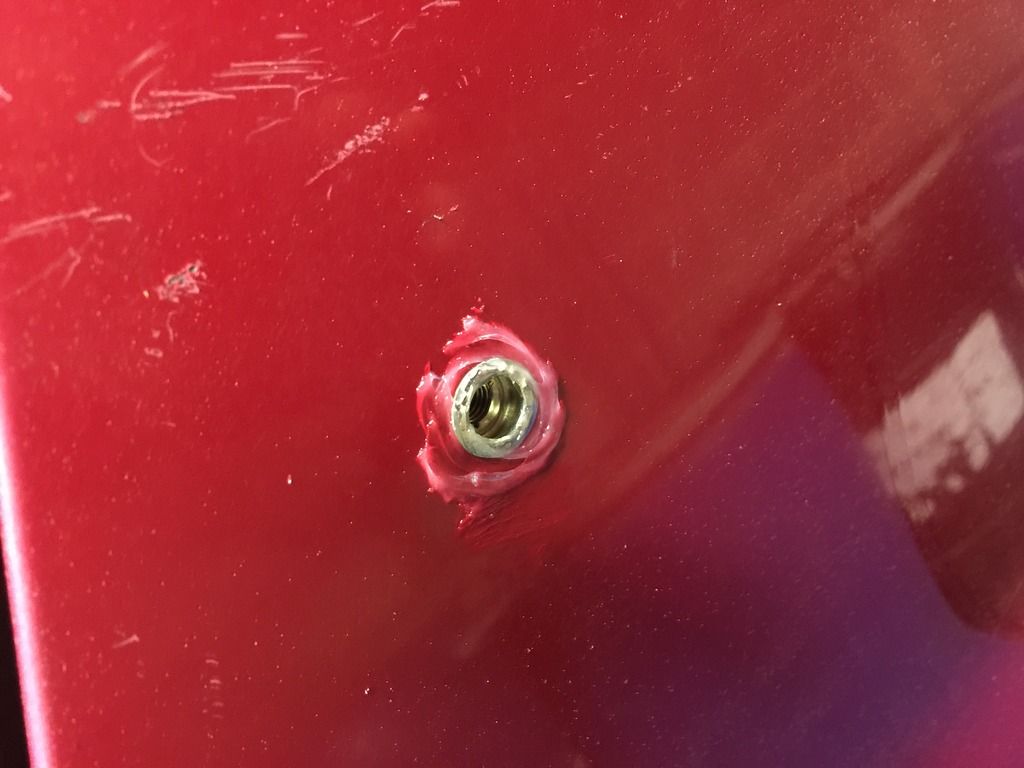
Here’s what a rivet nut looks like once installed.
From above:
From below:
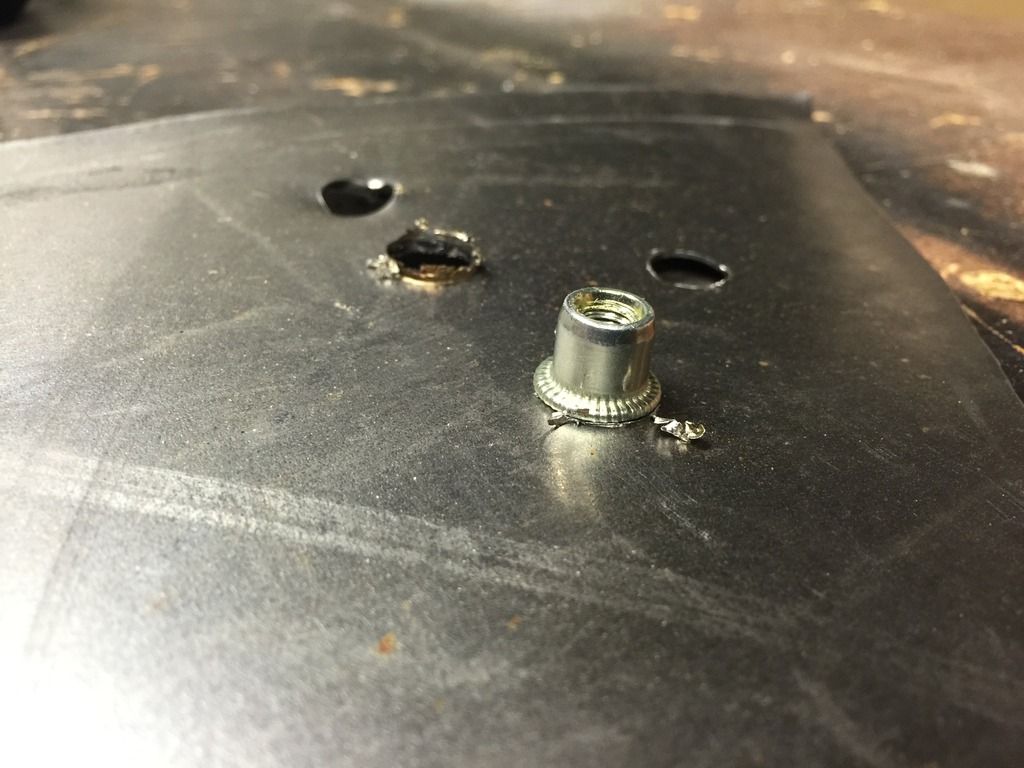
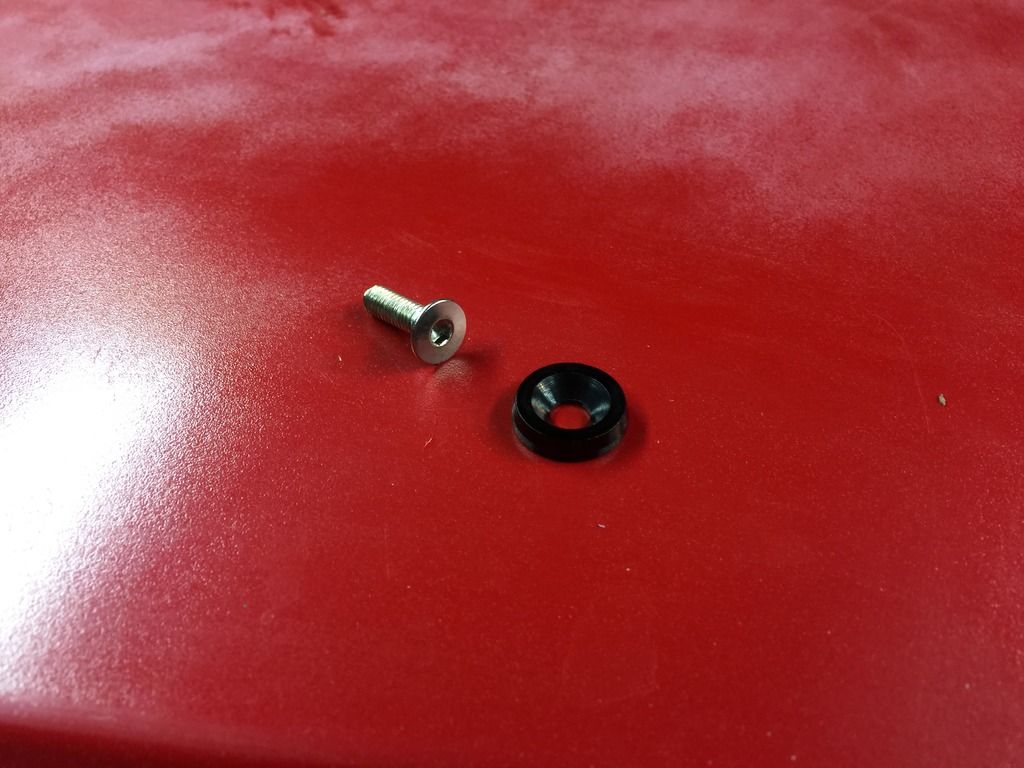
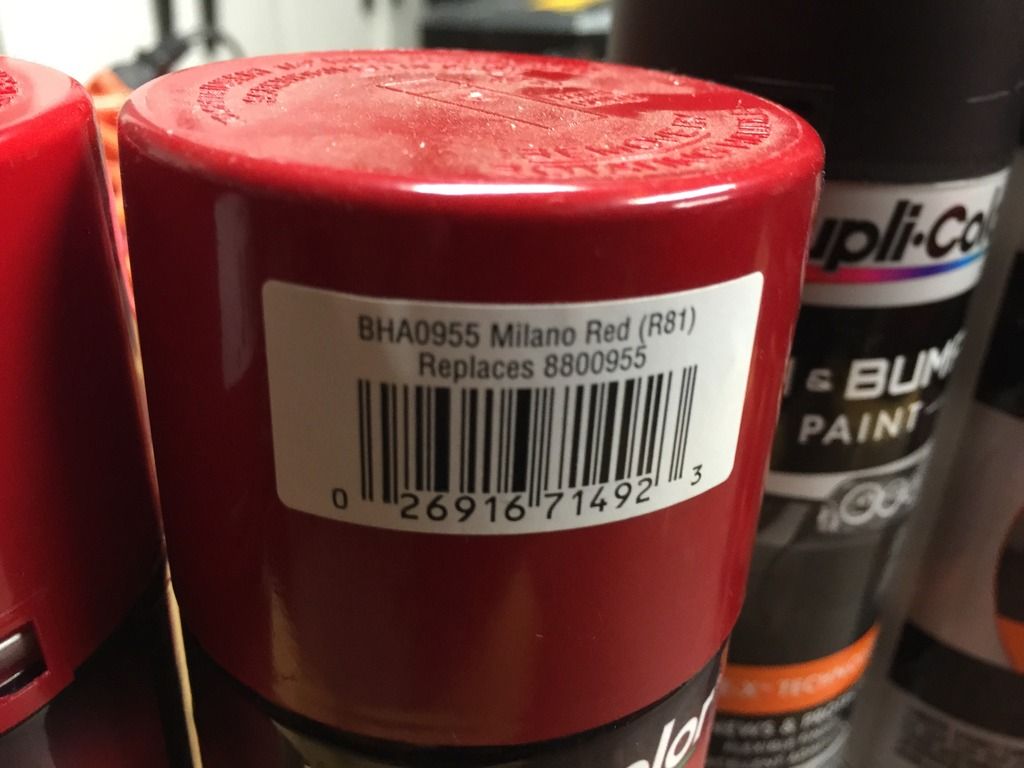
I’ve read that the "ribbed" or "knurled" rivet nuts grab the best. I chose the zinc-coated versions for superior rust prevention also. I grabbed a set of 25 on ebay for around $8 shipped. My nutserts are M6x1.0, to accommodate my mounting hardware, which you can find later in this post.
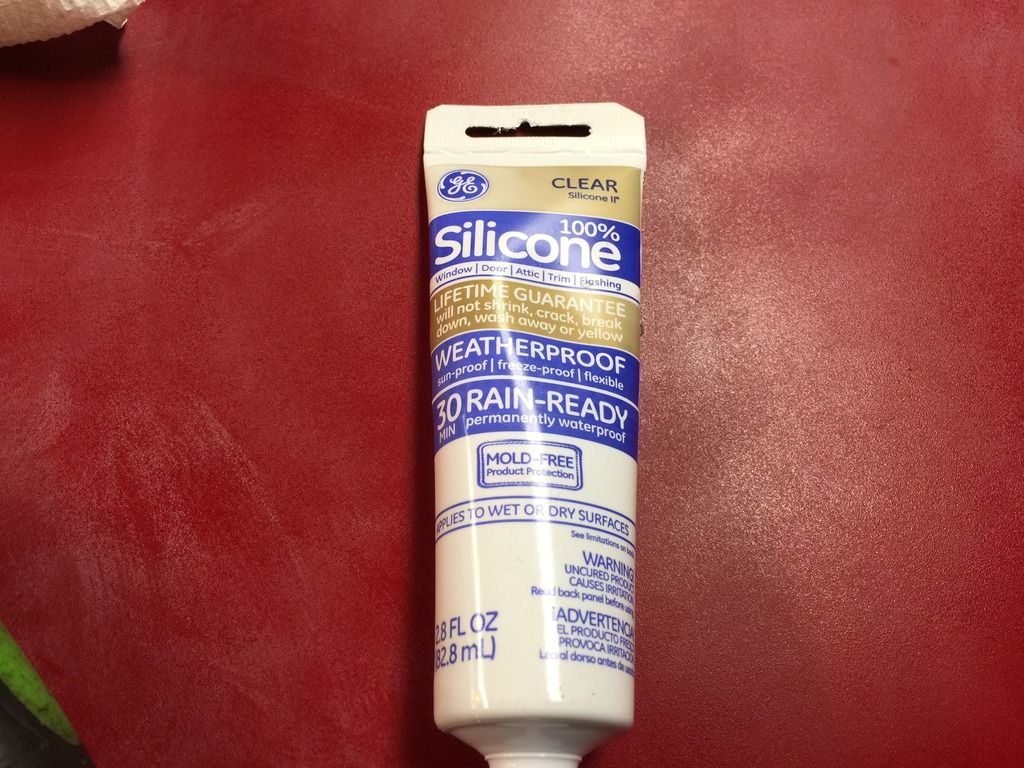
I also (per the GoWesty video) elected to include some silicone on the rivet nut. You’ll see from the process pics below that I simply gave the rivet nut a good coating around it’s base. When the rivet nuts compresses during install, it coats both the under and top-sides of the metal with the silicone, drying to a (hopefully) weather-proof seal. Brilliant! Again, the GoWesty process is almost TOO simple.
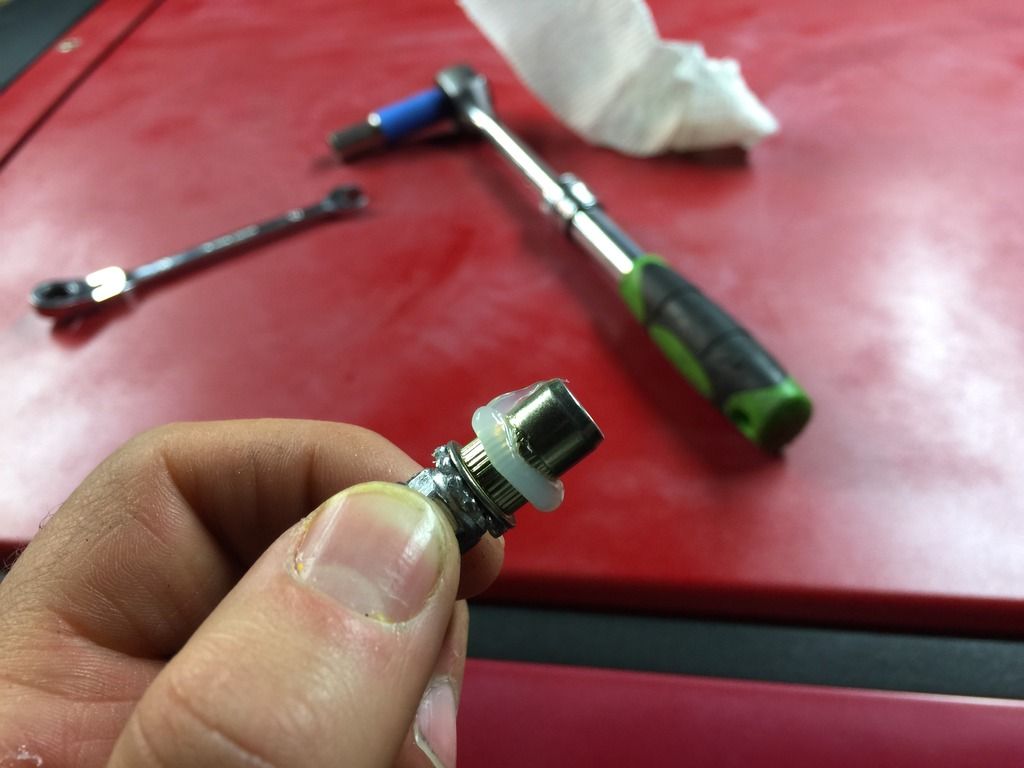
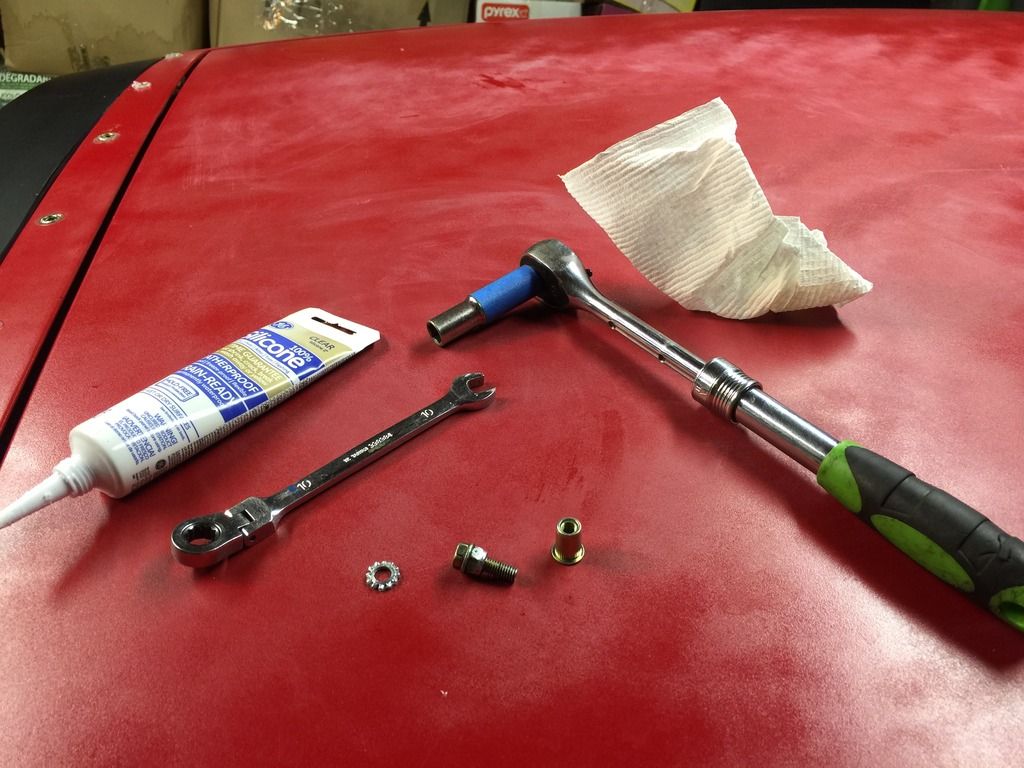
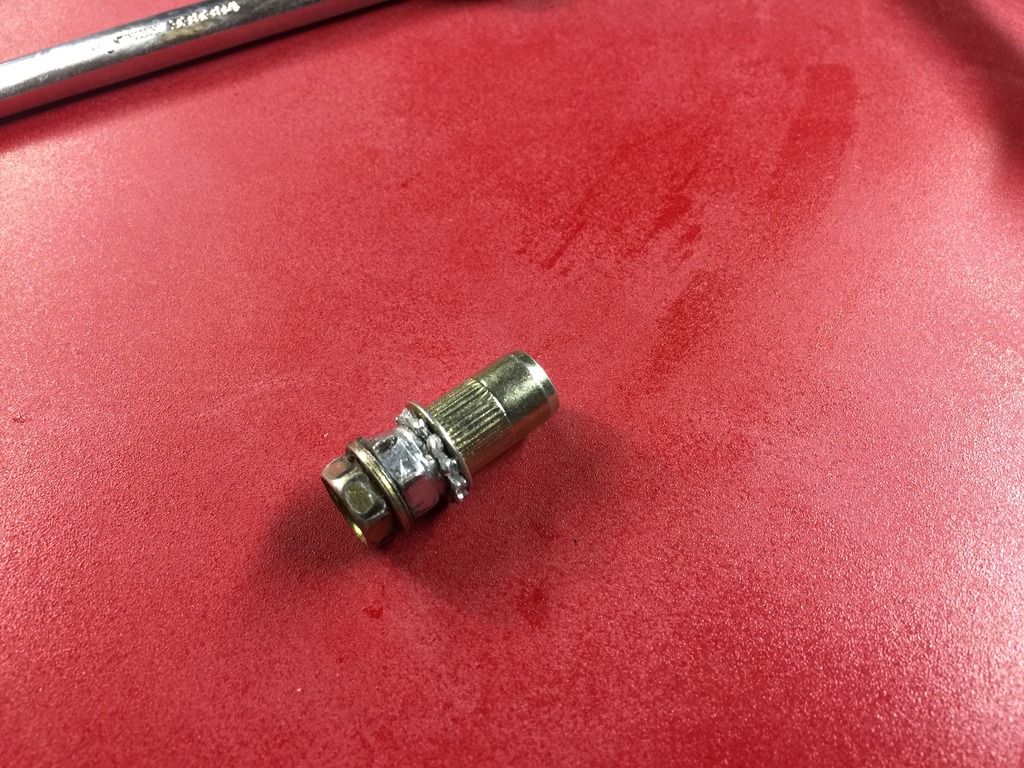
Here’s what my tools looked like to make things work.
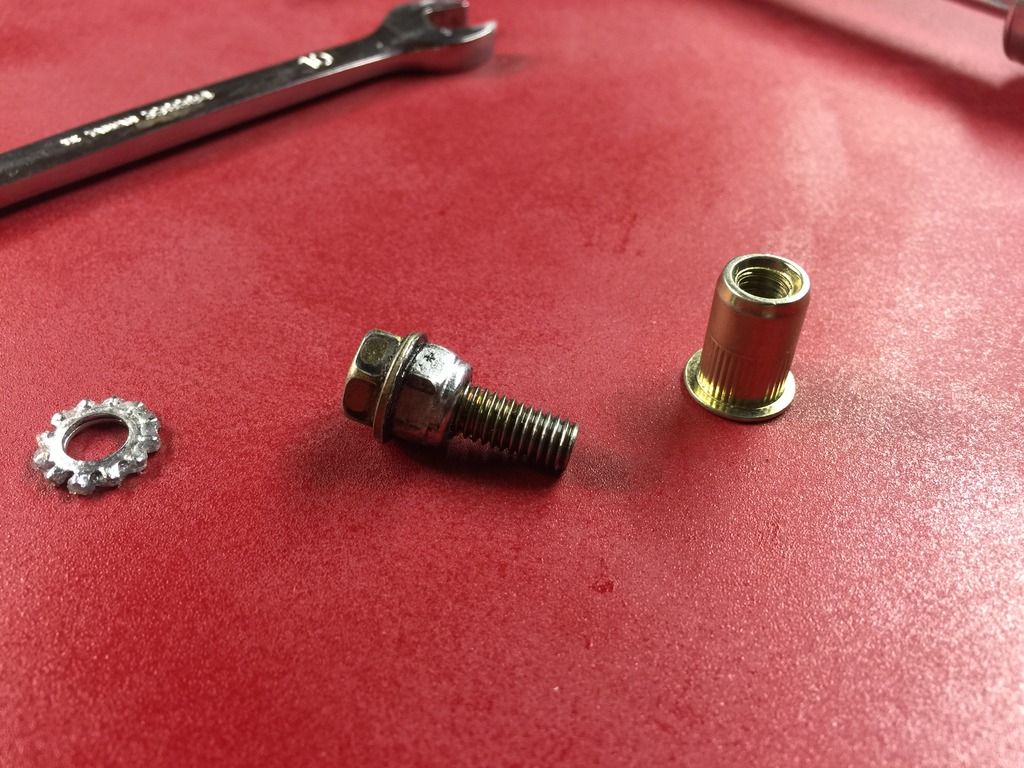
I used an auto-grade M6 bolt I had in my used-Honda bolts collection. It’s about 1.25” long. Paired that with a nylon nut (a bit taller, gave me more room to grab it with my Kobalt 10mm wrench), and (2) knurled washers. The rivet nut then get’s screwed into that to prepare for install.
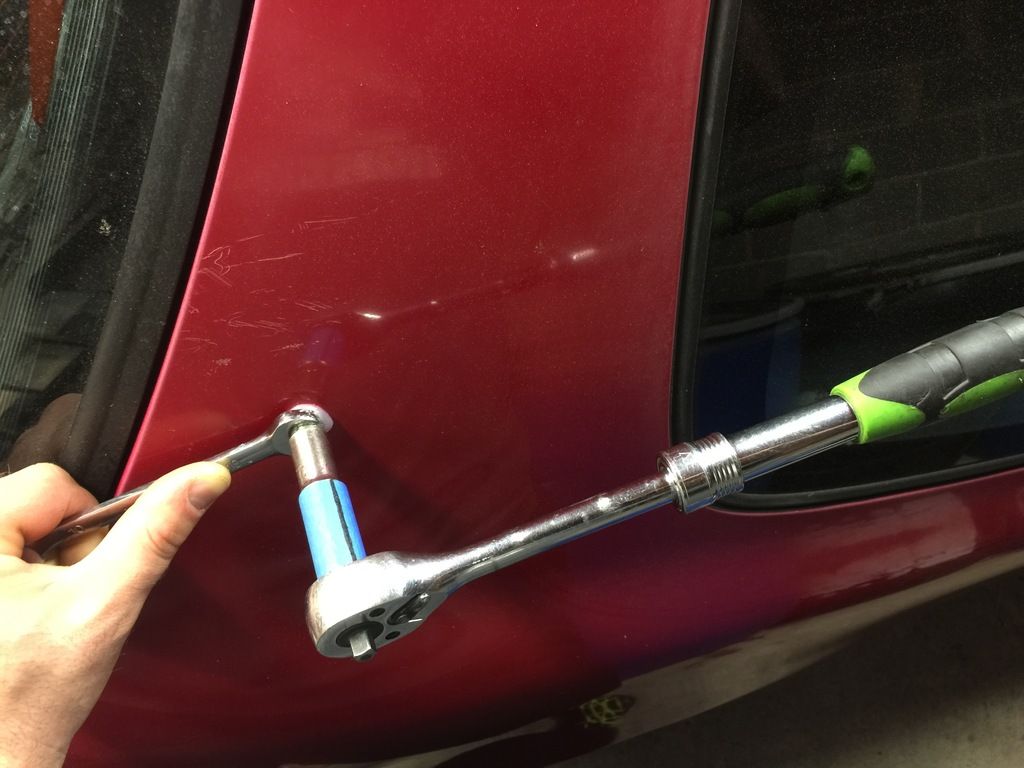
And here’s my process pics. You can see that I added some tape and a line to my 10mm socket, so that I could see how many rotations I was turning down against the rivet nut. I found that, with my set up, about 3.5 rotations and the rivet nut would fully seat. Many on the net advised against not over-torquing the rivet nuts. This is great advice, but mine felt very “idiot proof”. Like, I would have been having to try REALLY hard to over-torque them. The nuts hit a very pronounced “torque wall” which is hard to ignore. Just stop when you feel you have hit that wall, then your done. Back off the tool and the rivet nut install is complete.
Set in place, ready to install:
Compressing- holding the wrench in place; turning the ratchet:
Installed:
Here’s my first completed round of rivet nuts, installed atop the OEM spoiler:
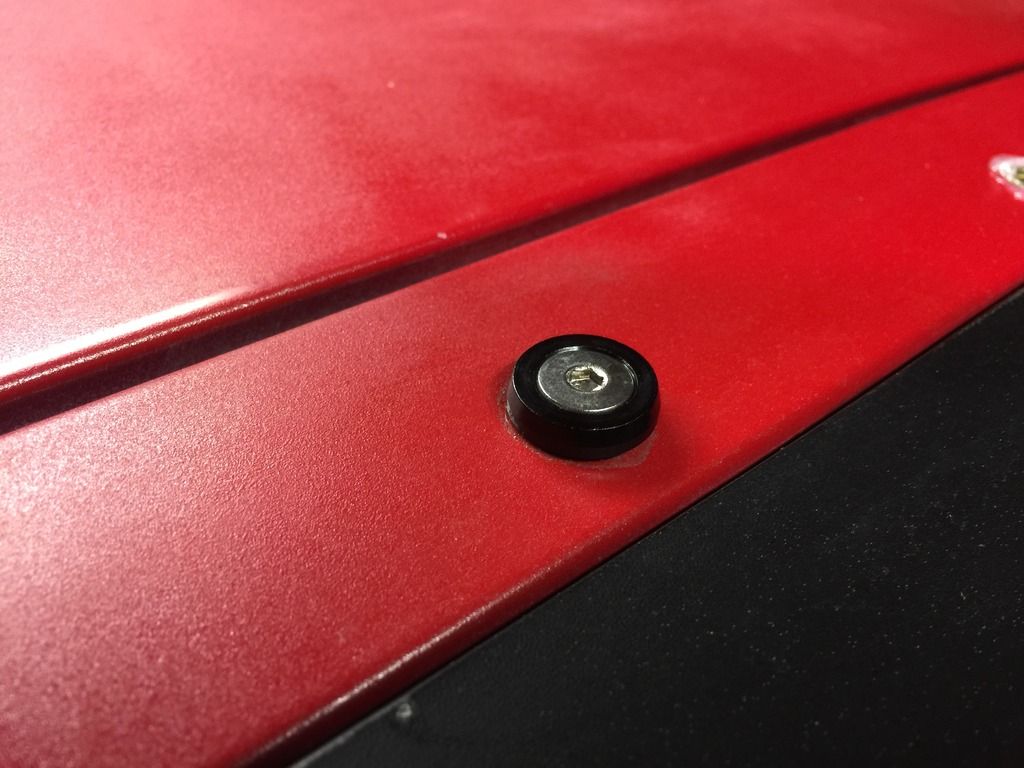
Here’s my SS allen-headk bolt and washer set up, which will hold the new aero panels to the body once installed. M6x1.0 bolts and black anodize-coated washers. I found these on Ebay. Prices are all over the place on these, just do your research. I lucked out and found my set at $8 for a set of 10 washers/bolts. I bought three sets (30 washers/bolts total) for my rear end aero work. Aside from price, I choose this set b/c there was not “JDM” lettering/stamping on them. Plain black for a cleaner look, IMO.
Screwed in place:
I also picked up this set-up, one for each side of the car. It's a "JDM Bumper Fastener Kit", which I found on Ebay for about $13 shipped. It will hold the Kammback spoiler snug to the body panels. You can see that a thick rubber band sits in a groove, and can easily be removed temporarily to allow the Kammback to raise when opening up the hatch. Easy removal/re-install was my primary goal here. I had considered installing black draw-latches, like you might find on a suite-case, but I felt these carried over better to an automobile purposes than the latches, and would match the look of the rest of my hardware. Again, plain black, SS allen-head bolts against black anodized washers, for a matching theme.
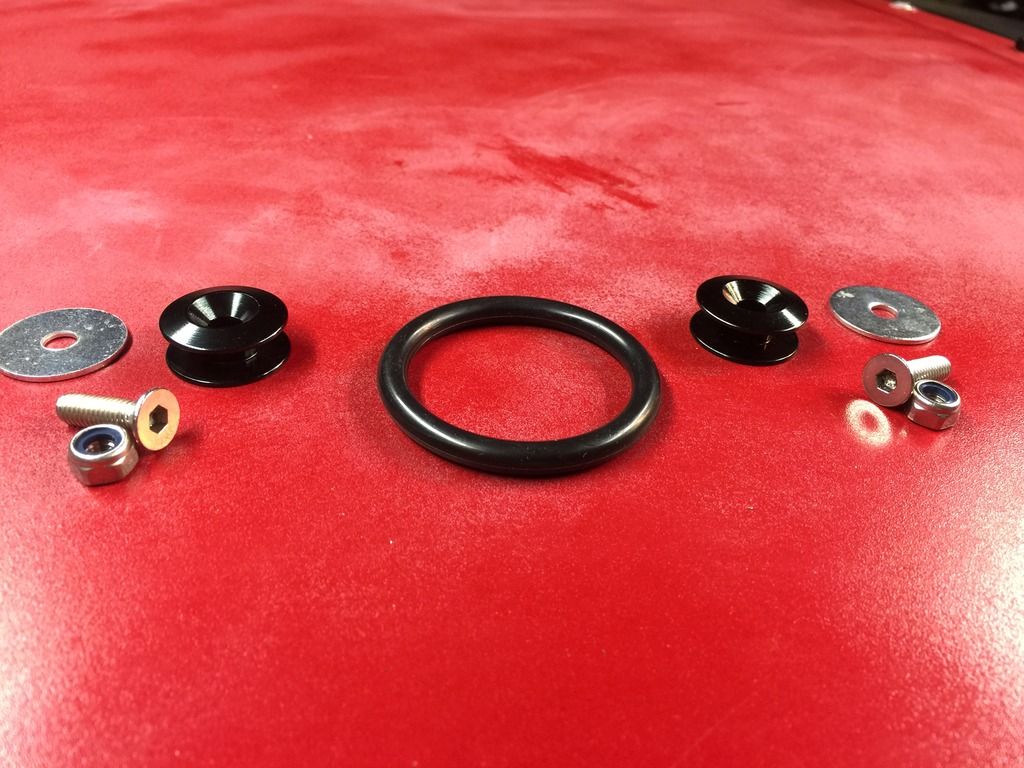
You can see how this set up works here:

This weekend, I will continue to work on installing the rest of the rivet nuts. Once that is done, I’ll finish sanding the panels, then hang them on some hooks I bought in the garage port, and begin paint work.
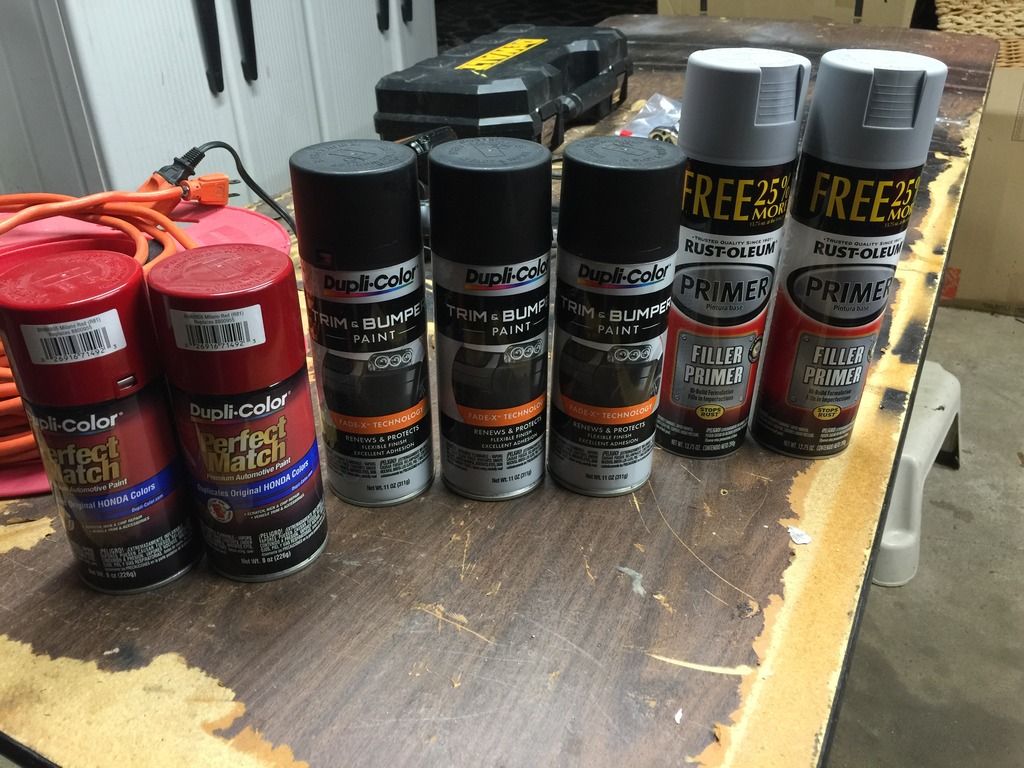
Here’s my choice for paint:
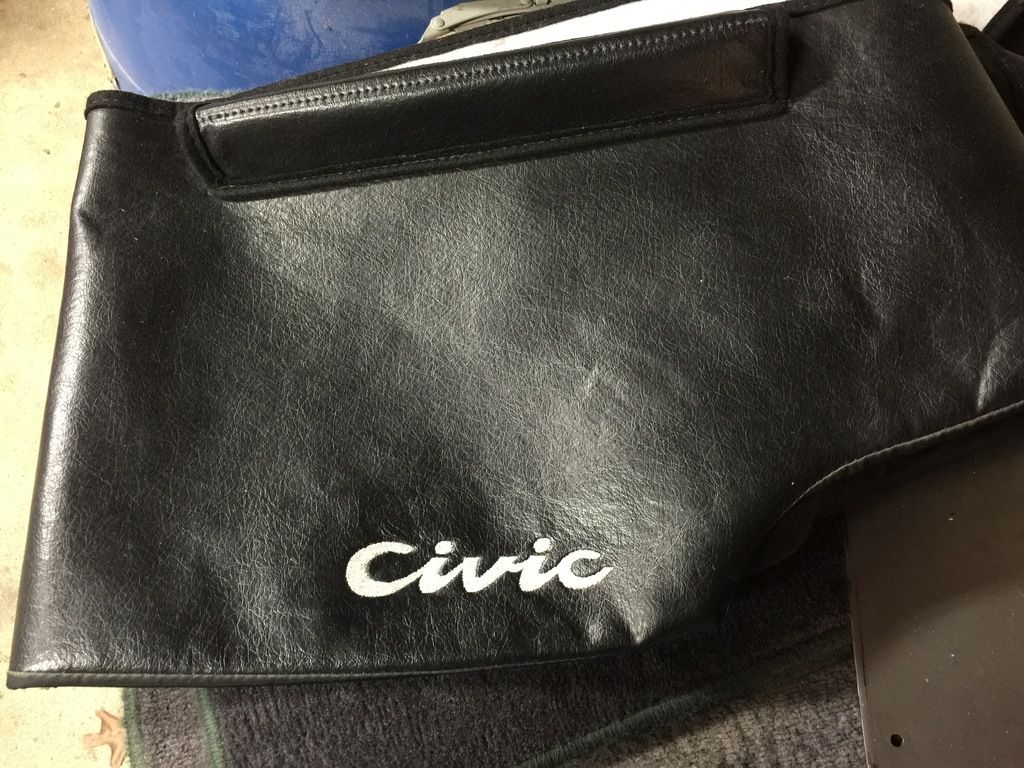
Finishing up this post, here’s the cleaned bra I mentioned in a prior. As you can see, the Civic logo looks as-new.
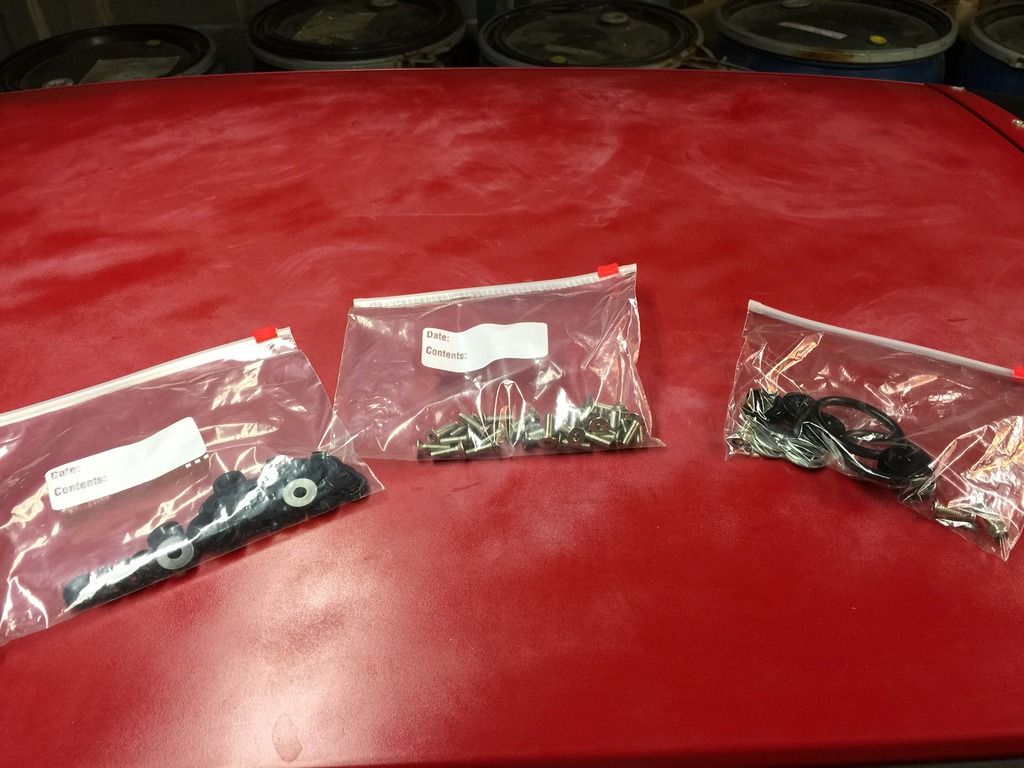
...and how I keep bolts and things organized around the workshop:
Until next time, thank
YOU for
Eco-Tuning in!