03-26-2015, 04:30 PM
|
#311 (permalink)
|
|
JDM hypeR mileR
Join Date: Aug 2014
Location: Mooresville, NC
Posts: 418
Thanks: 475
Thanked 418 Times in 198 Posts
|
Guys, I'm slowly making progress with the nutsert installs each evening. However, I've run into problems with my final (27/64th) drill bit wanting to snag and "buck" at the last minute, make ugly lacerations in the metal. I've been able to use a chisel and hammer to cure a few of the holes, but have ceased working further until I can figure this out.
I think the bit I got at Lowes (black carbide) is not the best bit for the job. Maybe it's my technique. I doubt it though, as my bits I've always used are working just fine as I walk up to this new bits hole size.
I've tried a HF high-power drill (not speed variable), as well as as Dewalt var. speed drill.
Anyone have any tips for hand drilling sheet metal?
__________________
"Yesterday as I was going in to the shop, I came upon a recently killed Armadillo in the middle of the road with one front leg sticking up. As I passed over him he "High Fived" my air dam. I thought that showed a great attitude on his part." -The Donkey CRX

|
|
|

|
 Today Today
|
|
|
|
 Other popular topics in this forum...
|
|
|
|
|
03-26-2015, 08:15 PM
|
#312 (permalink)
|
|
Master EcoModder
Join Date: May 2009
Location: Australia
Posts: 1,510
Thanks: 325
Thanked 453 Times in 320 Posts
|
Use a step drill. Perfect holes every time:
New Milwaukee USA-Made Step Drill Bits
They do require a bit of clearance behind your panel for larger holes though. Try it on some scrap first, you won't believe how well they work  |
|
|
|
|
The Following 2 Users Say Thank You to oldtamiyaphile For This Useful Post:
|
|
|
03-27-2015, 07:29 AM
|
#313 (permalink)
|
|
JDM hypeR mileR
Join Date: Aug 2014
Location: Mooresville, NC
Posts: 418
Thanks: 475
Thanked 418 Times in 198 Posts
|
Update 3/27/2015: Rivet Nut Install + How To
Hello all,
I finally got the hang of the rivet nut install process, and figured out some issues I was having with getting the final holes for them drilled out neatly. There is a good amount of info. on how to install these on the net. Lot’s of different versions of how to make a homemade tool. I thought I’d share my experience and the method that ended up working for me also, in case others could benefit.
First, I had to drill out all of my holes. I walked my way up to a 13/64th drill bit. I know: odd. But 3/8’ was too small and 7/16” was too big.
I used the following:
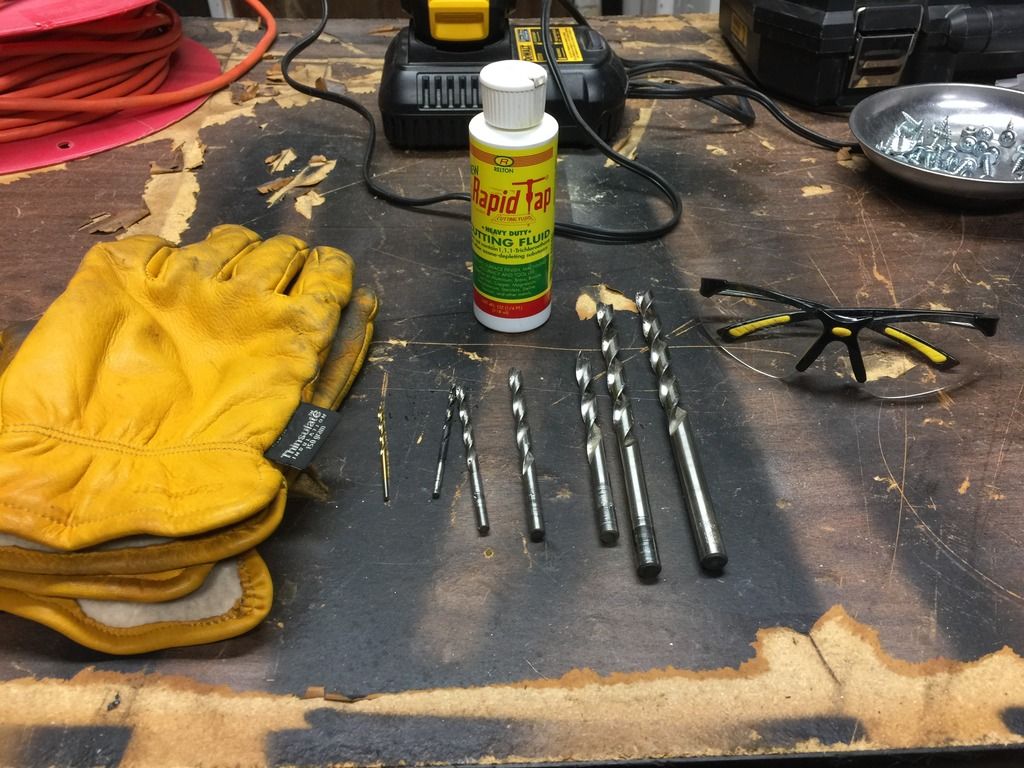
Thankfully, I practiced a good amount on some 20 gauge sheet metal prior to working on the car. I wholeheartedly recommend this! Drilling has never been an issue for me, until this project. So glad that I did my “learning” on the scrap, and made my mistakes there, and not on my completely rust-free, southern car-only, EG quarter panels.
Once I (finally) put away a 25/64th drill bit I picked up at Lowes that kept kicking on me as it drilled the hole and scaring the metal, and borrowed another quality bit from my father-in-law, things started going great. I also used some good leather gloves to hold a cordless 20v drill steady, and plenty of cutting oil. This all made for smooth cuts that didn’t warp the metal.
Once the holes were drilled, I started installing the rivet nuts.
I found these links helpful in how to configure my on tool and install process:
$1.87 Rivet nut tool for step/running boards. - Honda Ridgeline Owners Club Forums
Rivet Nut Installation Tool - GoWesty Camper Products - parts supplier for VW Vanagon, Eurovan, and Bus
^^There’s a video within the link above also, which is great. I found the “GoWesty” tool and process to be the most simplistic and straightforward approach. It uses the addition of a couple of knurled washers, and greatly simplifies the tool. I bought everything I needed at Lowes. The knurled washers are in a speciality drawer in the hardware section. Basically, the knurled washer sits on and “grabs” the top flange of the rivet nut, preventing it from turning while you are compressing the nut down against it.^^
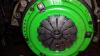
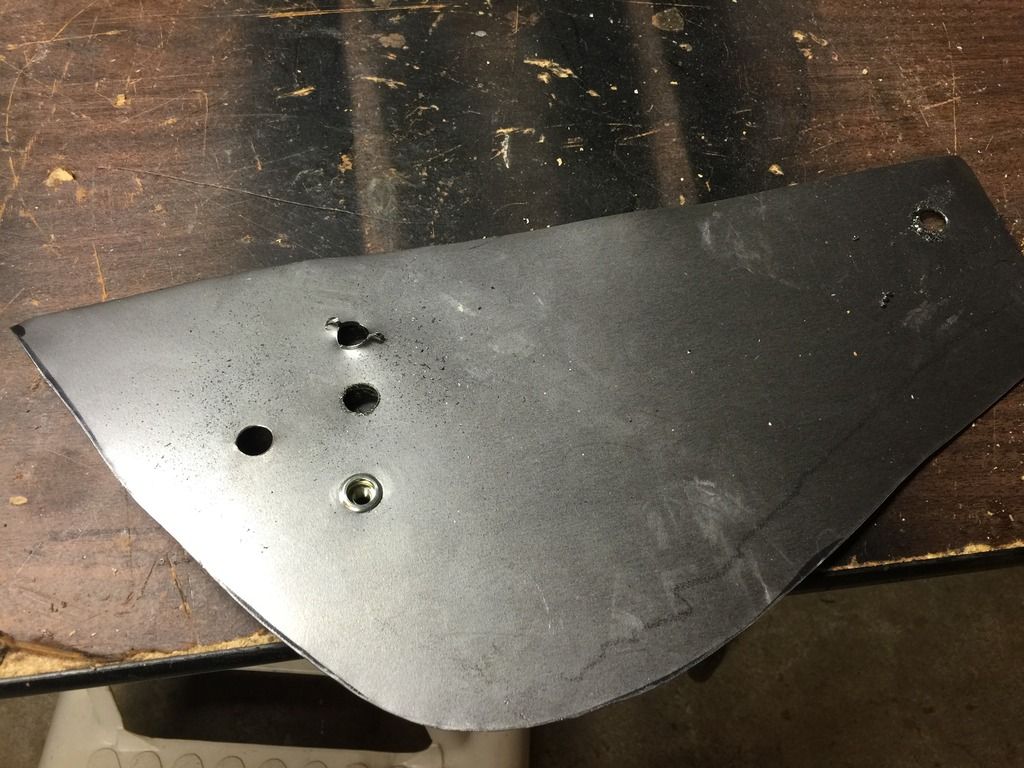
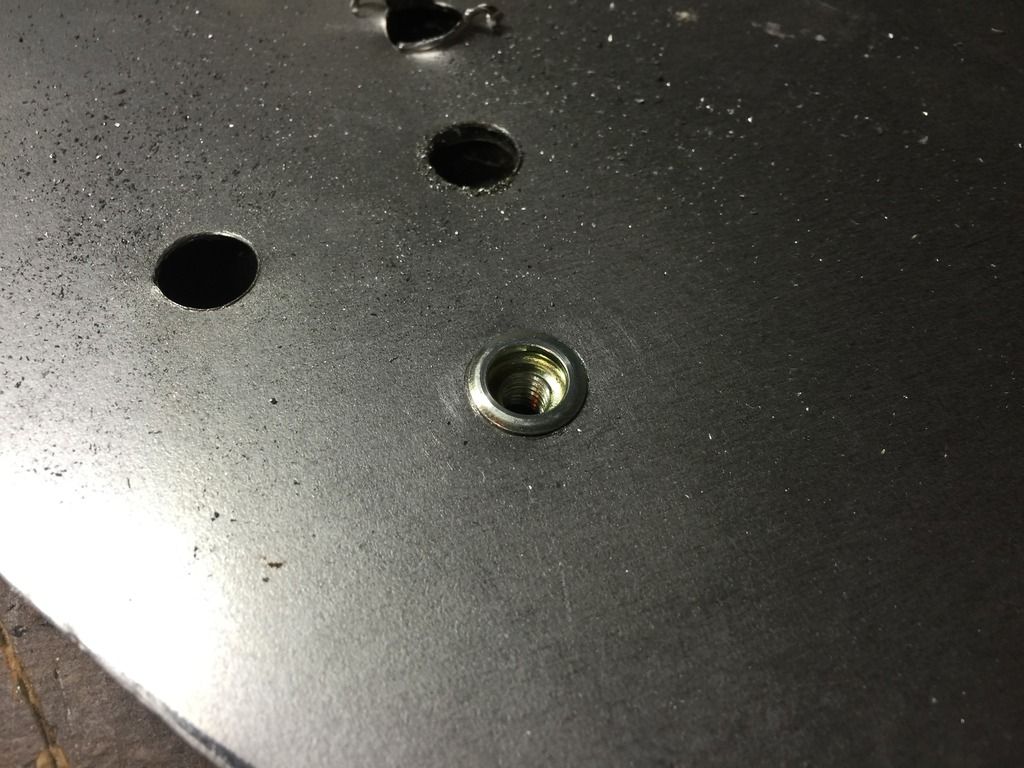
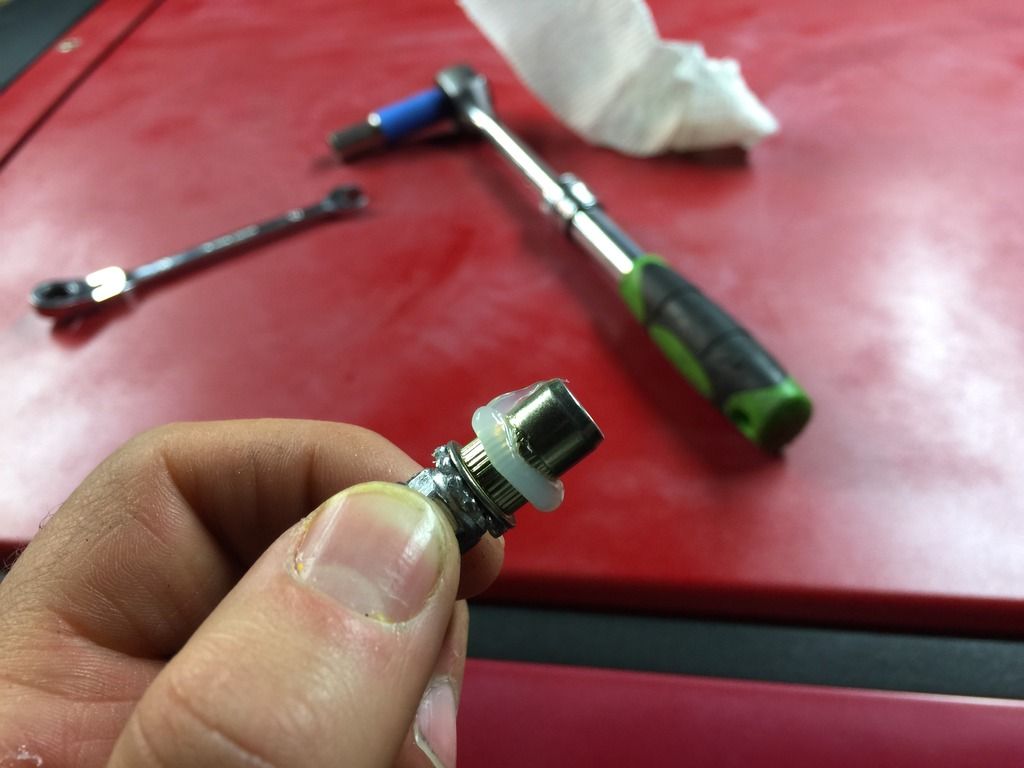
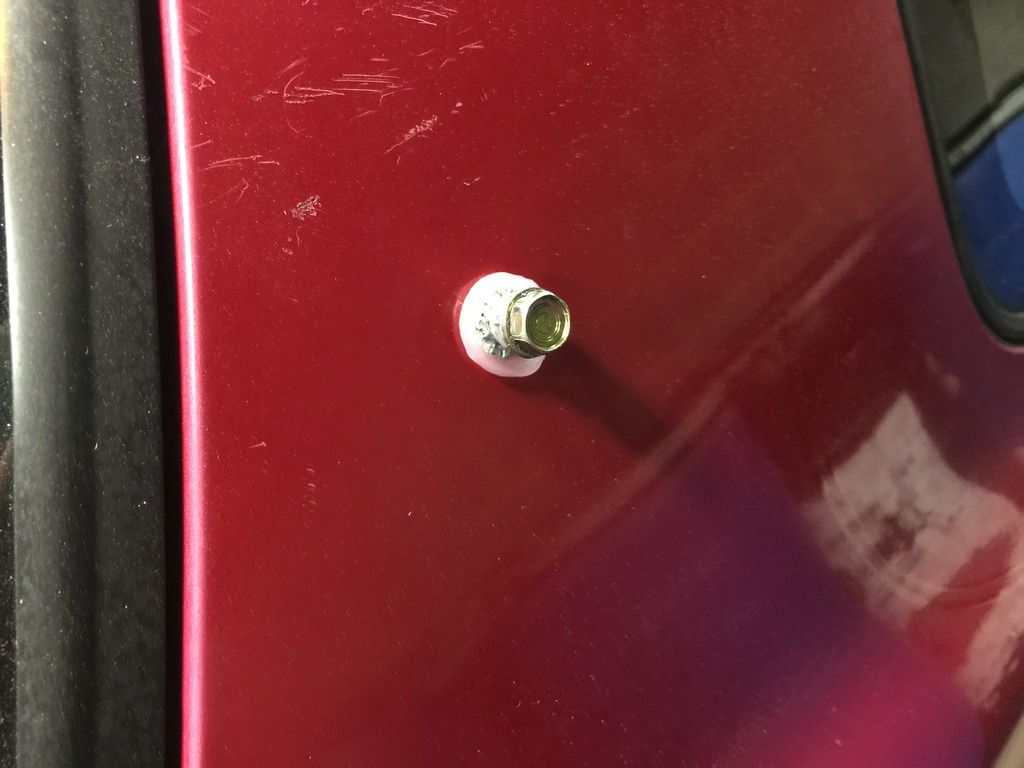
Here’s what a rivet nut looks like once installed.
From above:
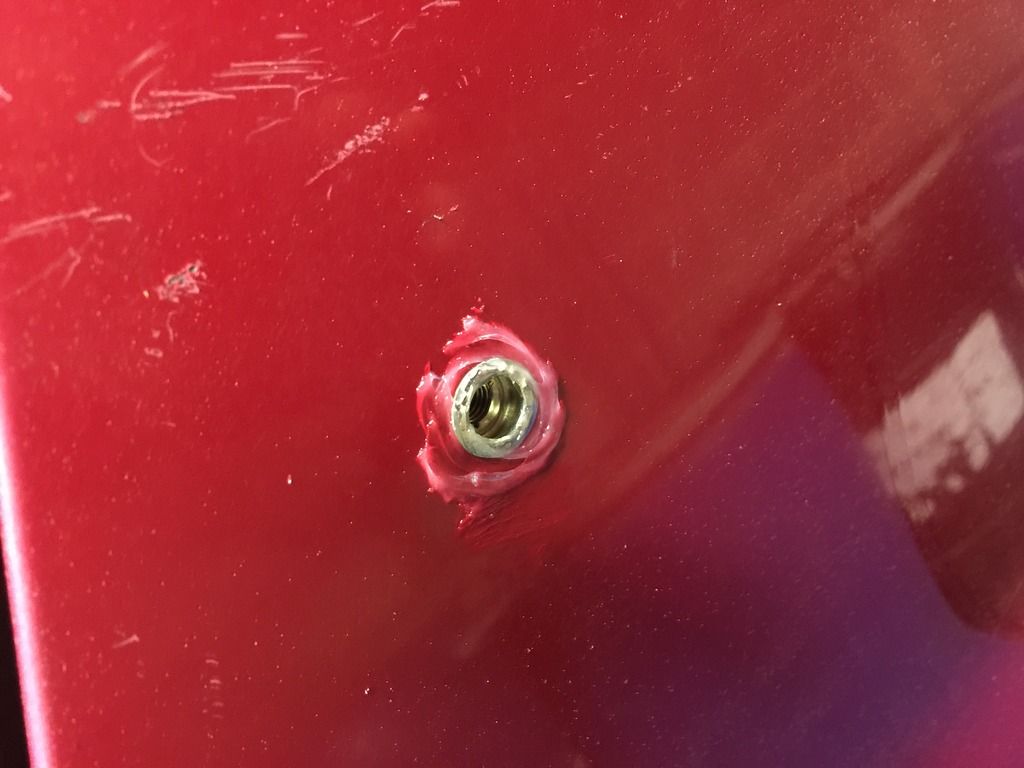
From below:
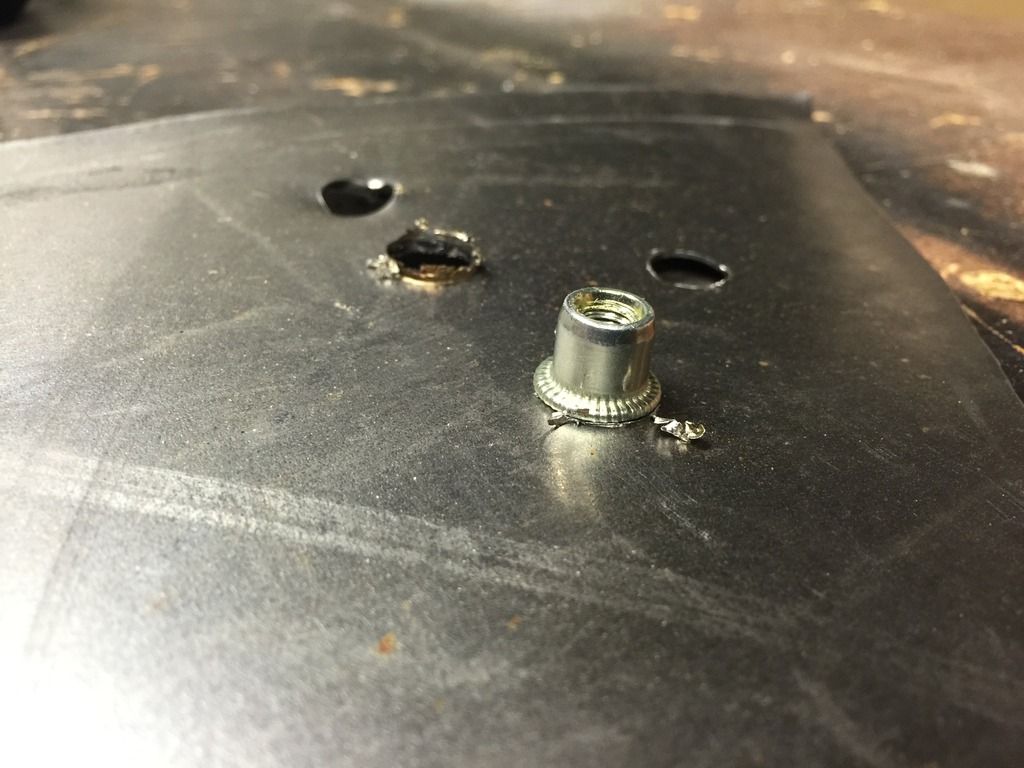
I’ve read that the "ribbed" or "knurled" rivet nuts grab the best. I chose the zinc-coated versions for superior rust prevention also. I grabbed a set of 25 on ebay for around $8 shipped. My nutserts are M6x1.0, to accommodate my mounting hardware, which you can find later in this post.
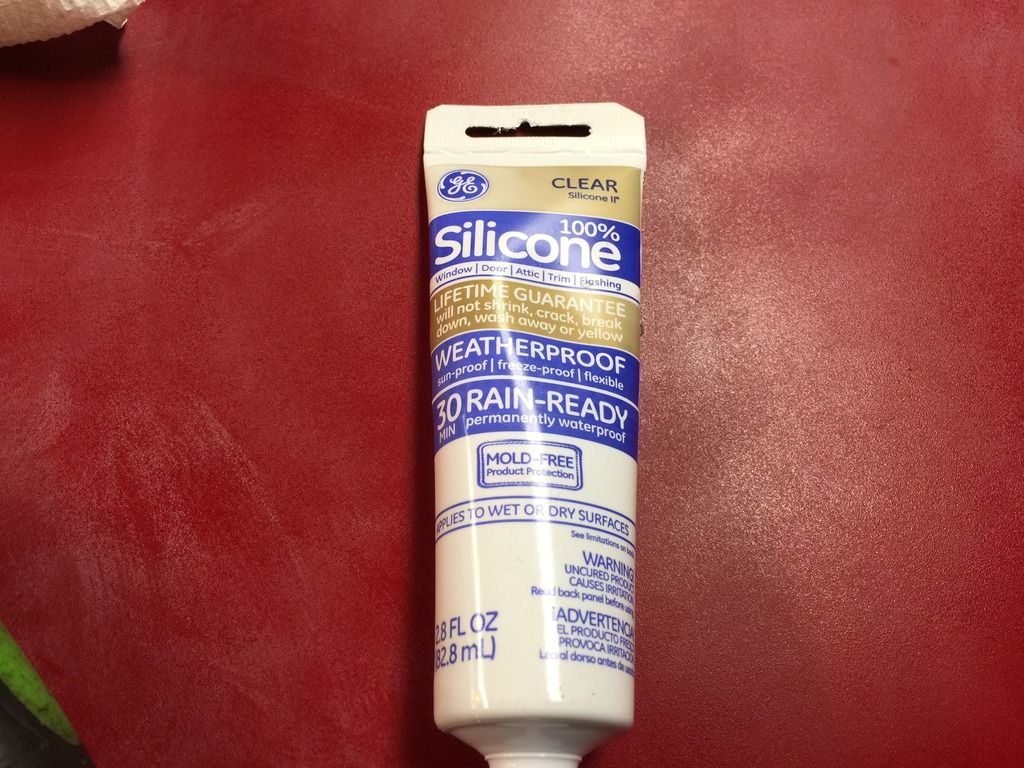
I also (per the GoWesty video) elected to include some silicone on the rivet nut. You’ll see from the process pics below that I simply gave the rivet nut a good coating around it’s base. When the rivet nuts compresses during install, it coats both the under and top-sides of the metal with the silicone, drying to a (hopefully) weather-proof seal. Brilliant! Again, the GoWesty process is almost TOO simple.
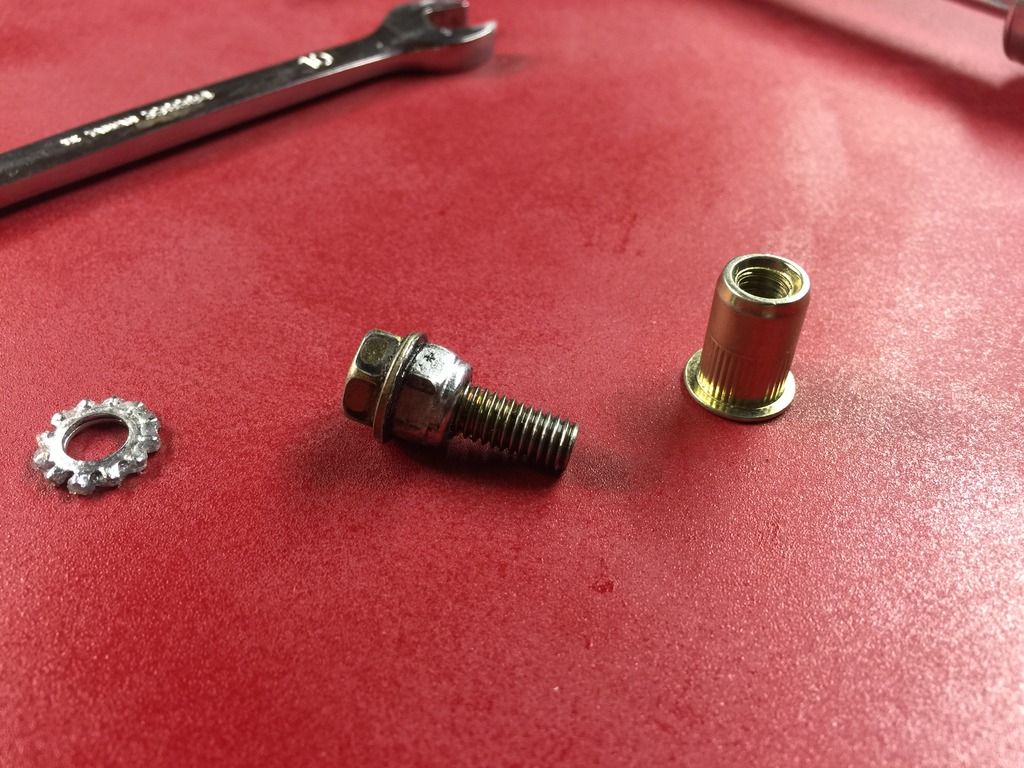
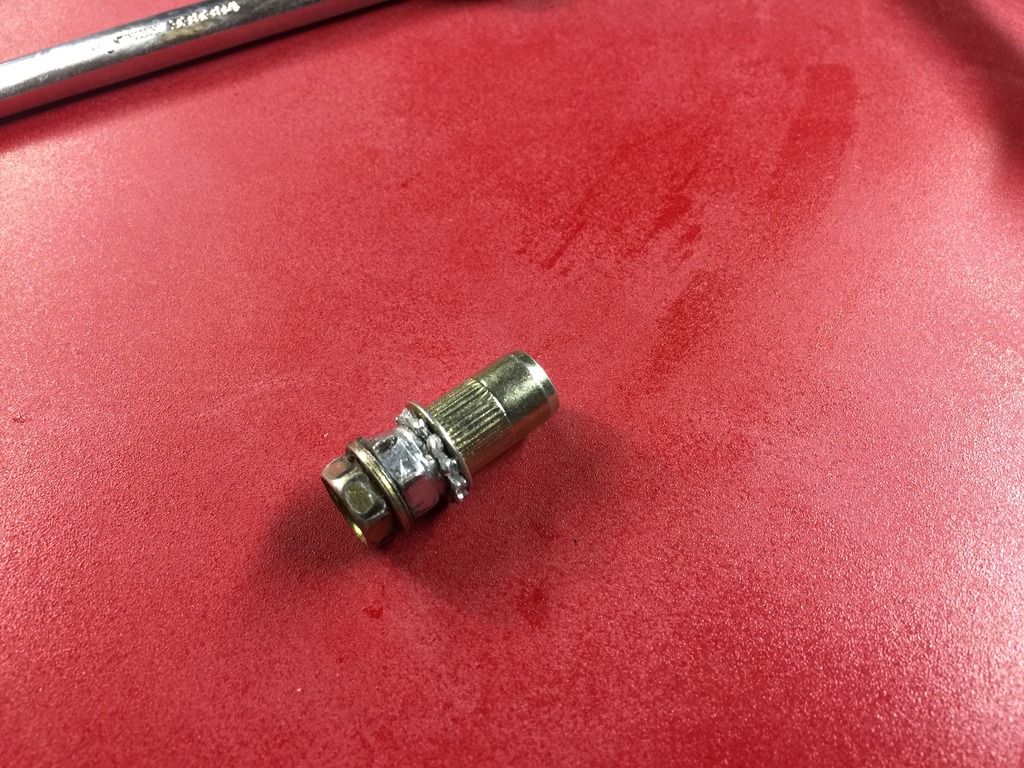
Here’s what my tools looked like to make things work.
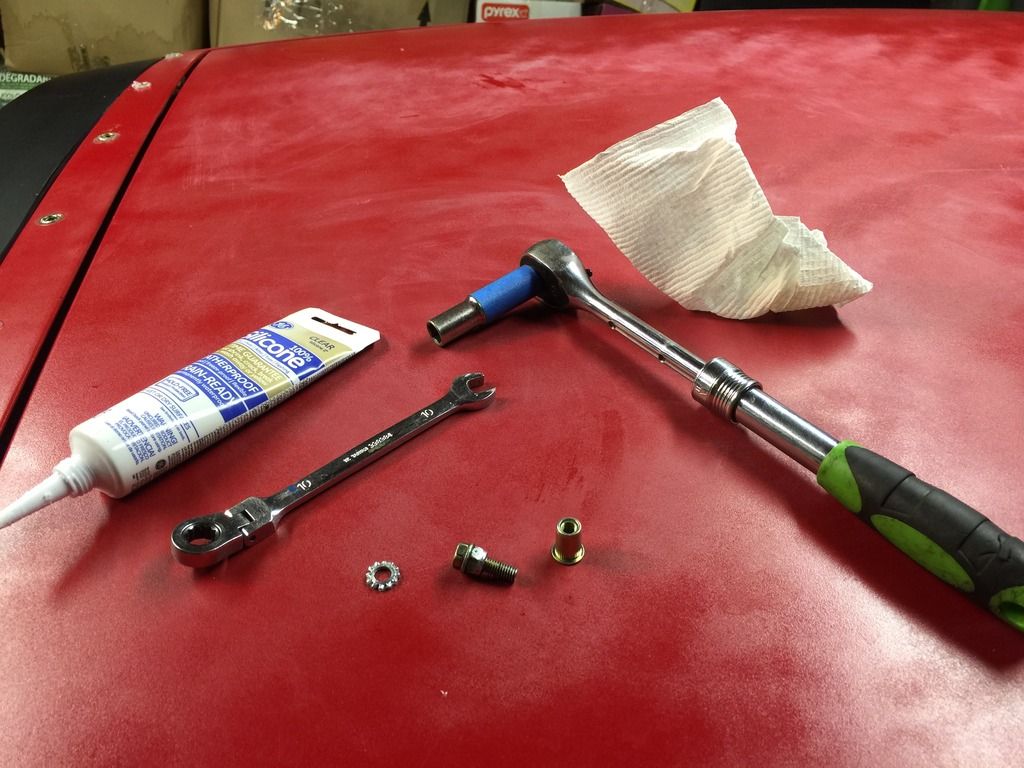
I used an auto-grade M6 bolt I had in my used-Honda bolts collection. It’s about 1.25” long. Paired that with a nylon nut (a bit taller, gave me more room to grab it with my Kobalt 10mm wrench), and (2) knurled washers. The rivet nut then get’s screwed into that to prepare for install.
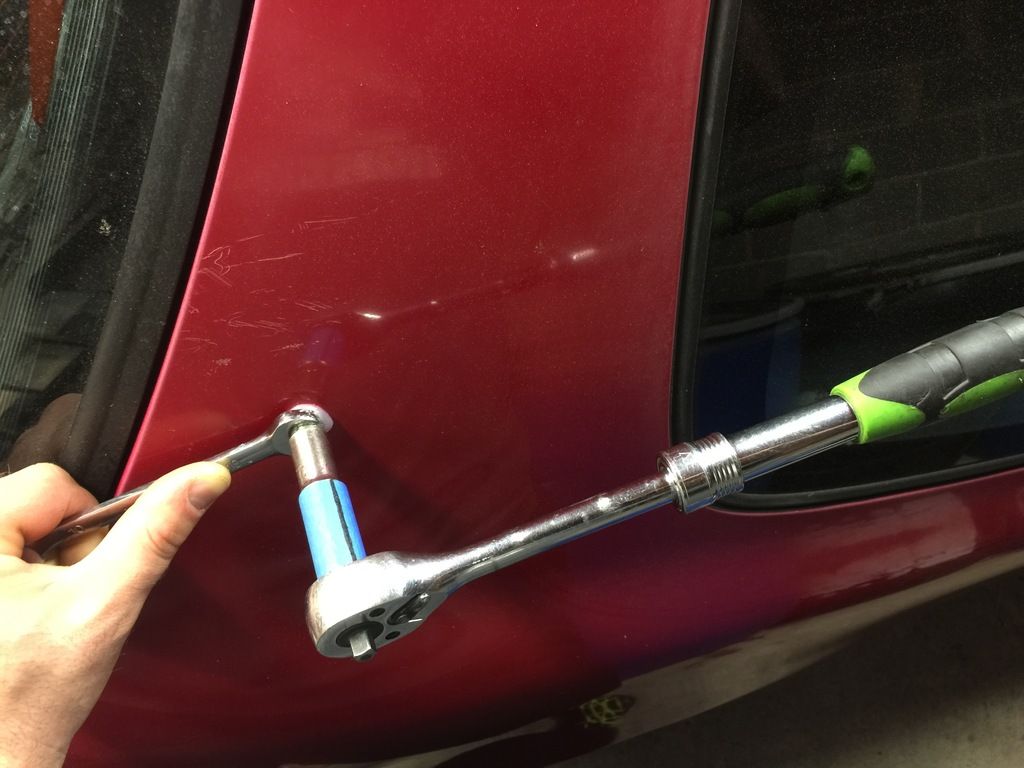
And here’s my process pics. You can see that I added some tape and a line to my 10mm socket, so that I could see how many rotations I was turning down against the rivet nut. I found that, with my set up, about 3.5 rotations and the rivet nut would fully seat. Many on the net advised against not over-torquing the rivet nuts. This is great advice, but mine felt very “idiot proof”. Like, I would have been having to try REALLY hard to over-torque them. The nuts hit a very pronounced “torque wall” which is hard to ignore. Just stop when you feel you have hit that wall, then your done. Back off the tool and the rivet nut install is complete.
Set in place, ready to install:
Compressing- holding the wrench in place; turning the ratchet:
Installed:
Here’s my first completed round of rivet nuts, installed atop the OEM spoiler:
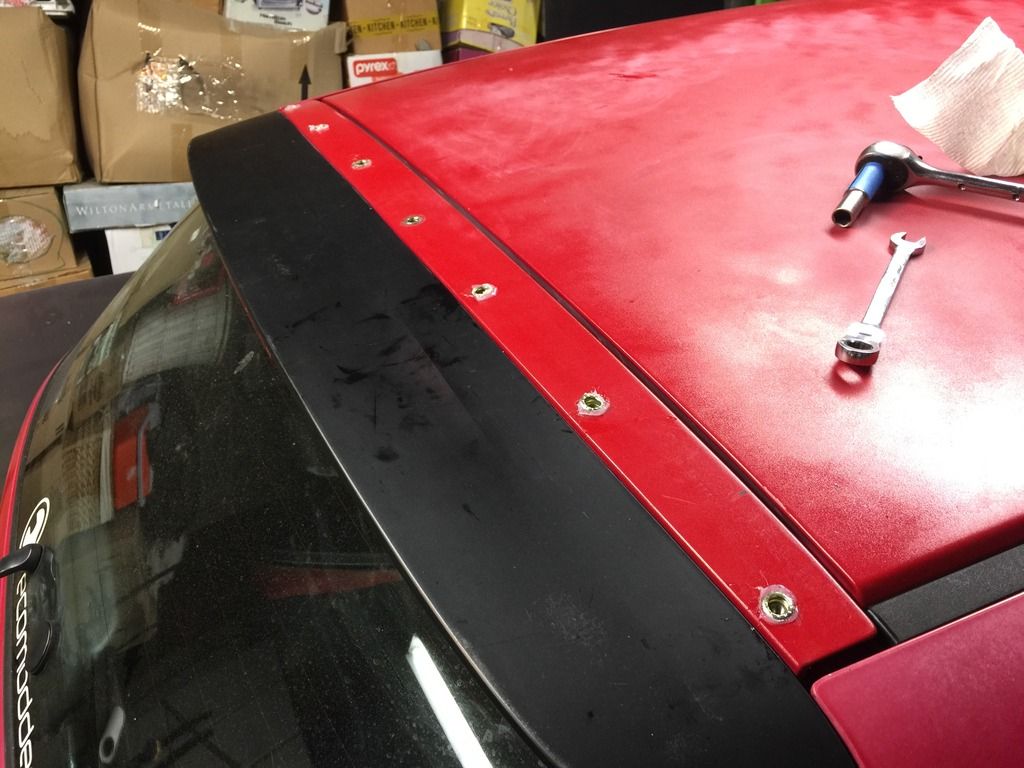
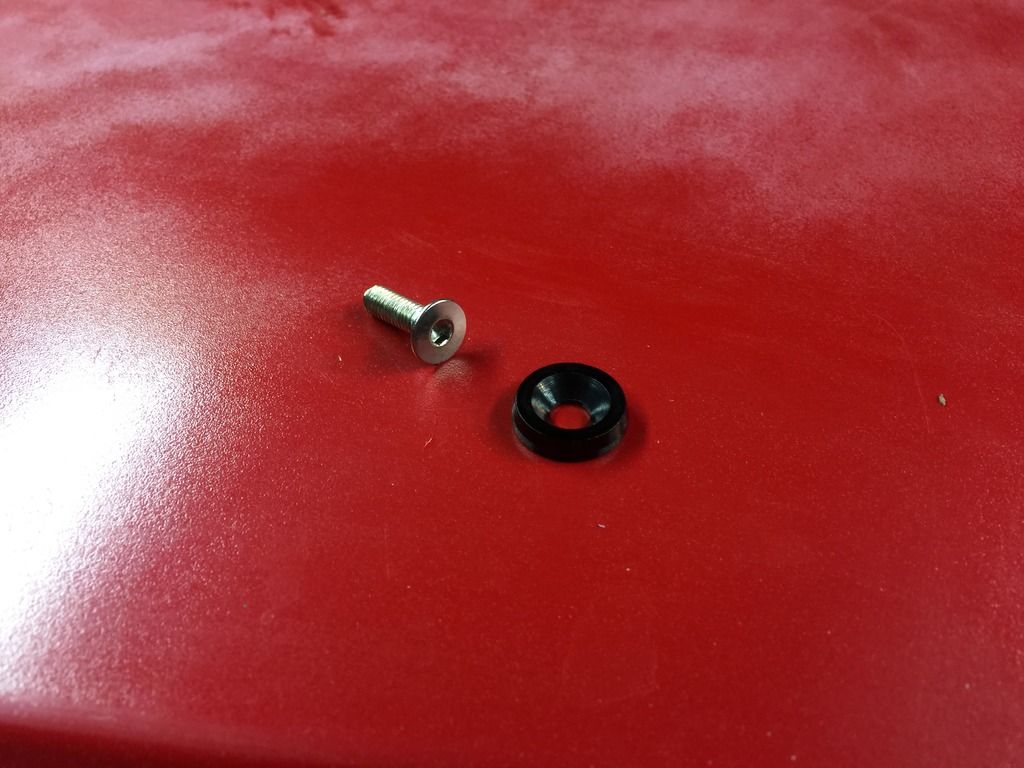
Here’s my SS allen-headk bolt and washer set up, which will hold the new aero panels to the body once installed. M6x1.0 bolts and black anodize-coated washers. I found these on Ebay. Prices are all over the place on these, just do your research. I lucked out and found my set at $8 for a set of 10 washers/bolts. I bought three sets (30 washers/bolts total) for my rear end aero work. Aside from price, I choose this set b/c there was not “JDM” lettering/stamping on them. Plain black for a cleaner look, IMO.
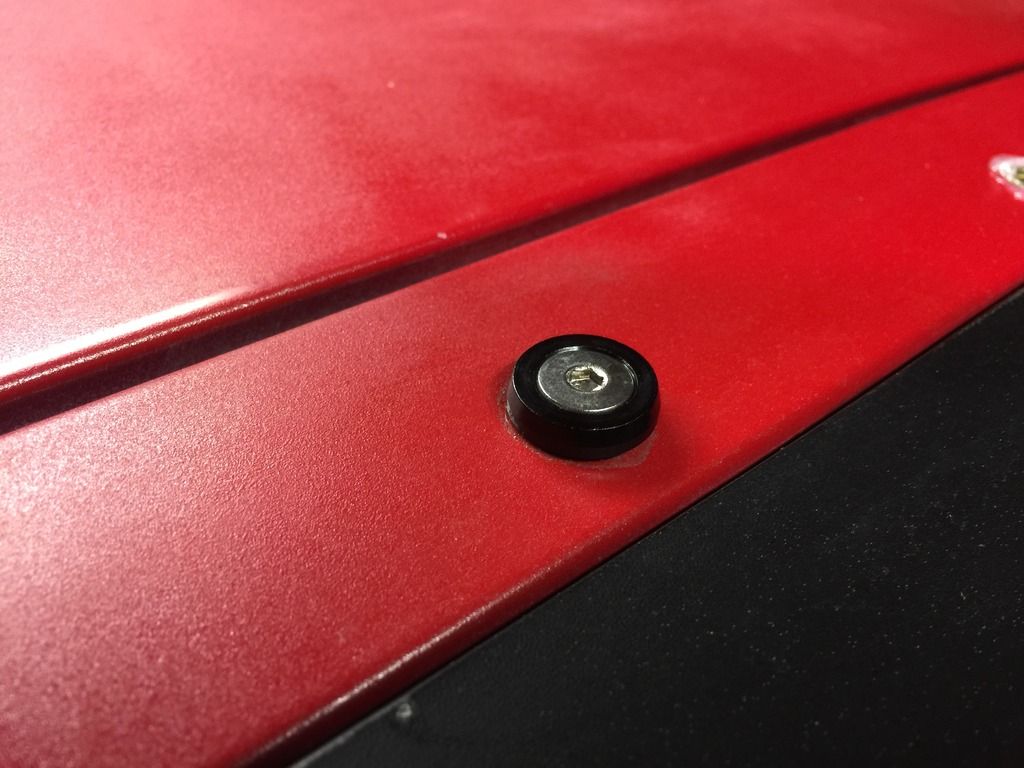
Screwed in place:
I also picked up this set-up, one for each side of the car. It's a "JDM Bumper Fastener Kit", which I found on Ebay for about $13 shipped. It will hold the Kammback spoiler snug to the body panels. You can see that a thick rubber band sits in a groove, and can easily be removed temporarily to allow the Kammback to raise when opening up the hatch. Easy removal/re-install was my primary goal here. I had considered installing black draw-latches, like you might find on a suite-case, but I felt these carried over better to an automobile purposes than the latches, and would match the look of the rest of my hardware. Again, plain black, SS allen-head bolts against black anodized washers, for a matching theme.
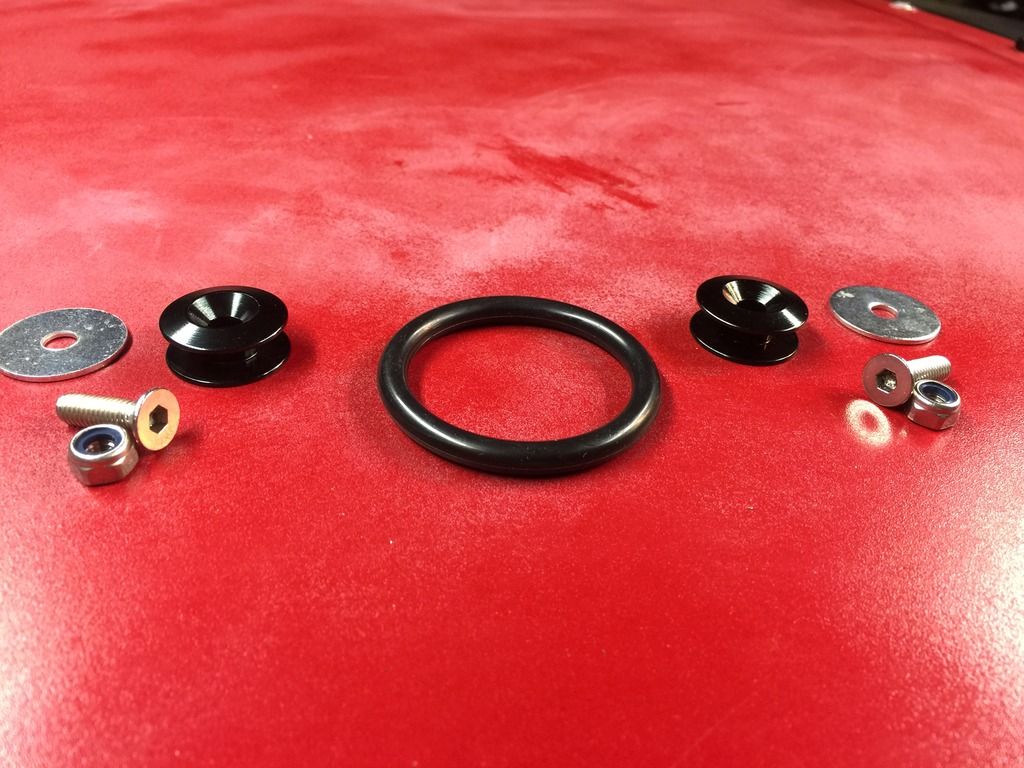
You can see how this set up works here:

This weekend, I will continue to work on installing the rest of the rivet nuts. Once that is done, I’ll finish sanding the panels, then hang them on some hooks I bought in the garage port, and begin paint work.
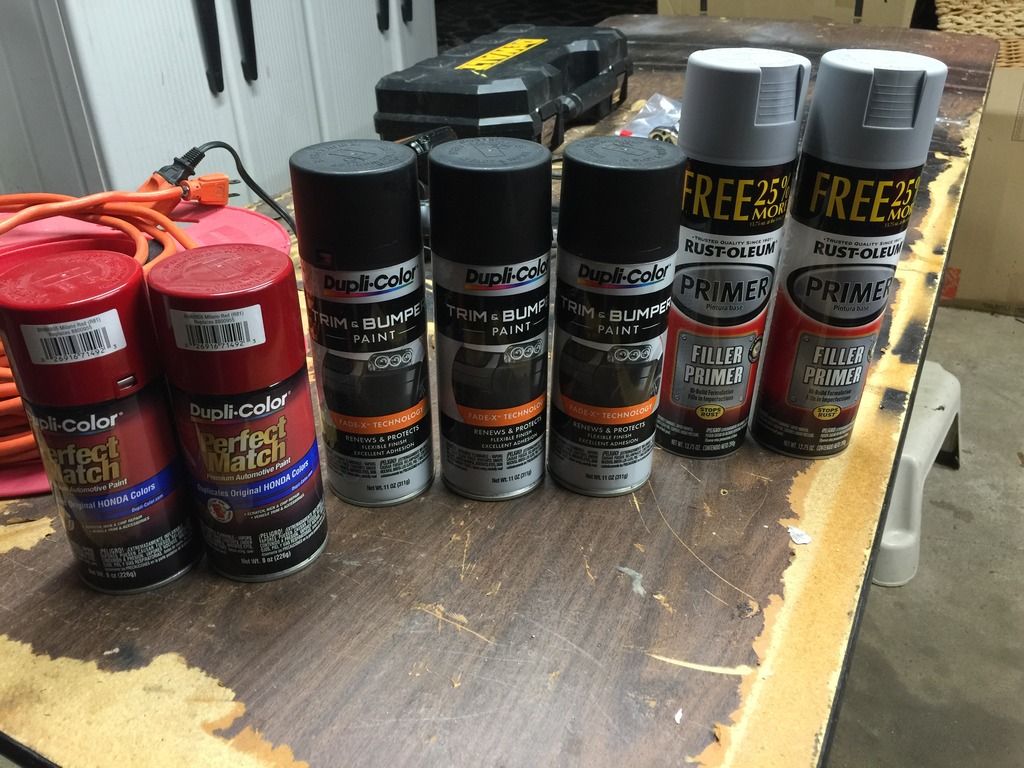
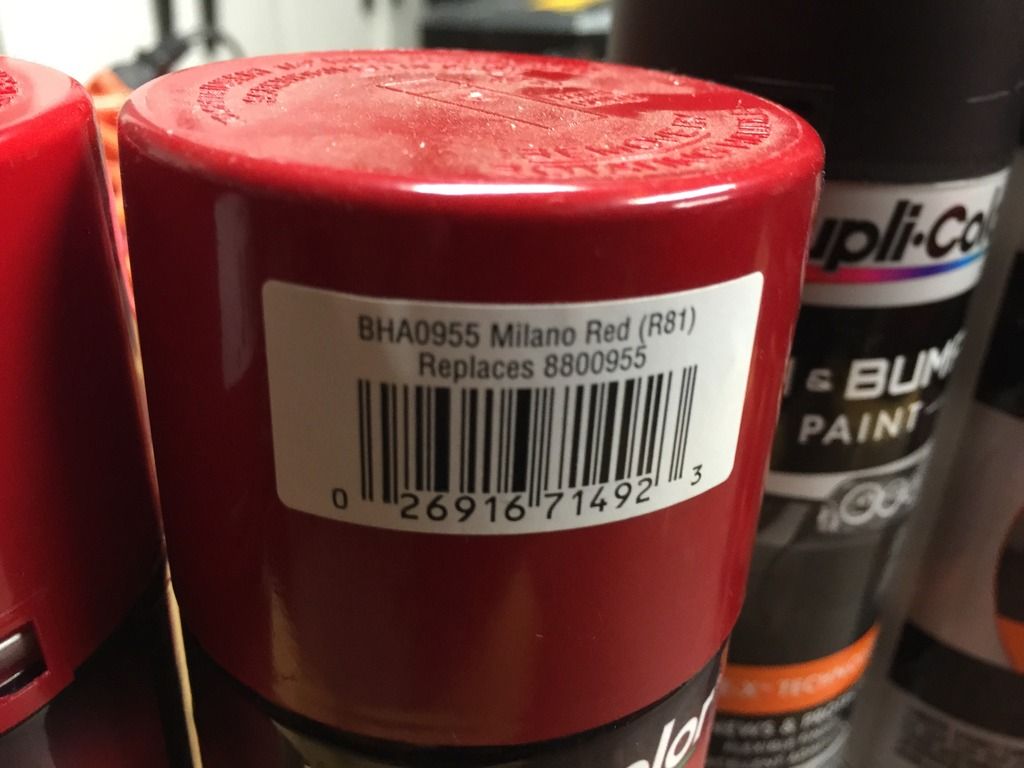
Here’s my choice for paint:
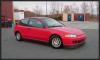
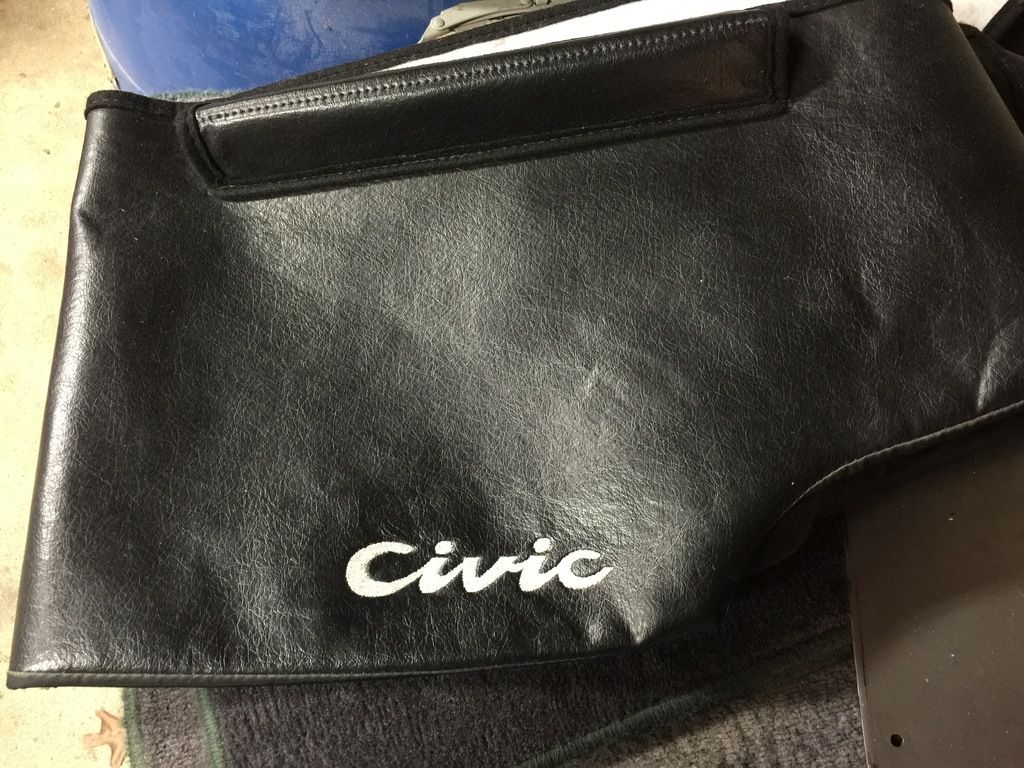
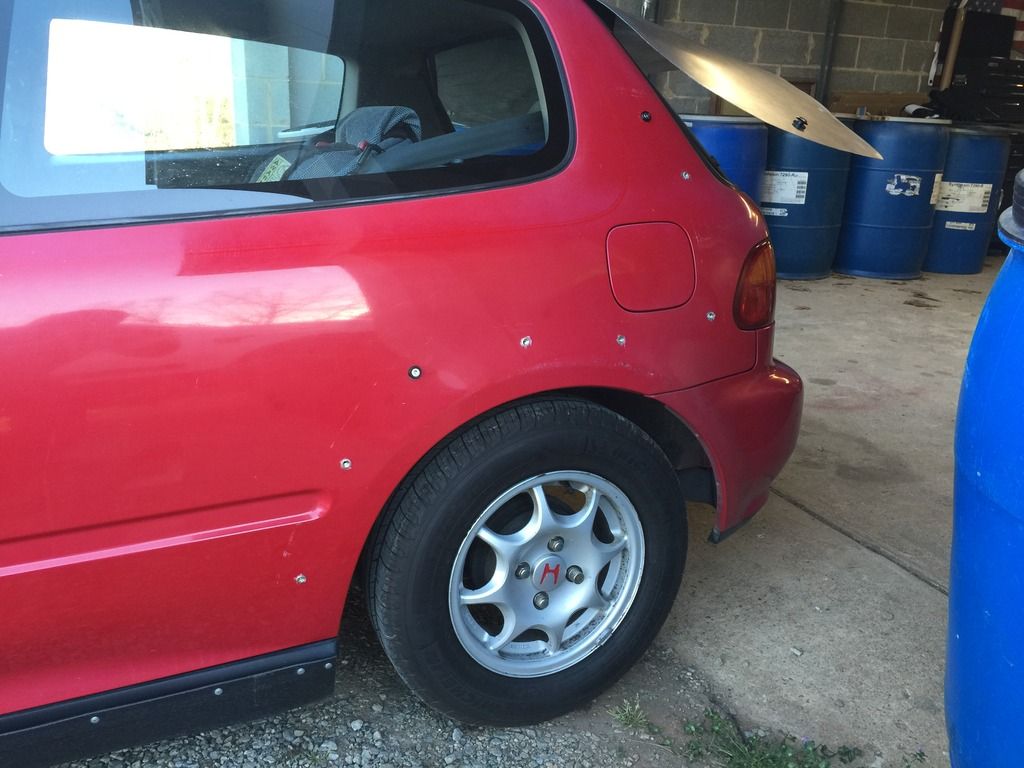
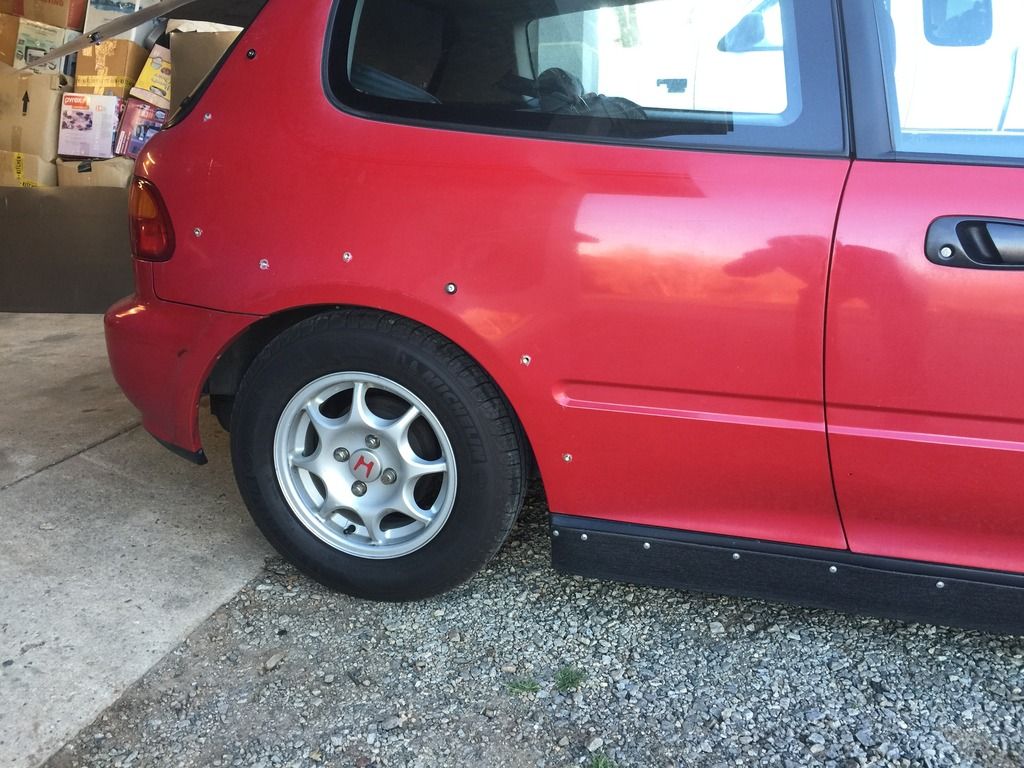
Finishing up this post, here’s the cleaned bra I mentioned in a prior. As you can see, the Civic logo looks as-new.
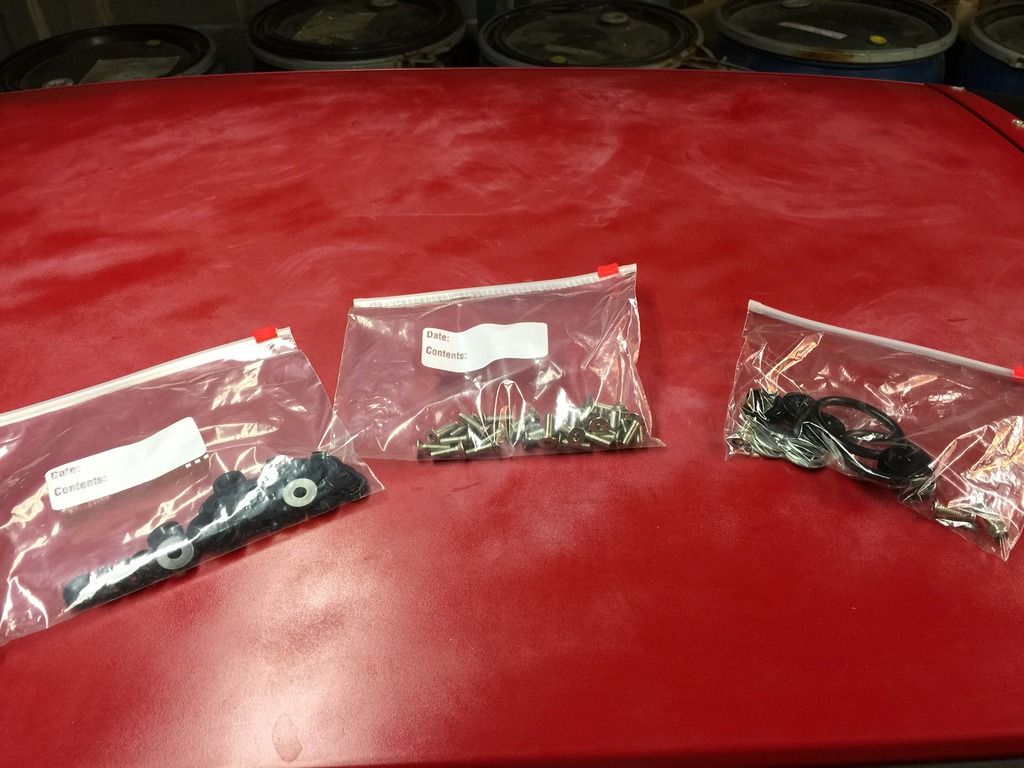
...and how I keep bolts and things organized around the workshop:
Until next time, thank YOU for Eco-Tuning in!
__________________
"Yesterday as I was going in to the shop, I came upon a recently killed Armadillo in the middle of the road with one front leg sticking up. As I passed over him he "High Fived" my air dam. I thought that showed a great attitude on his part." -The Donkey CRX
Last edited by OG VX; 03-27-2015 at 07:35 AM..
|
|
|
|
|
The Following 3 Users Say Thank You to OG VX For This Useful Post:
|
|
|
03-27-2015, 10:05 AM
|
#314 (permalink)
|
|
Administrator
Join Date: Dec 2007
Location: Germantown, WI
Posts: 11,203
Thanks: 2,501
Thanked 2,589 Times in 1,555 Posts
|
Another great update OG VX. Great work!
|
|
|
|
|
The Following User Says Thank You to Daox For This Useful Post:
|
|
|
03-30-2015, 05:34 PM
|
#315 (permalink)
|
|
JDM hypeR mileR
Join Date: Aug 2014
Location: Mooresville, NC
Posts: 418
Thanks: 475
Thanked 418 Times in 198 Posts
|
Update 3/30/2015- Rear-End Aero Continued
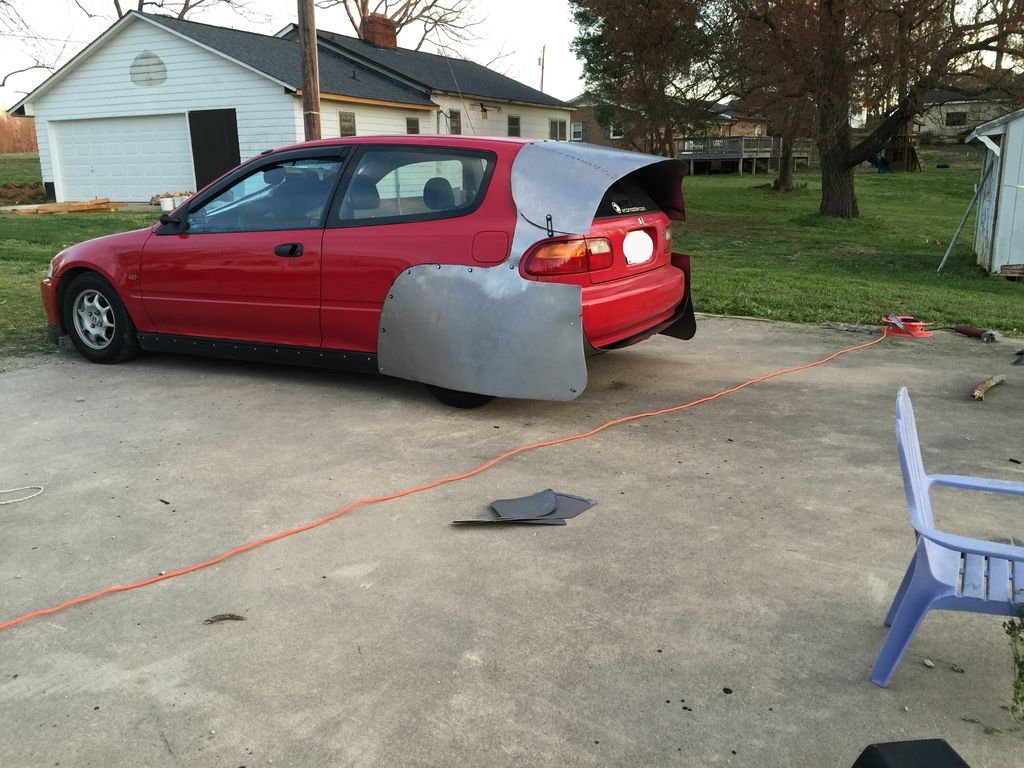
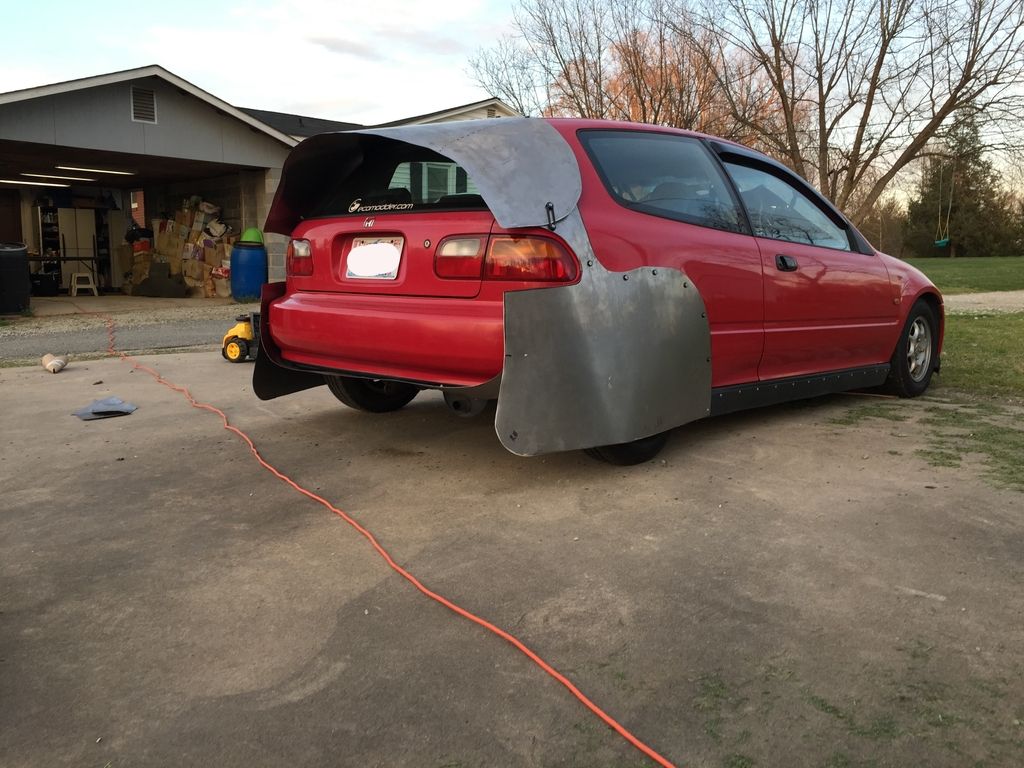
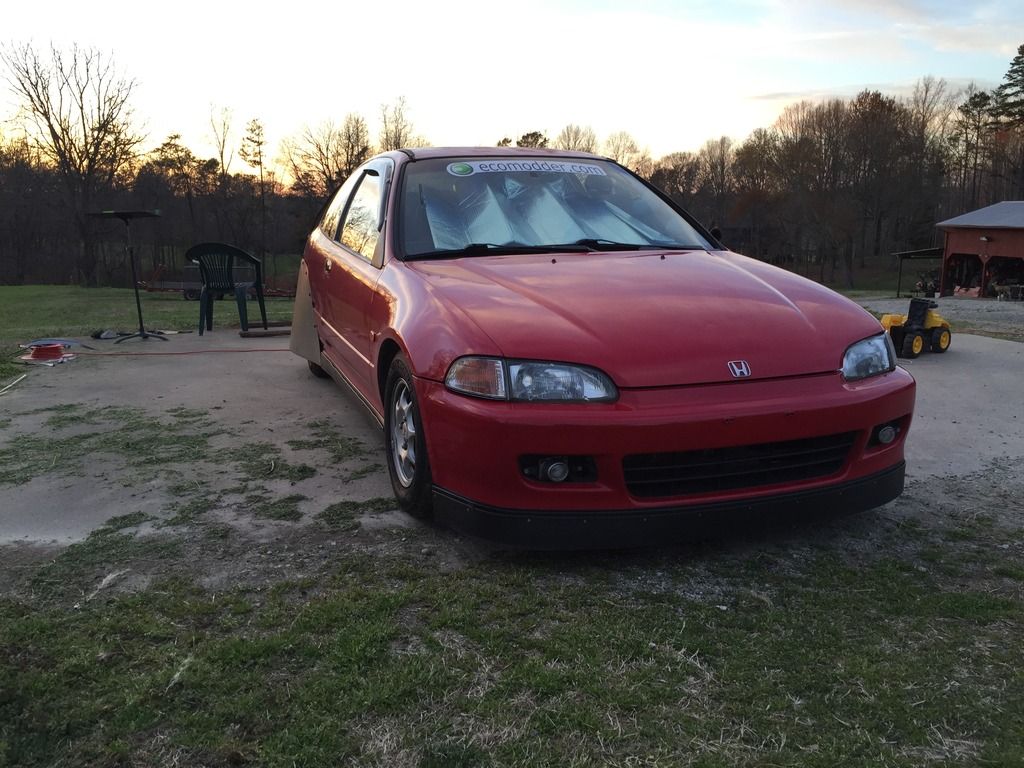
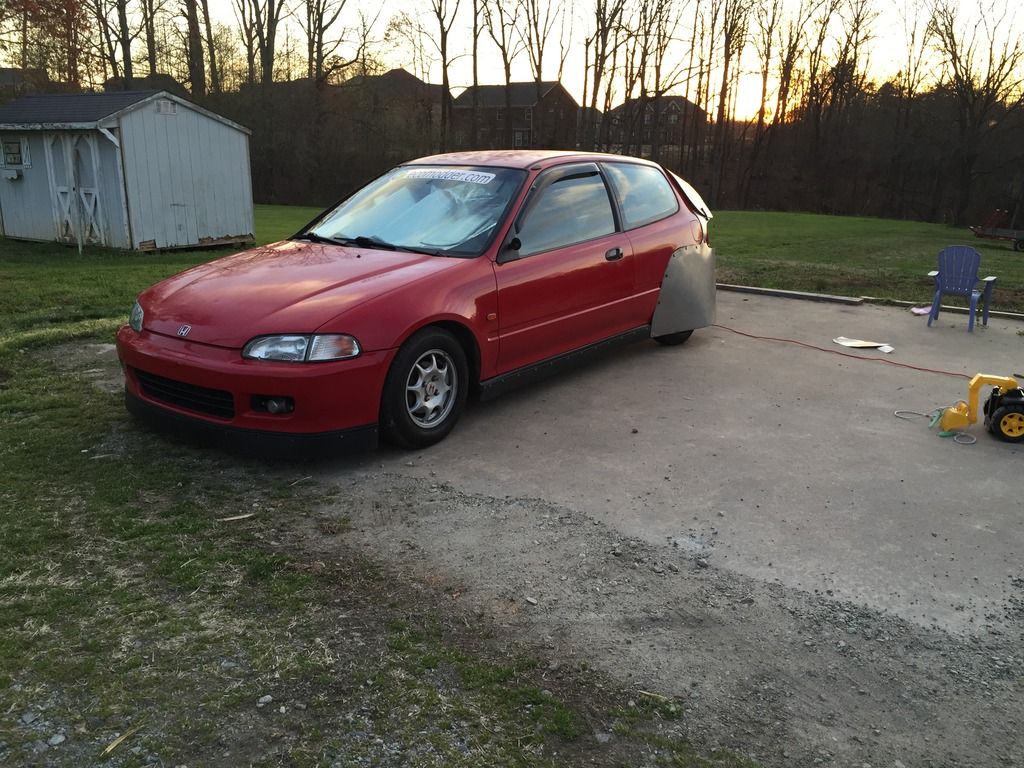
Hello all, busy weekend. I did get a lot done on the project though. The “fab” work is now done on the rear end. Still some small adjustments in fitment are needed here and there, all of which will now be done with the pieces off of the car, just before final prep and paint begins. Please let me know what your thoughts are about the aerodynamics and flow of the final design. I really want/need feedback on this.
Pics and Process from this weekend:
I started the weekend by installing all of the rivet nuts.
Once the silicone was dry, I then bolted up all of the panels. As I hoped, the rivet nuts hold everything in place very well. Also, with the natural strength of the 20 gauge sheet metal, everything is very stout. To my surprise, I don’t believe I will need any additional bracing on the underside of the Kammback spoiler, nor on the backside of the wheel skirts. Final road testing will, hopefully, confirm this. If I get some "wobble" at speed, I'll add some bracing where needed.
After bolting the panels up, I then did some more trimming, and added a screw where the wheel skirt meets the side skirts.
Once satisfied with fitment, I drilled holes for and put the “JDM Bumper Fasteners” in place. I believe I will need one more set on each side, towards the front, just to pull the side panels a bit tighter towards the C-pillars.
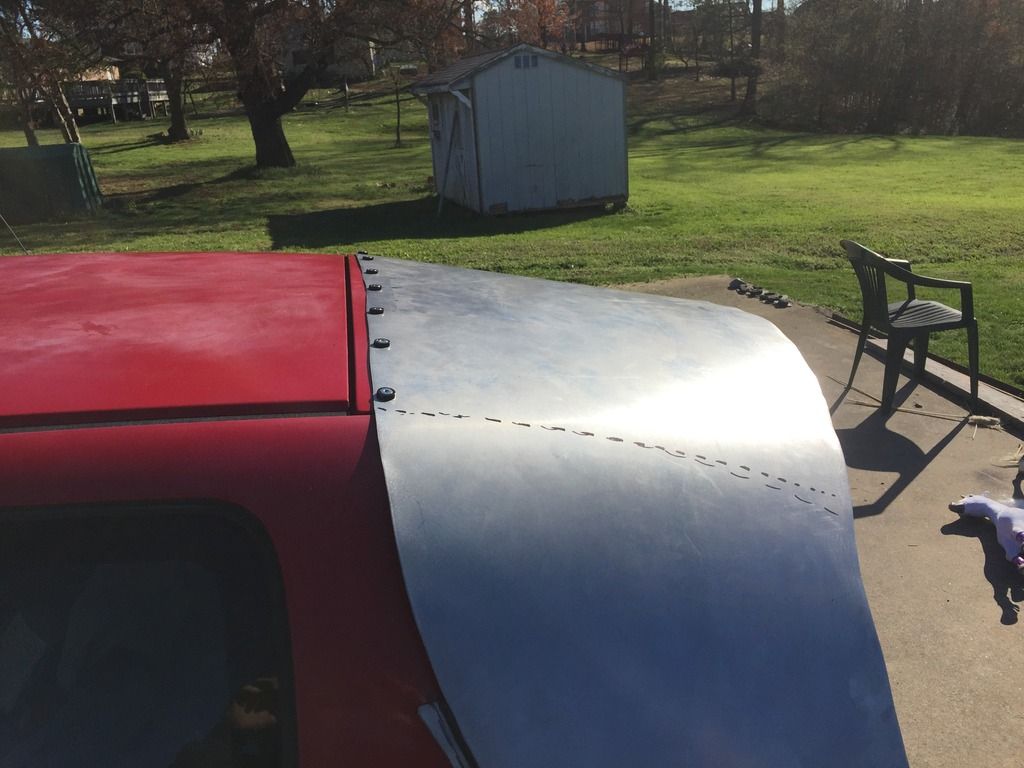
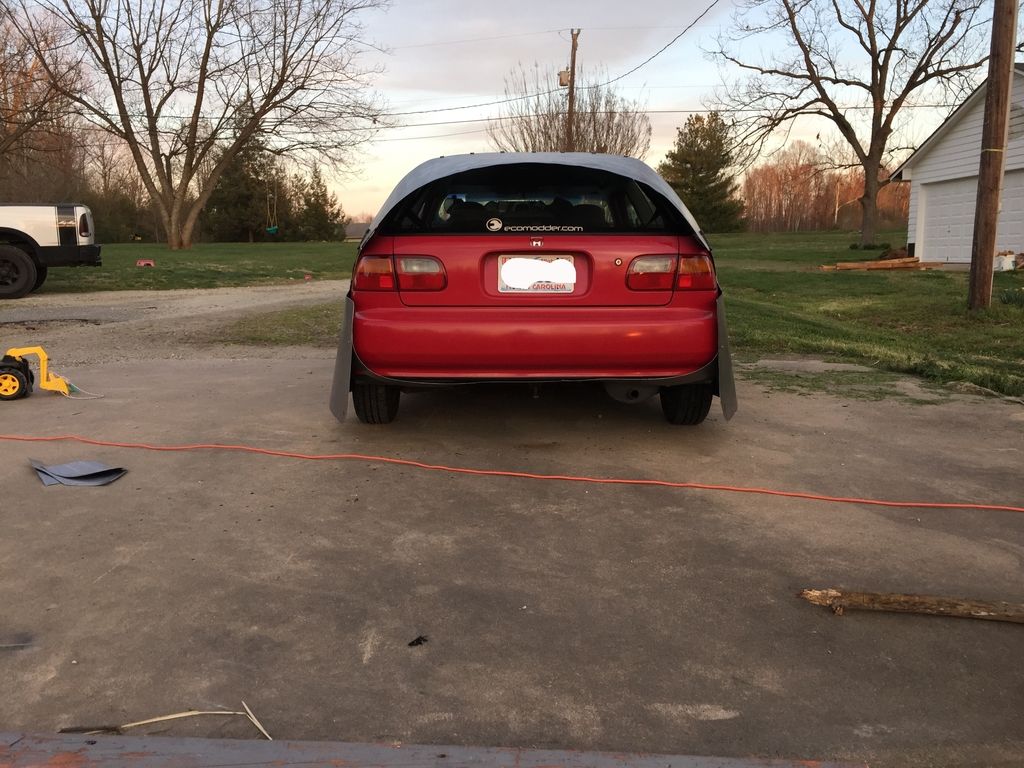
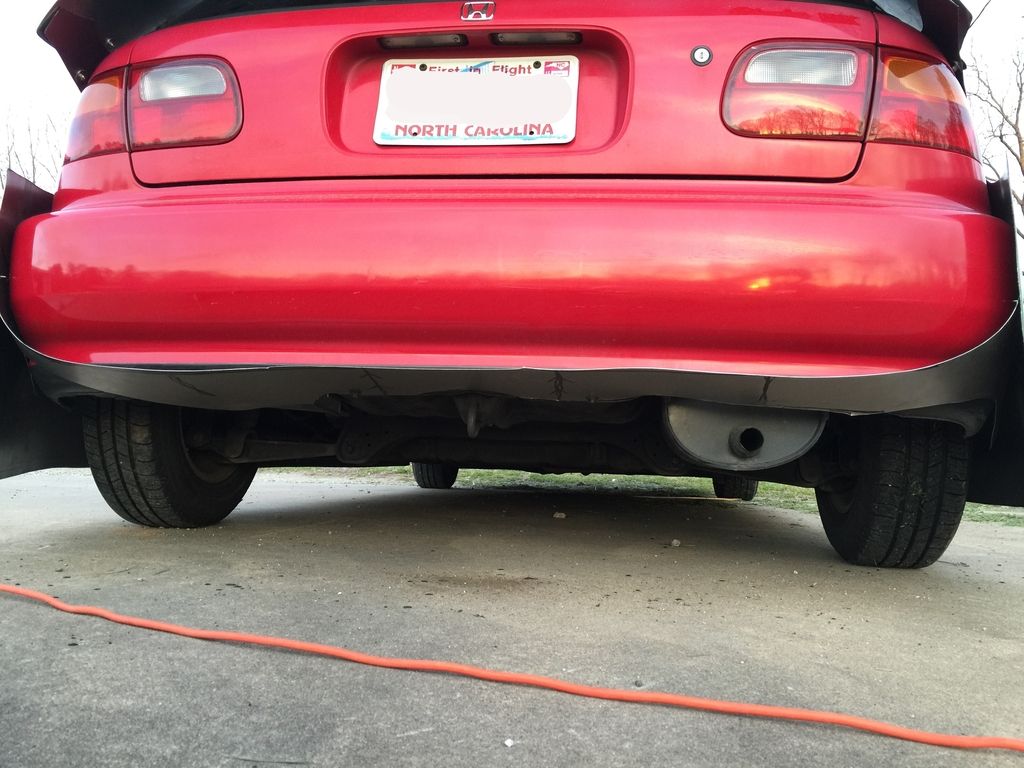
The last task I had in the fabrication process was to make a diffuser for the underside of the rear bumper. It’s primary function is to hold/pull in the side pieces towards the body, and in doing so, give the side panels a bit more stability. The diffuser was built to be held up by the existing OEM bolts that sit underneath the bumper. A few additional screws will be placed through the bumper at final fitment to hug the diffuser more snugly against the lower bumper line. Until then, the fitment is a bit loosey-goosey in these pics, as you can see.
It was a dirty fabrication process, but I got it done the best I could. The diffuser will get painted matte black. Before doing so, I will be fabricating and riveting in 4 “winglets” to the underside of the diffuser panel.
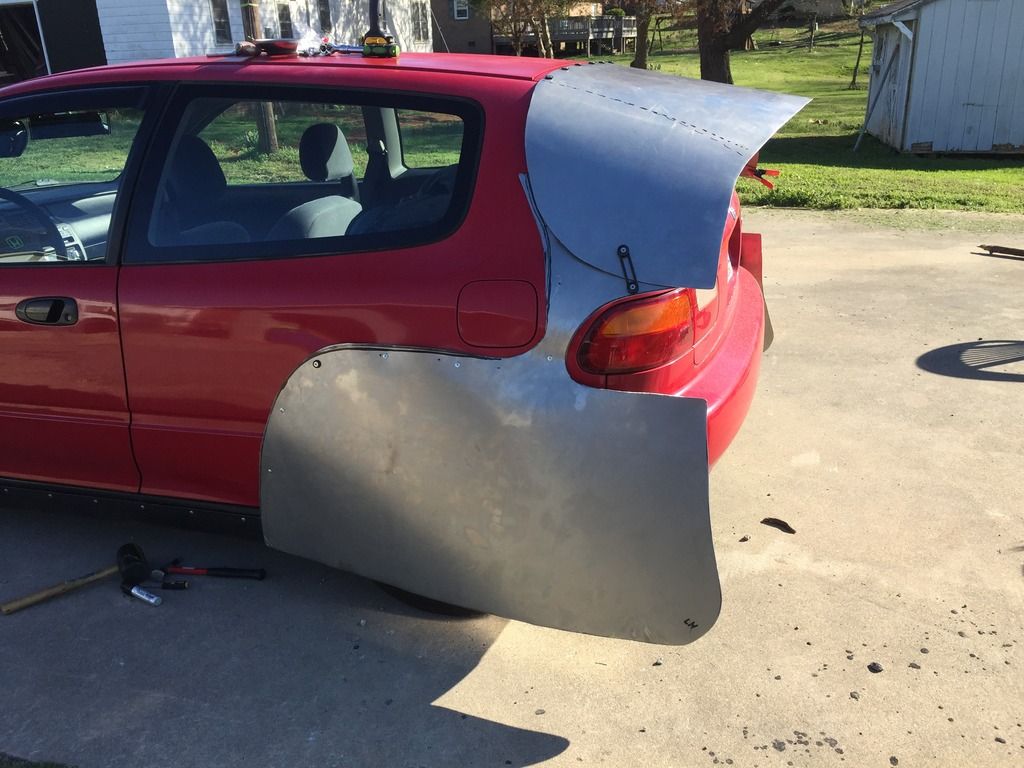
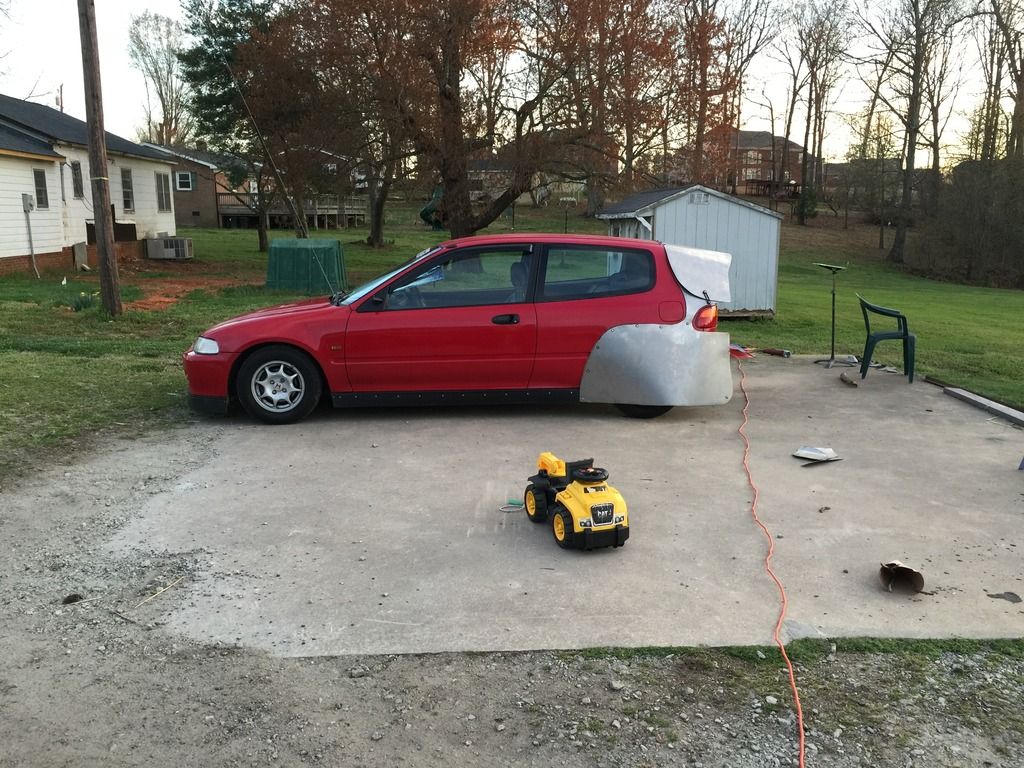
Ok, so here's everything, all together. Still need a bit more work on the diffuser, but things are pretty much where I want them to be.
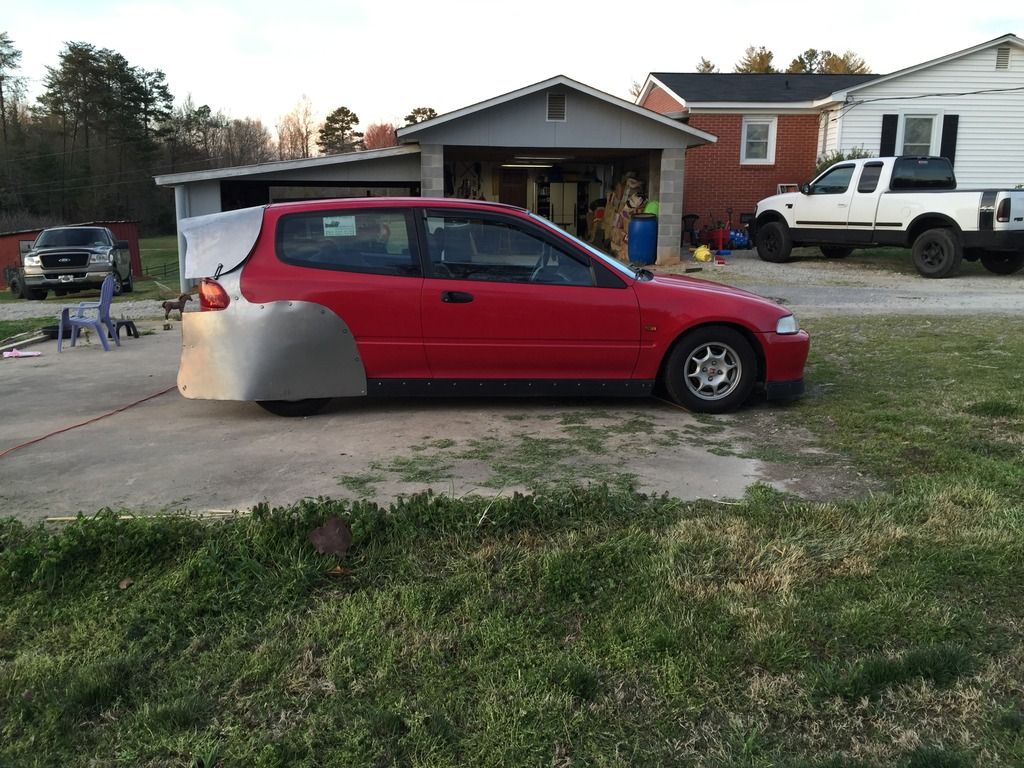

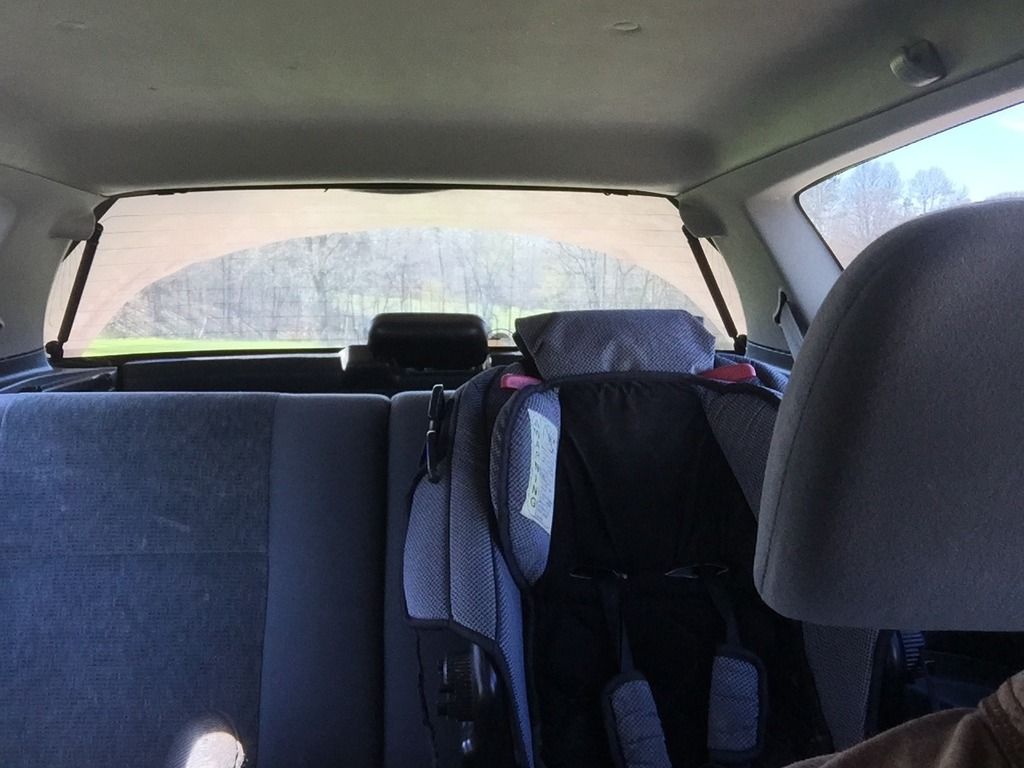
Here's the view from inside the cabin:
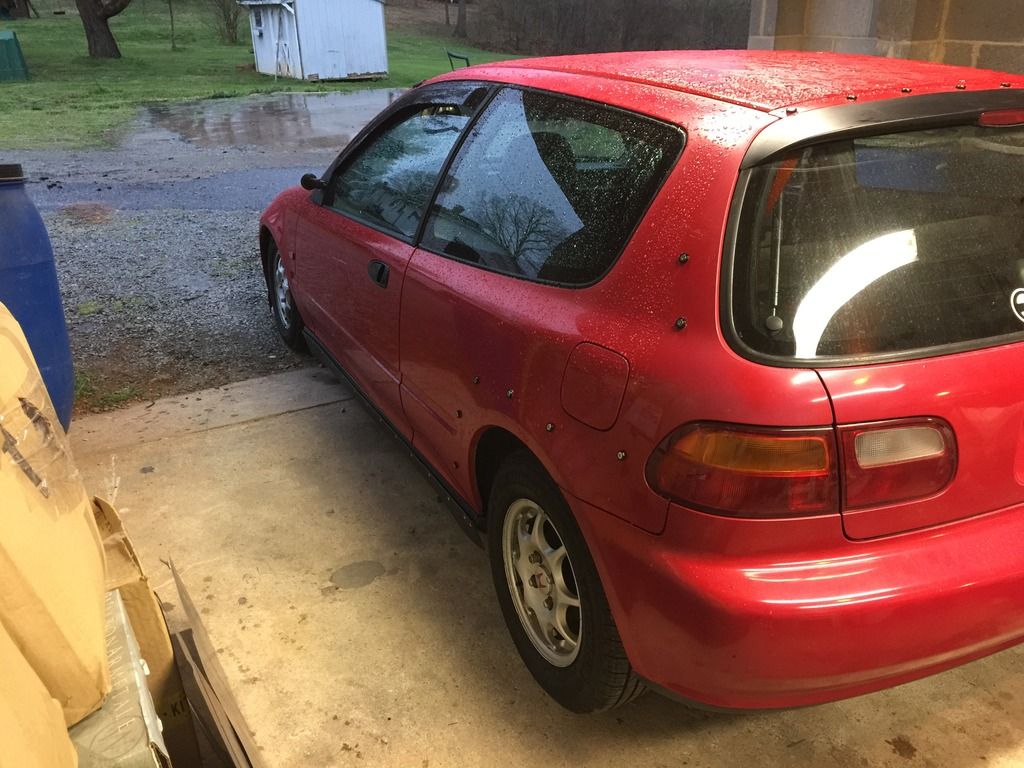
…and everything off for finish work and paint. I bolted up the SS bolts and washers at each nutsert, just to keep water out.
Things are getting really fun! I’ll be back with more progress asap.
Until then, as always, thank YOU for ecoTuning in!
**Please let me know what your thoughts are about the aerodynamics and flow of the final design. I really want/need feedback on this.
__________________
"Yesterday as I was going in to the shop, I came upon a recently killed Armadillo in the middle of the road with one front leg sticking up. As I passed over him he "High Fived" my air dam. I thought that showed a great attitude on his part." -The Donkey CRX
Last edited by OG VX; 03-30-2015 at 06:00 PM..
|
|
|
|
|
The Following 4 Users Say Thank You to OG VX For This Useful Post:
|
|
|
03-30-2015, 07:21 PM
|
#316 (permalink)
|
|
ALL UP ON THE INTERWEB!!!
Join Date: Apr 2014
Location: quad cities illinois/iowa border
Posts: 520
Thanks: 185
Thanked 178 Times in 139 Posts
|
WOW, JUST WOW! Dude, that's sick! Those rubber jdm bumper mounts are cool! Looks great from my house!
Thanks,
Victor
|
|
|
|
|
03-30-2015, 08:39 PM
|
#317 (permalink)
|
|
In Lean Burn Mode
Join Date: Apr 2009
Location: Pacific NW
Posts: 1,573
Thanks: 1,350
Thanked 628 Times in 408 Posts
|
Very Nice Work!!! Can't wait to see some data!!!
__________________
Pressure Gradient Force
The Positive Side of the Number Line

|
|
|
|
|
03-31-2015, 02:05 PM
|
#318 (permalink)
|
|
JDM hypeR mileR
Join Date: Aug 2014
Location: Mooresville, NC
Posts: 418
Thanks: 475
Thanked 418 Times in 198 Posts
|
Thanks fellas! Looking forward to the data too. I've been so into the "thicket" of making this stuff, I nearly forgot it might actually give me some improvements, ha.
I've got a three-day weekend coming up, so hopefully I can start some paint work
__________________
"Yesterday as I was going in to the shop, I came upon a recently killed Armadillo in the middle of the road with one front leg sticking up. As I passed over him he "High Fived" my air dam. I thought that showed a great attitude on his part." -The Donkey CRX
|
|
|
|
|
04-06-2015, 01:43 PM
|
#319 (permalink)
|
|
JDM hypeR mileR
Join Date: Aug 2014
Location: Mooresville, NC
Posts: 418
Thanks: 475
Thanked 418 Times in 198 Posts
|
Update 4/6/2015: LED Lighting Conversion + Hood Wiper Diffuser + Rear-End Metal Fab Complete
Hello all. I had a productive weekend on the build. The title is pretty self explanatory.
My LED lighting came in last week. To start, I went ahead and removed the headlights. Boy, that was a JOY on the EG (not). I had planned for about 10 mins tops to complete this, seemingly simple, task. Ending up spending about 45 minutes to remove the tails. What a surprise this was, on an otherwise ridiculously-easy car to wrench on.
To remove the tails on a 92-95 Civic, you ONLY need the following...
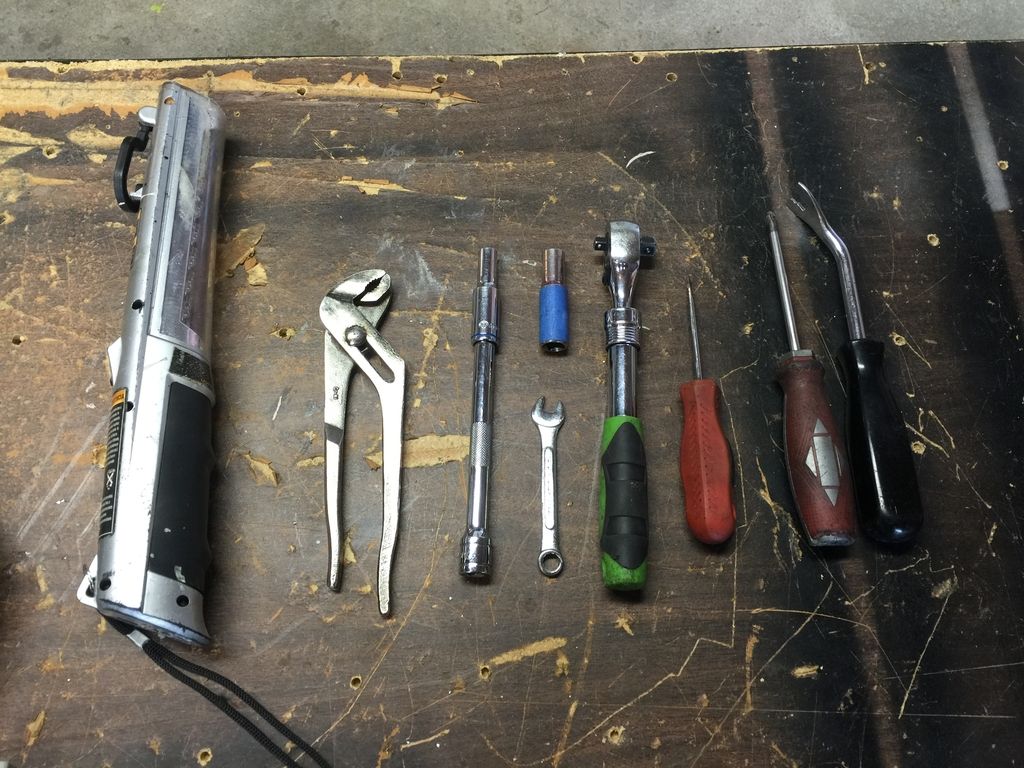
Anyway, once those were off. I cleaned the taillight cavitys on the chassis. I also cleaned the backsides of the tails, and sprayed a mix of water/degreaser into the inside of the tails, rinsing them out thoroughly, and let them dry in the sun for the rest of the day to de-condensate. Prior to reinstalling, all the lights got a good cut and polish with the pictured products.
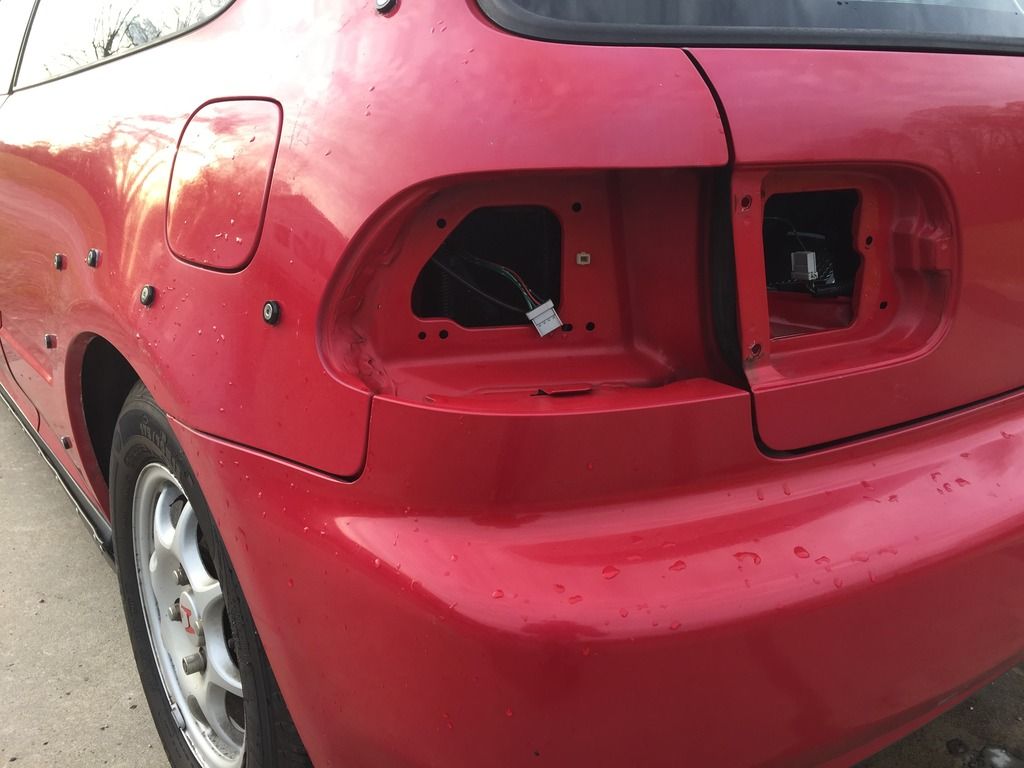
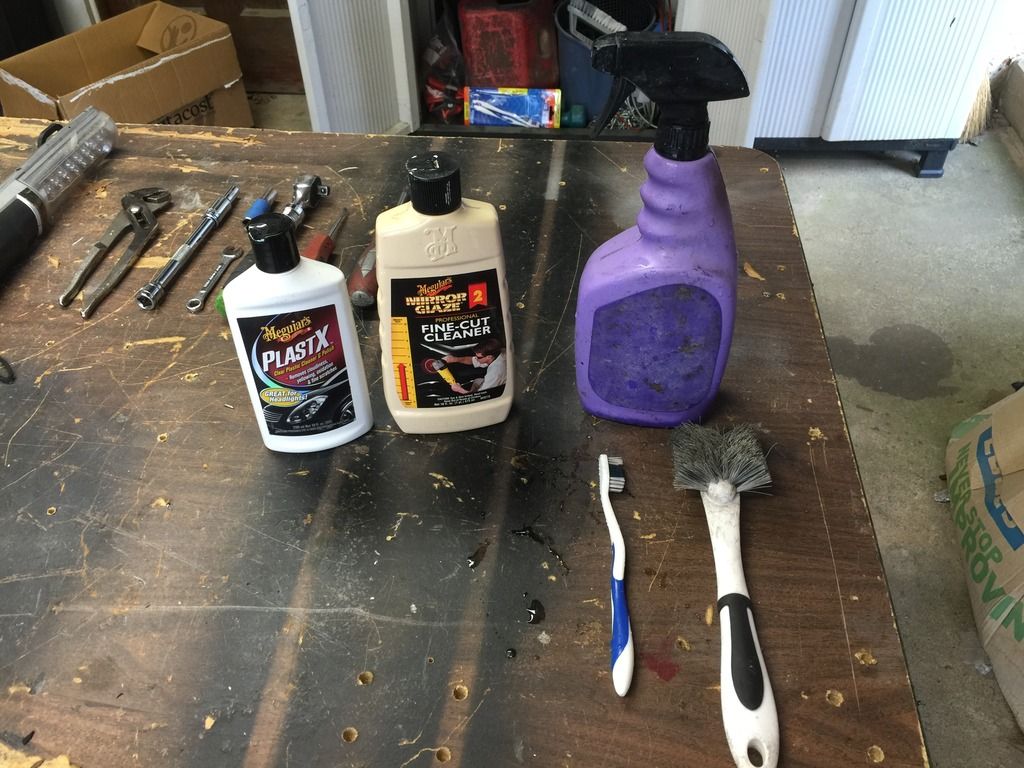
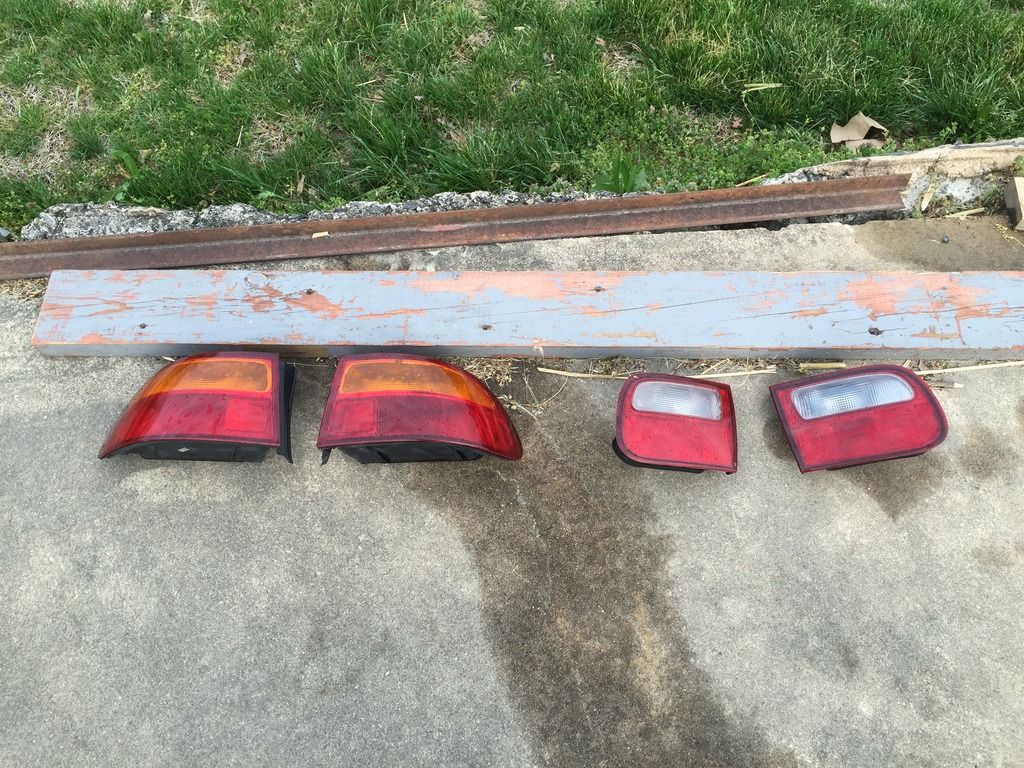
The aftermath:
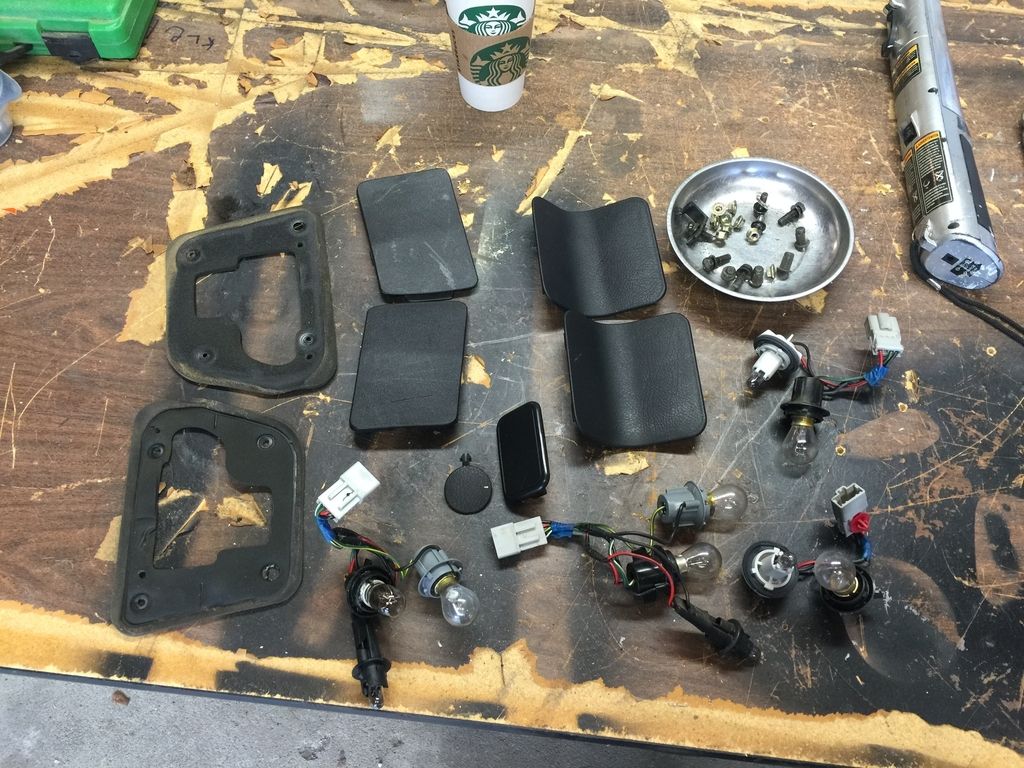
While the tails were drying, I got to work installing the new LED bulbs onto the bulb harnesses, and checking them for proper operation. Everything works great, but I need to order some red T10 bulbs. I, somehow, got amber instead. I also need to make sure I get the most high-power T10 LEDs as possible. Standard cheap T10 LEDs dont appear to be high enough power to serve duty as (visible) running lights inside the tail housings. Ill update here with my findings.

Heres the fog light LED bulb replacements.
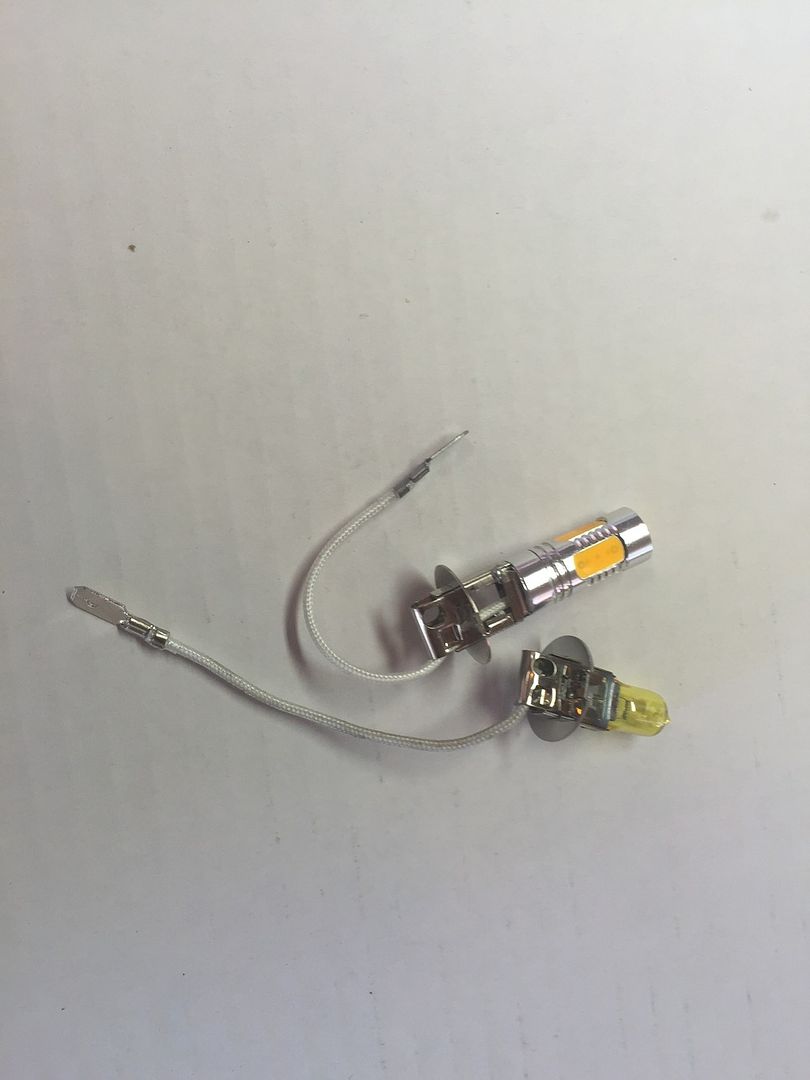
One of my Nokya Hyper Yellow bulbs burnt out, after only 5 months of use. Those Nokya bulbs also used a great amount of power. These new LED bulbs operate on extremely low voltage. They also perform as such, emitting about half the light as the Nokyas. But, thats fine with me. This is a (primarily) day-driven vehicle, and I mainly use the fogs to get more of peoples attention on the roadways (to keep me more visible/safe) in the morning. With the old Nokya bulbs, my idle would fluctuate about 150-200 rpm when I turned my fogs on, due to the voltage load from the old halogen bulbs. Now, with these LED bulbs installed, turning the fog lights on does not change the rpm idle at all. So, so far, appears that in terms of lowering my output voltage, the LED install this weekend was a win!
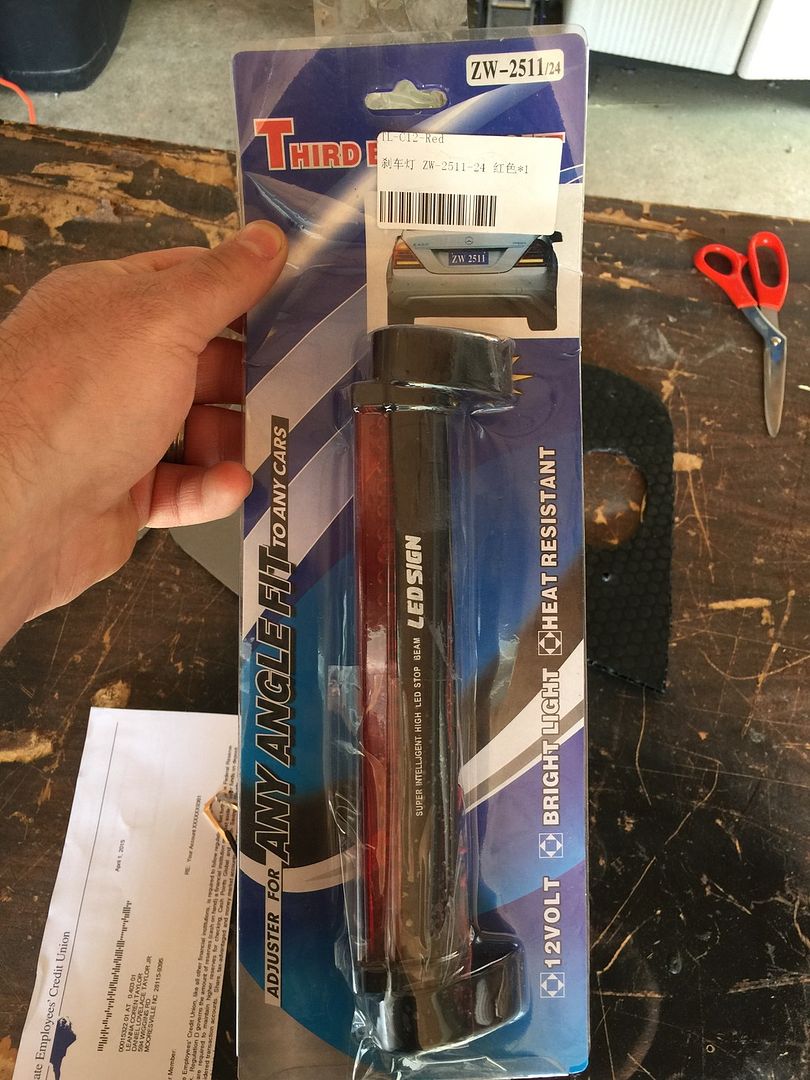
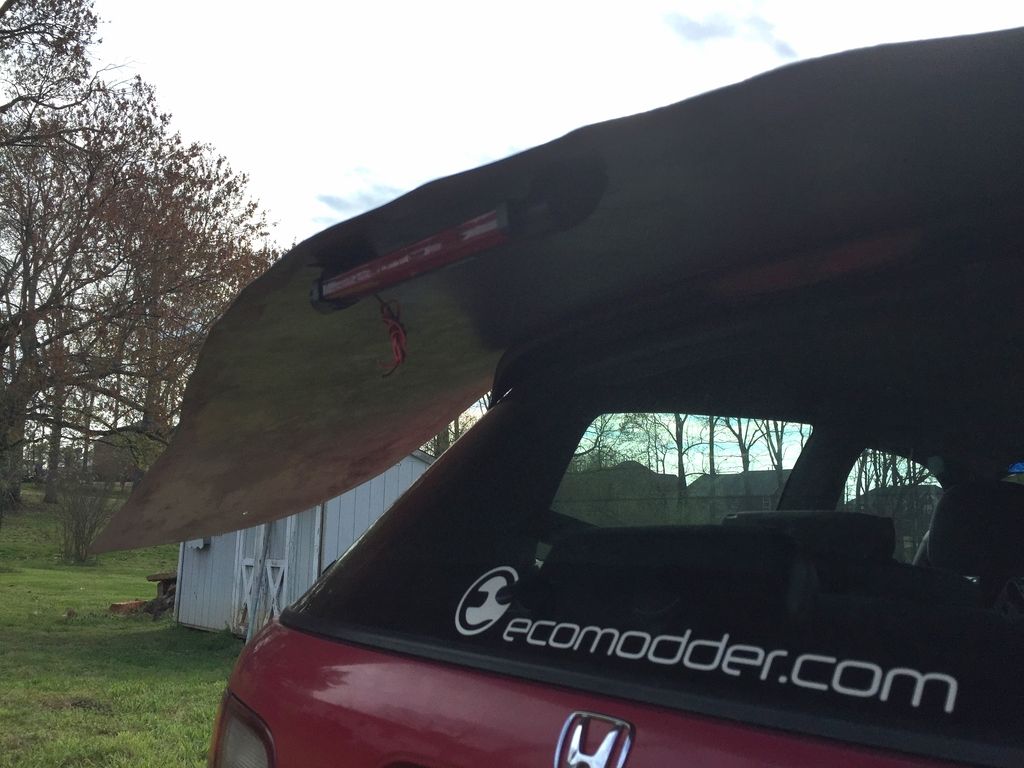
I also installed a LED third brake light that I got off of Ebay. Its got great fitment. I think its the perfect size and height for my application.
All exterior bulbs are now swapped to LED, sans the 1156 front corner light bulbs. I have 1157 amber replacements on the way for them. Aside from those, the only other non-LED bulbs on the car are within the gauge cluster. Maybe one day I will swap these out to LEDs also.
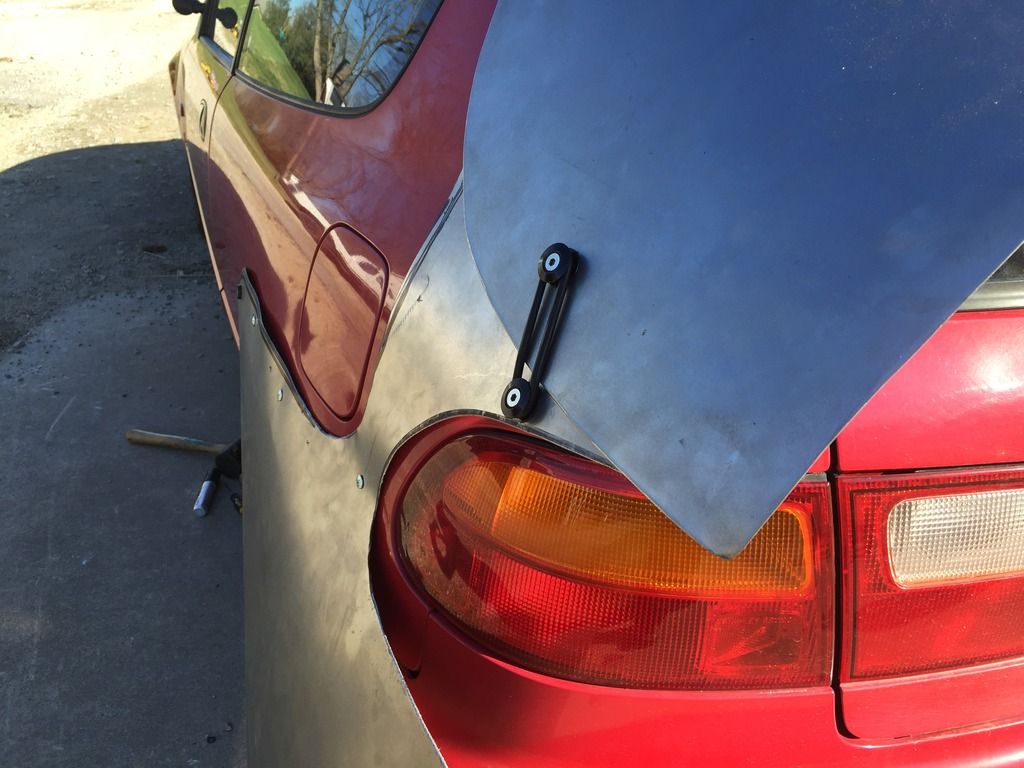
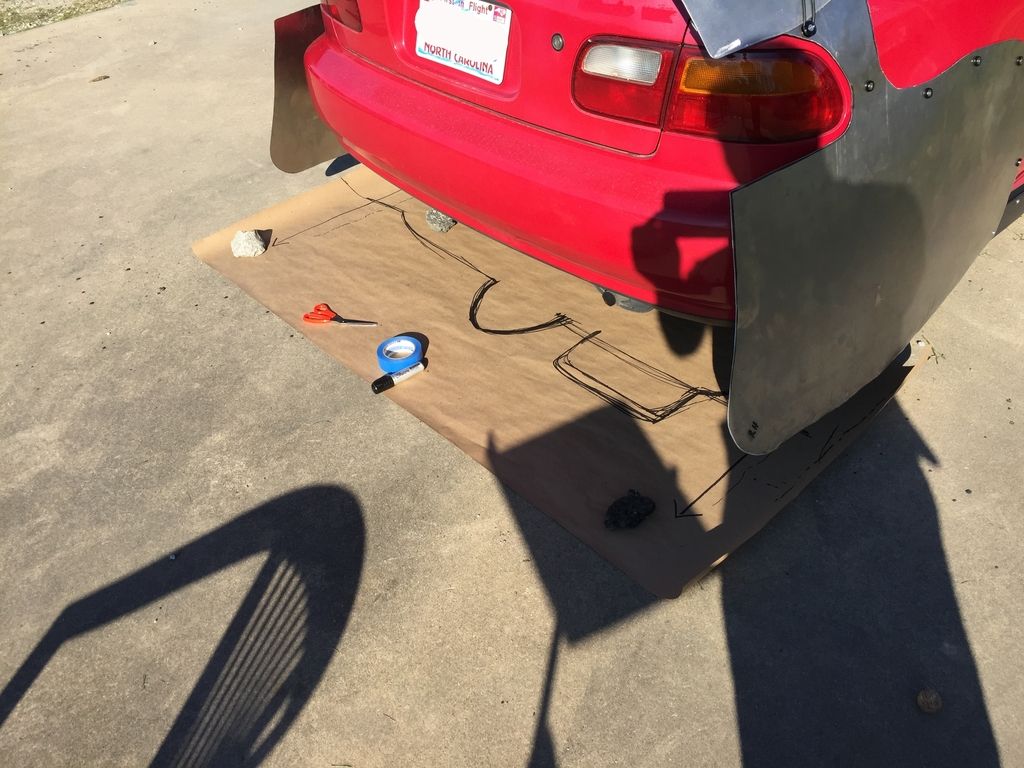
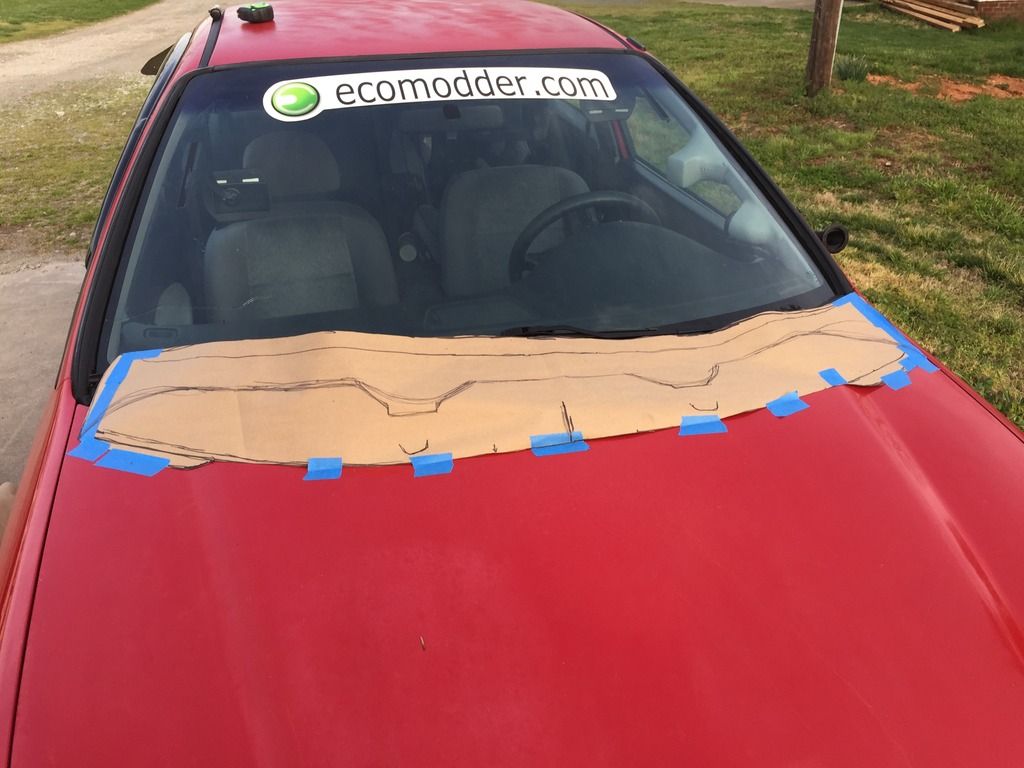
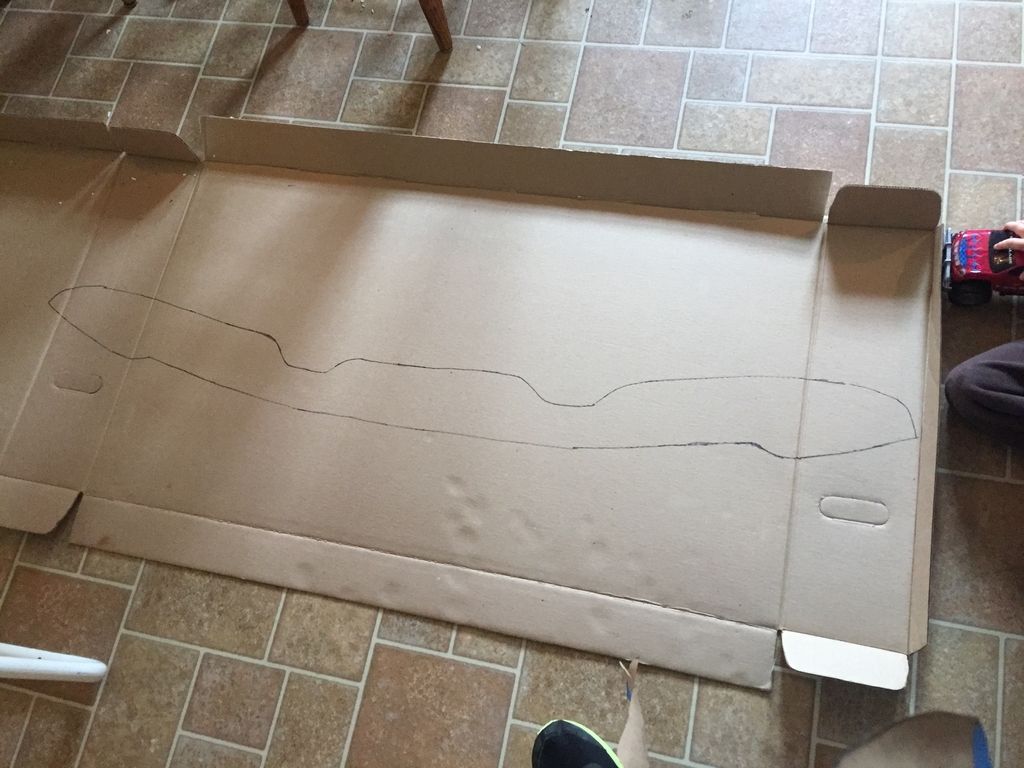
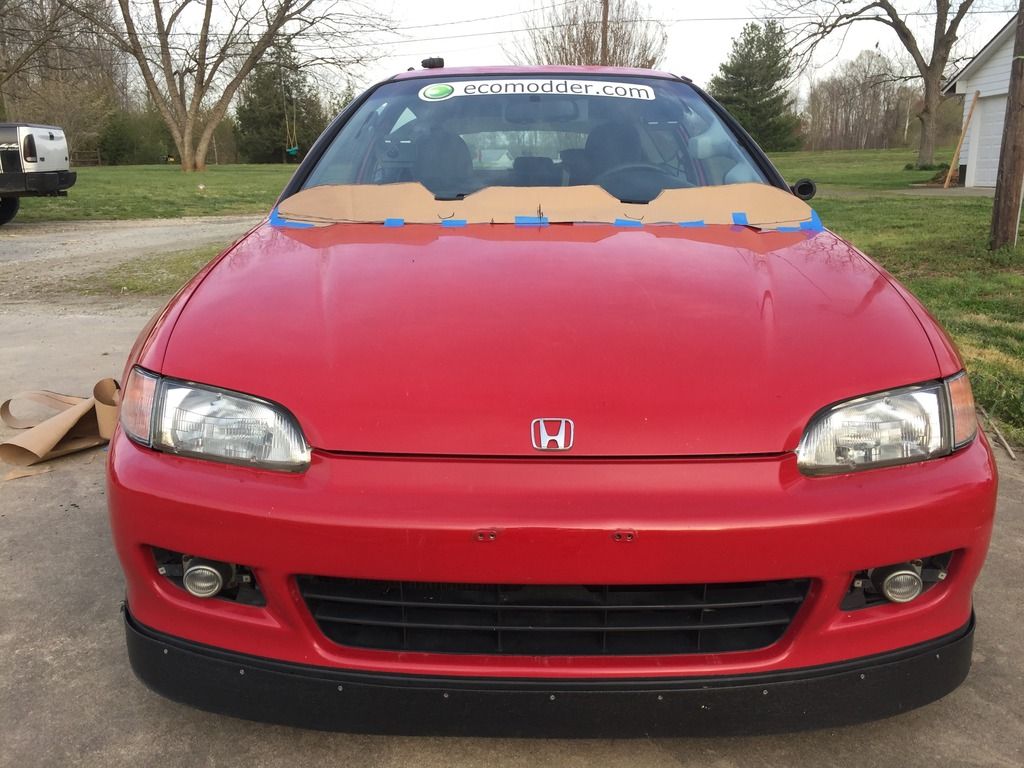
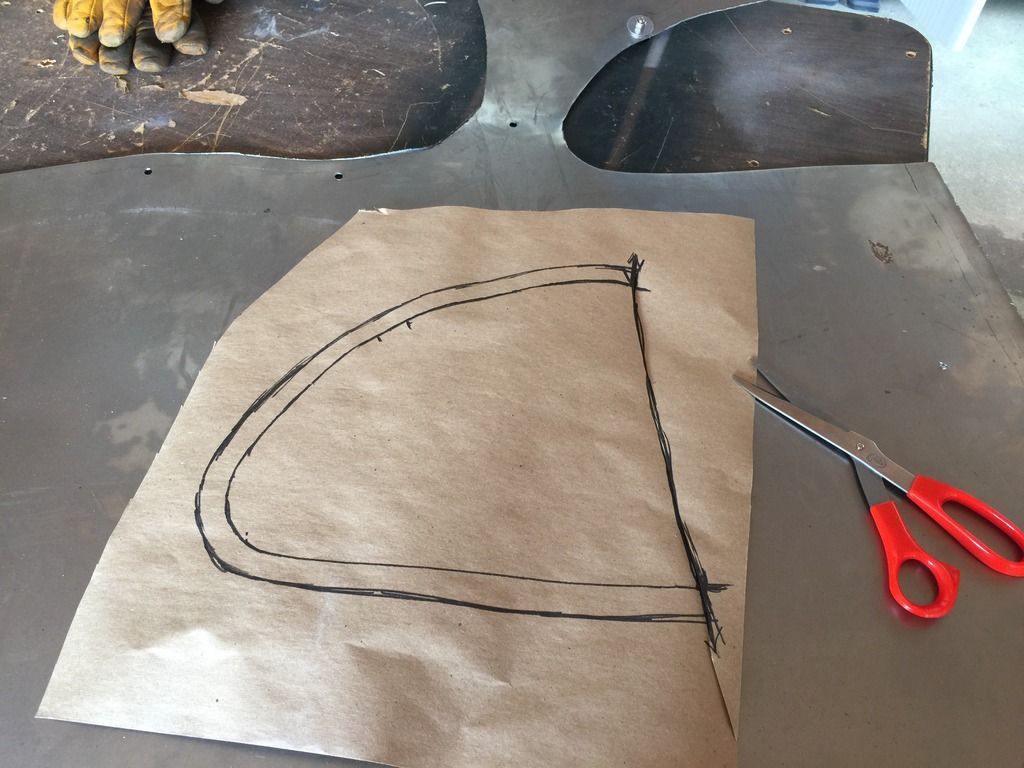
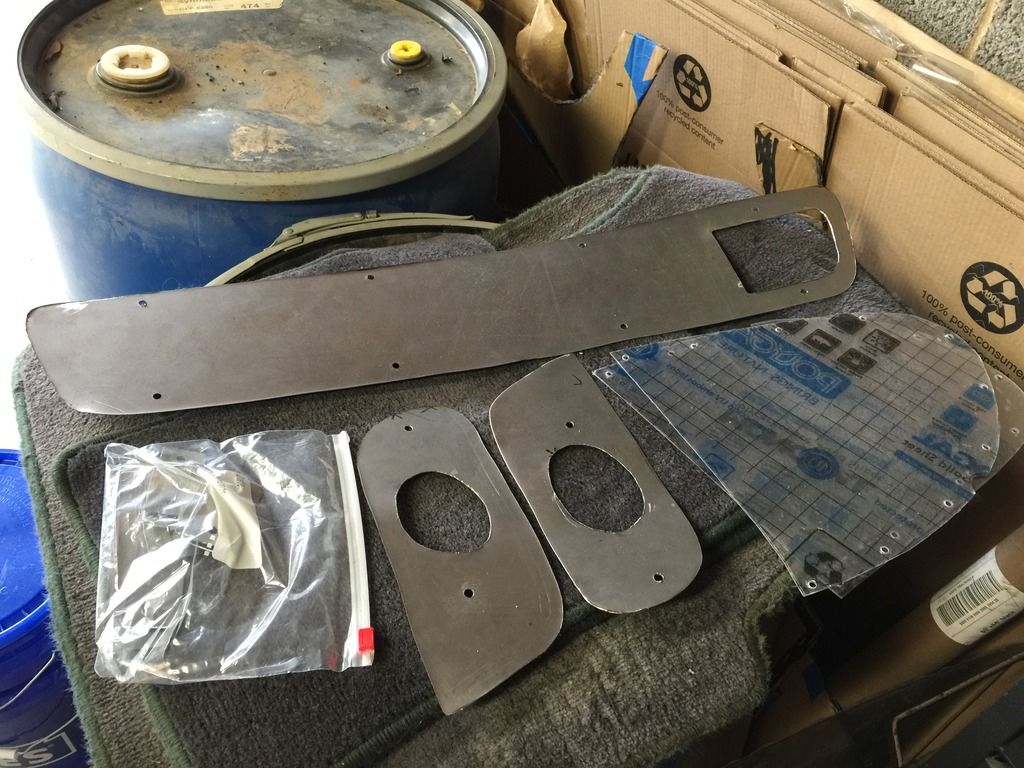
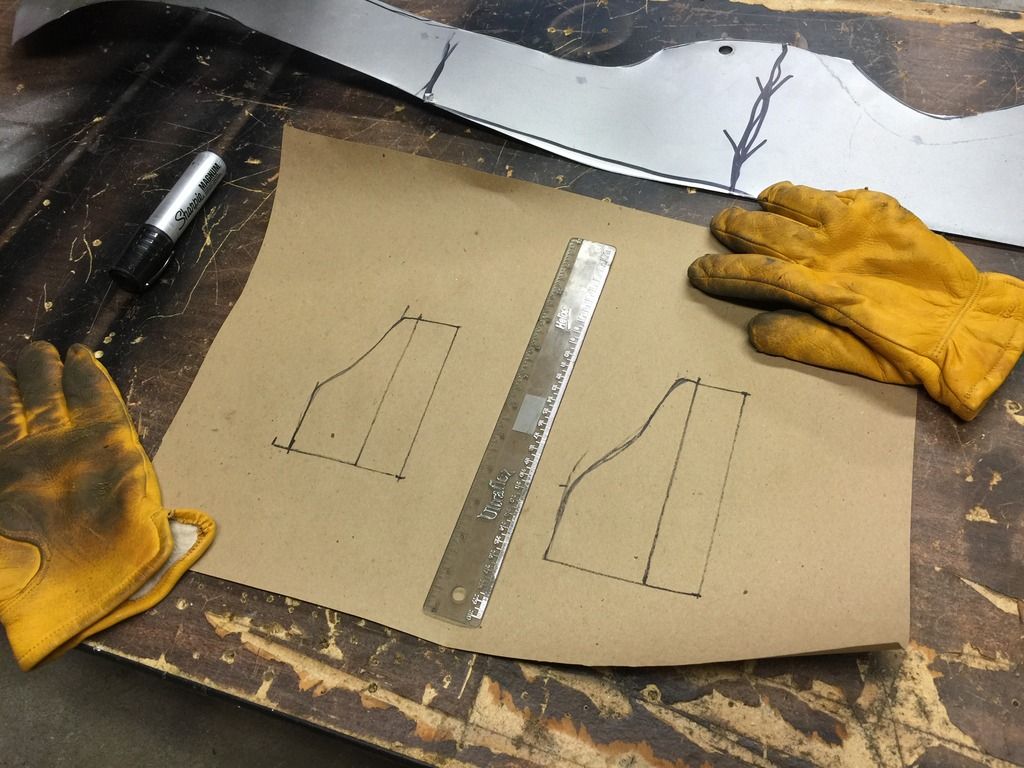
After the bulbs were swapped out, I set my sights on completing the metal fab work for the remaining aero pieces. I decided to build a wiper diffuser to sit on the hood, since I had so much metal laying around, and it seemed like a fun and useful idea. The drafting process evolved as I went along. Originally, as you can see, I had the diffuser sitting in front of the wiper squirters. However, once fabbed up, I felt it sat too far forward, and would have likely rendered pointless at actually diverting air away from the wipers. It also didnt flow well with the line/angle of the windshield. So, I moved it backward about 7 inches, and put it behind the wiper squirters. I added dips in the top line to allot space for the wiper squirters to still spray past it. I also fabbed up some brackets. It will attach the diffuser to the hood using the same SS bolts/washers and nutserts combo Ive used for the rest of the aero parts on the rear-end. Finish will include black trim paint. The front of the diffuser will then be covered in CF vinyl, then finished off with an Eco-Modder decal in the center.
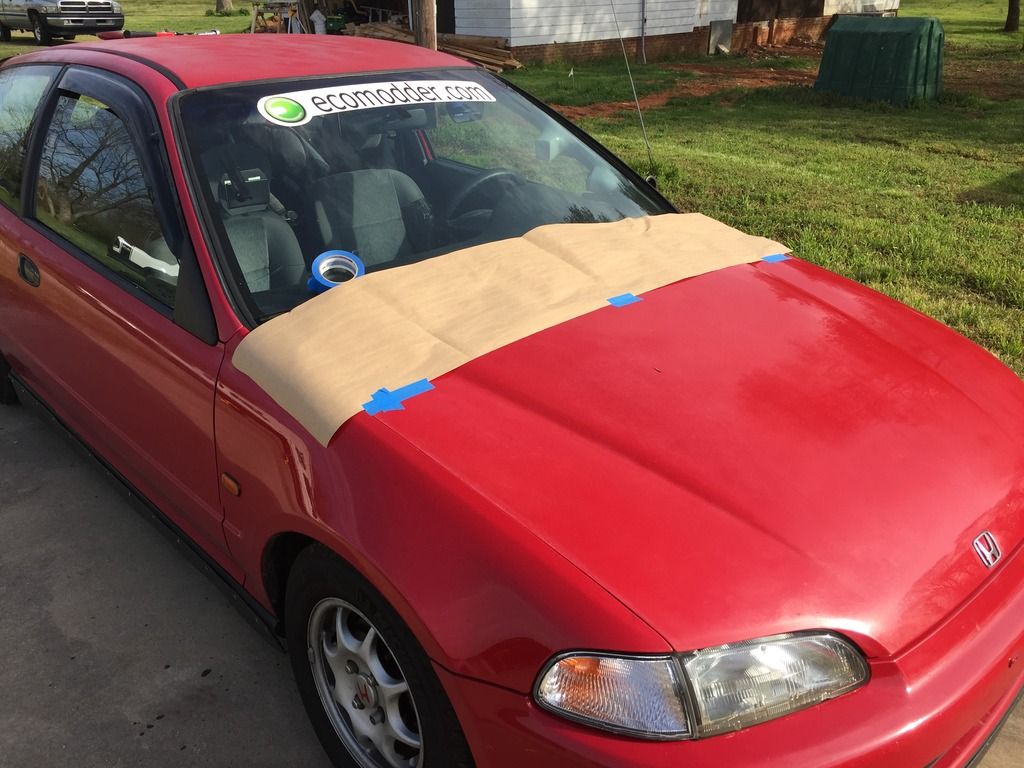
 Version #1 (In front of the squirters):
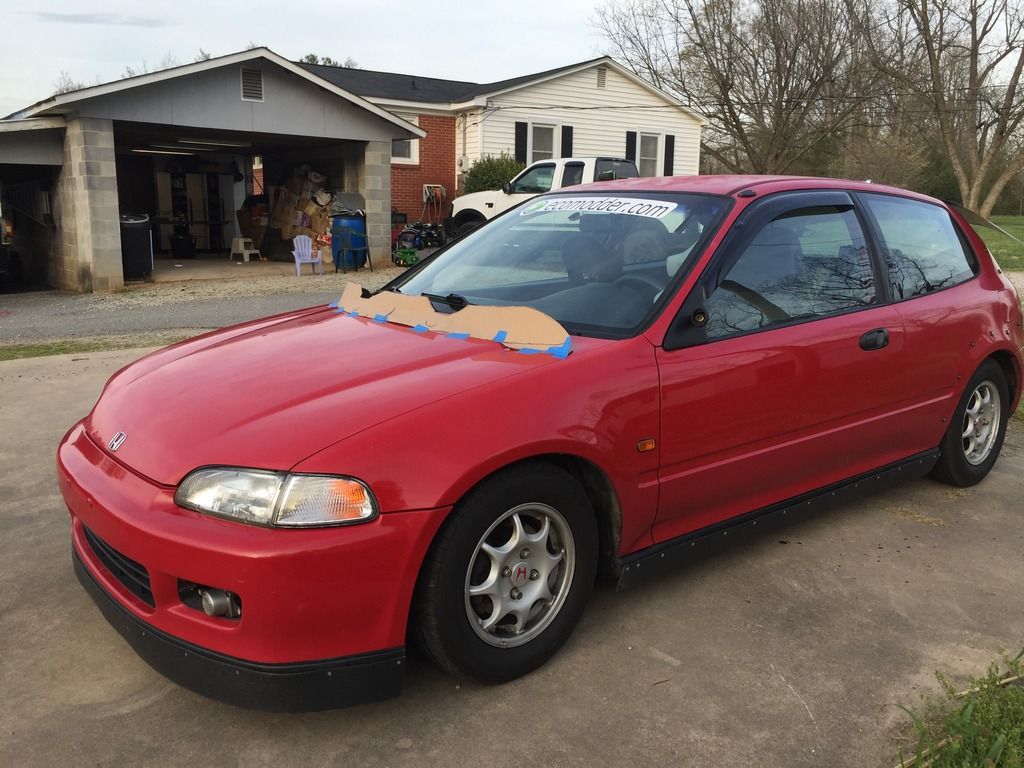
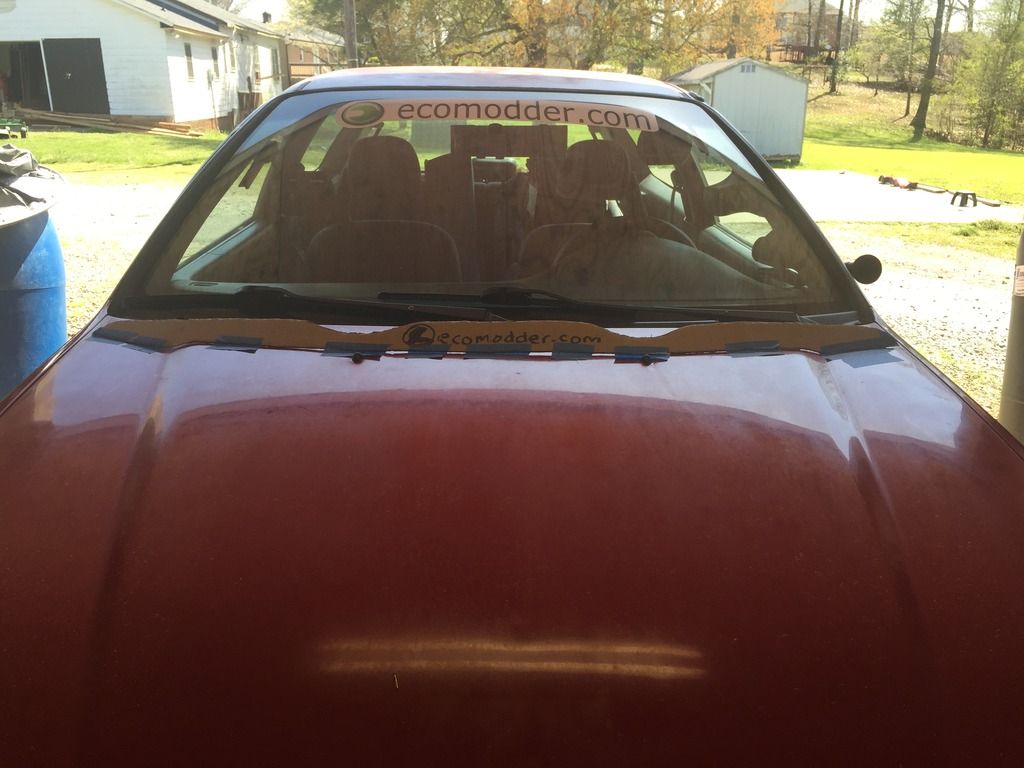
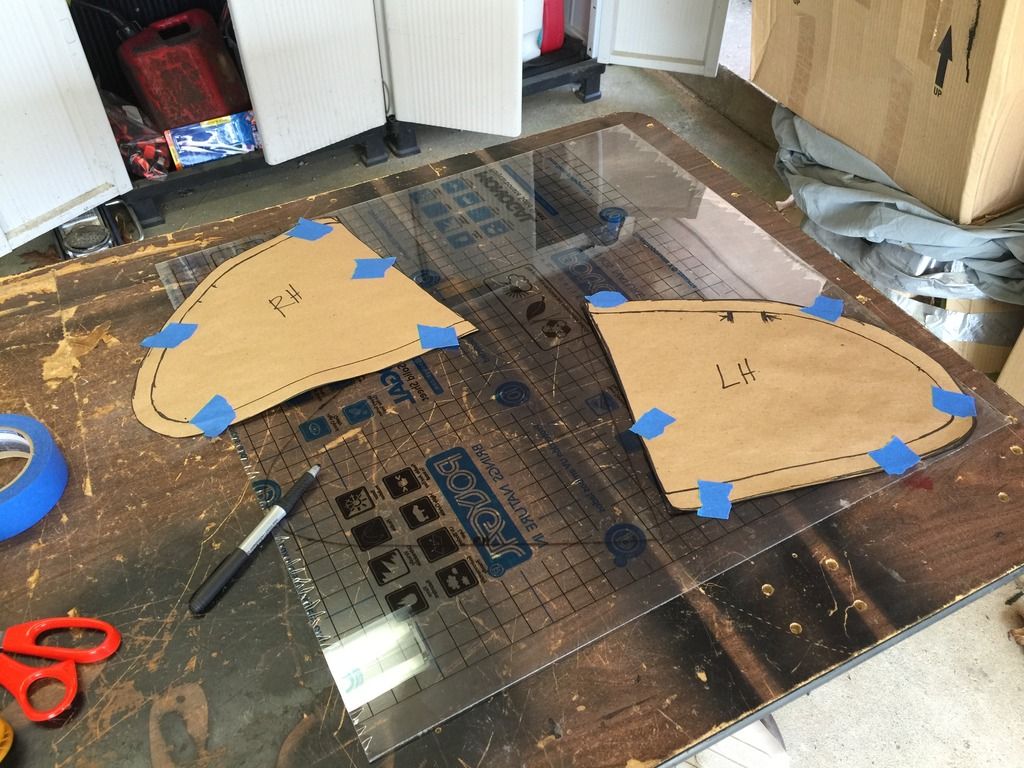
 Version #2- Final Version (Behind the squirters):
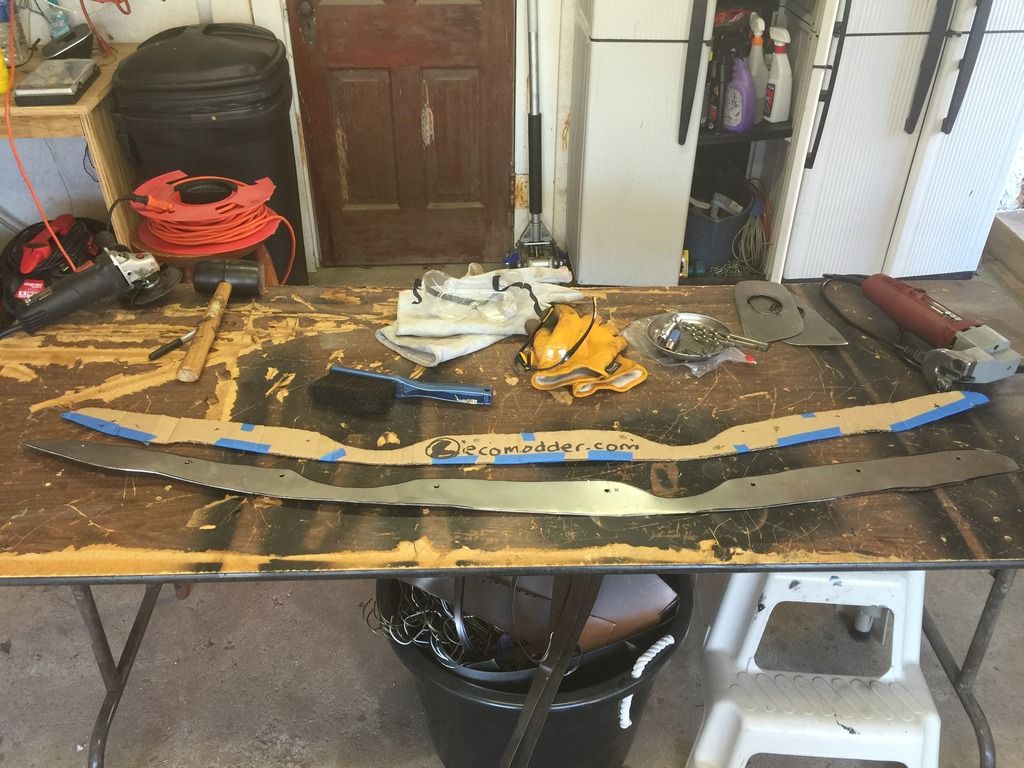
Heres the brackets getting made for the wiper diffuser. I made these out of a thicker (18 gauge) steel.
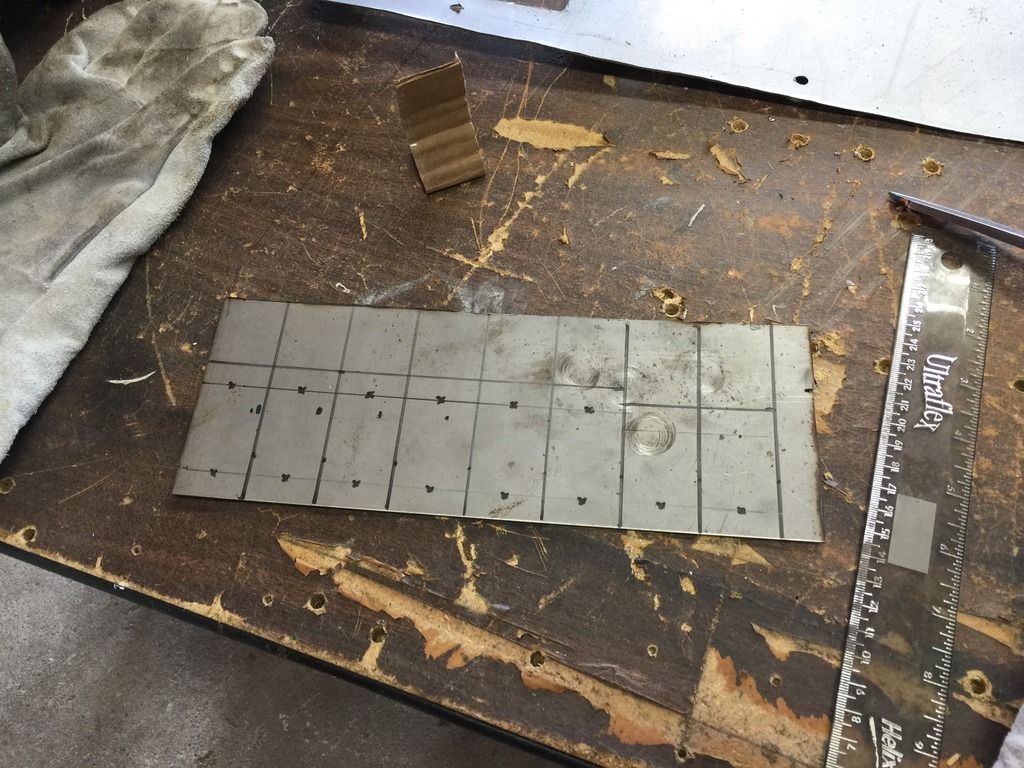
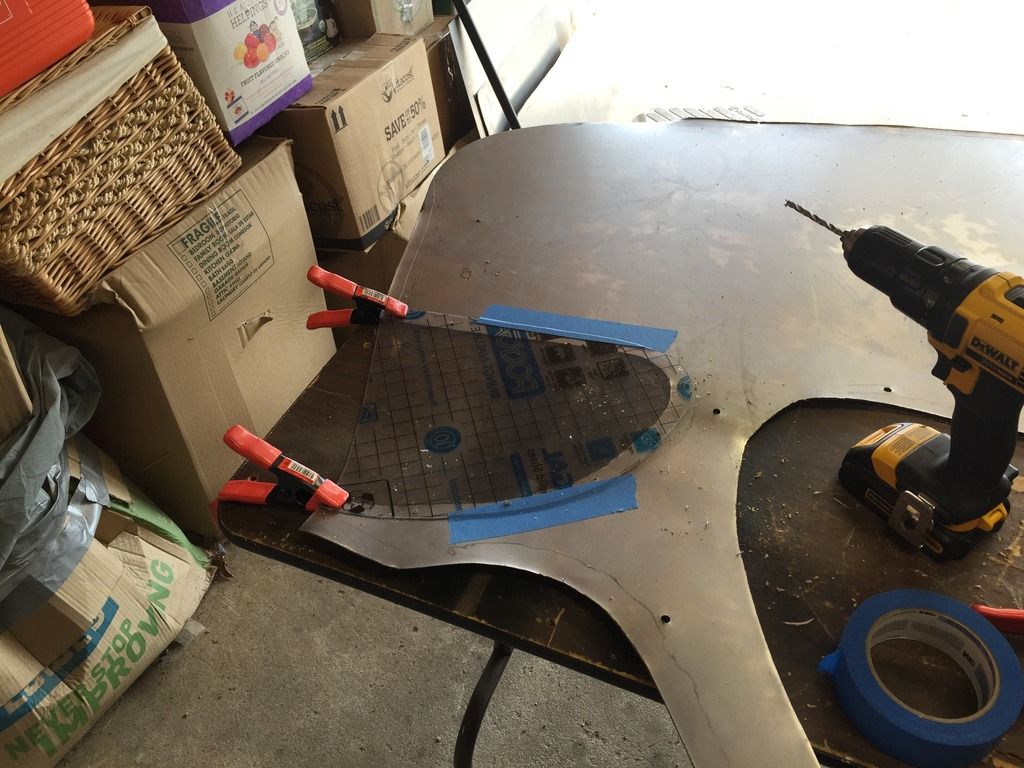
Next, I also measured, cut, and drilled out the plexiglass covers for the tail light recessions on the rear side panels. They will be riveted on, with bead of black silicone added to the backside, after paint is complete.
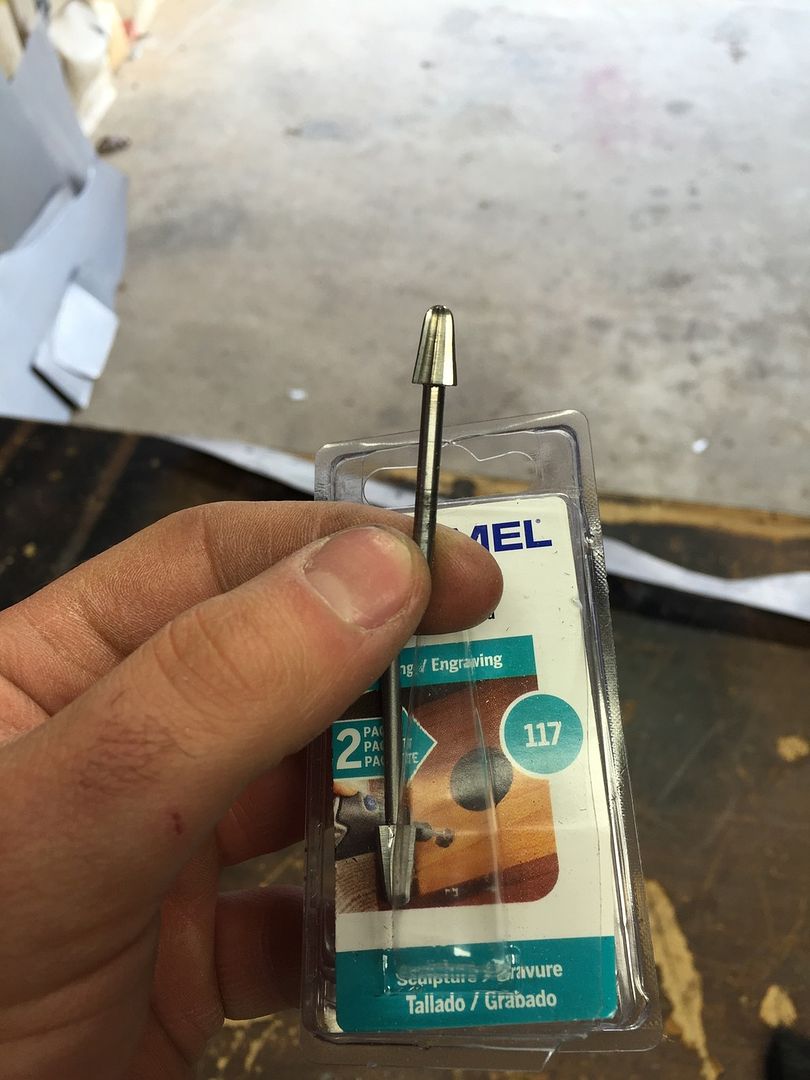
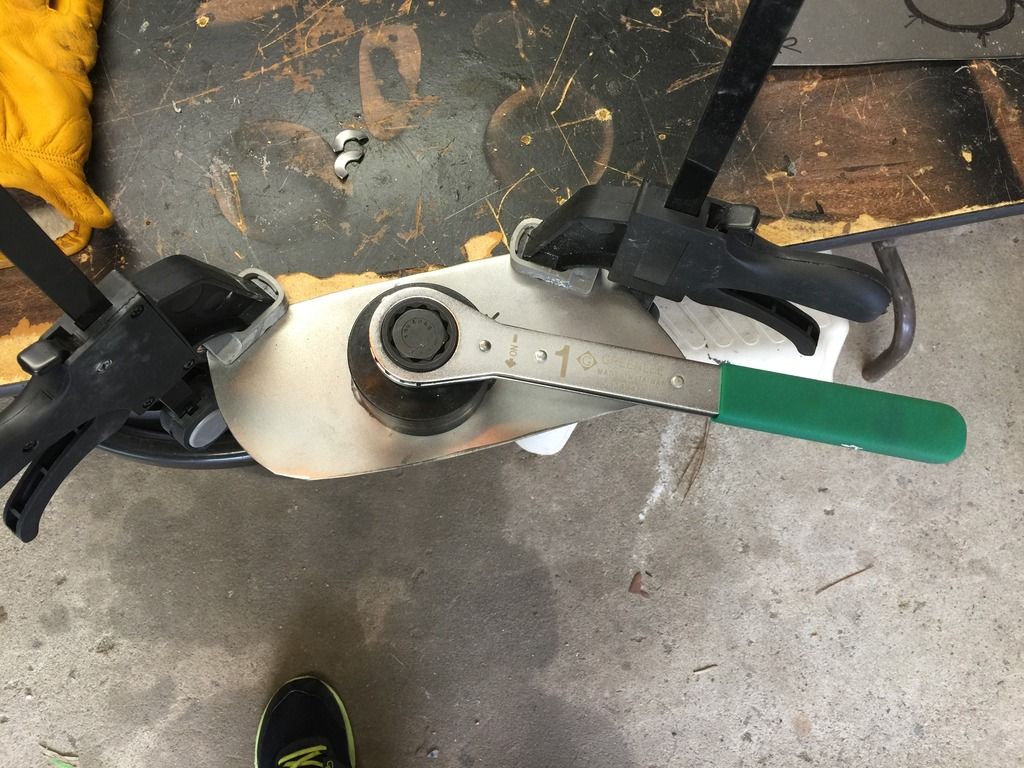
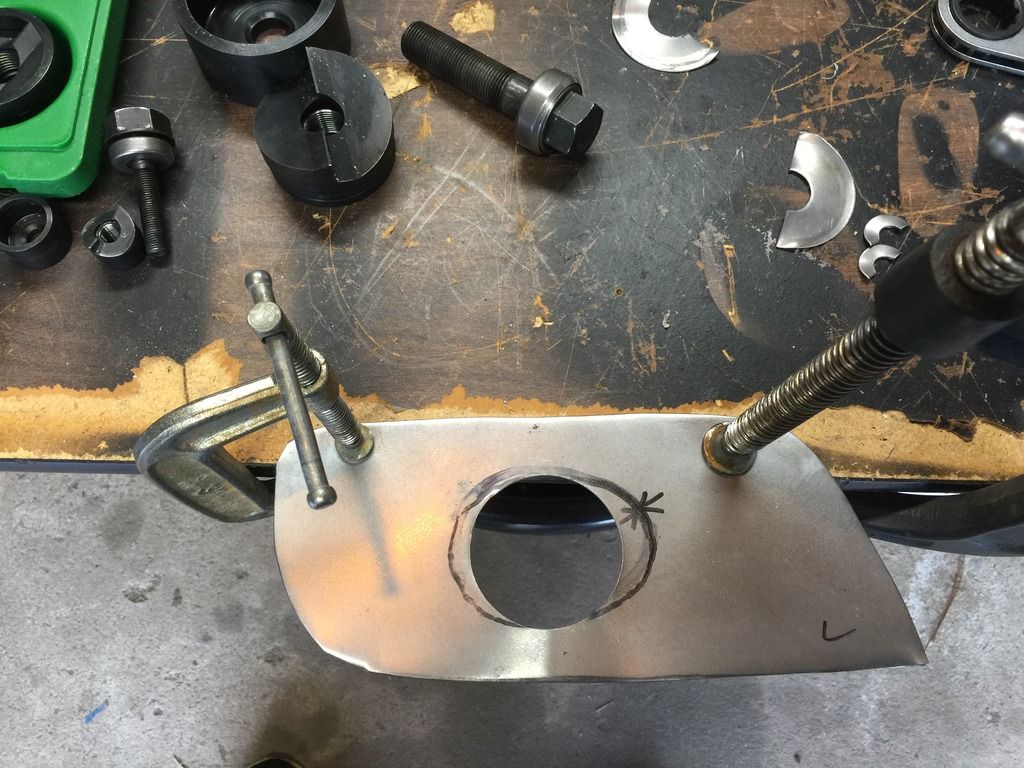
I finished the fog covers as well. This was a challenging task, as I had to carve an oval shape out of the metal. I used a multi-step process.
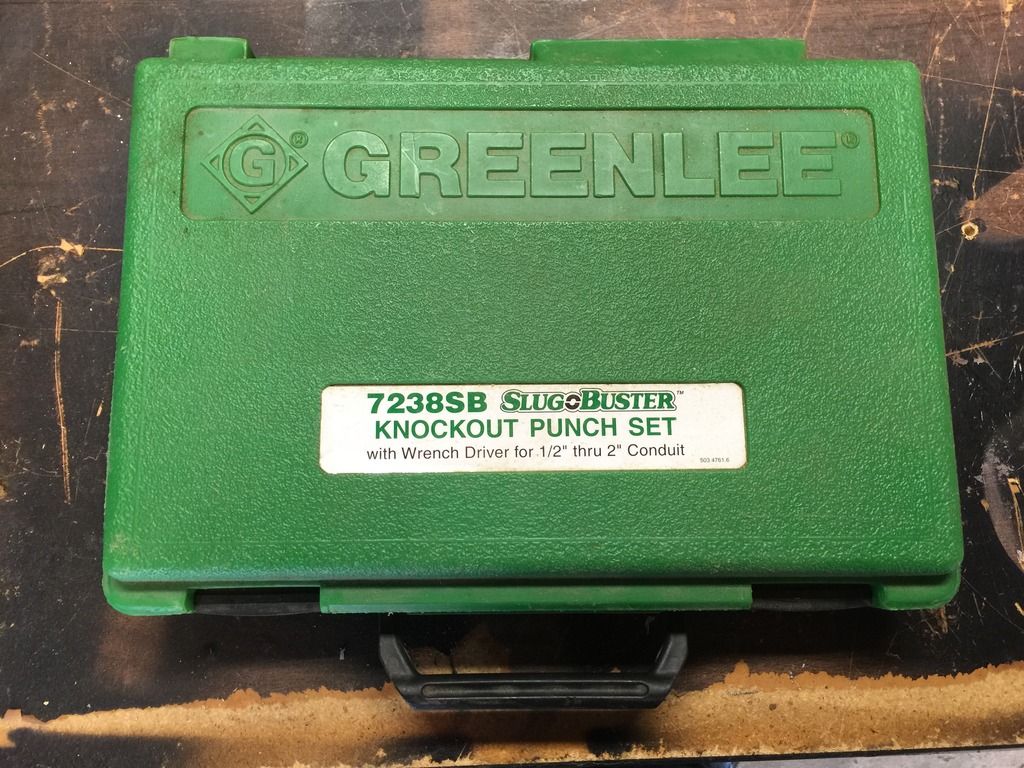
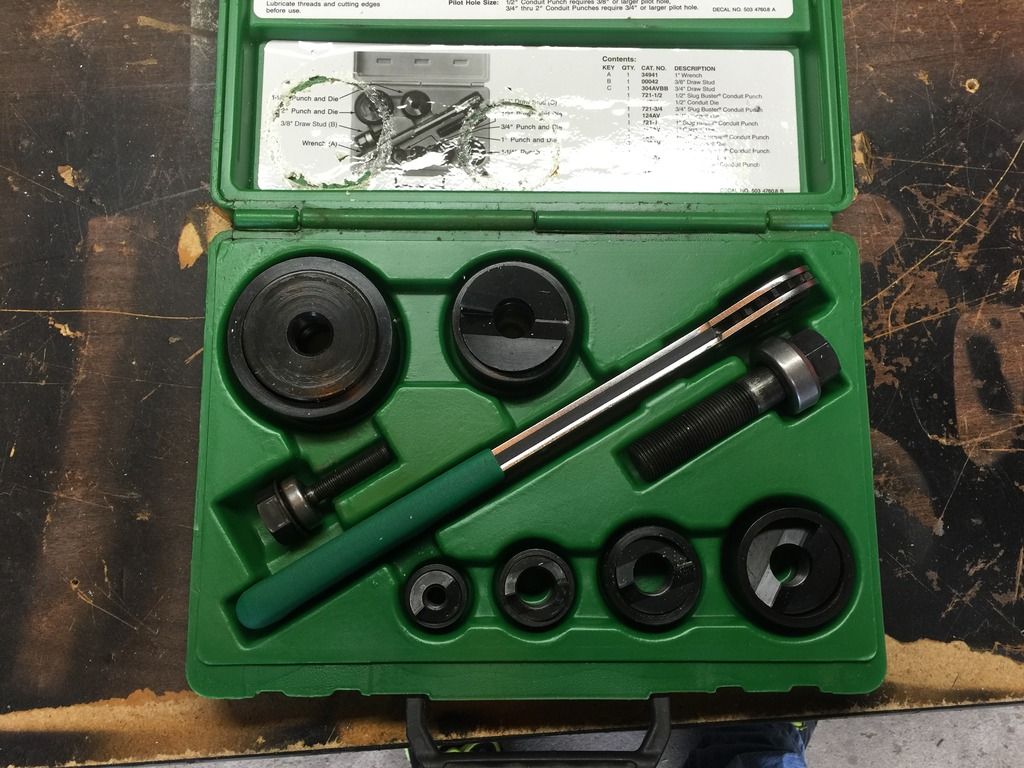
Used an AWESOME $500 die-cut kit from my father-in-law to get a circle stamped out.
Used Harbor Freight metal shears to cut as much of the remaining edges as I could.
Used Dremel bit #1157 to carve out the remaining shape.
Used a Dremel sanding bit to smooth out the edges.
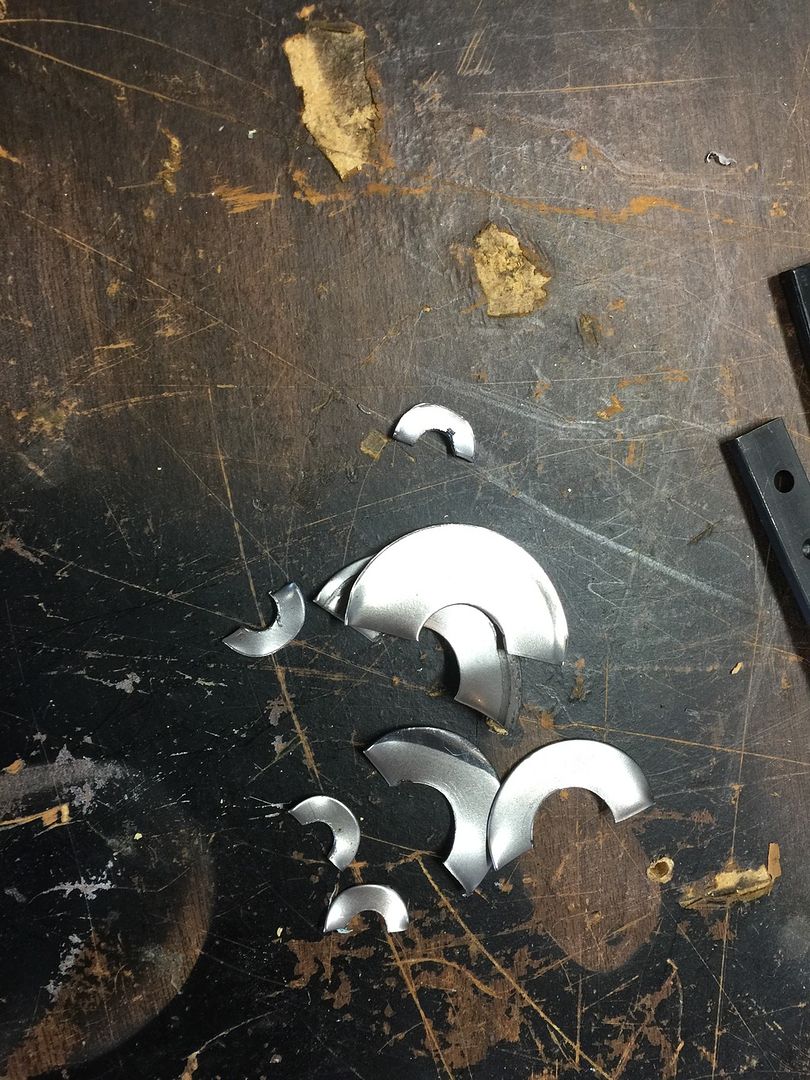
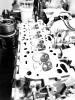
Heres the completed grille and fog blocks, plus all of the little bits, waiting to get sanded and painted.
I picked up some doo-dads for the shop at Harbor Freight, also. Love that place!

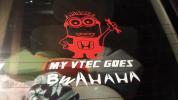
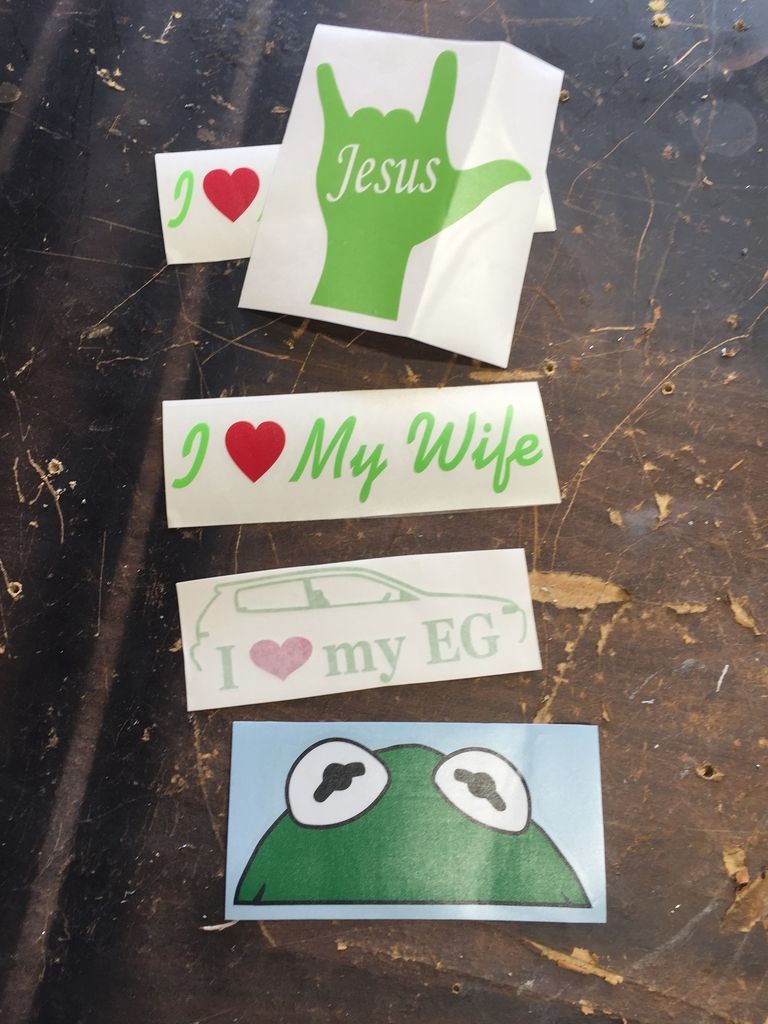
Heres a decal collection that has been piling up for the car. Still have a Its Easy Being Green decal on the way from Canada to go along with Kermit.
Lastly, I finished off this weekends work by making (4) winglets for the rear-end under-diffuser.
Thats all I have for now. I believe I am (FINALLY!) done with the metal and fabrication work on this stage of the project.. I can now start sanding and prepping the metal for paint. Alright!
Ill be back with more progress soon. Until then, thank YOU for ecoTuning in.
__________________
"Yesterday as I was going in to the shop, I came upon a recently killed Armadillo in the middle of the road with one front leg sticking up. As I passed over him he "High Fived" my air dam. I thought that showed a great attitude on his part." -The Donkey CRX
|
|
|
|
|
The Following User Says Thank You to OG VX For This Useful Post:
|
|
|
04-06-2015, 02:01 PM
|
#320 (permalink)
|
|
Administrator
Join Date: Dec 2007
Location: Germantown, WI
Posts: 11,203
Thanks: 2,501
Thanked 2,589 Times in 1,555 Posts
|
Phew, thats a lotta work. Love the decals.
|
|
|
|
|
The Following User Says Thank You to Daox For This Useful Post:
|
|
|