Update 3/30/2015- Rear-End Aero Continued
Hello all, busy weekend. I did get a lot done on the project though. The “fab” work is now done on the rear end. Still some small adjustments in fitment are needed here and there, all of which will now be done with the pieces off of the car, just before final prep and paint begins.
Please let me know what your thoughts are about the aerodynamics and flow of the final design. I really want/need feedback on this.
Pics and Process from this weekend:
I started the weekend by installing all of the rivet nuts.
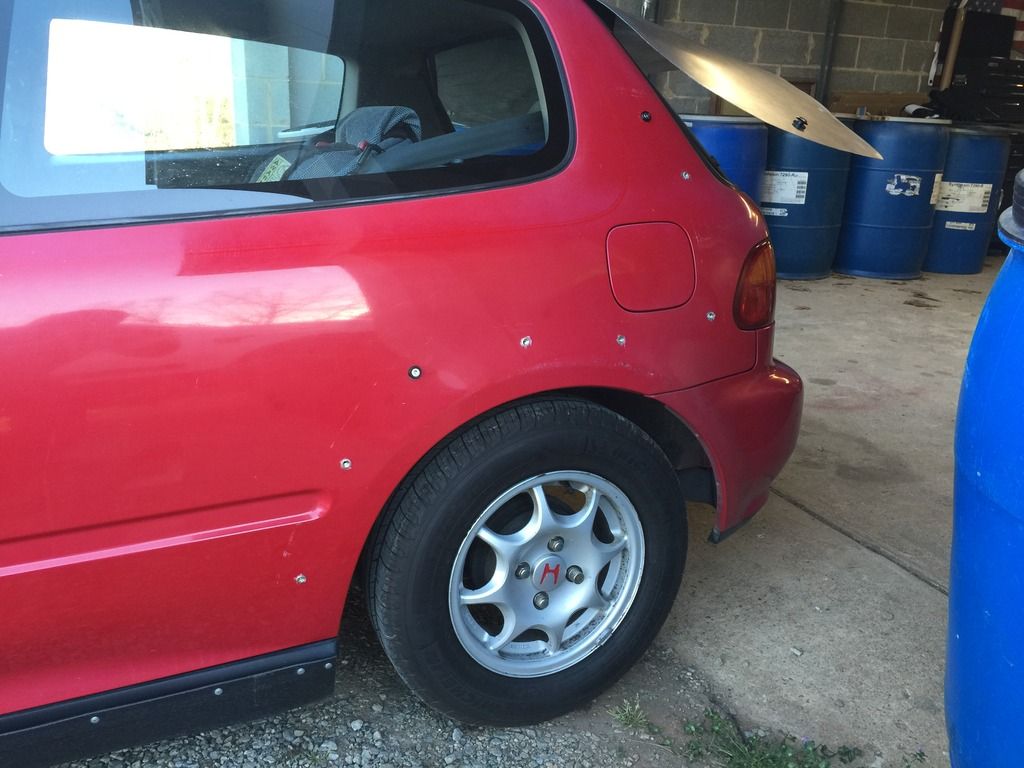
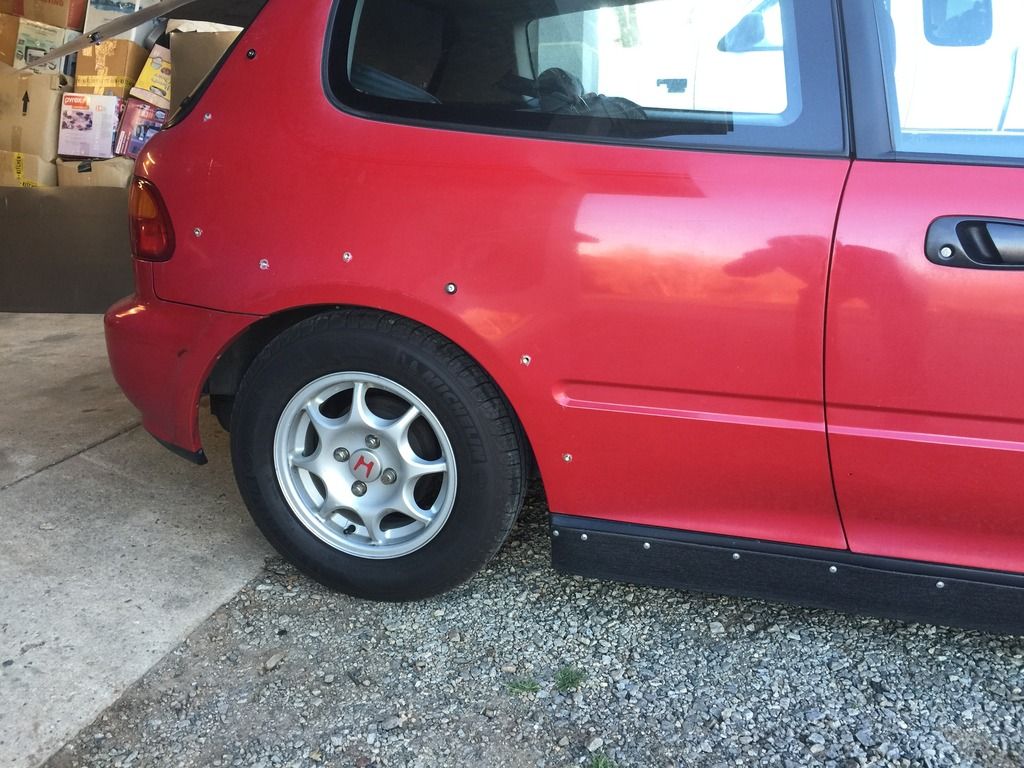
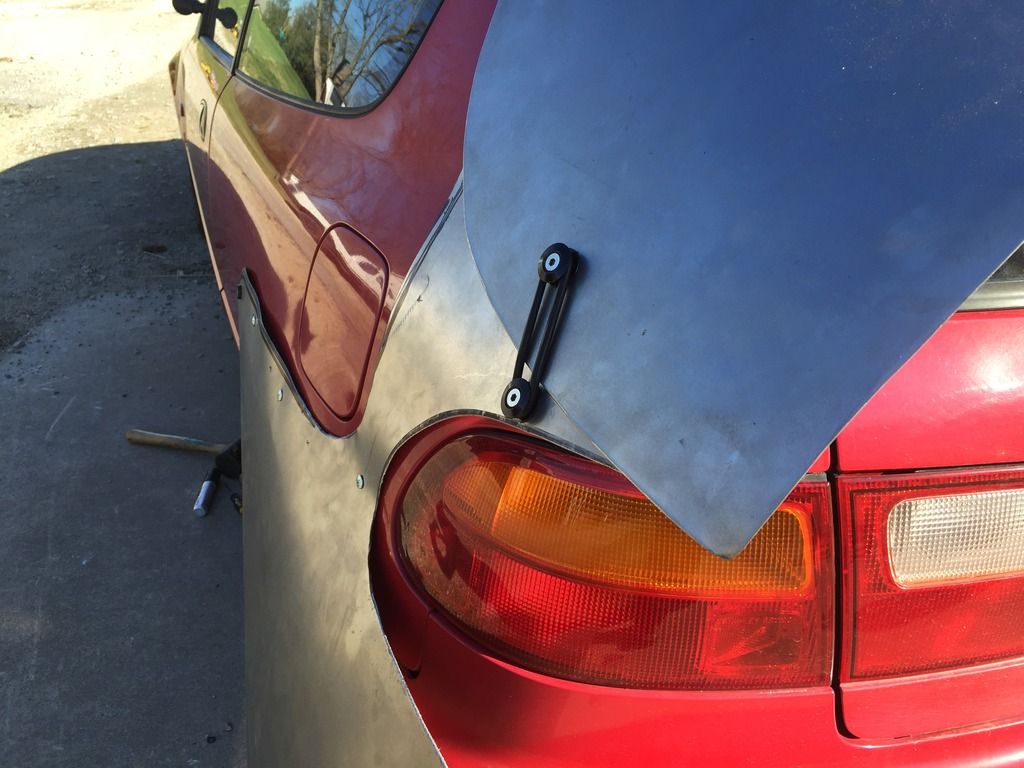
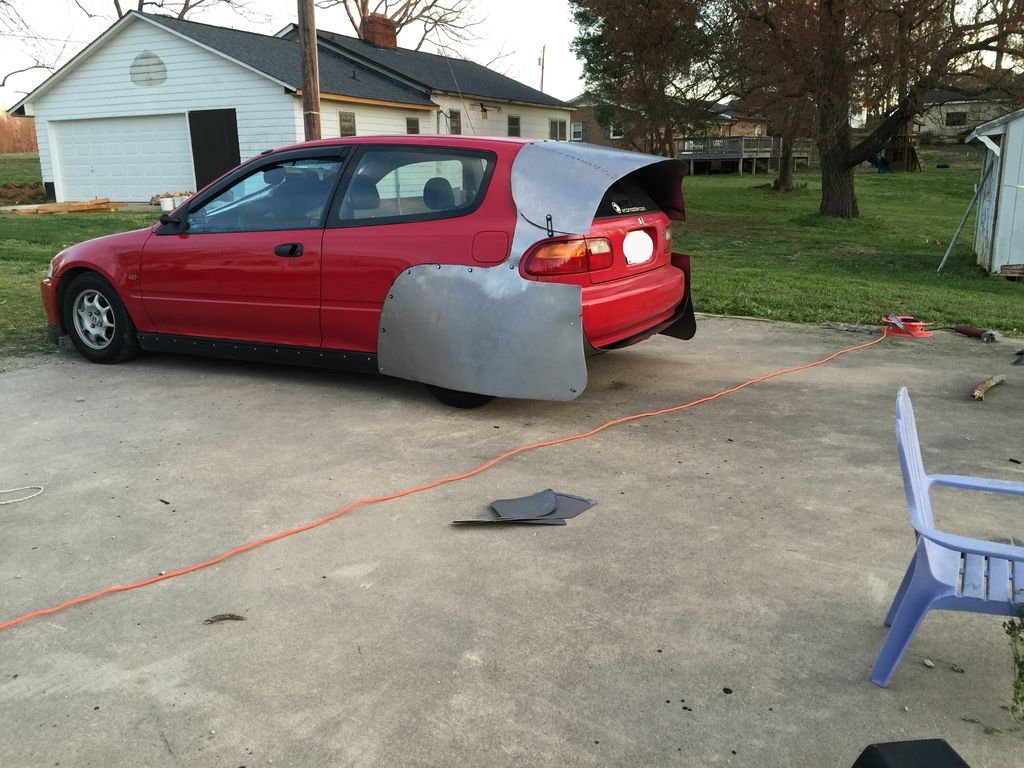
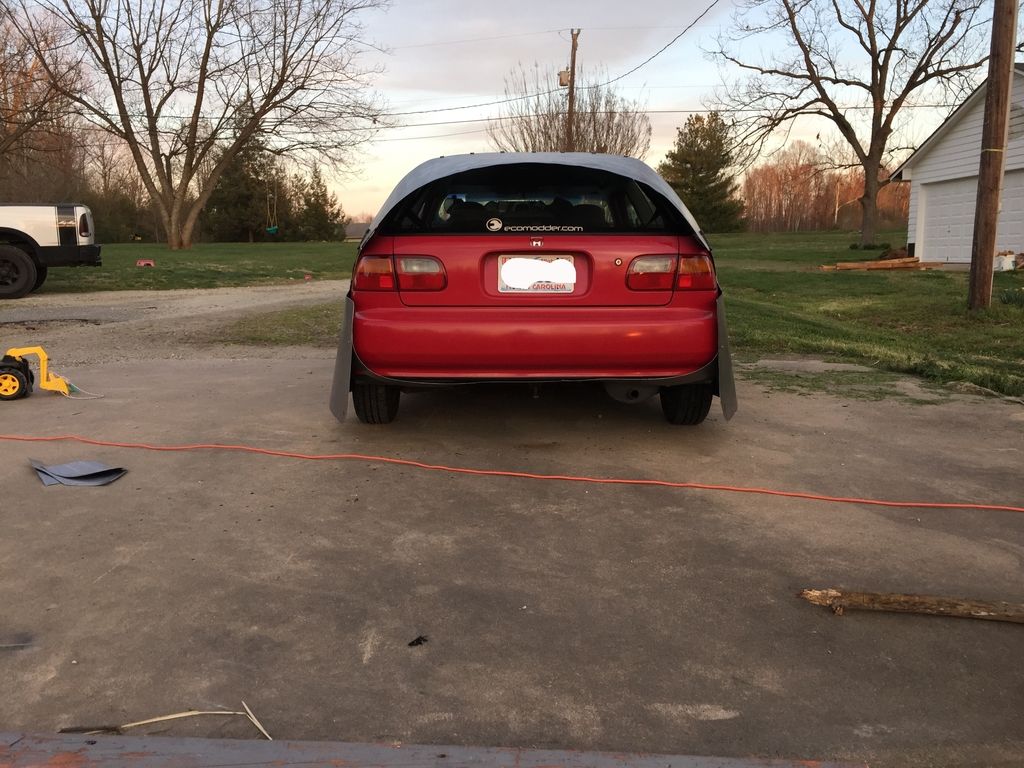
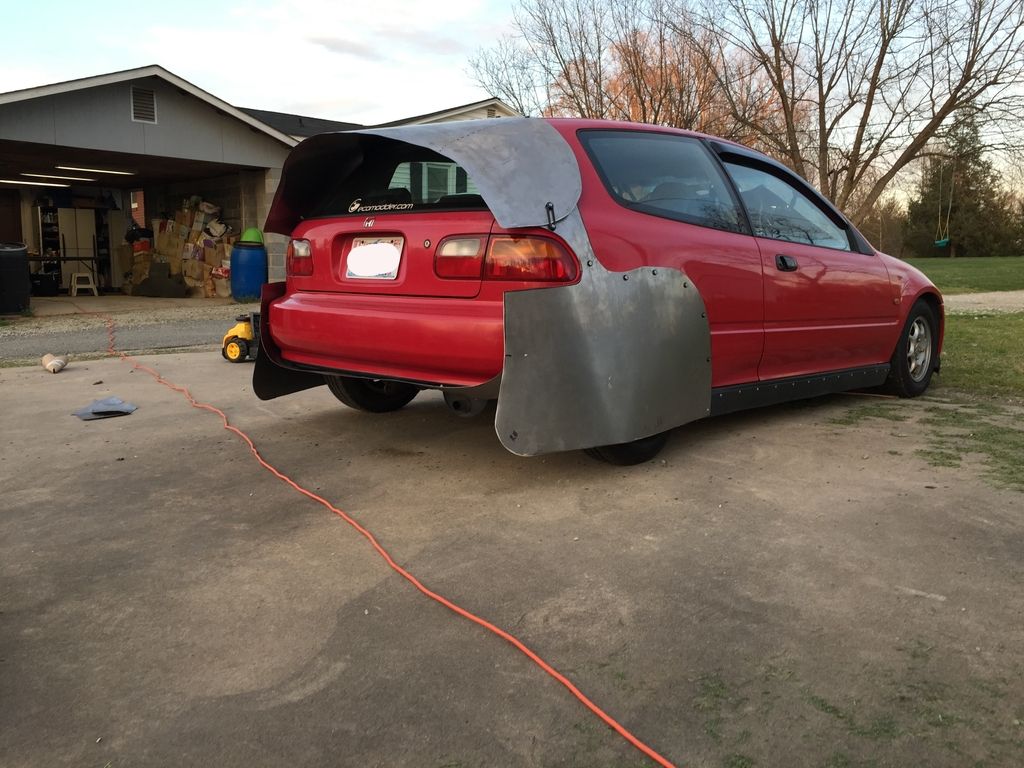
Once the silicone was dry, I then bolted up all of the panels. As I hoped, the rivet nuts hold everything in place very well. Also, with the natural strength of the 20 gauge sheet metal, everything is very stout. To my surprise, I don’t believe I will need any additional bracing on the underside of the Kammback spoiler, nor on the backside of the wheel skirts. Final road testing will, hopefully, confirm this. If I get some "wobble" at speed, I'll add some bracing where needed.
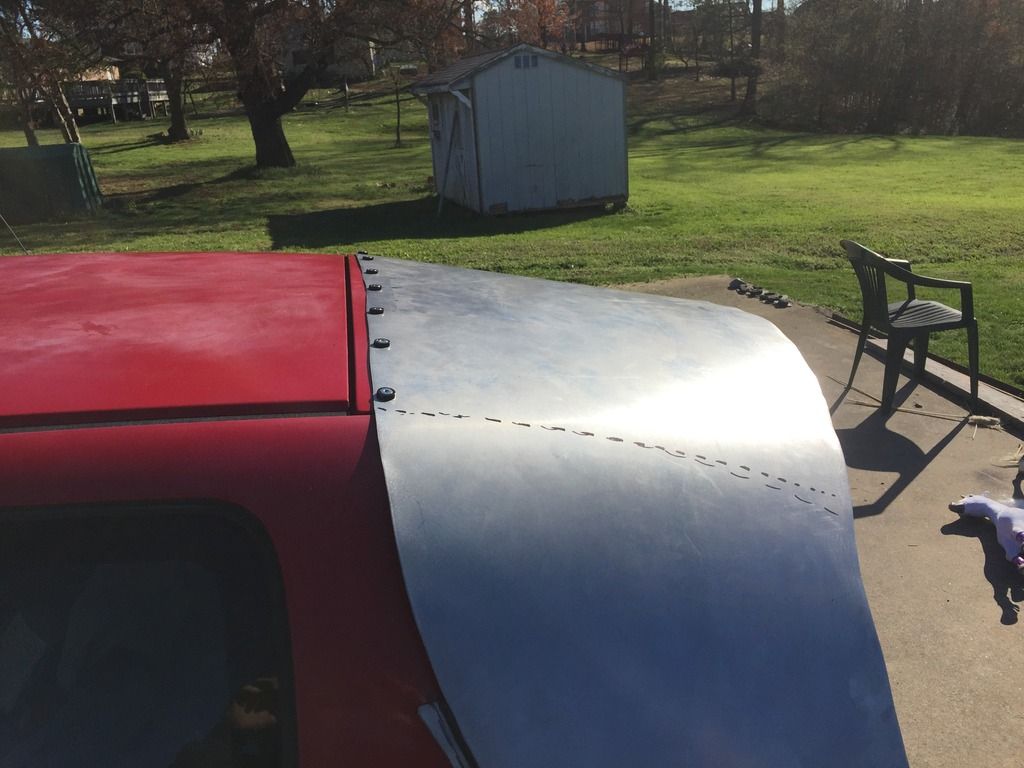
After bolting the panels up, I then did some more trimming, and added a screw where the wheel skirt meets the side skirts.
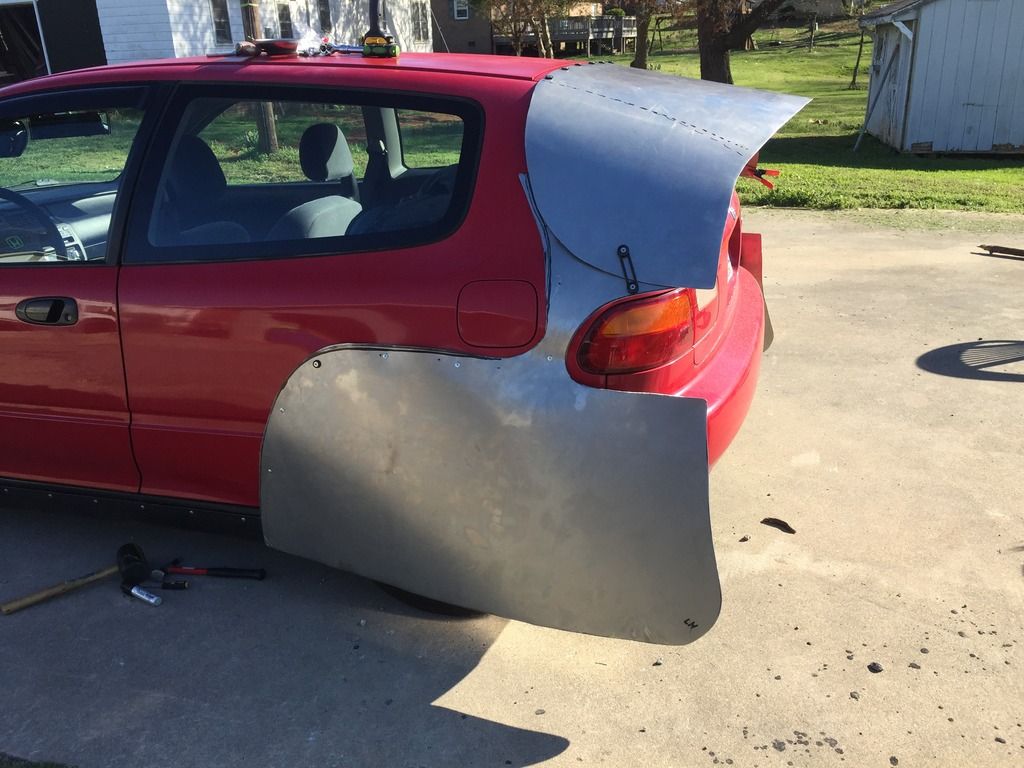
Once satisfied with fitment, I drilled holes for and put the “JDM Bumper Fasteners” in place. I believe I will need one more set on each side, towards the front, just to pull the side panels a bit tighter towards the C-pillars.
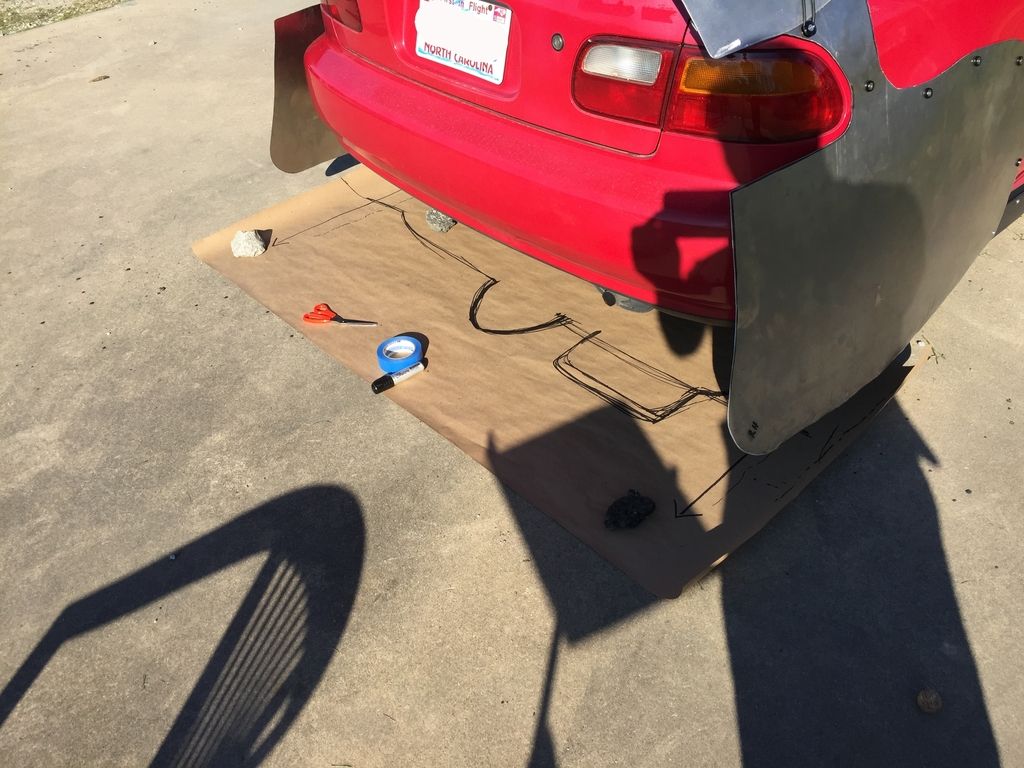
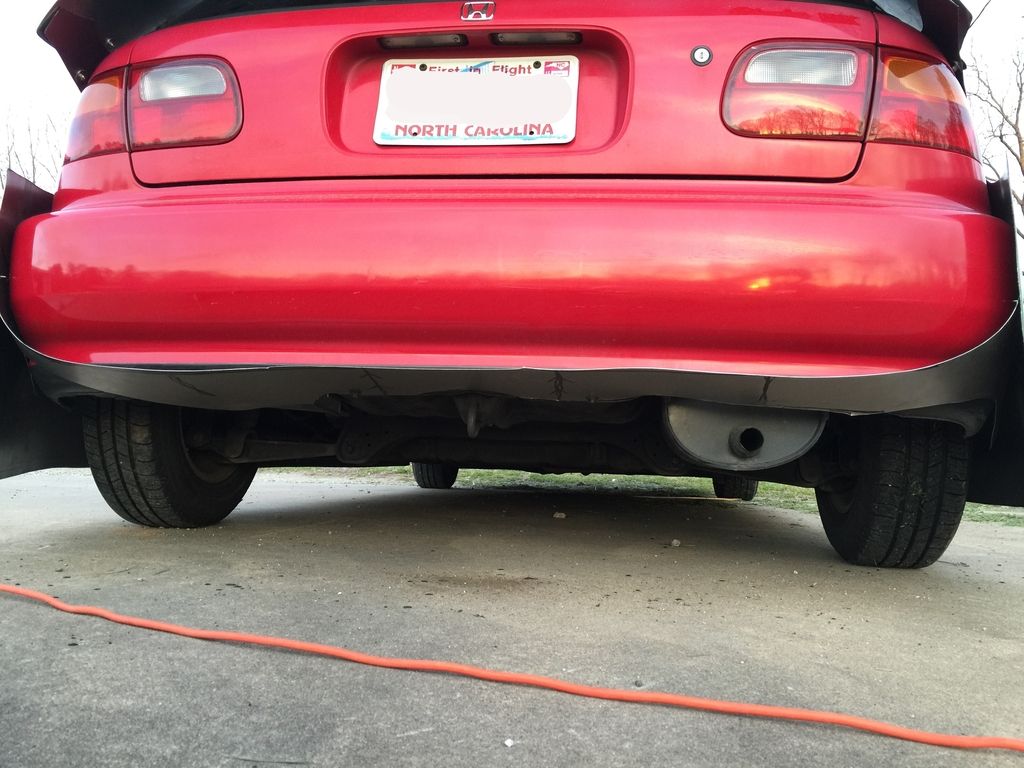
The last task I had in the fabrication process was to make a diffuser for the underside of the rear bumper. It’s primary function is to hold/pull in the side pieces towards the body, and in doing so, give the side panels a bit more stability. The diffuser was built to be held up by the existing OEM bolts that sit underneath the bumper. A few additional screws will be placed through the bumper at final fitment to hug the diffuser more snugly against the lower bumper line. Until then, the fitment is a bit loosey-goosey in these pics, as you can see.
It was a dirty fabrication process, but I got it done the best I could. The diffuser will get painted matte black. Before doing so, I will be fabricating and riveting in 4 “winglets” to the underside of the diffuser panel.
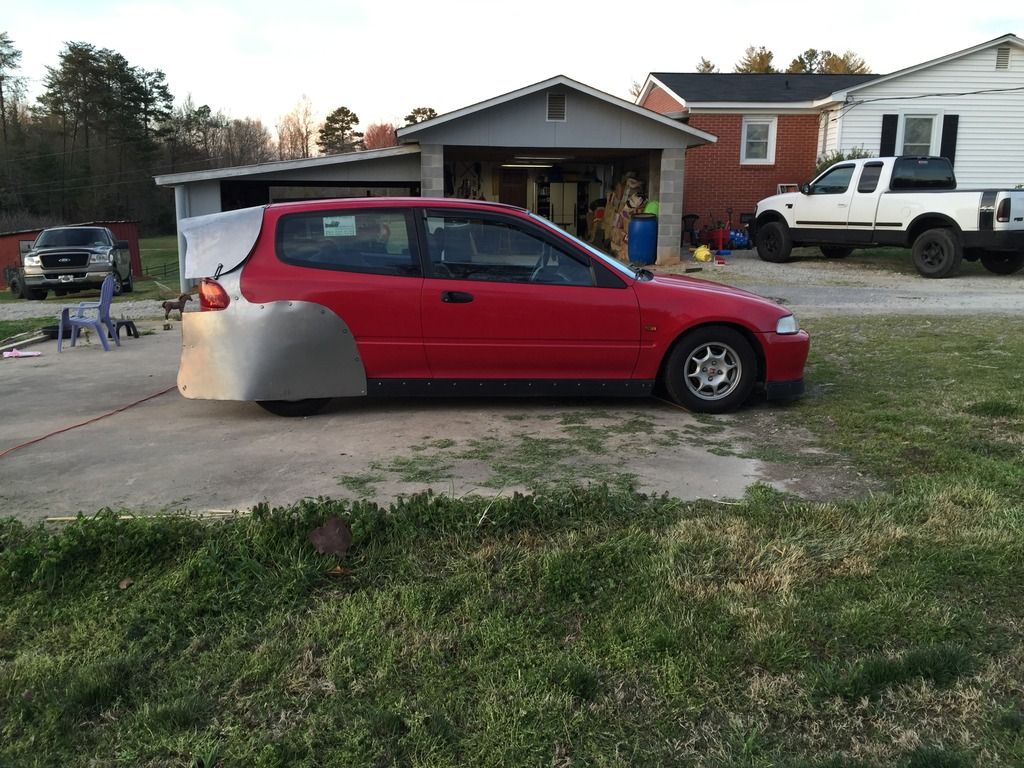
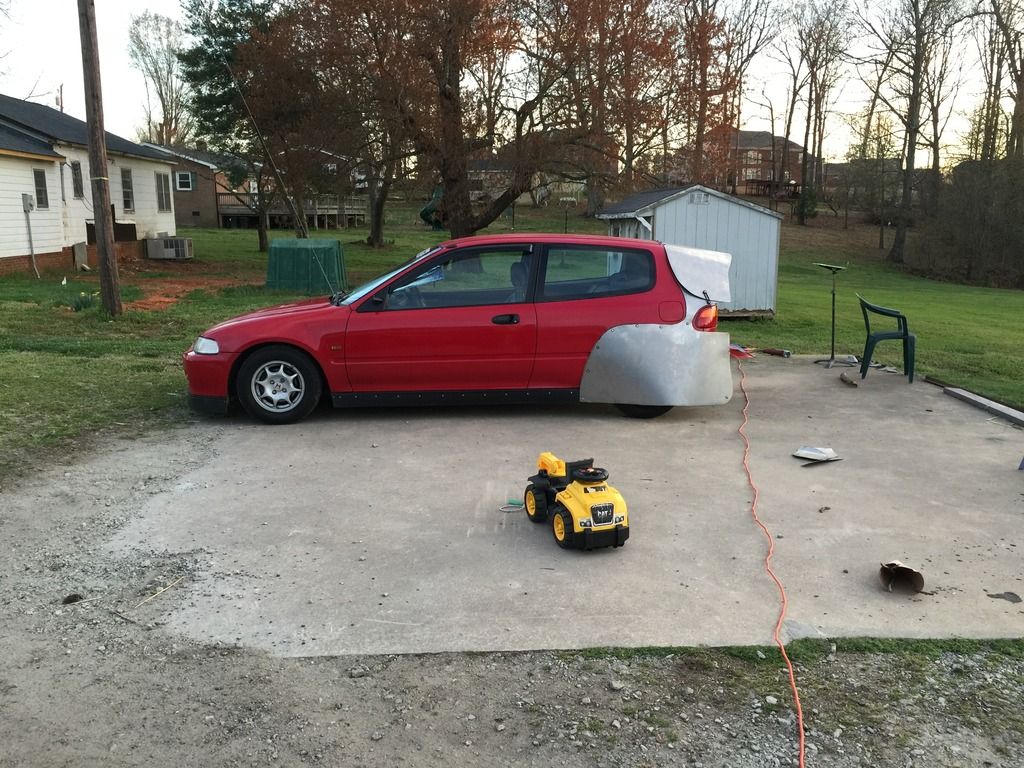
Ok, so here's everything, all together. Still need a bit more work on the diffuser, but things are pretty much where I want them to be.

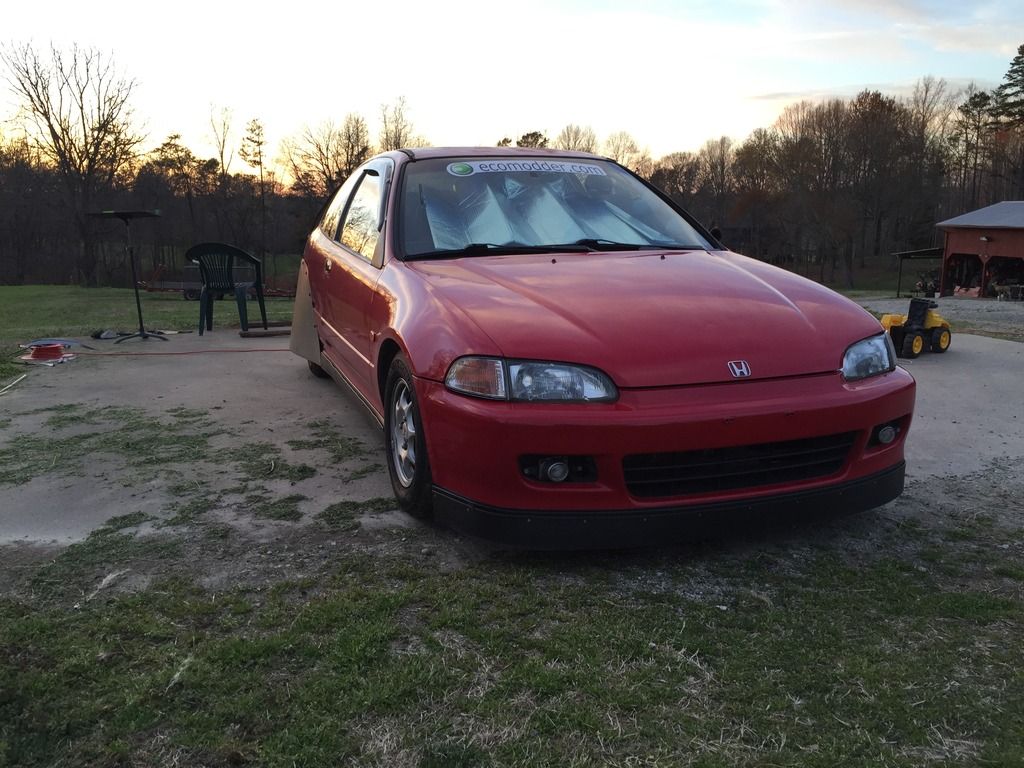
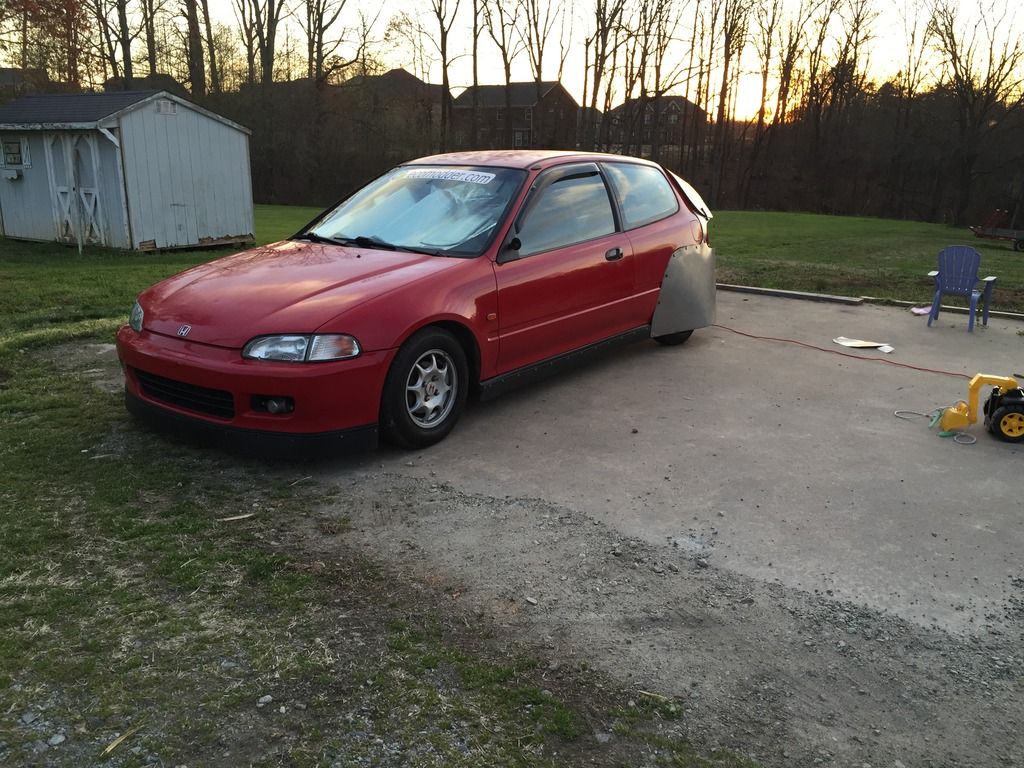
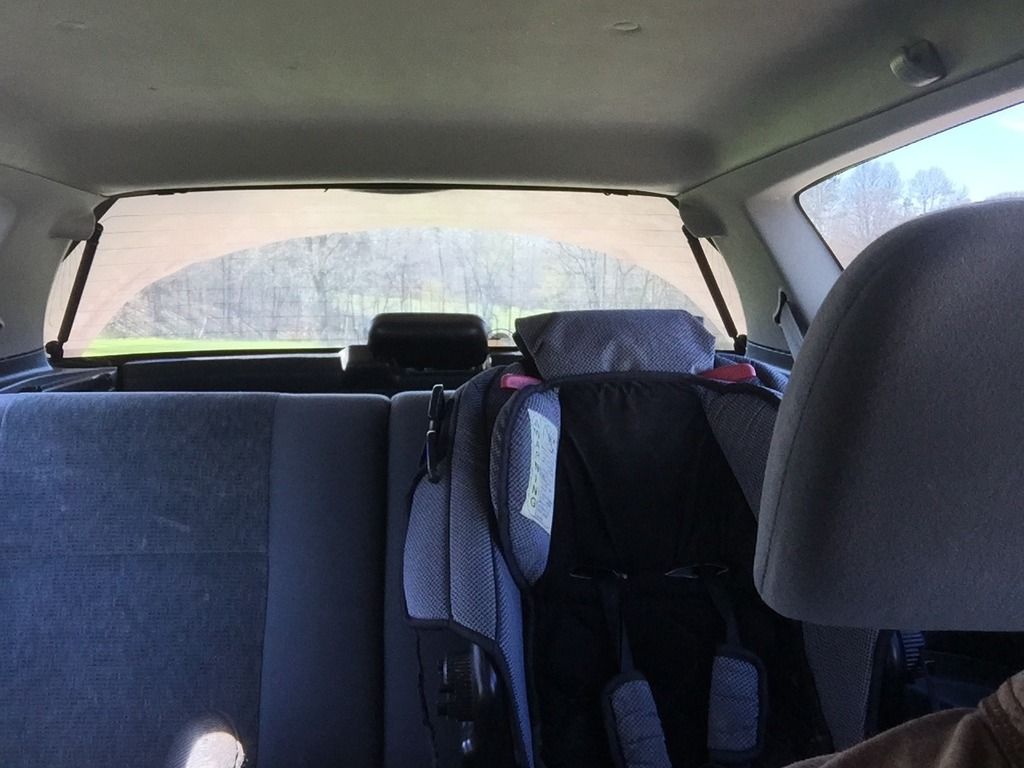
Here's the view from inside the cabin:
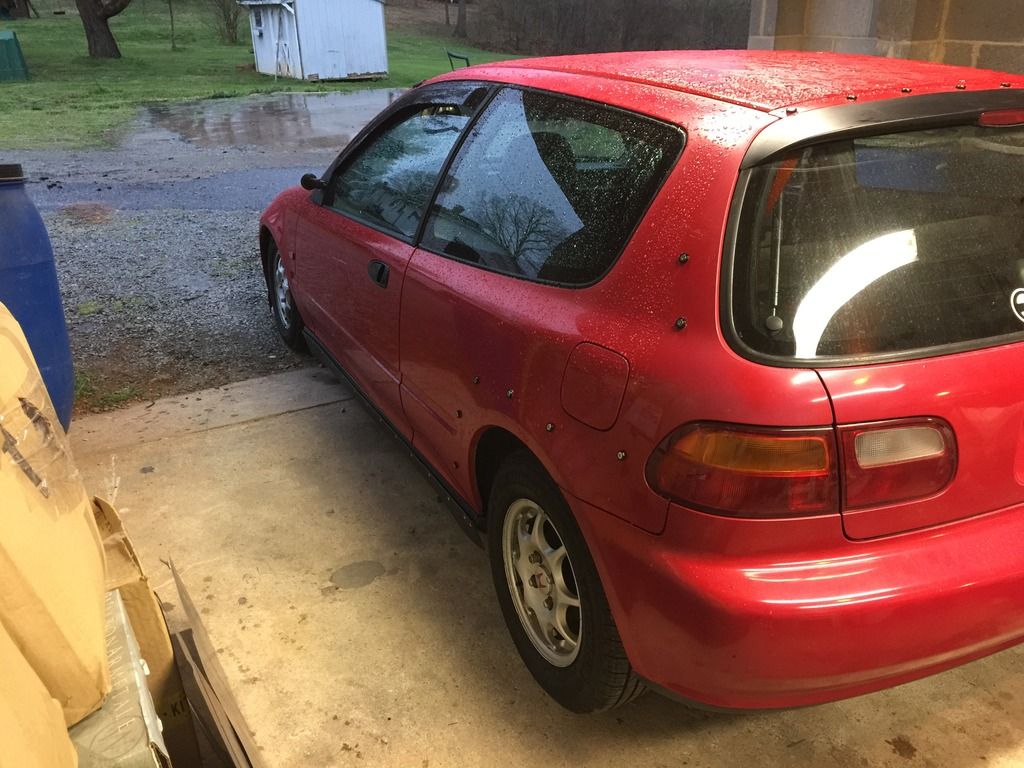
…and everything off for finish work and paint. I bolted up the SS bolts and washers at each nutsert, just to keep water out.
Things are getting really fun! I’ll be back with more progress asap.
Until then, as always, thank
YOU for
ecoTuning in!
**Please let me know what your thoughts are about the aerodynamics and flow of the final design. I really want/need feedback on this.