Update 4/6/2015: LED Lighting Conversion + Hood Wiper Diffuser + Rear-End Metal Fab Complete
Hello all. I had a productive weekend on the build. The title is pretty self explanatory.
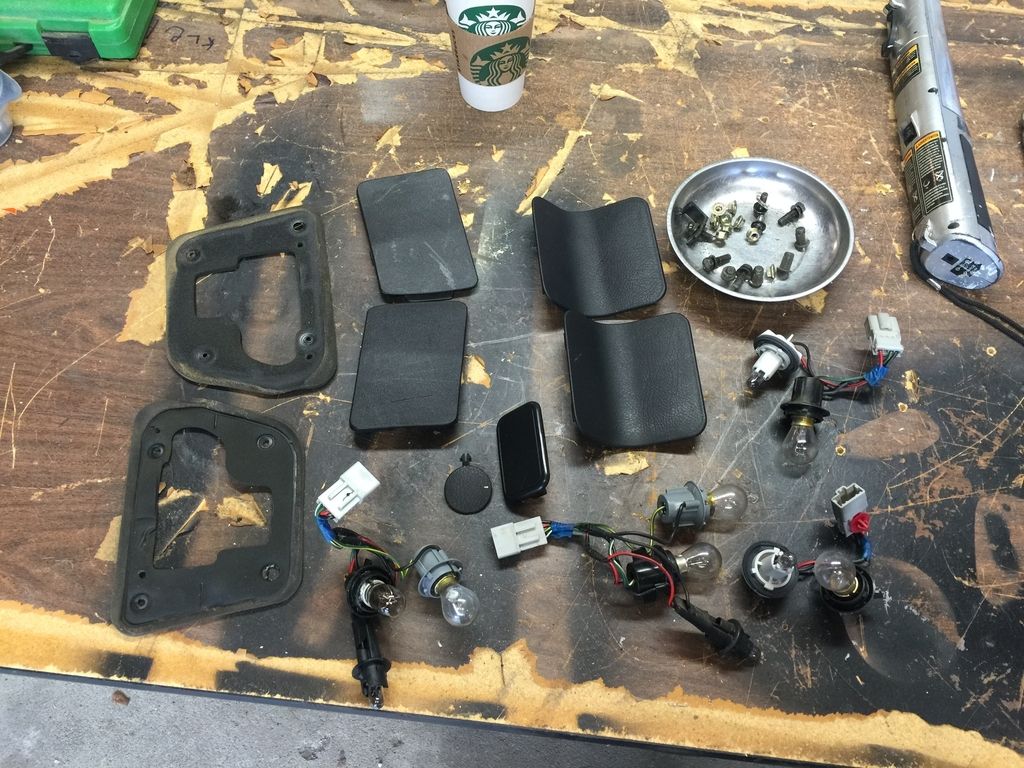
My LED lighting came in last week. To start, I went ahead and removed the headlights. Boy, that was a JOY on the EG (not). I had planned for about 10 mins tops to complete this, seemingly simple, task. Ending up spending about 45 minutes to remove the tails. What a surprise this was, on an otherwise ridiculously-easy car to wrench on.
To remove the tails on a 92-95 Civic, you ONLY need the following...
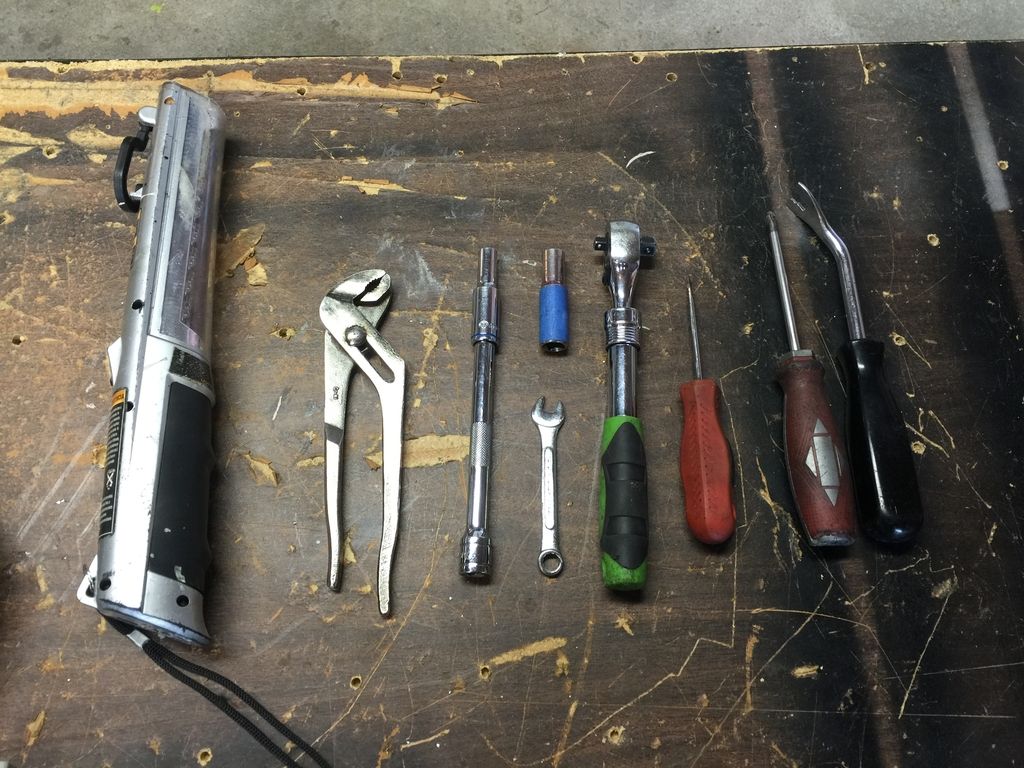
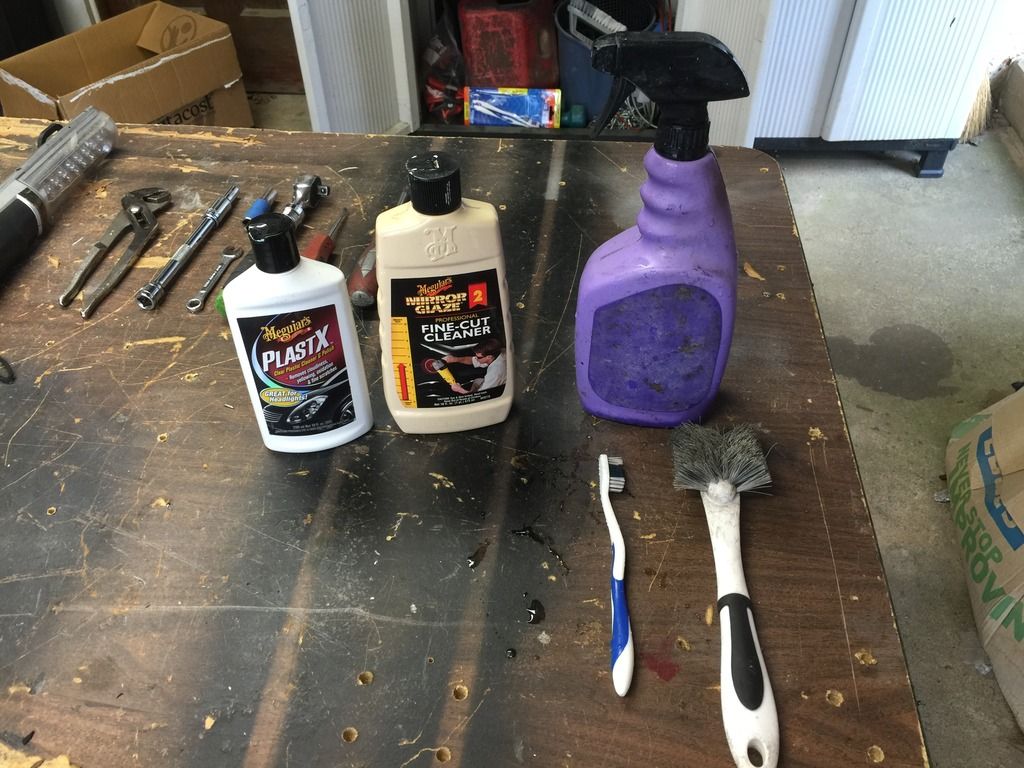
Anyway, once those were off. I cleaned the taillight cavityís on the chassis. I also cleaned the backsides of the tails, and sprayed a mix of water/degreaser into the inside of the tails, rinsing them out thoroughly, and let them dry in the sun for the rest of the day to de-condensate. Prior to reinstalling, all the lights got a good cut and polish with the pictured products.
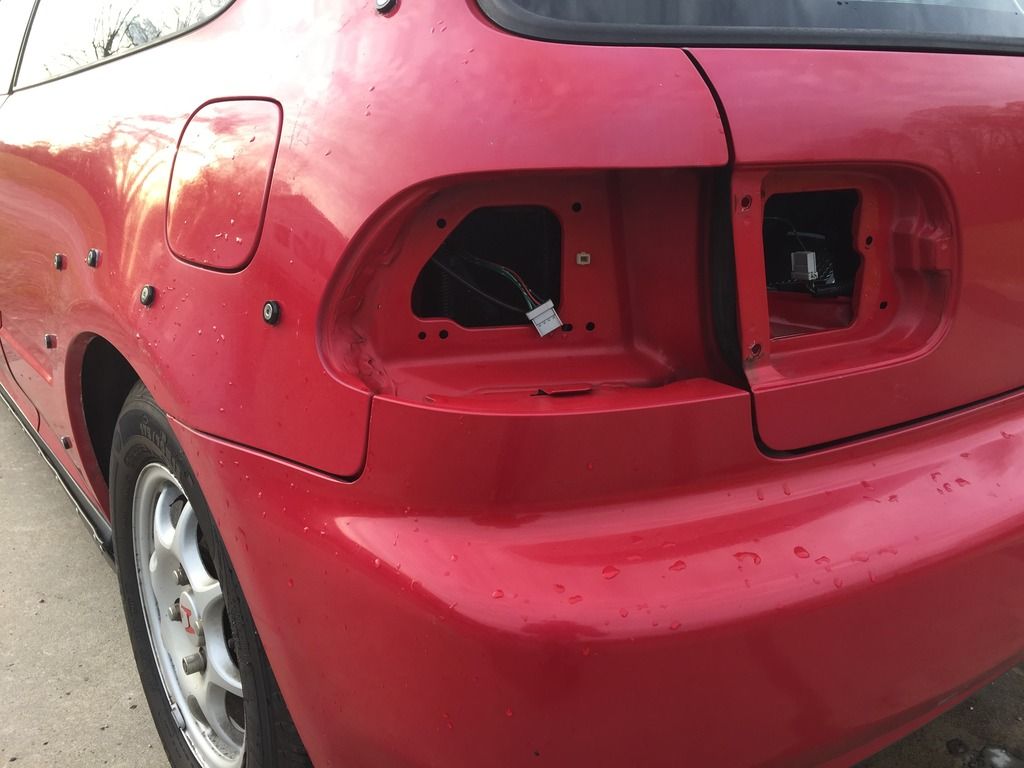
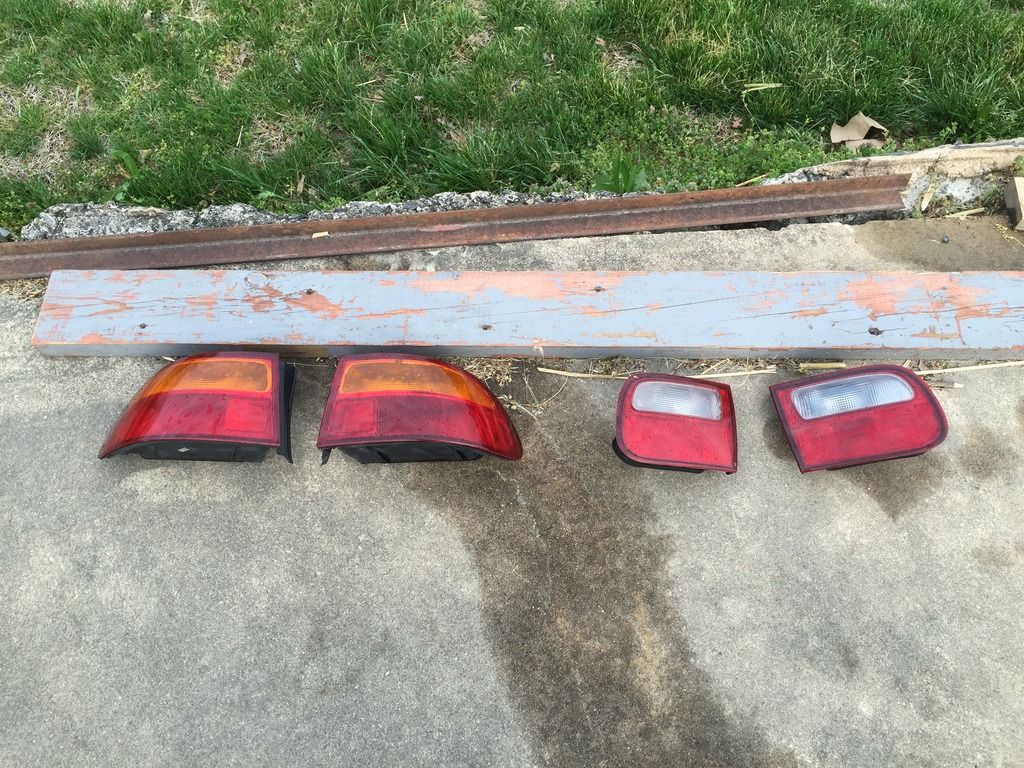
The aftermath:
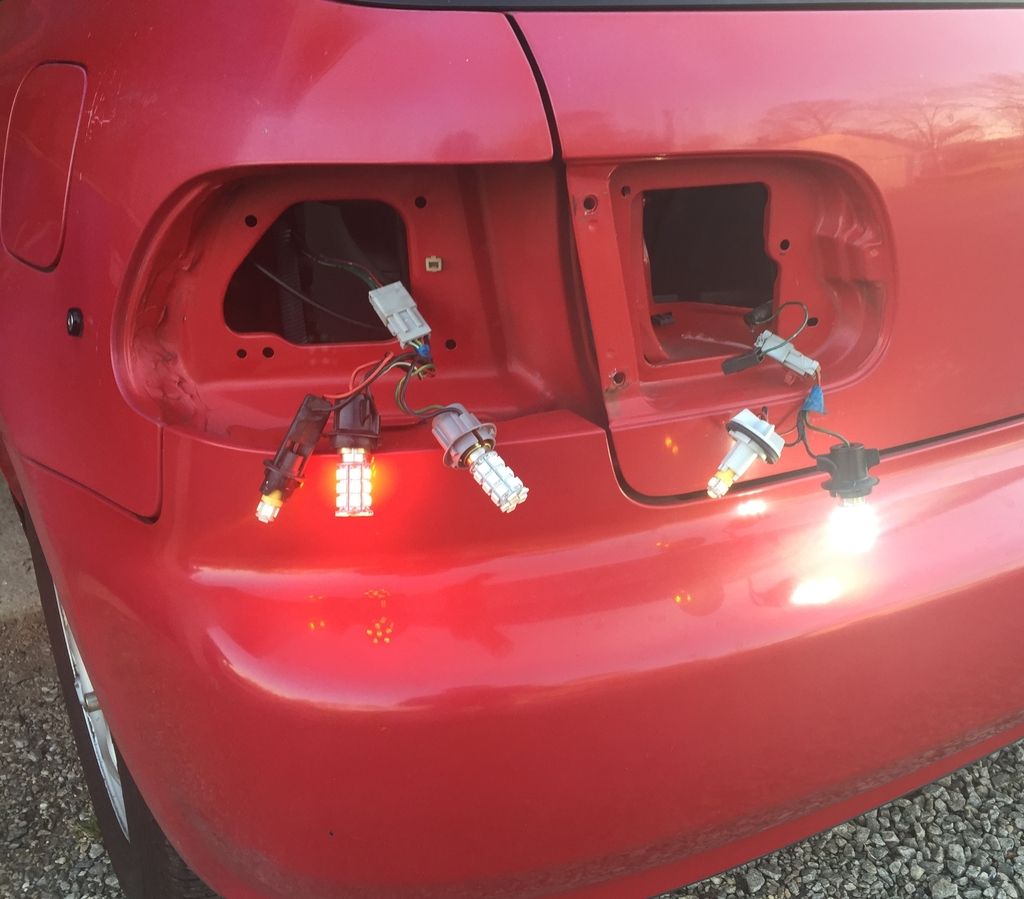
While the tails were drying, I got to work installing the new LED bulbs onto the bulb harnesses, and checking them for proper operation. Everything works great, but I need to order some red T10 bulbs. I, somehow, got amber instead. I also need to make sure I get the most high-power T10 LEDís as possible. Standard cheap T10 LEDís donít appear to be high enough power to serve duty as (visible) running lights inside the tail housings. Iíll update here with my findings.
Hereís the fog light LED bulb replacements.
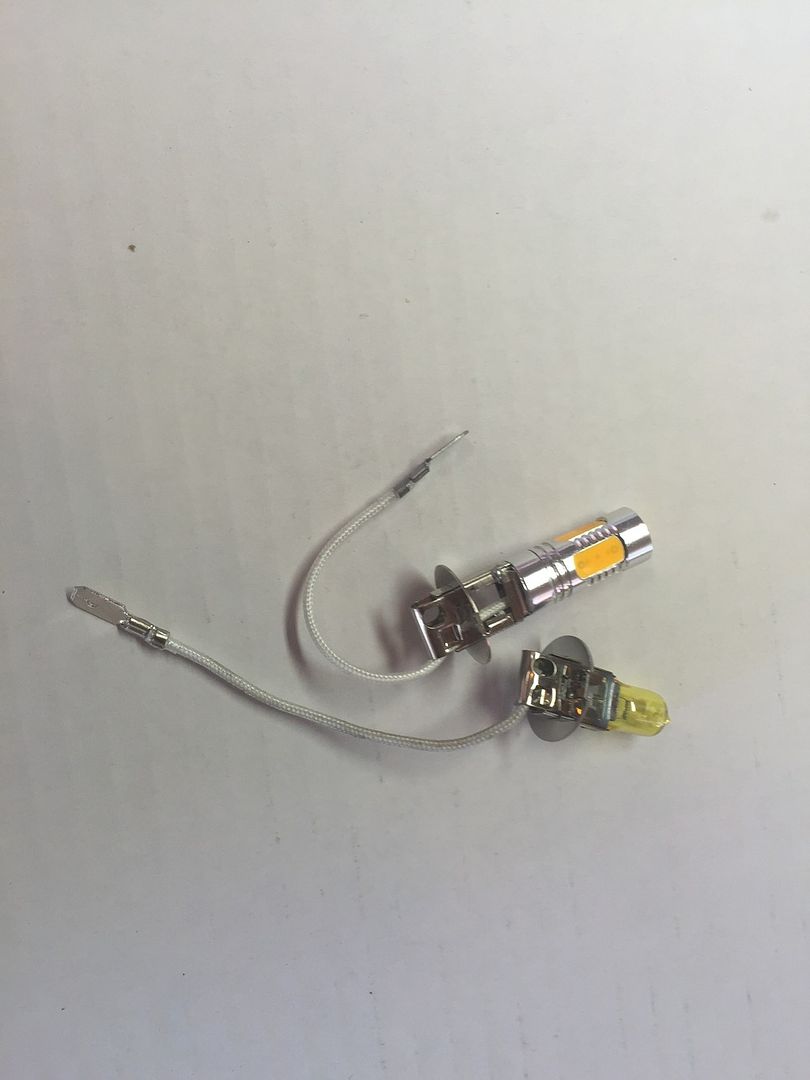
One of my Nokya Hyper Yellow bulbs burnt out, after only 5 months of use. Those Nokya bulbs also used a great amount of power. These new LED bulbs operate on extremely low voltage. They also perform as such, emitting about half the light as the Nokyaís. But, thatís fine with me. This is a (primarily) day-driven vehicle, and I mainly use the fogs to get more of peopleís attention on the roadways (to keep me more visible/safe) in the morning. With the old Nokya bulbs, my idle would fluctuate about 150-200 rpm when I turned my fogs on, due to the voltage load from the old halogen bulbs. Now, with these LED bulbs installed, turning the fog lights on does not change the rpm idle at all. So, so far, appears that in terms of lowering my output voltage, the LED install this weekend was a win!
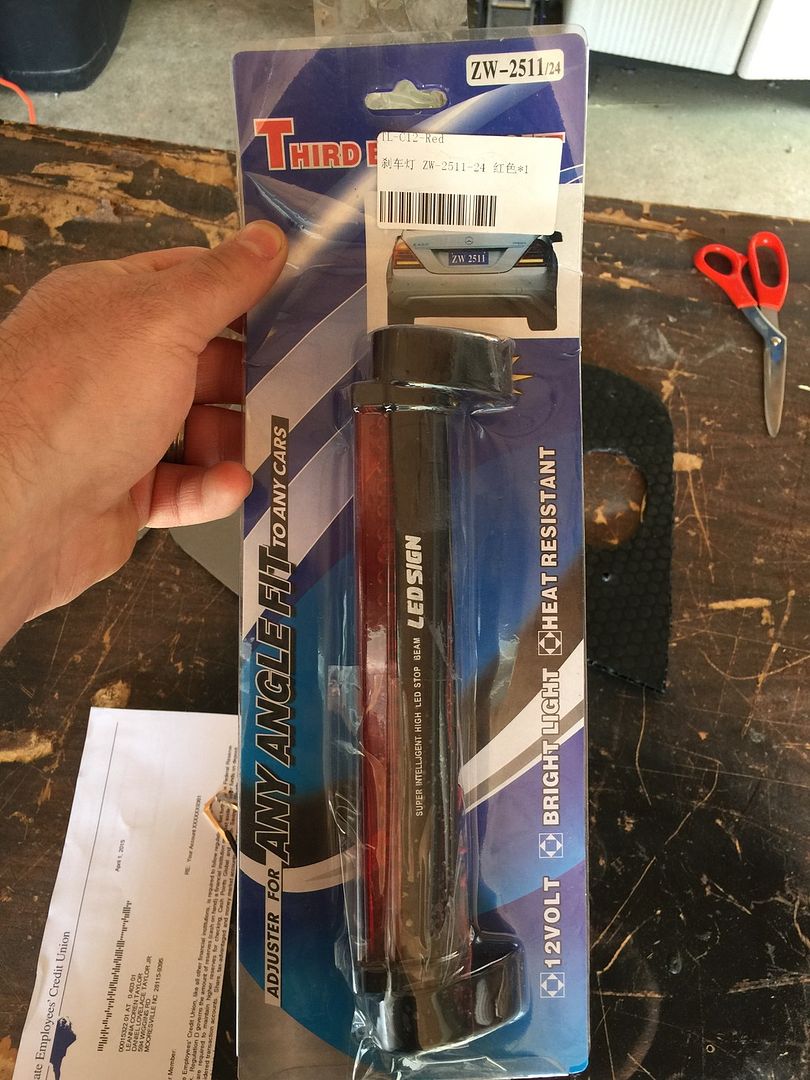
I also installed a LED third brake light that I got off of Ebay. Itís got great fitment. I think itís the perfect size and height for my application.
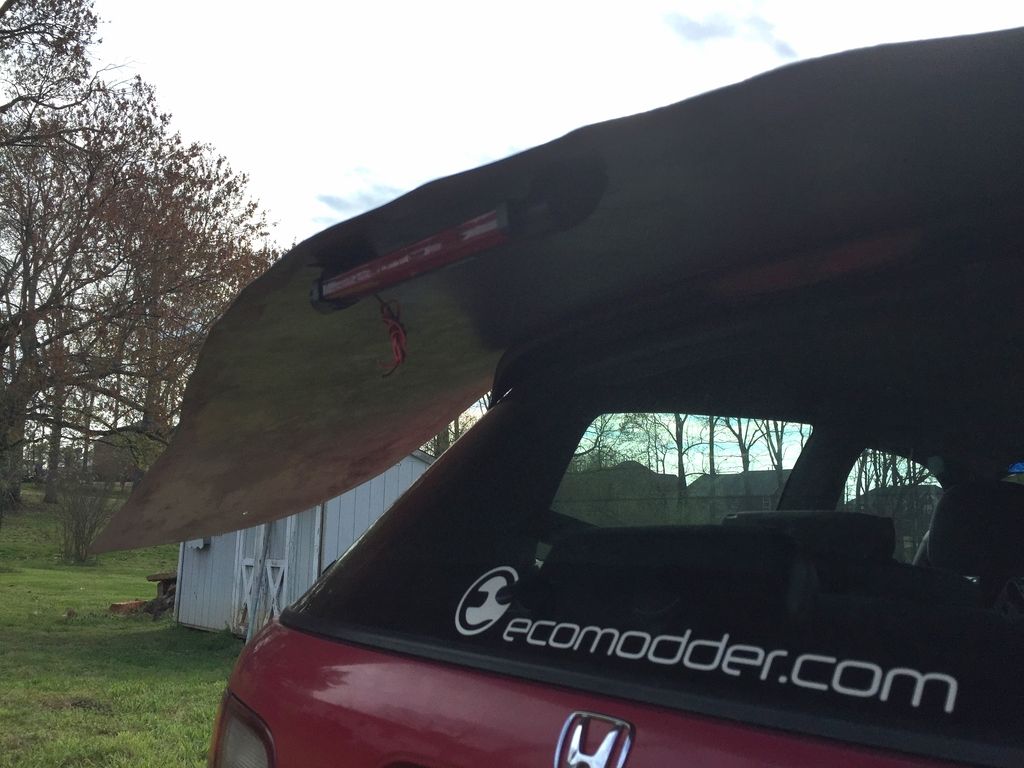
All exterior bulbs are now swapped to LED, sans the 1156 front corner light bulbs. I have 1157 amber replacements on the way for them. Aside from those, the only other non-LED bulbs on the car are within the gauge cluster. Maybe one day I will swap these out to LEDís also.
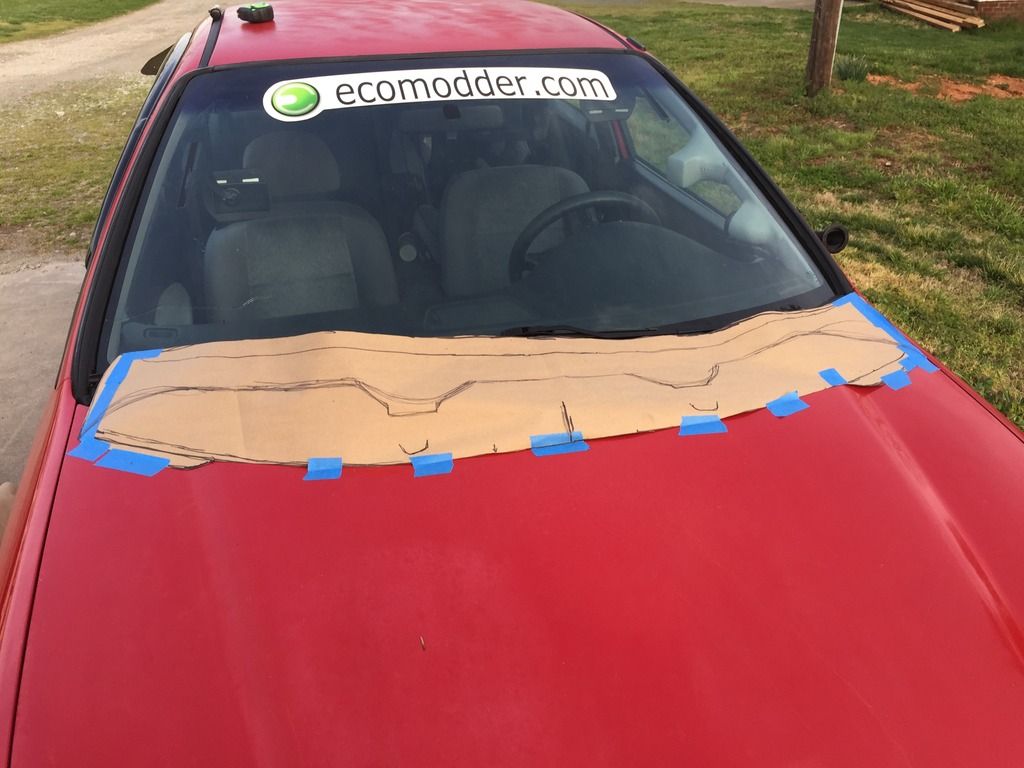
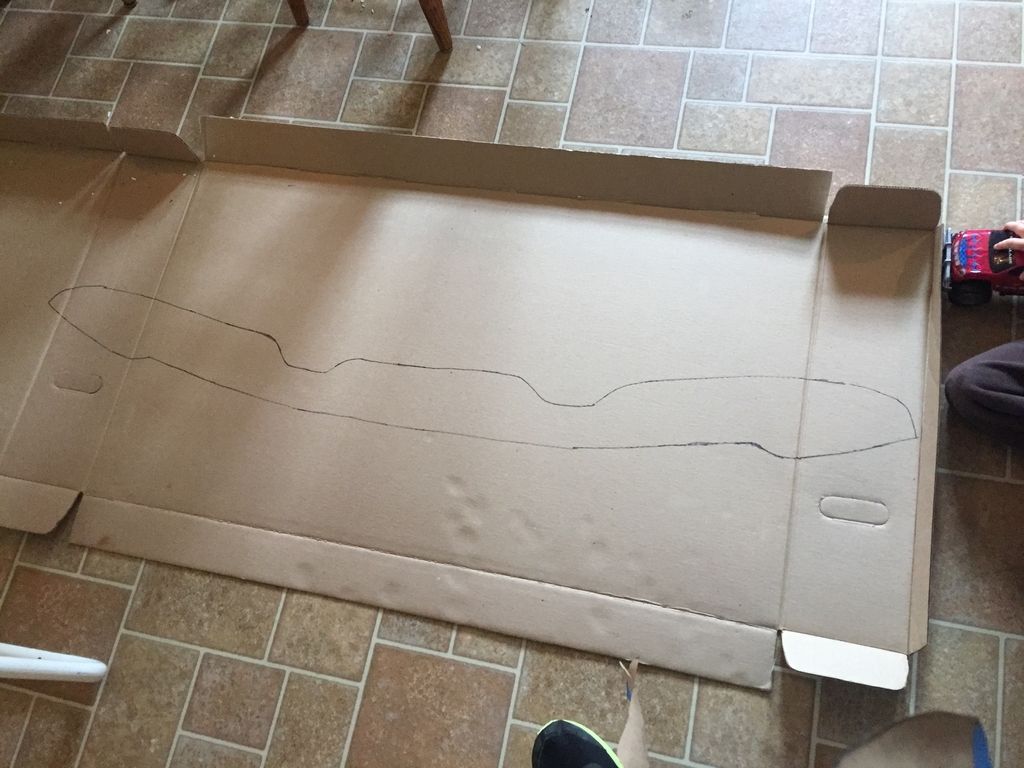
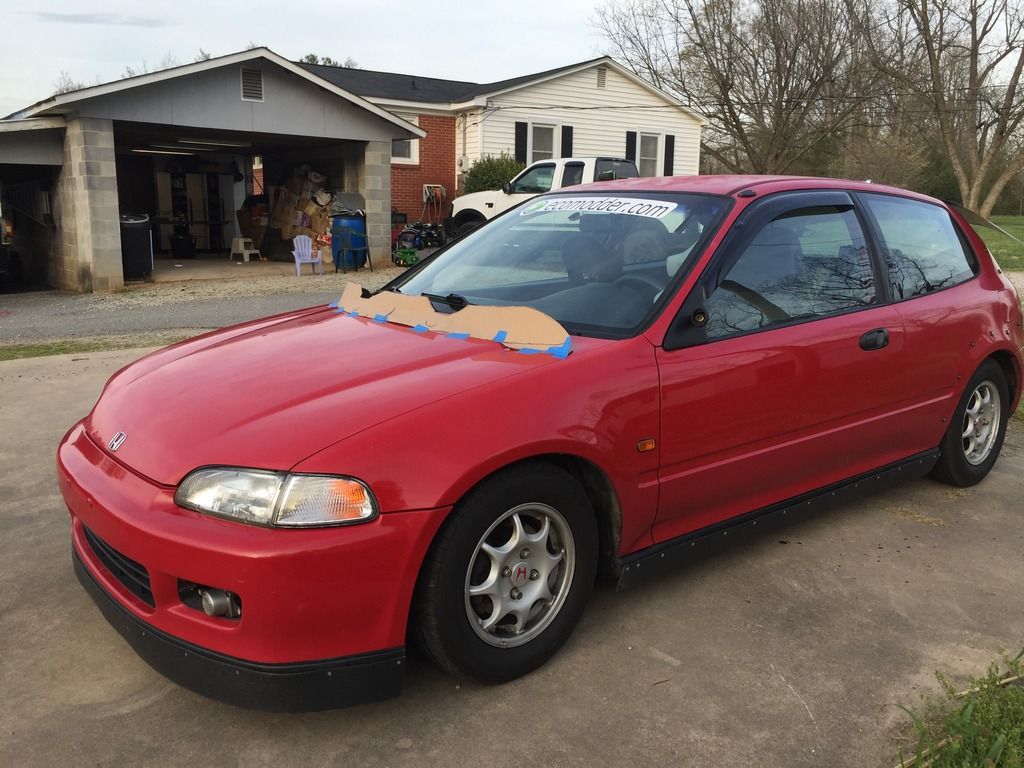
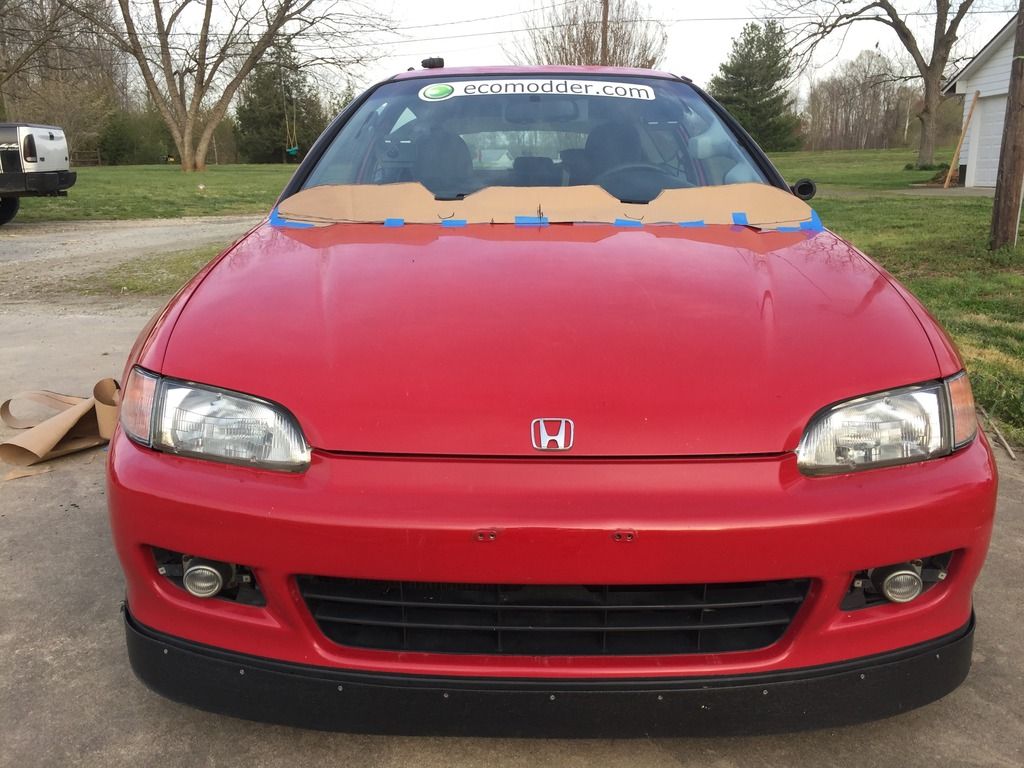
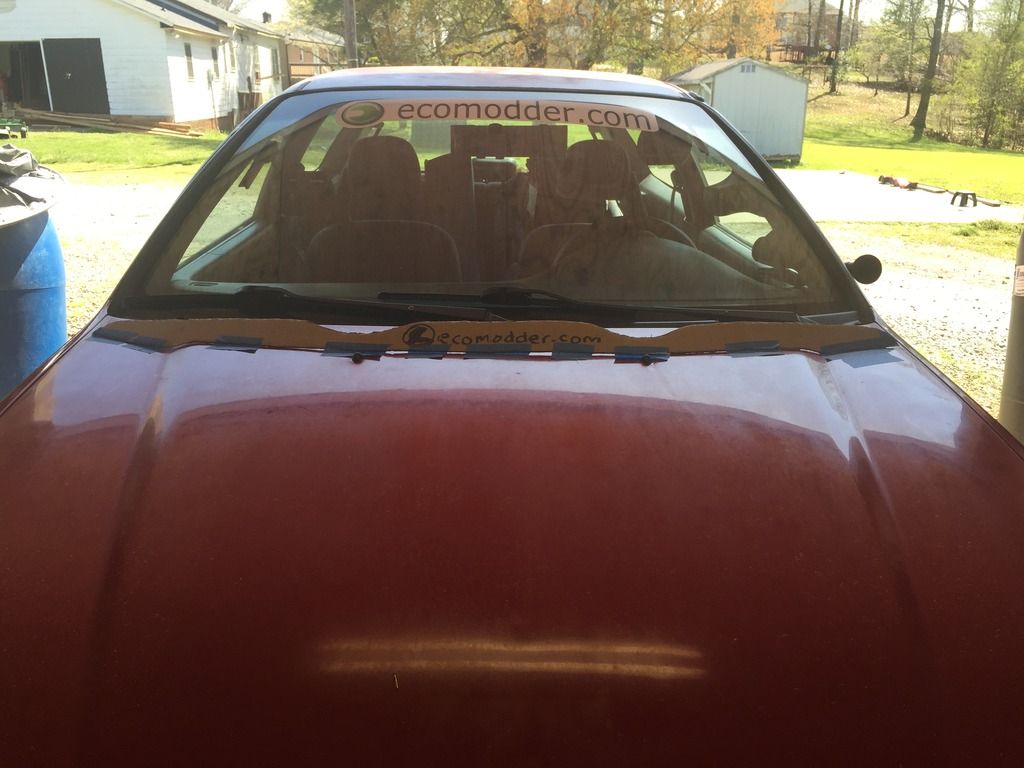
After the bulbs were swapped out, I set my sights on completing the metal fab work for the remaining aero pieces. I decided to build a wiper diffuser to sit on the hood, since I had so much metal laying around, and it seemed like a fun and useful idea. The drafting process evolved as I went along. Originally, as you can see, I had the diffuser sitting in front of the wiper squirters. However, once fabbed up, I felt it sat too far forward, and would have likely rendered pointless at actually diverting air away from the wipers. It also didnít flow well with the line/angle of the windshield. So, I moved it backward about 7 inches, and put it behind the wiper squirters. I added dips in the top line to allot space for the wiper squirters to still spray past it. I also fabbed up some brackets. It will attach the diffuser to the hood using the same SS bolts/washers and nutserts combo Iíve used for the rest of the aero parts on the rear-end. Finish will include black trim paint. The front of the diffuser will then be covered in CF vinyl, then finished off with an Eco-Modder decal in the center.
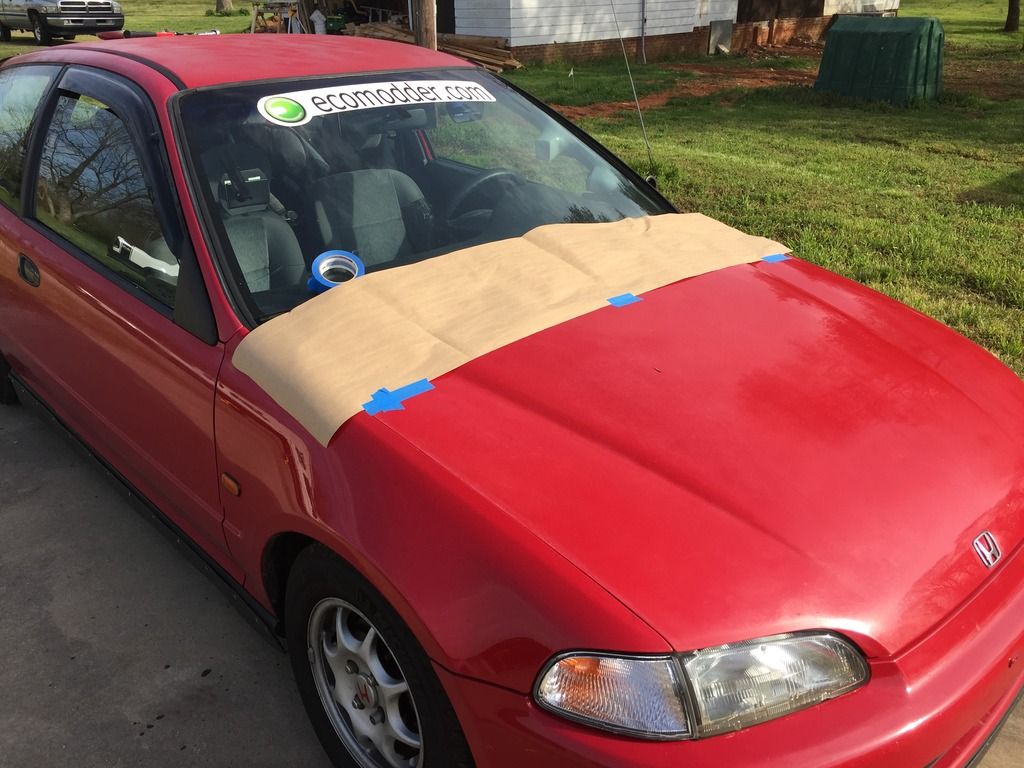
 Version #1 (In front of the squirters):
 Version #2- Final Version (Behind the squirters):
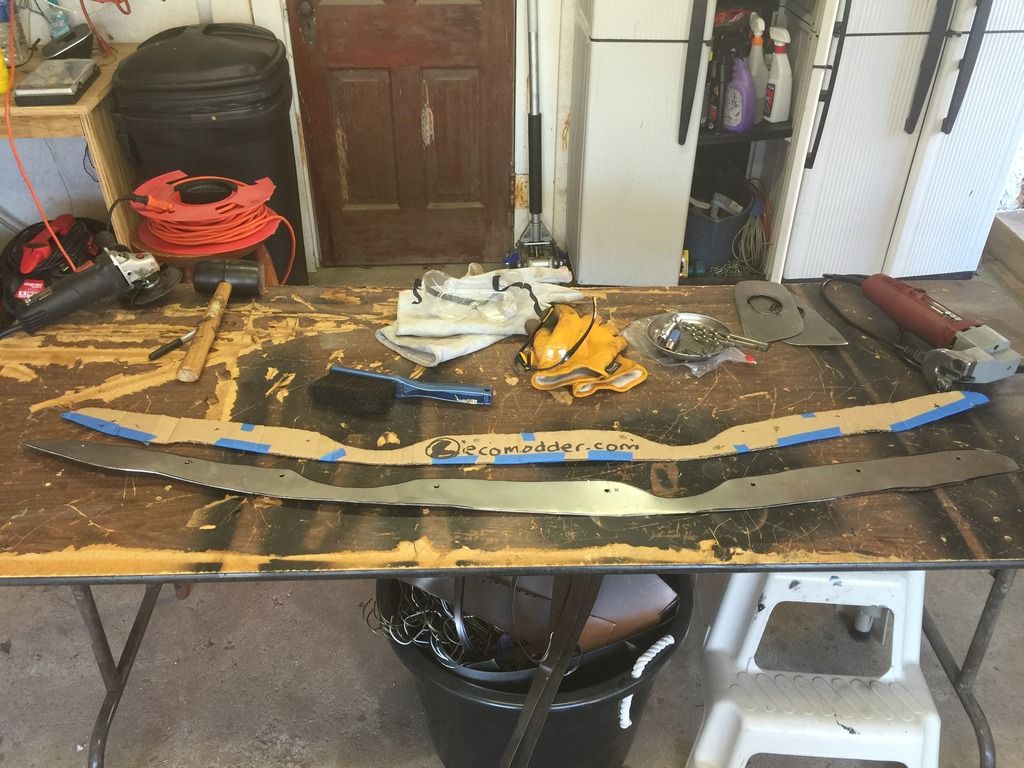
Hereís the brackets getting made for the wiper diffuser. I made these out of a thicker (18 gauge) steel.
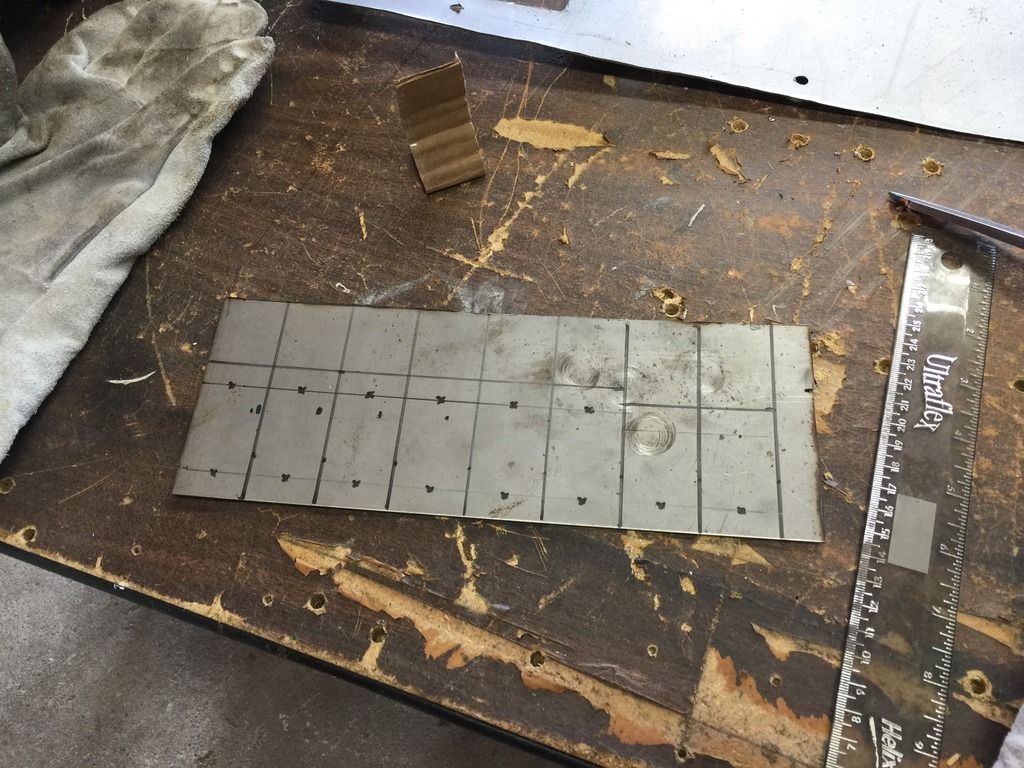
Next, I also measured, cut, and drilled out the plexiglass covers for the tail light recessions on the rear side panels. They will be riveted on, with bead of black silicone added to the backside, after paint is complete.
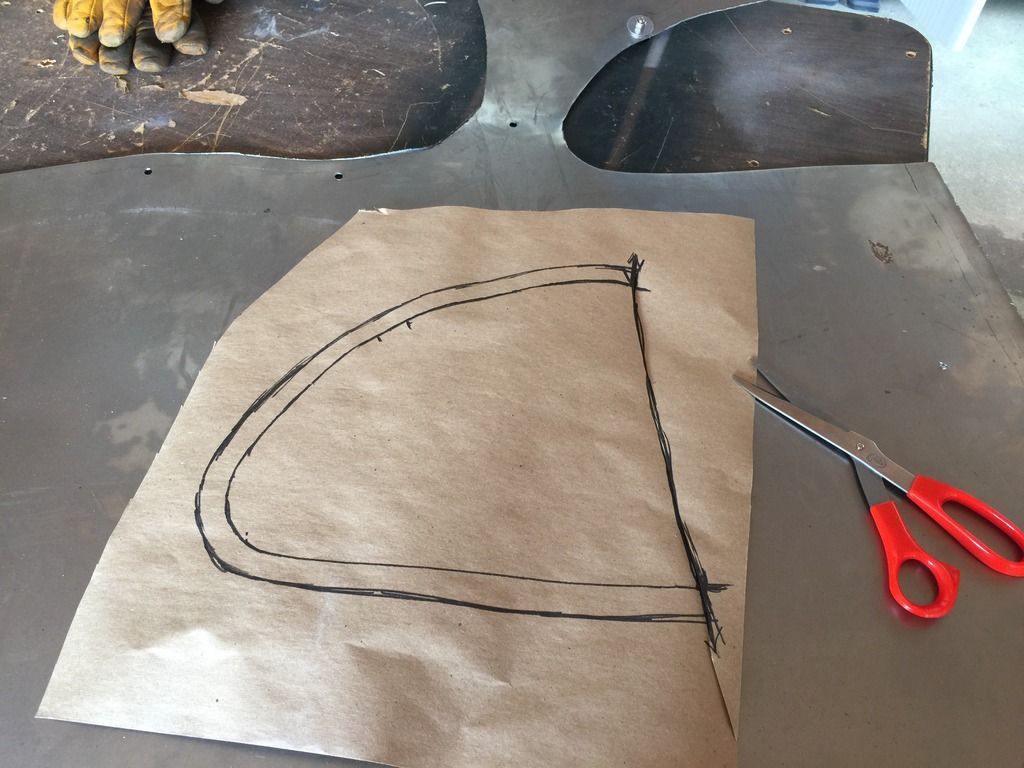
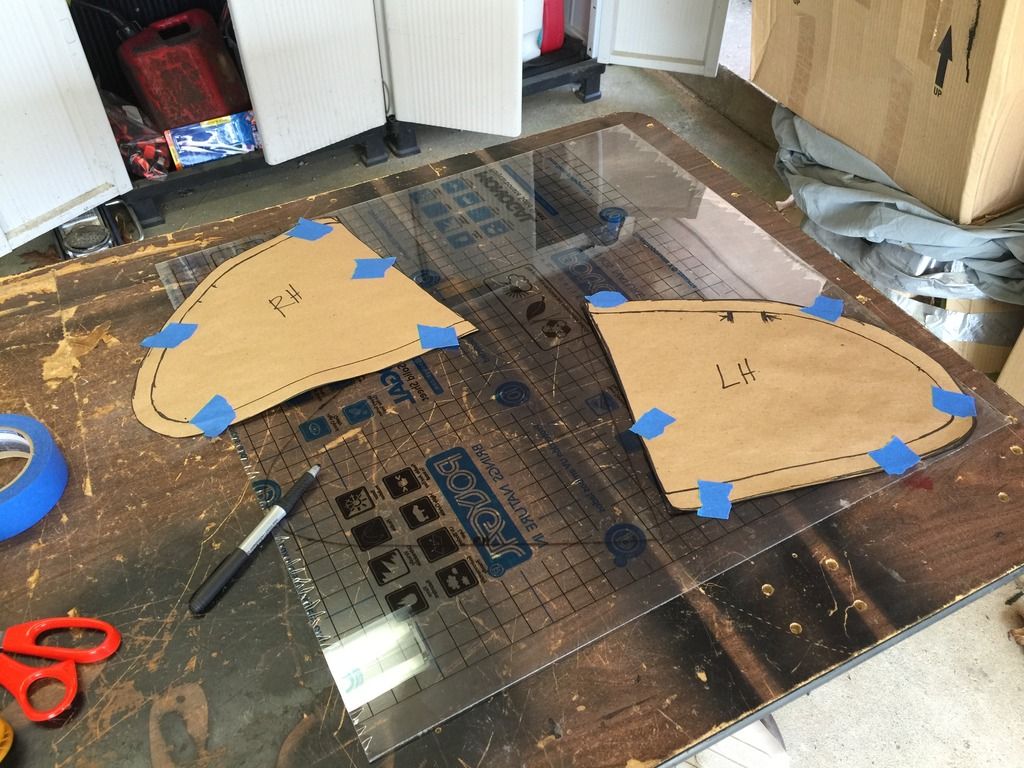
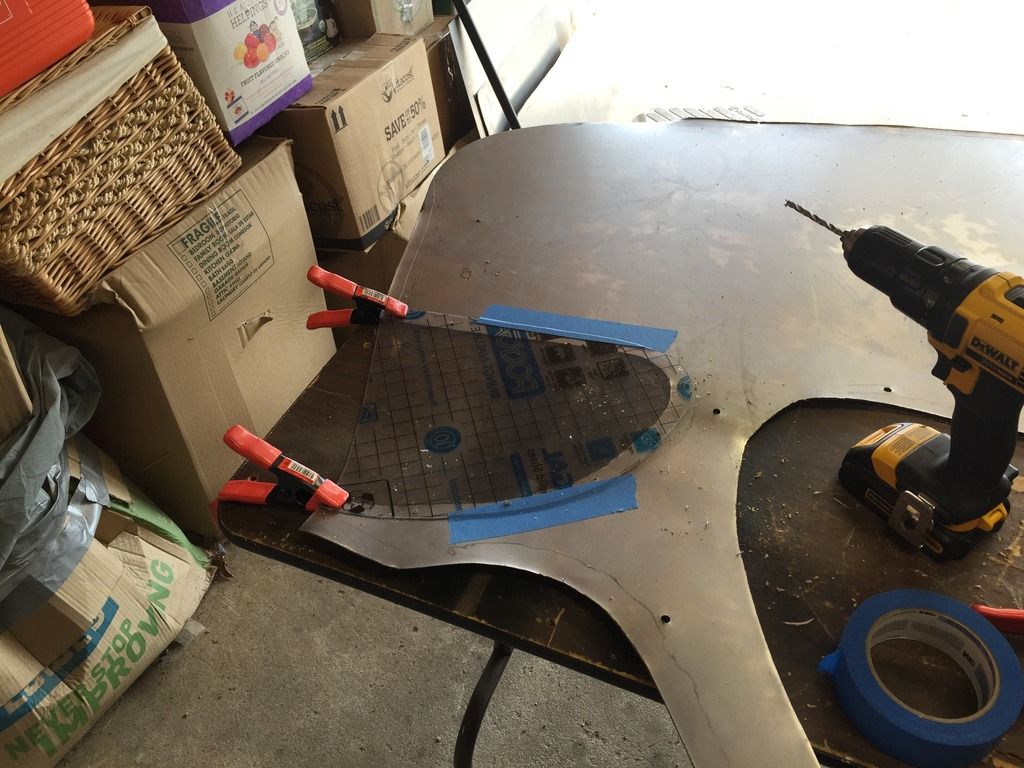
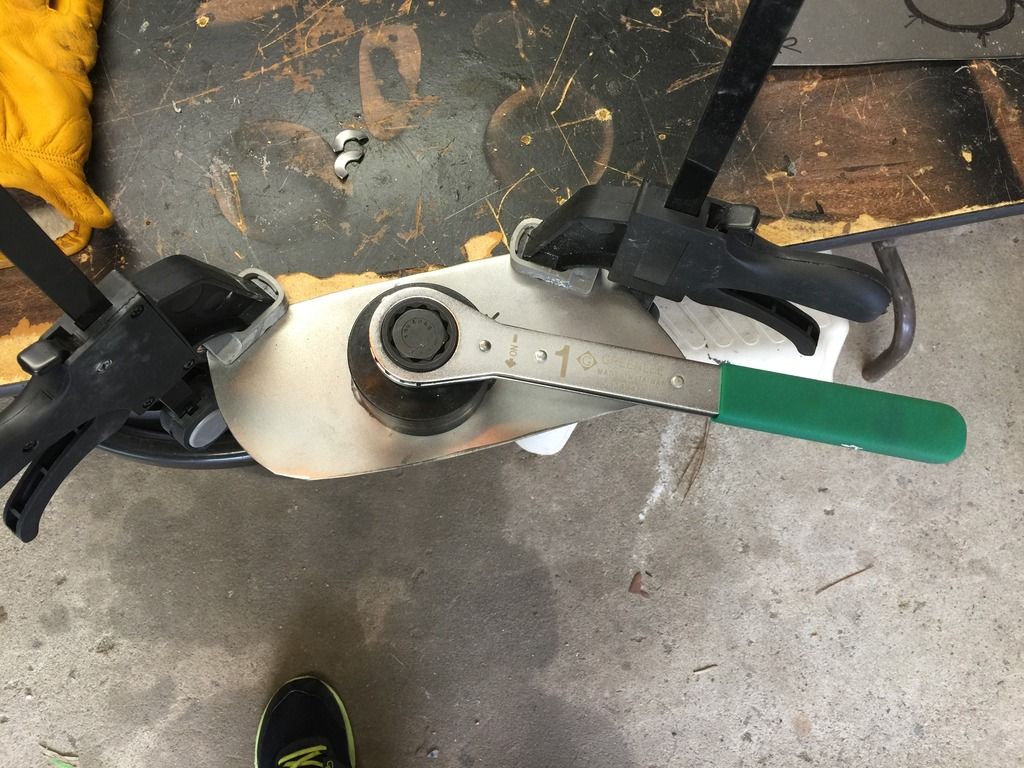
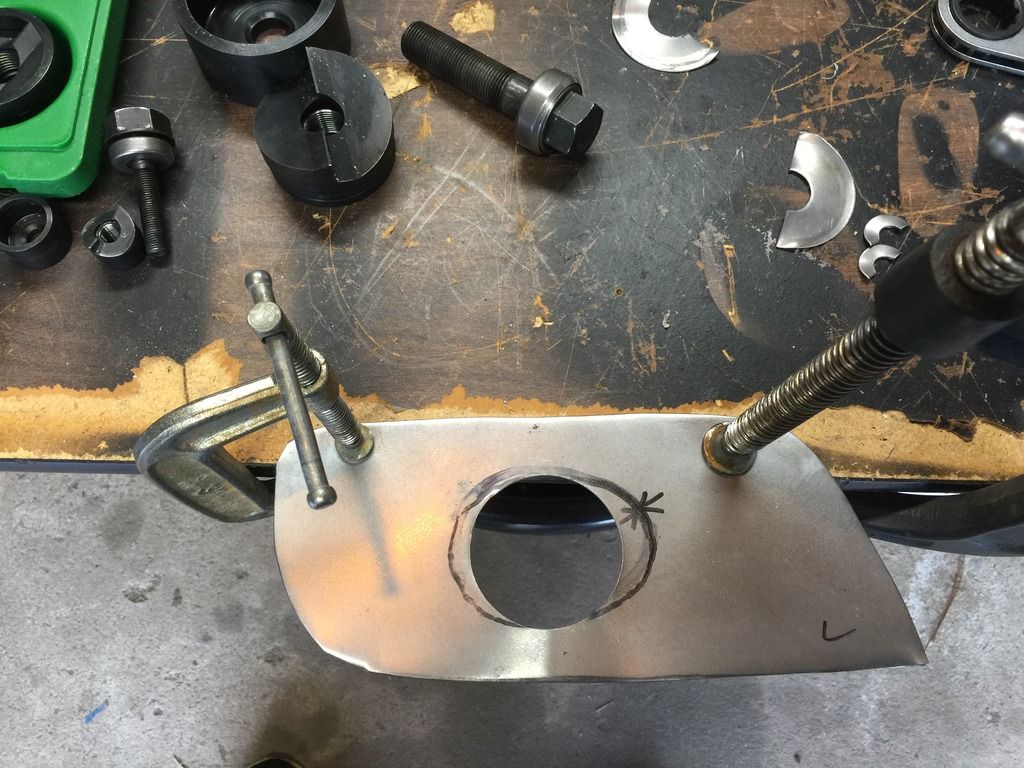
I finished the fog covers as well. This was a challenging task, as I had to carve an oval shape out of the metal. I used a multi-step process.
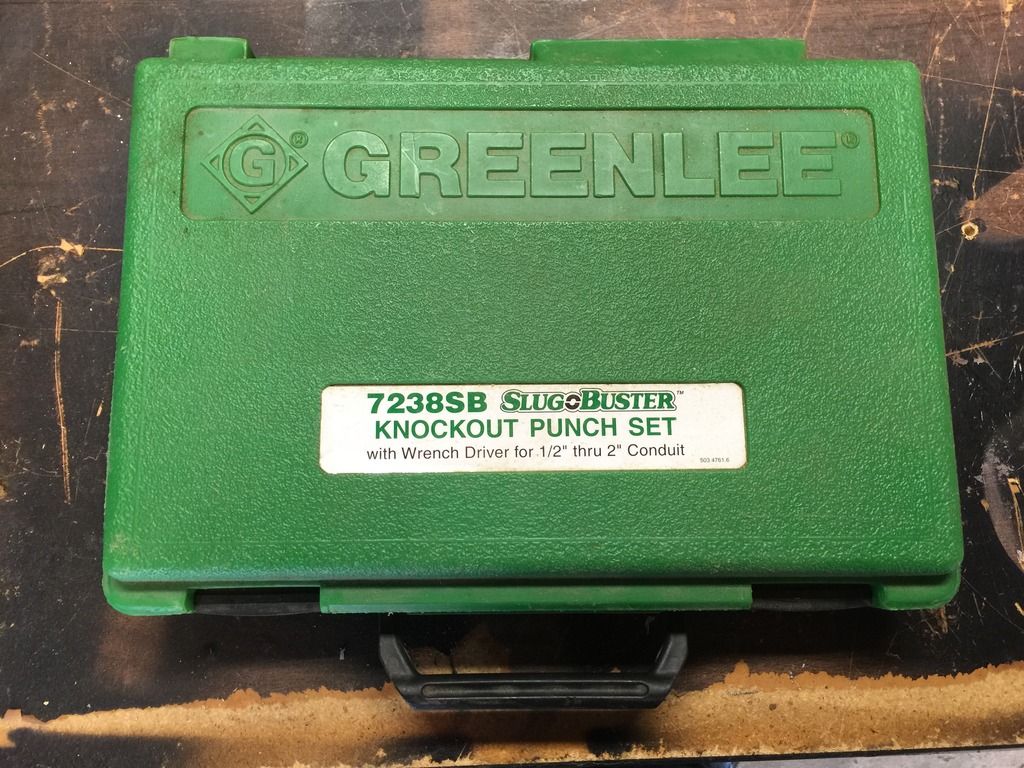
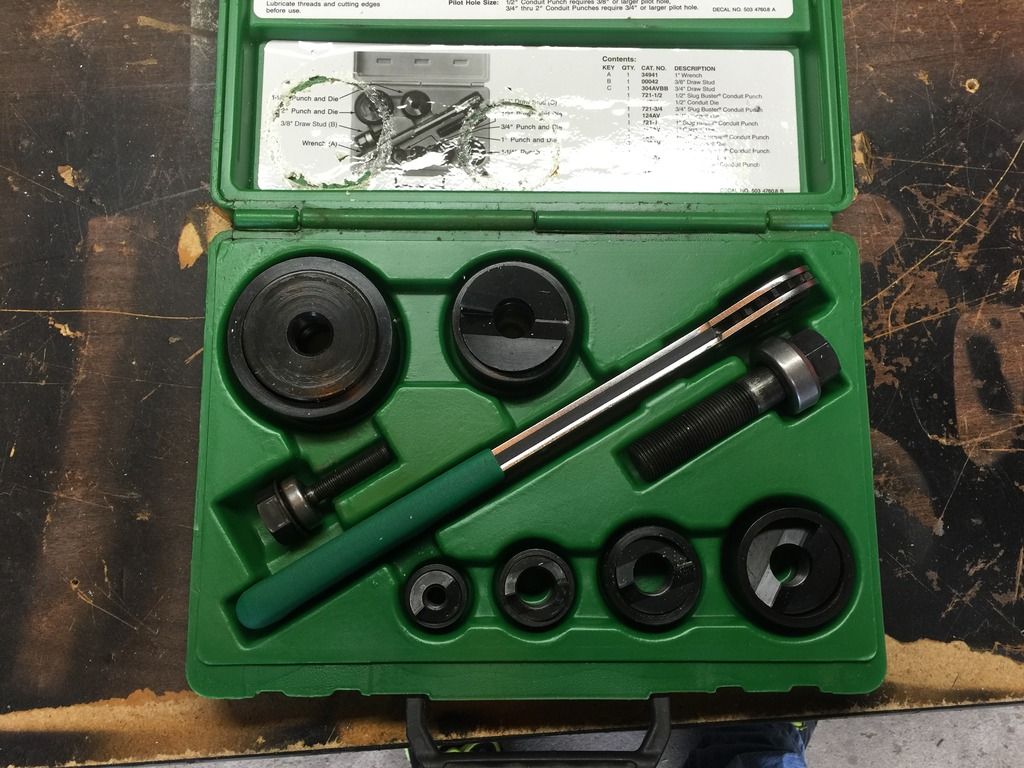
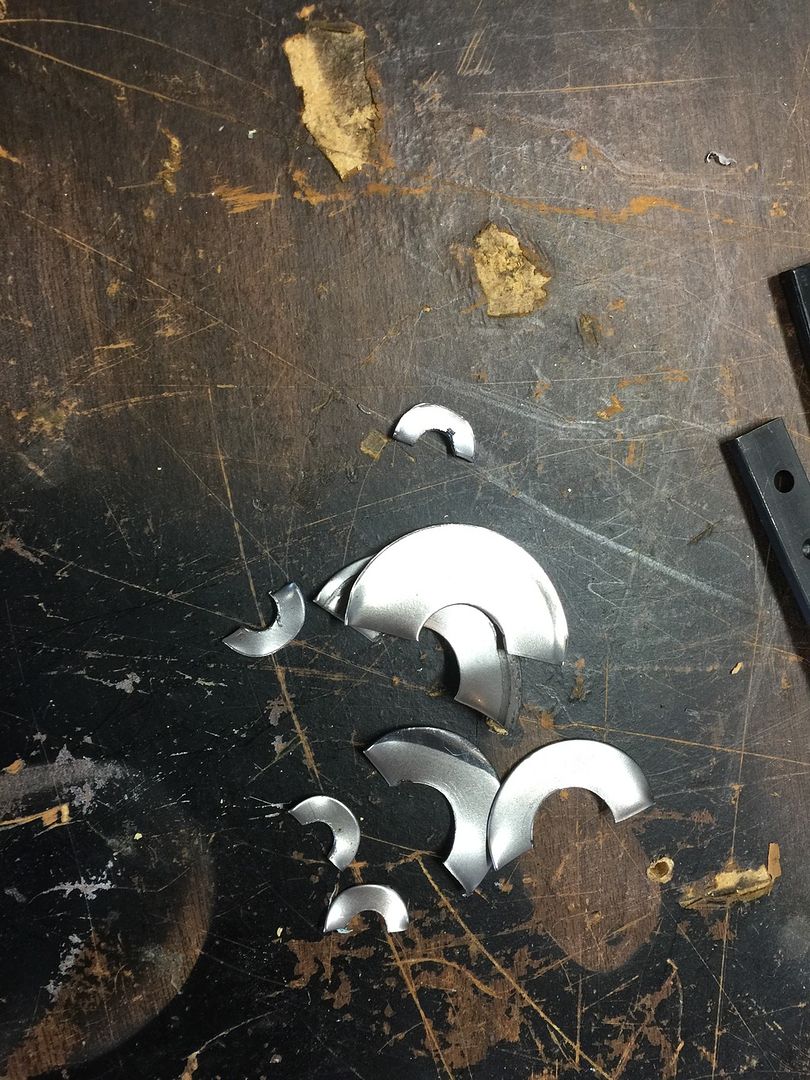
Used an AWESOME $500 die-cut kit from my father-in-law to get a circle stamped out.
Used Harbor Freight metal shears to cut as much of the remaining edges as I could.
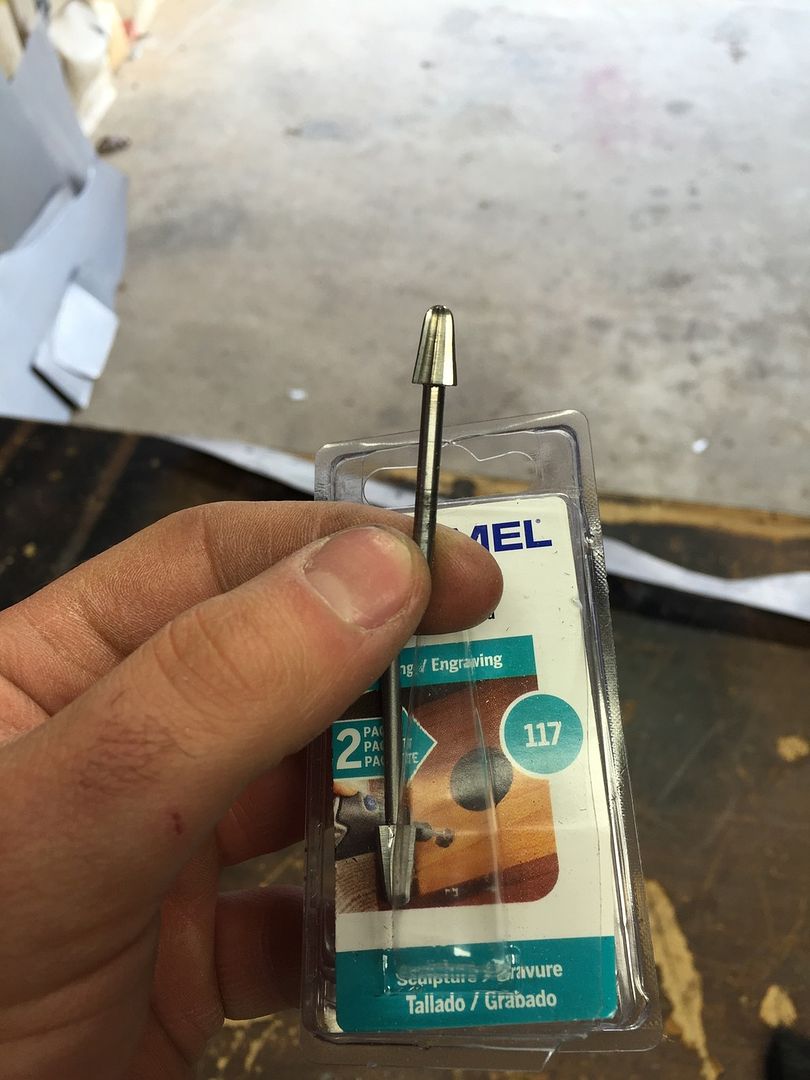
Used Dremel bit #1157 to carve out the remaining shape.
Used a Dremel sanding bit to smooth out the edges.
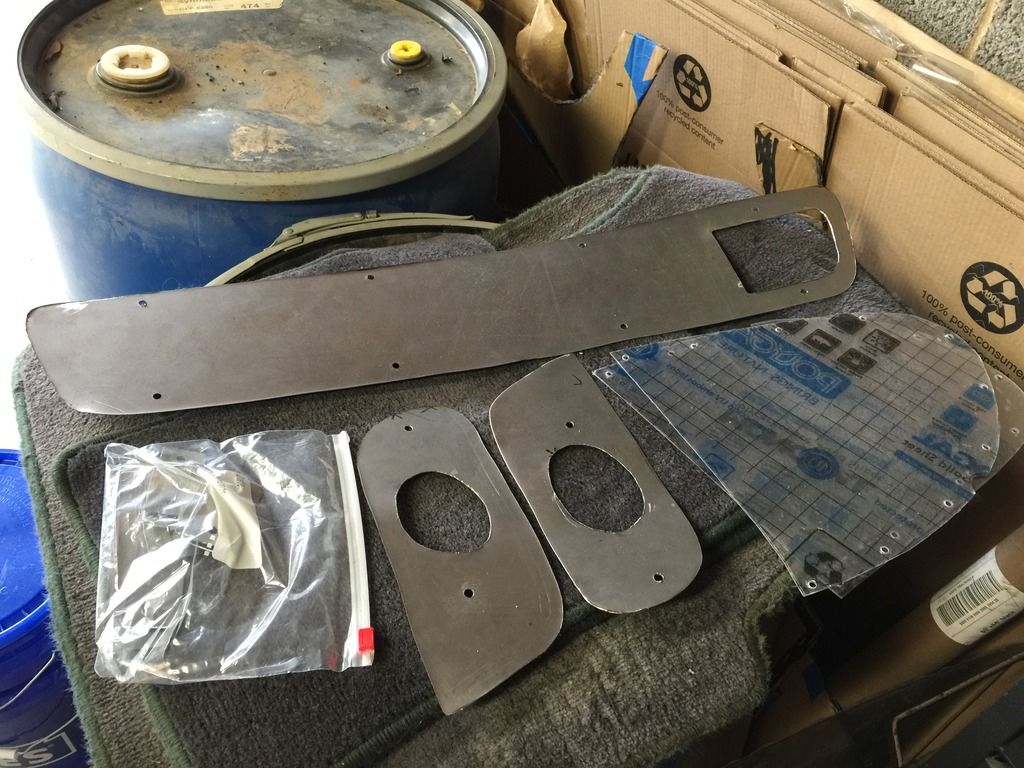
Hereís the completed grille and fog blocks, plus all of the little bits, waiting to get sanded and painted.
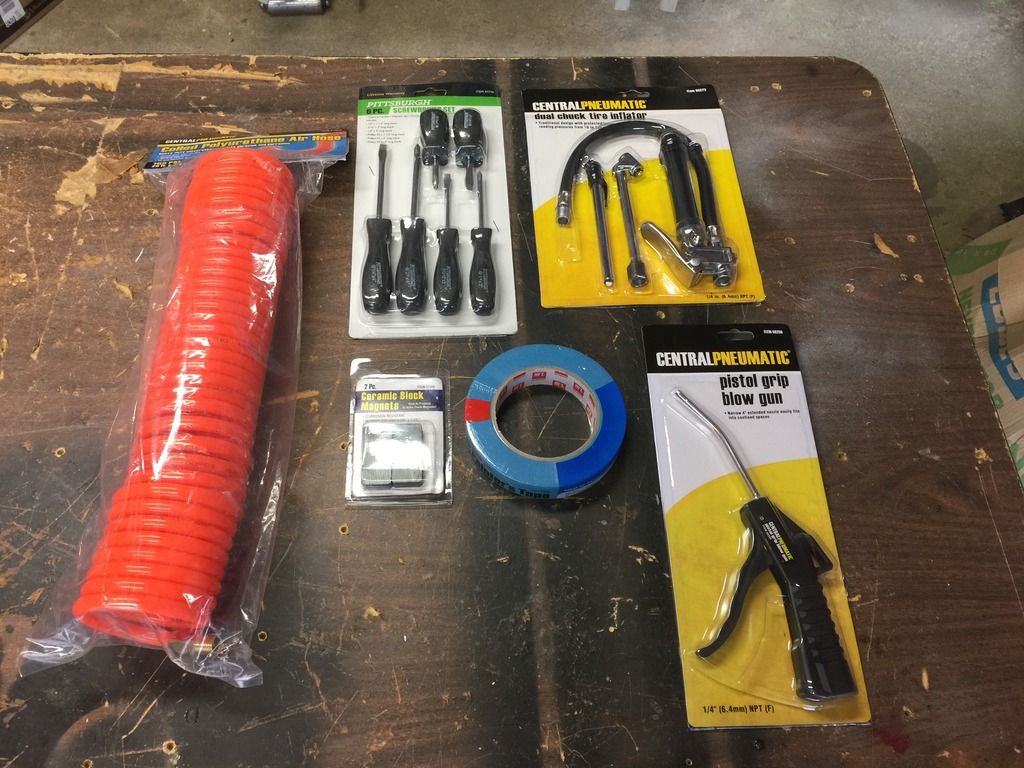
I picked up some doo-dads for the shop at Harbor Freight, also. Love that place!
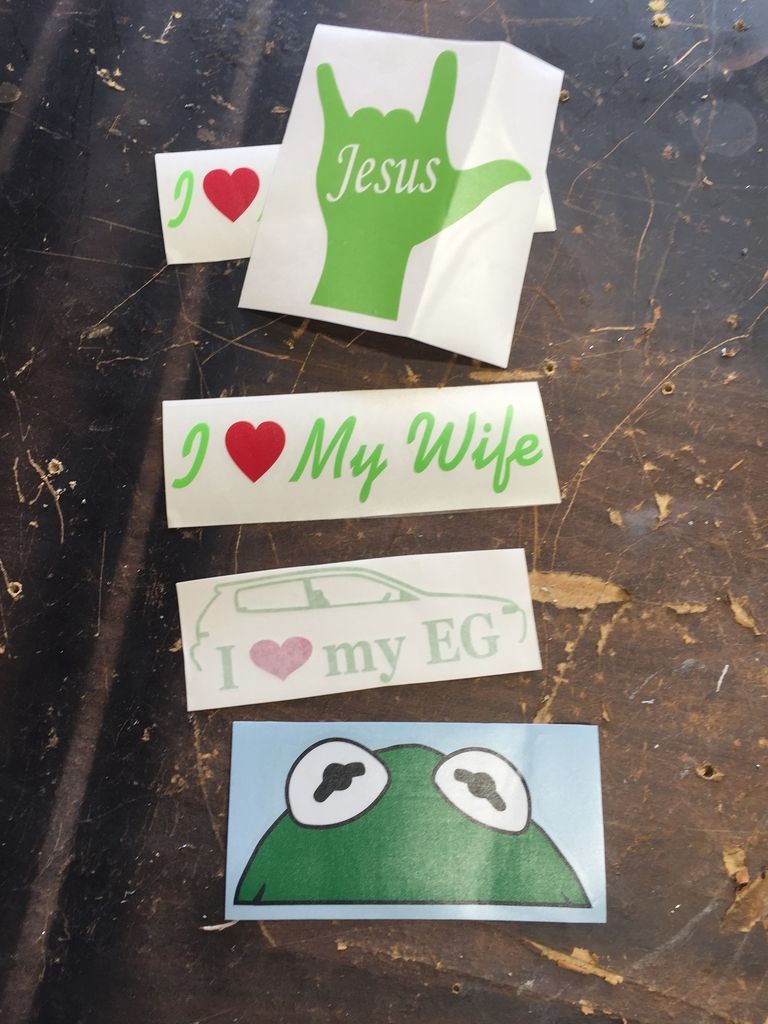
Hereís a decal collection that has been piling up for the car. Still have a ďItís Easy Being GreenĒ decal on the way from Canada to go along with Kermit.
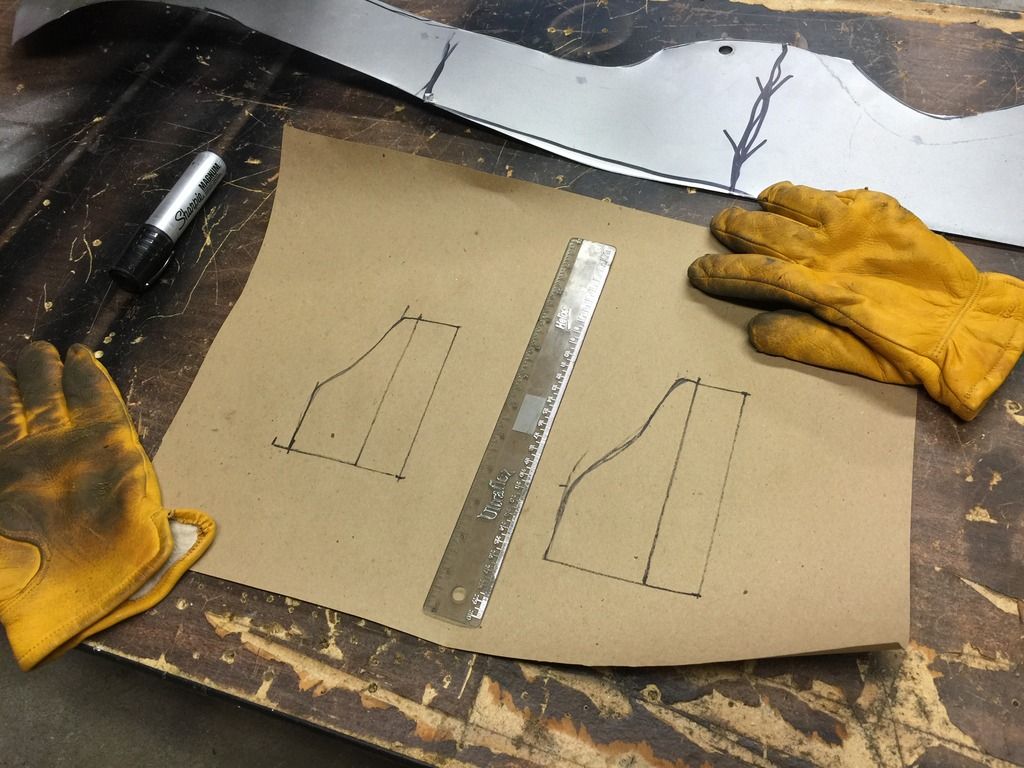
Lastly, I finished off this weekends work by making (4) ďwingletsĒ for the rear-end under-diffuser.
Thatís all I have for now. I believe I am (FINALLY!) done with the metal and fabrication work on this stage of the project.. I can now start sanding and prepping the metal for paint. Alright!
Iíll be back with more progress soon. Until then, thank
YOU for
ecoTuning in.