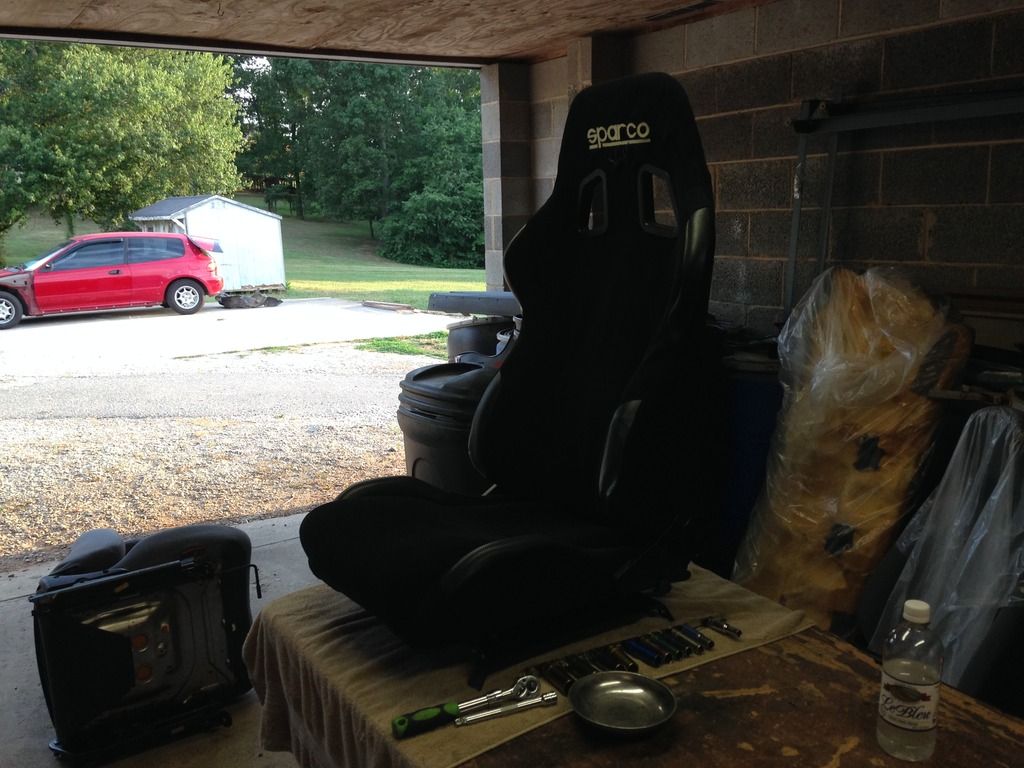
Update 6/20/2015: Sparco + Auxiliary Table (Part Two)
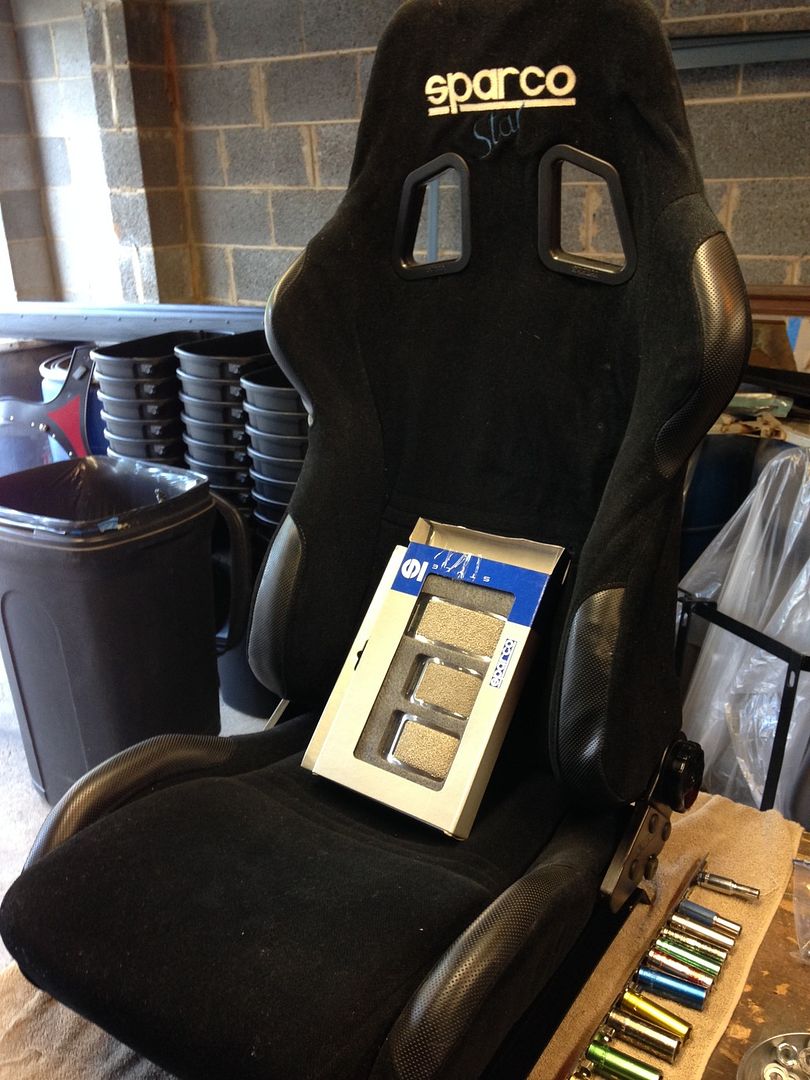
Things are now all wrapped up on the Sparco seat install! I drove it around the block a bit and if feels awesome. Very pleased and feel blessed that I found such a great deal on the seat to begin with. Ill disclose here: I paid $50 for it, due to the rip it had. The rip was a simple fix, and I did showcase how I repaired the rip several updates back. The brackets were $50 shipped for both on Ebay, and the bolts/steel totalled about another $25. Primer and Topcoat paint cans totalled $8.
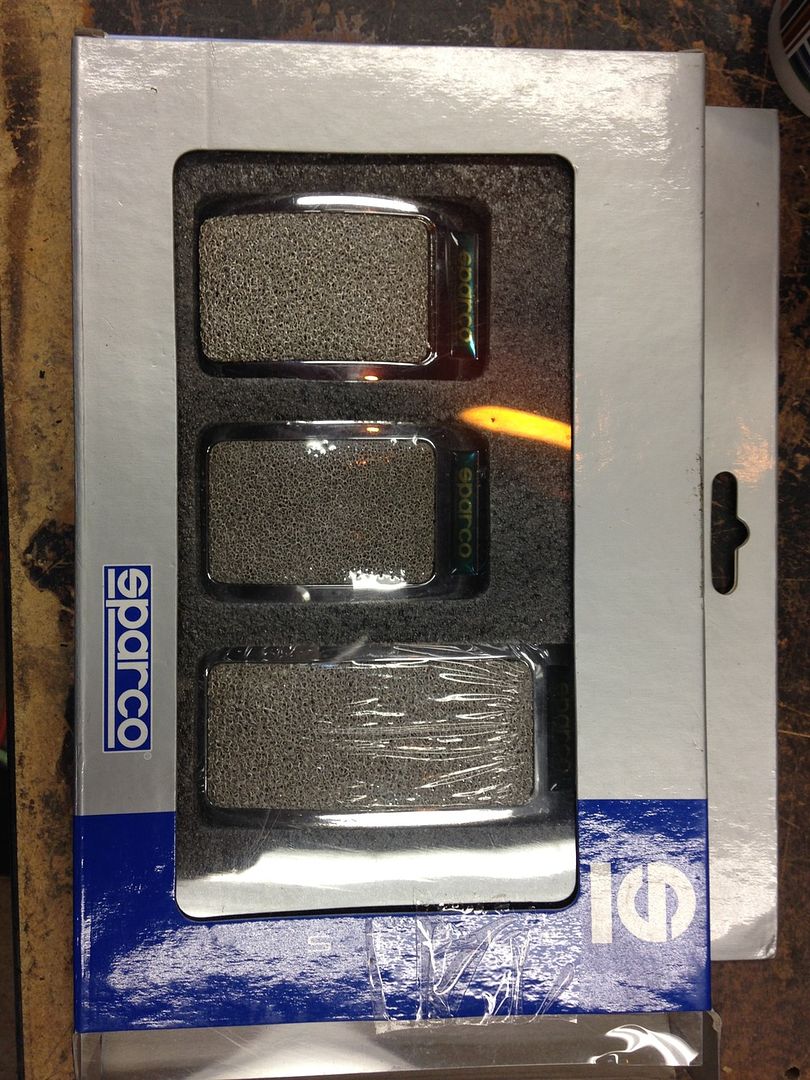
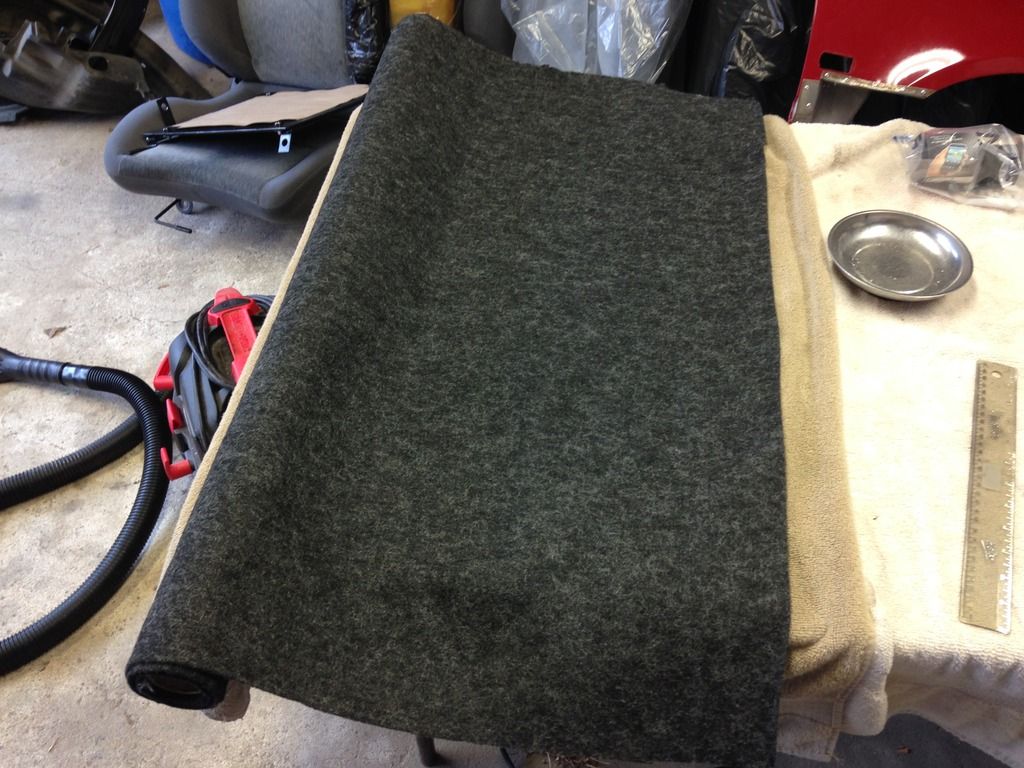
For the auxiliary table, I used the same paint. The mini console was $8 from Autozone. The dark grey speaker carpet was $5 plus shipping for a very large roll, and everything else (headliner spray + SS/Allen head bolts, etc...) I already had on hand. The Sparco pedals ARE real, and though I only paid $16 shipped on Ebay for them (Sparco badging was blotted out in the Ebay post, for whatever reason), they typically retail for around $50 on other online stores. I also bought a Sparco lumbar pillow, which youll see in a future post. I paid $20 shipped for it. So, all in all, Im about $200 in for the interior bits shown in this post. However, Ive been collecting all of the bits for months, so it FEELS like I paid nothing, ha!
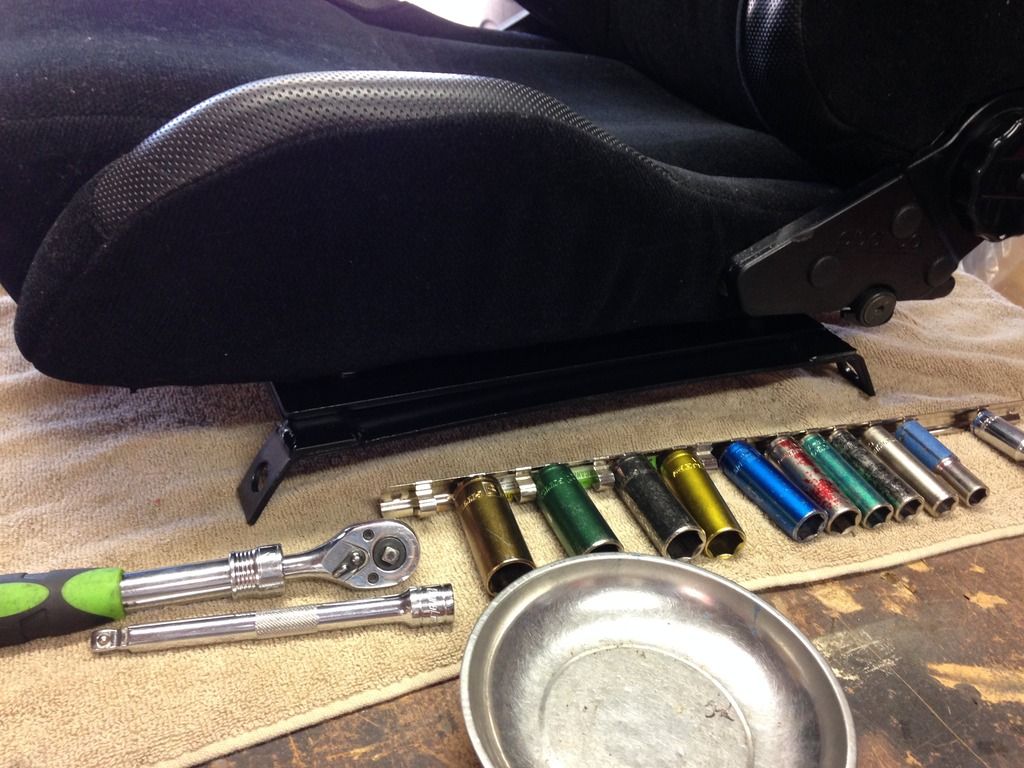
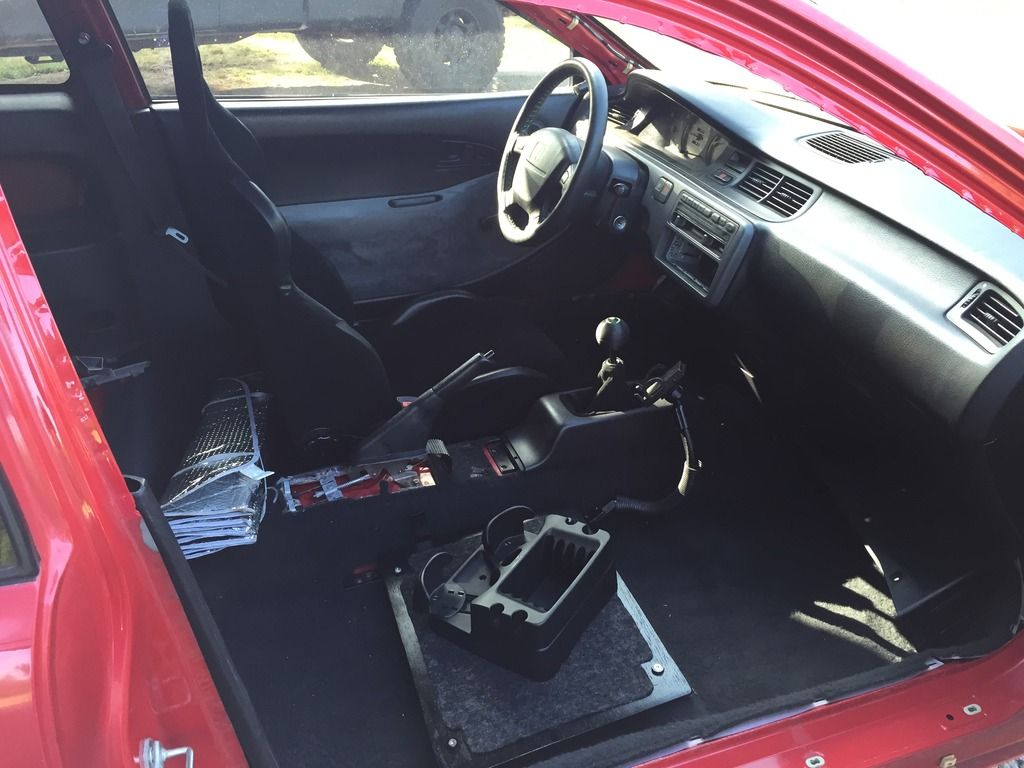
OK...some progress pics. .
Heres the completed bracket/seat set up, post paint. Paint used was RustoLeum auto primer followed by RustoLeum Satin Black.
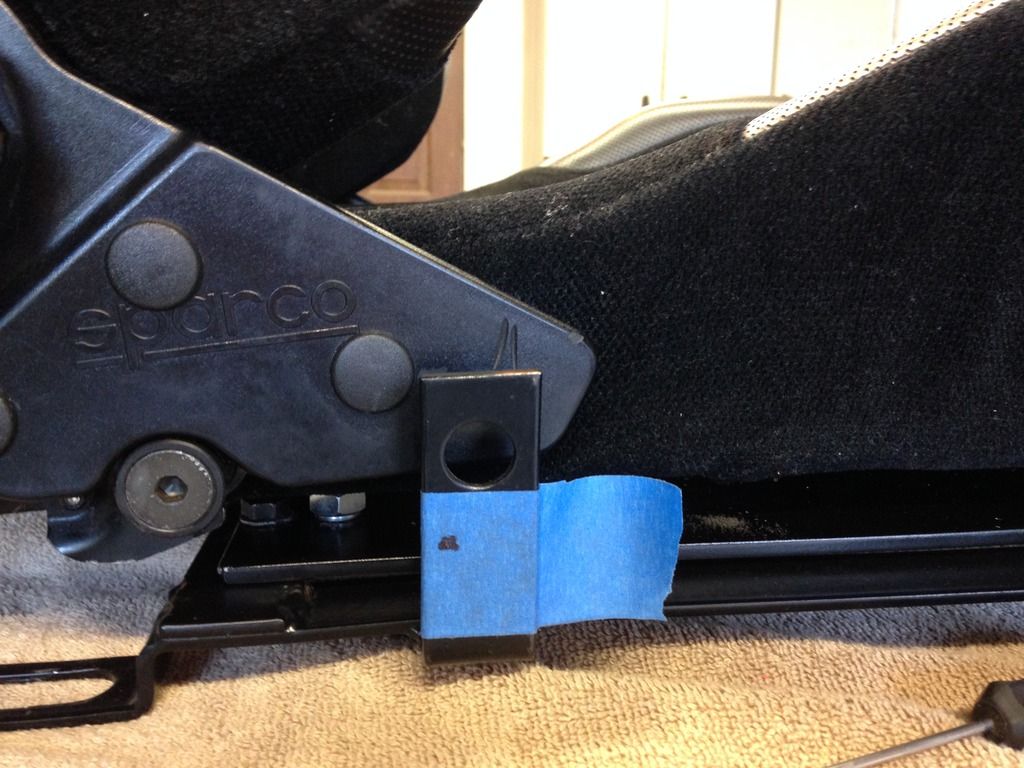
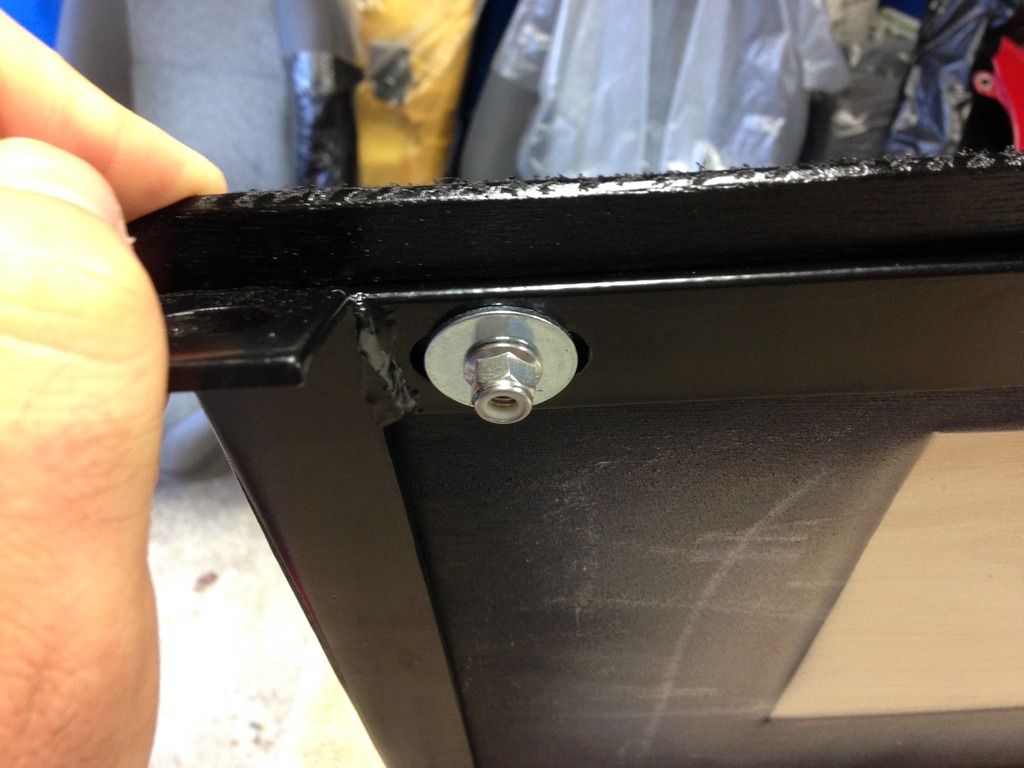
Next, I need to include this hole here into my bracket, to hold up the seat belt indicator wiring neatly under the seat.
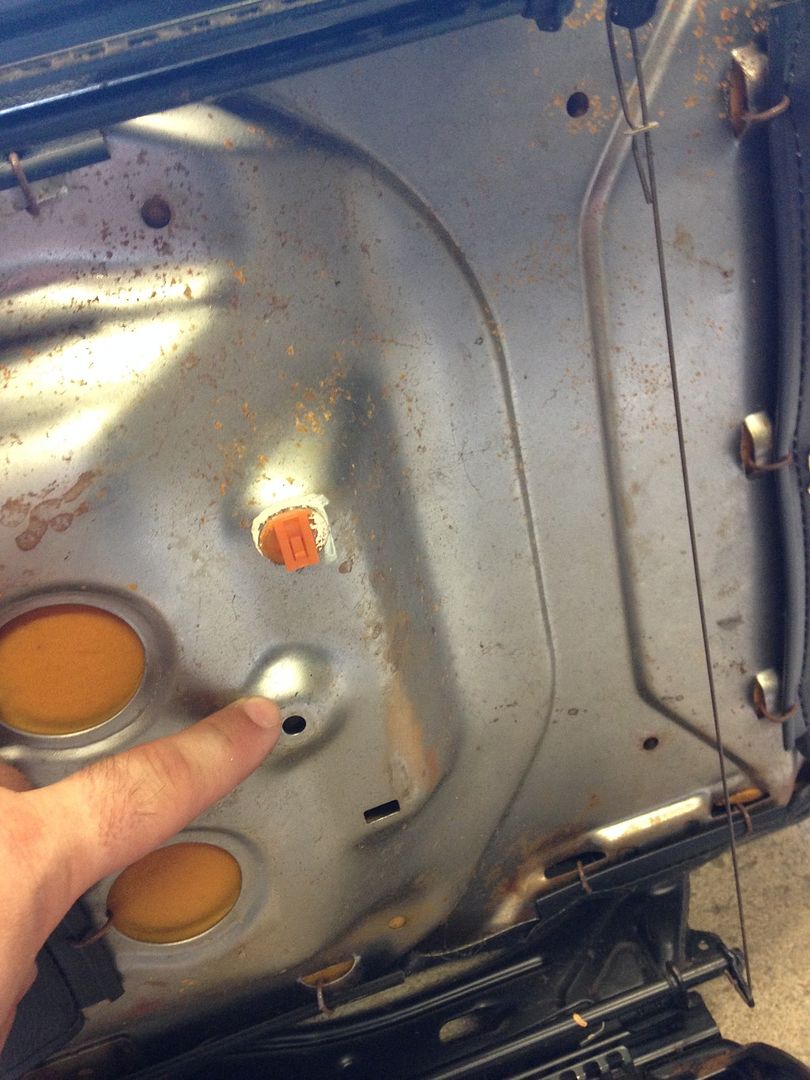
So, I drilled the hole pictured here:
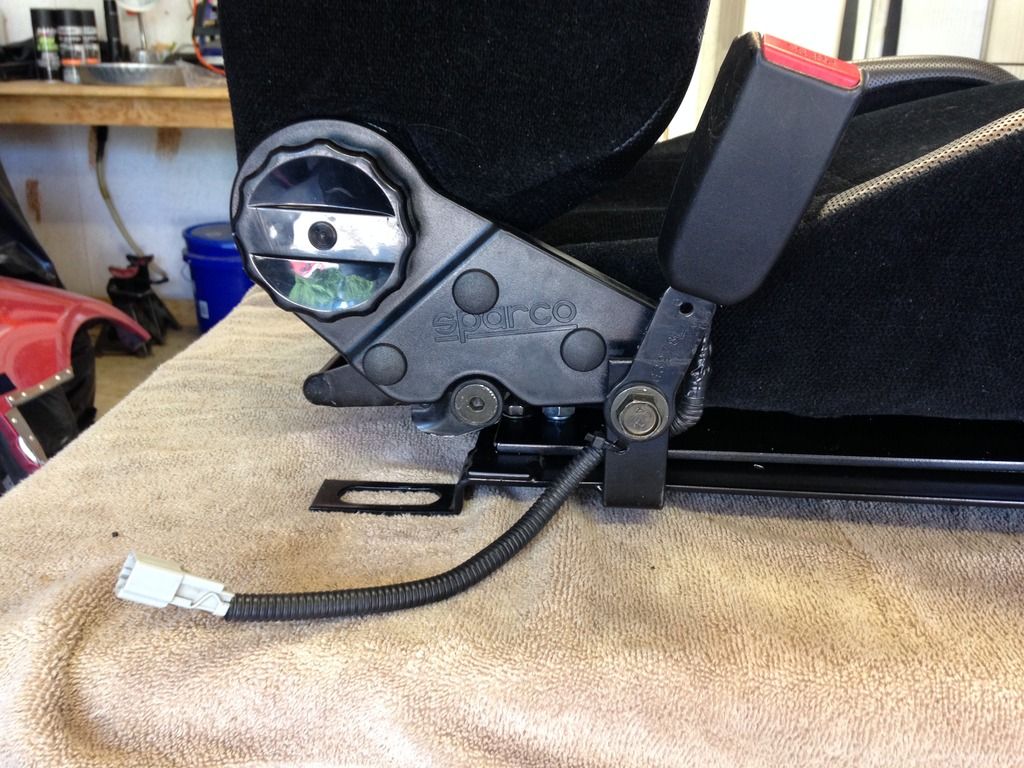
The final matter to take care of with the seat prior to install was the seat belt buckle. I marked up a hole to drill to hold the mounting tab that holds the buckle from rotating.
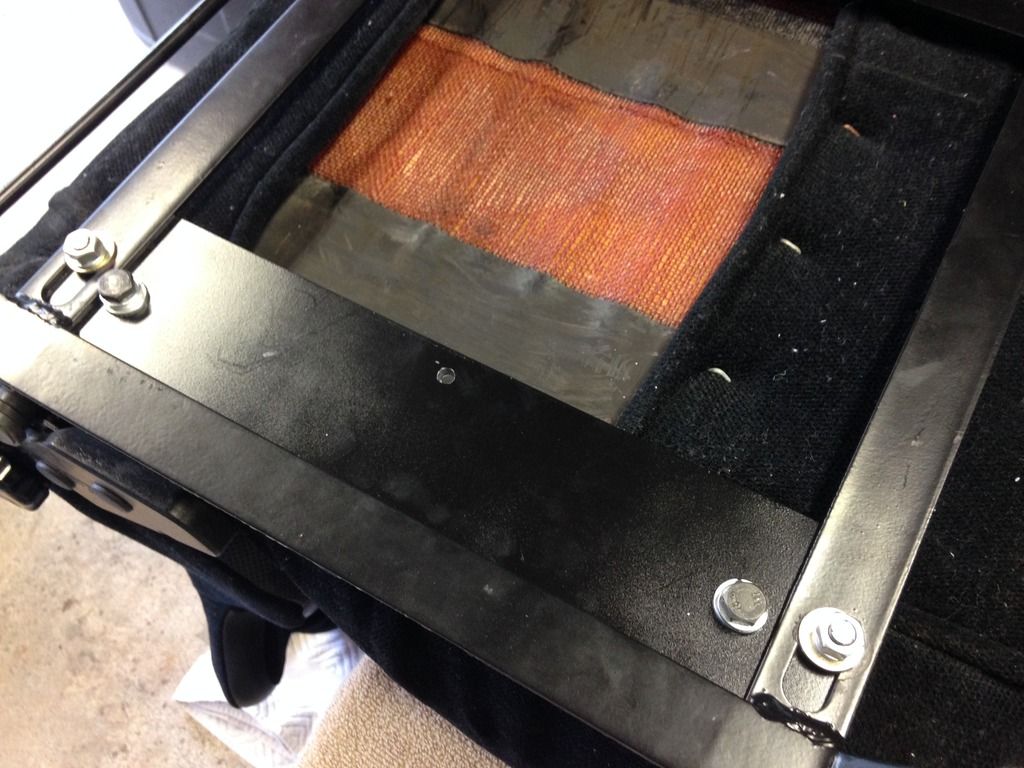
Bolted up, and ready to go:
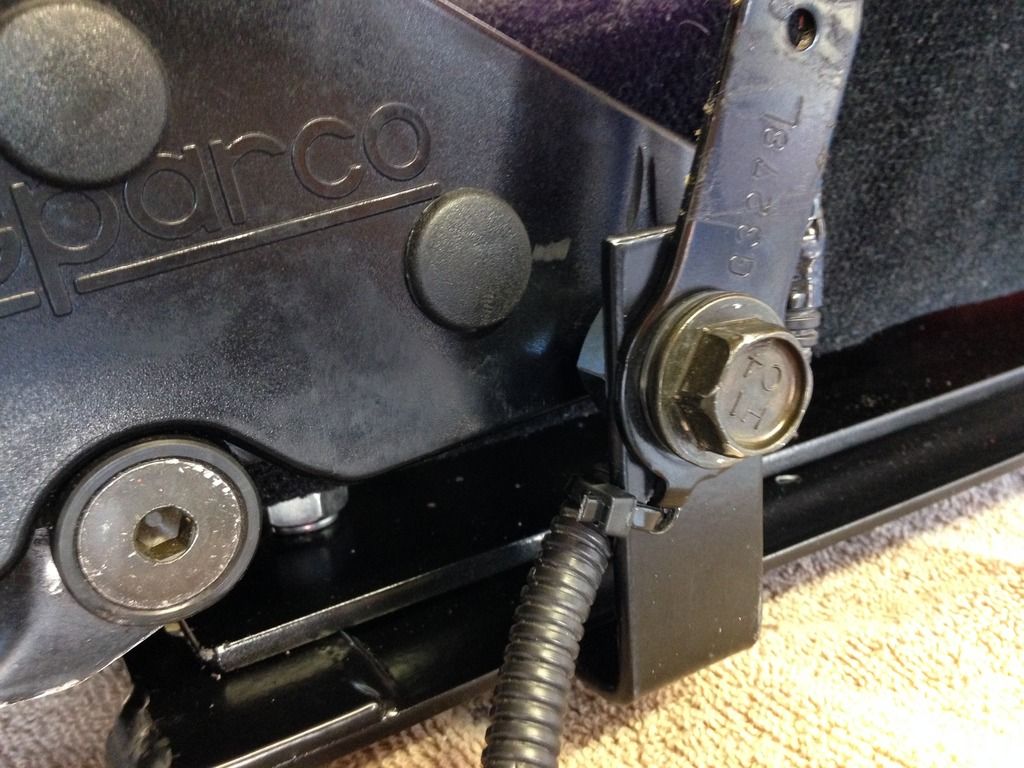
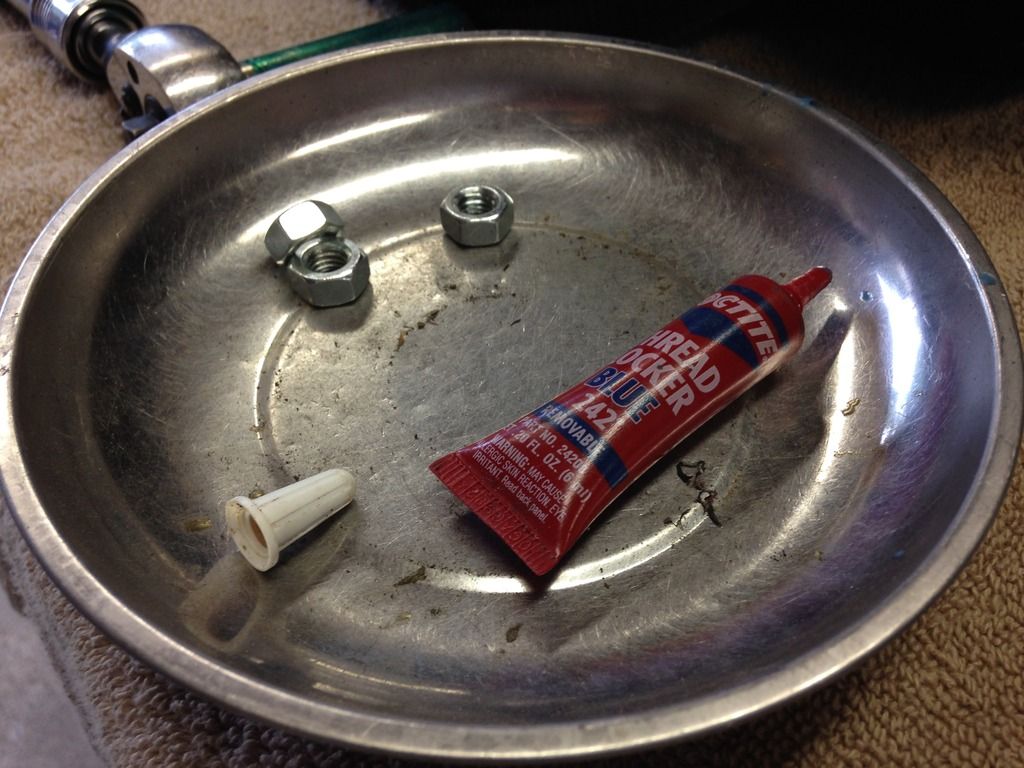
It should be added that blue Loctite was added to all bolts on the seat setup:
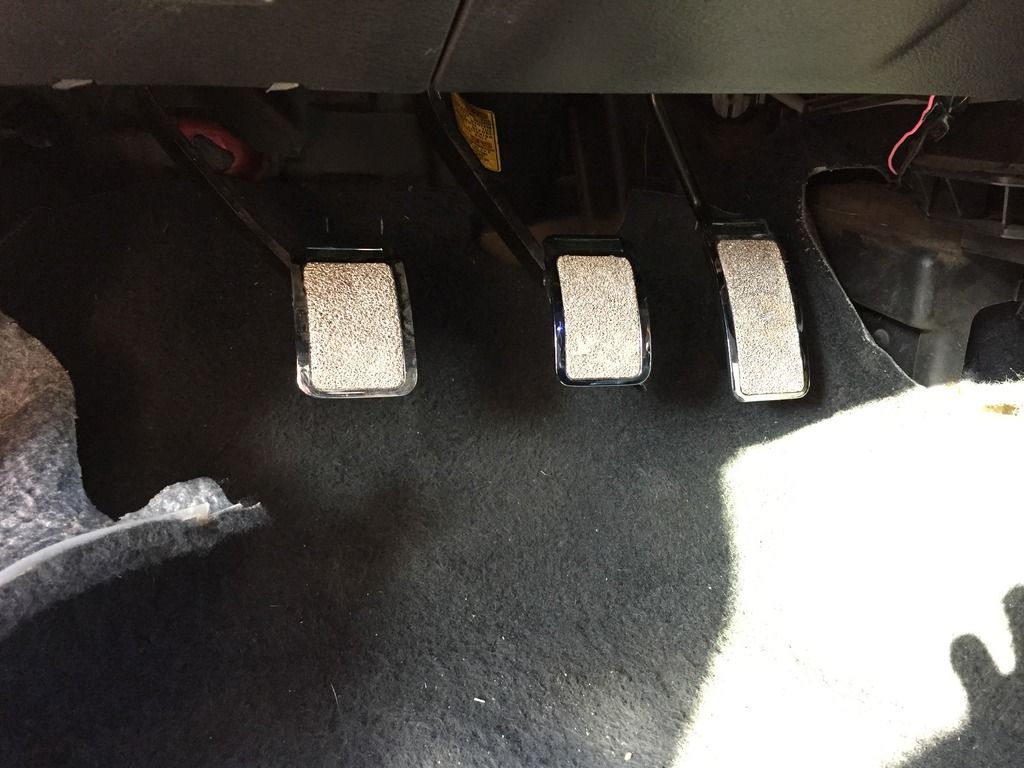
Before installing the seat, I needed to install the pedals. They are drill-in pedals. Ive installed several sets of these types of pedals (JDM DC5/S2000, etc...). They look great, but are always a PITA to drill and bolt up. So, I picked a time in the early morning several days back, and proceeded to sweat it out. Heres the pics...

After 3 broken drill bits and a bunch of cutting oil (and sweat) later....All done:
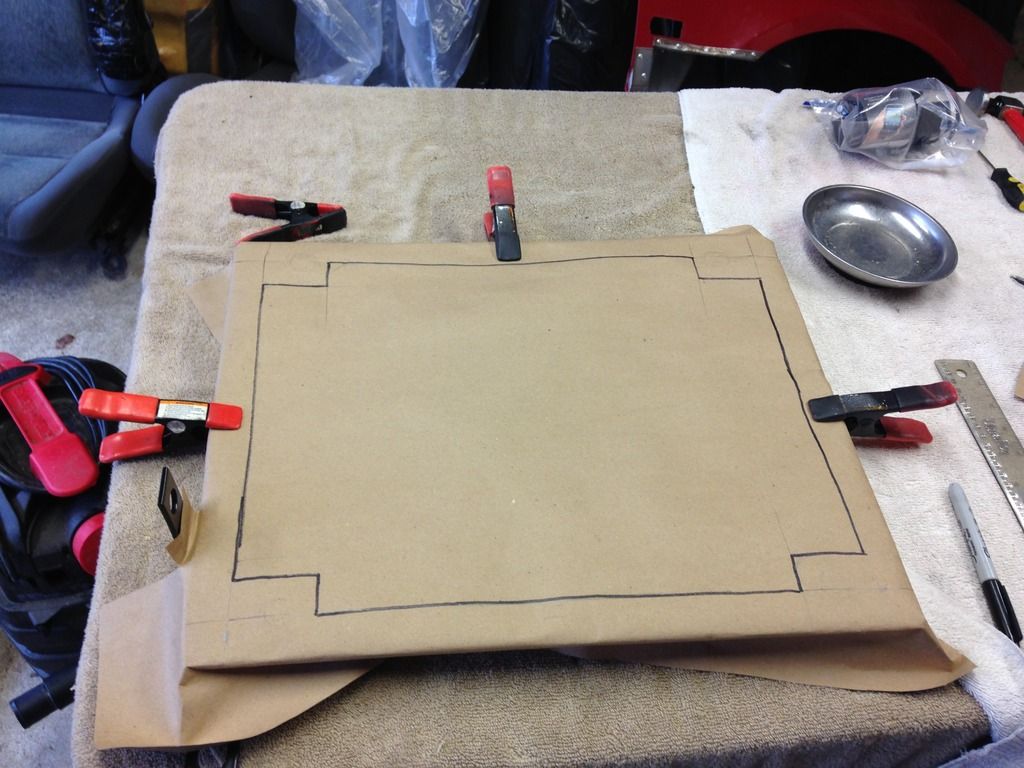
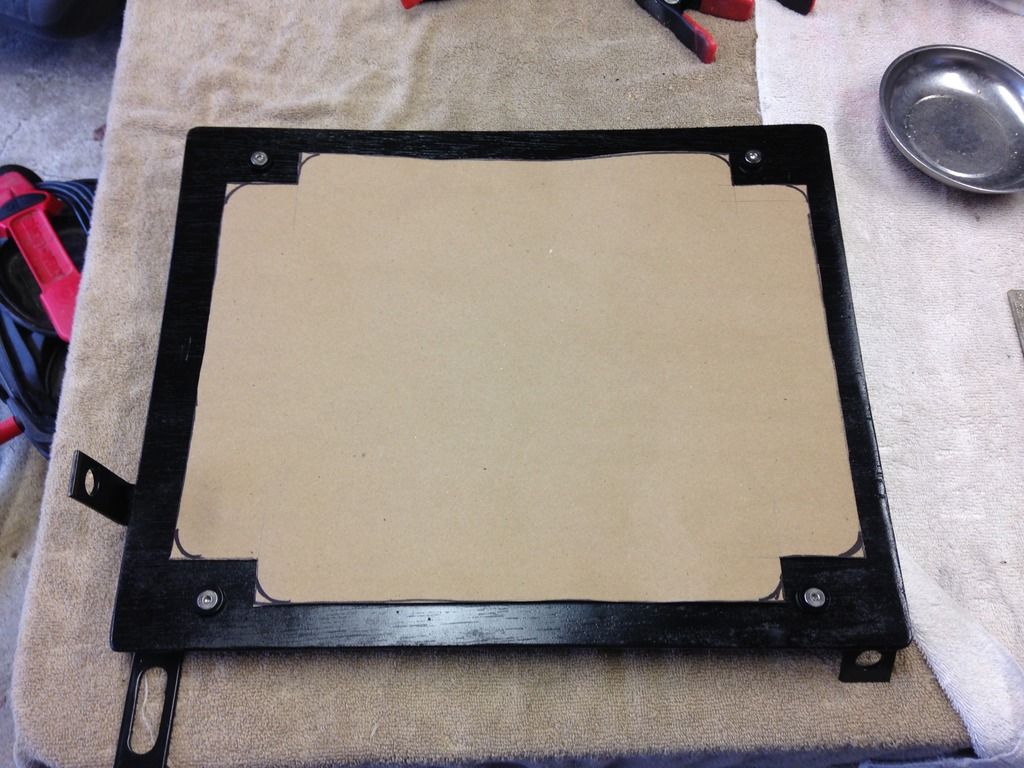
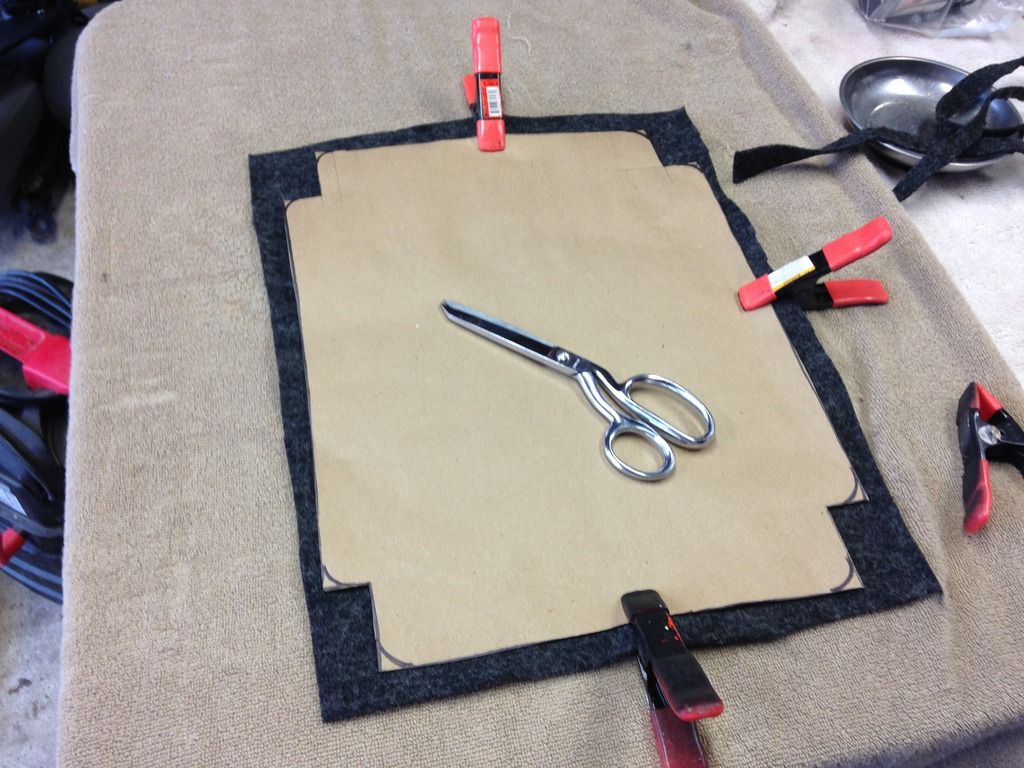
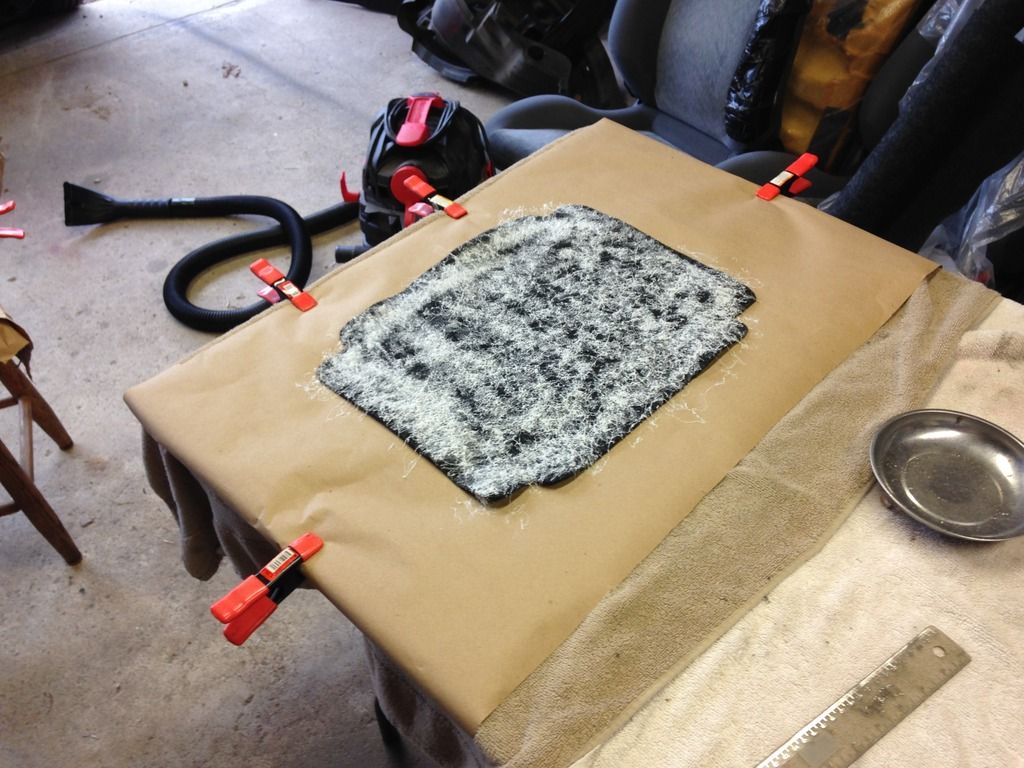
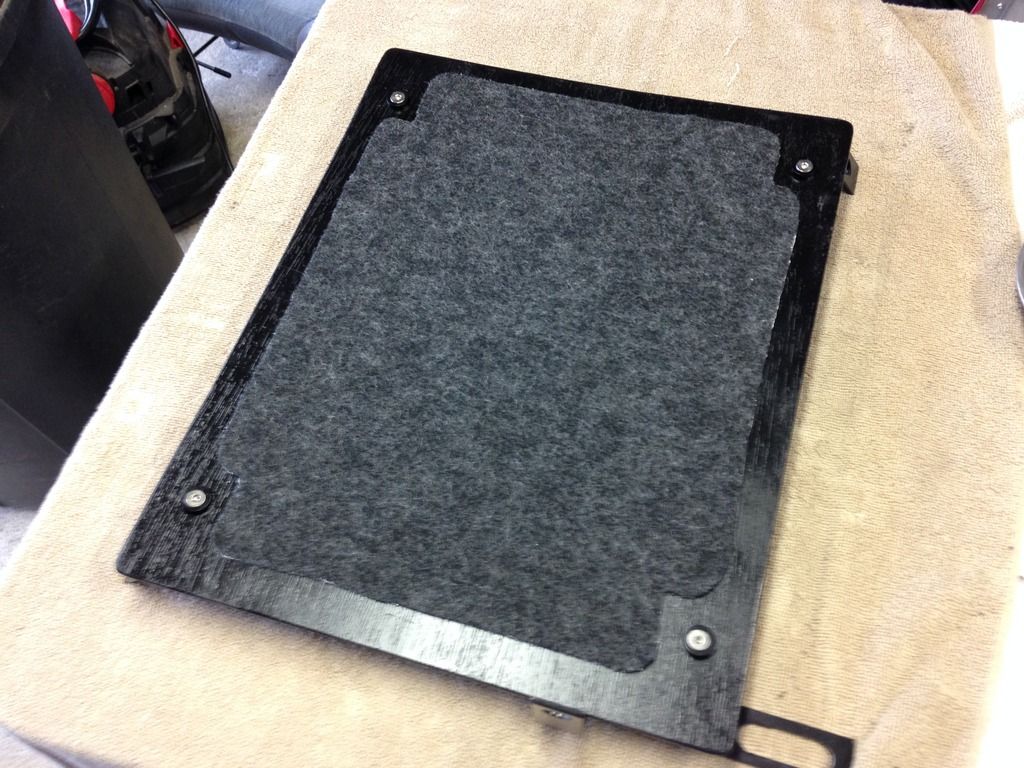
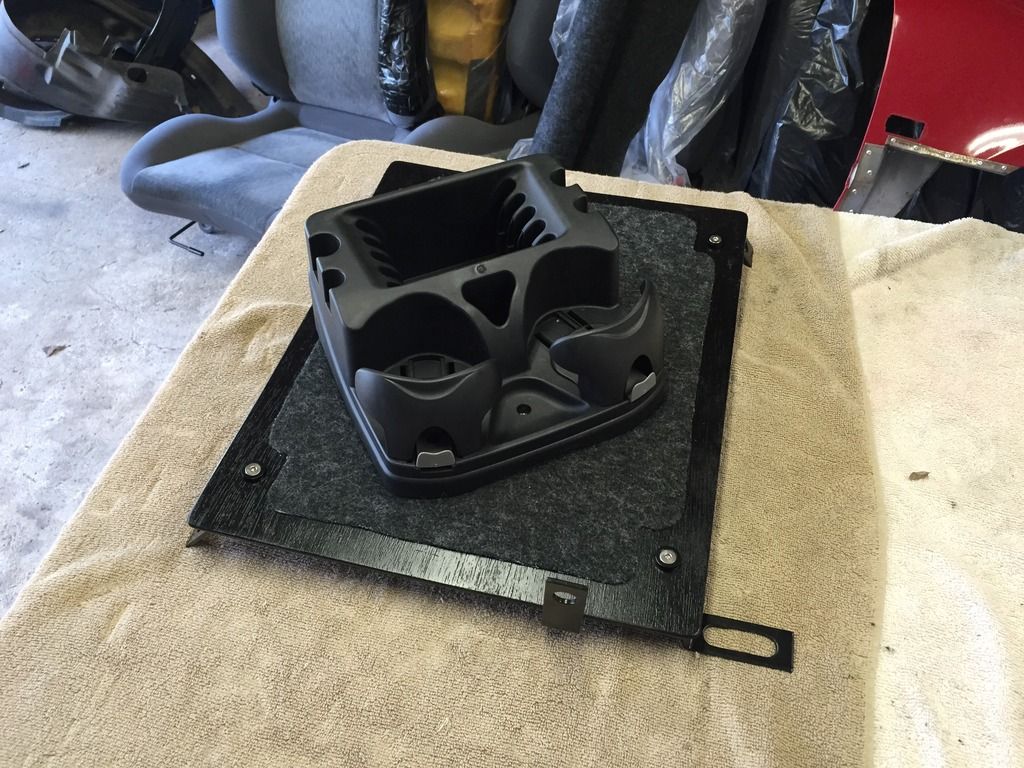
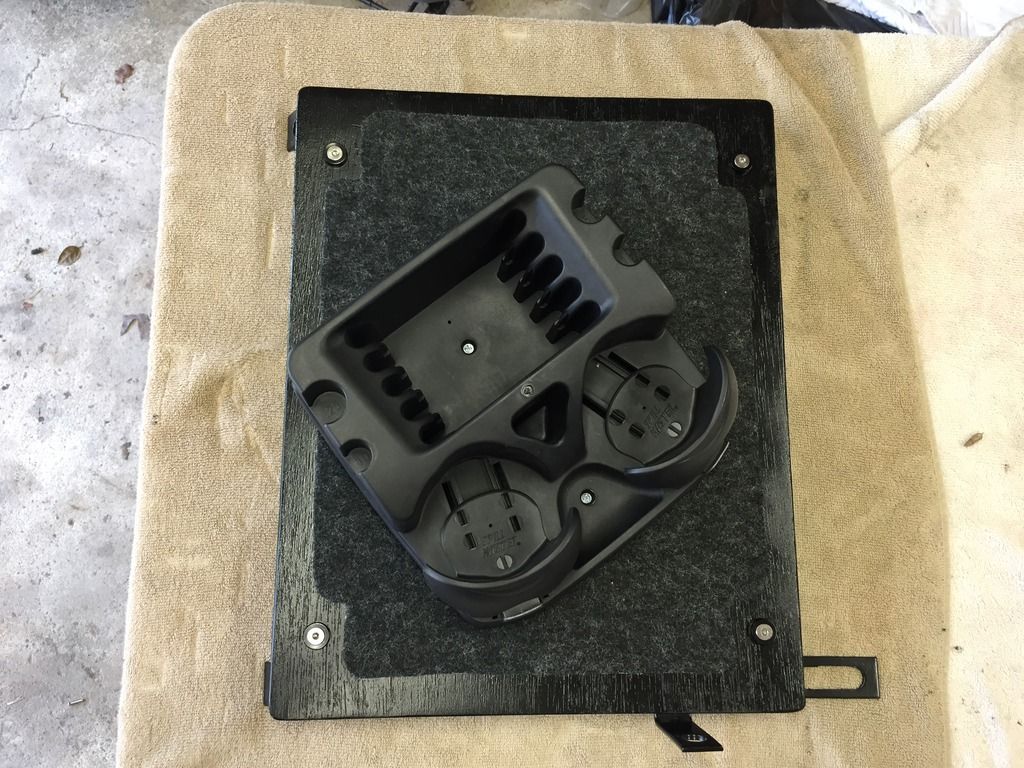
Heres a photo-story of the finishing work completed on the Auxiliary Table:


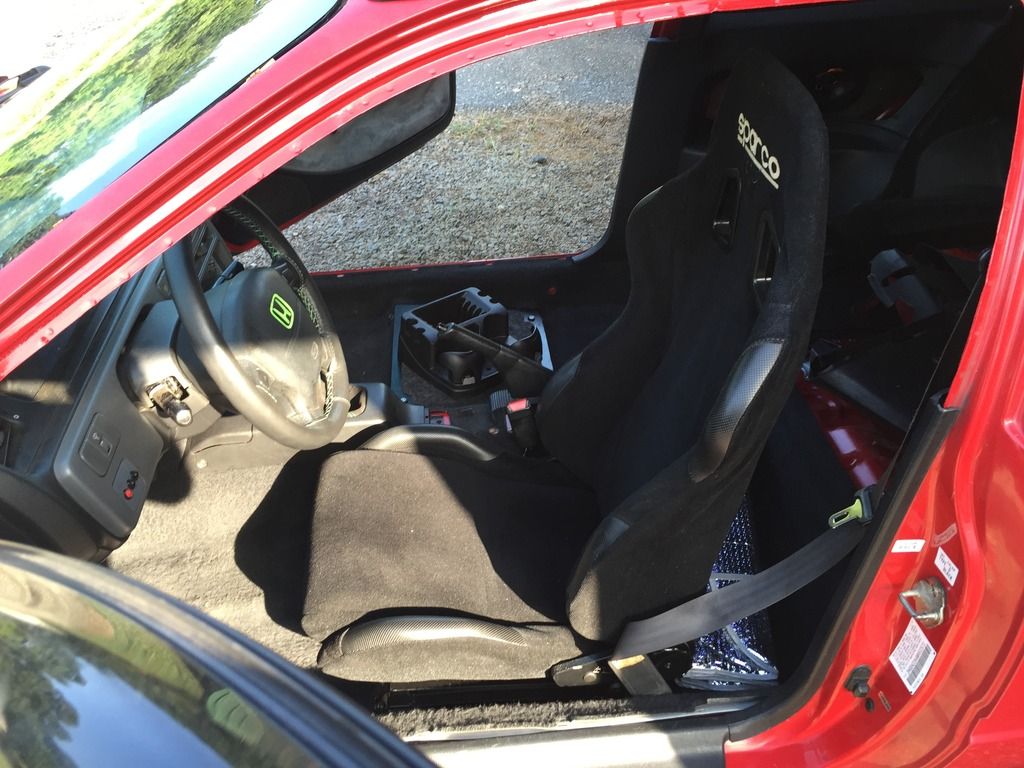
And heres the complete Sparco Seat + Aux. Table set-up:
I have much more interior work still yet to do, so Ill certainly keep updating as I slowly plug along. I regret to report back to you that the glue I used for the headliner sucks!!!!! It is certainly NOT heat resistant, as advertised on the can. Even despite my net tint, a windshield reflector, and the fact that Ive had the Civic in the garage port for the last 4 weeks, the headliner is sagging in multiple spots. Man, oh man... So, the headliner has to come back out to be hit with a different type of glue

Im struggling to find the motivation, to be honest....Anyway, Ill get it done!
Until my next post, thank
YOU for
ecoTuning in!