Here is the front bumper build sequence. I cut out a nice curve for the lower lip out of some MDF, and clamped it where I wanted it, roughly 3 inches lower than the bottom of the original bumper. I then stretched 2 inch yellow masking tape over the original bumper, and bridged the gap down to my wood cut out at the bottom. If you look really close, you can see that I also taped in a metal rectangle that was a little bigger than my license plate.
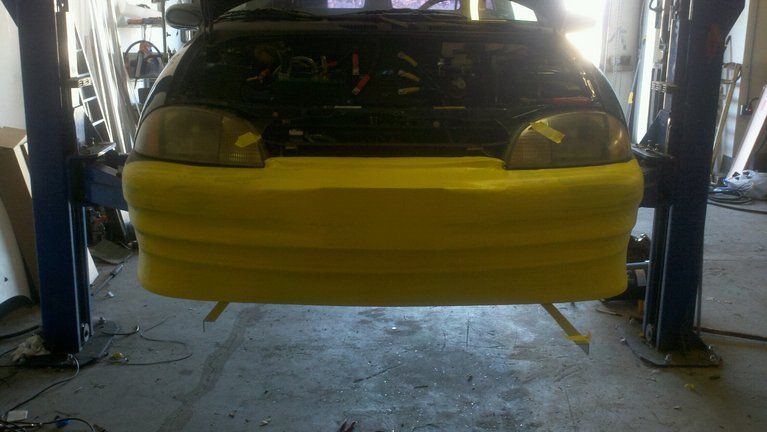
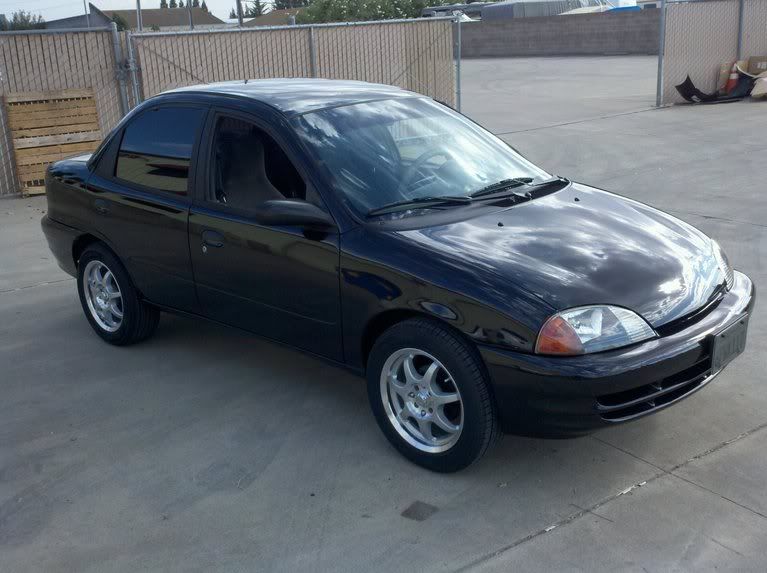
The original bumper was the same style as this bumper on another one of my Metros. I just stretched the tap over the original air openings, and used it for a mold.
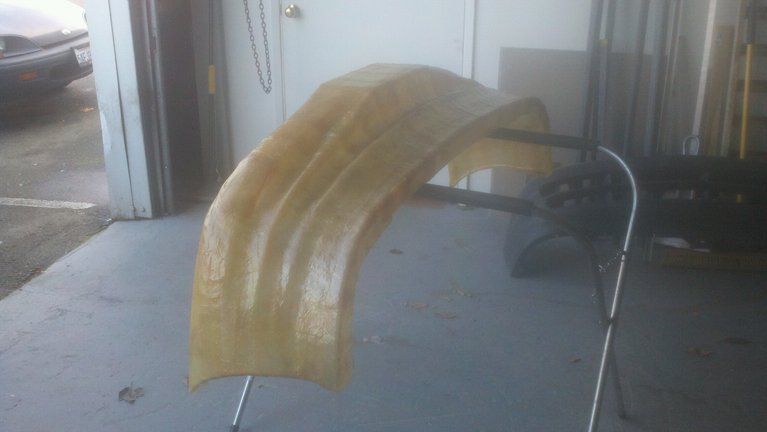
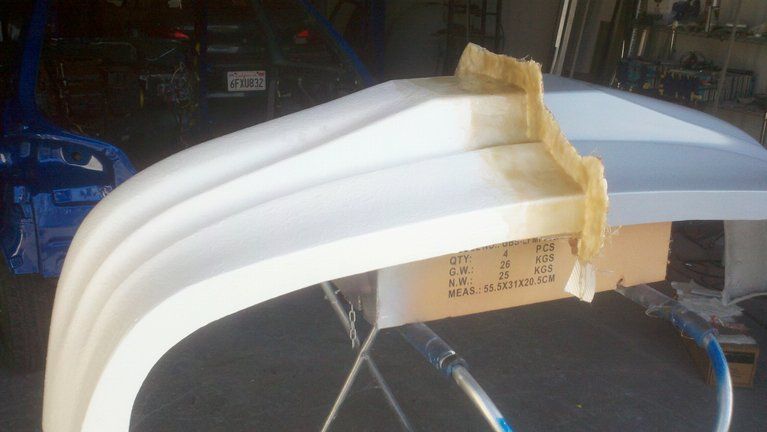
I sprayed my tape with some mold release spray, and coated everything with fiberglass resin and cloth. Here it is after I popped it off of the tape.
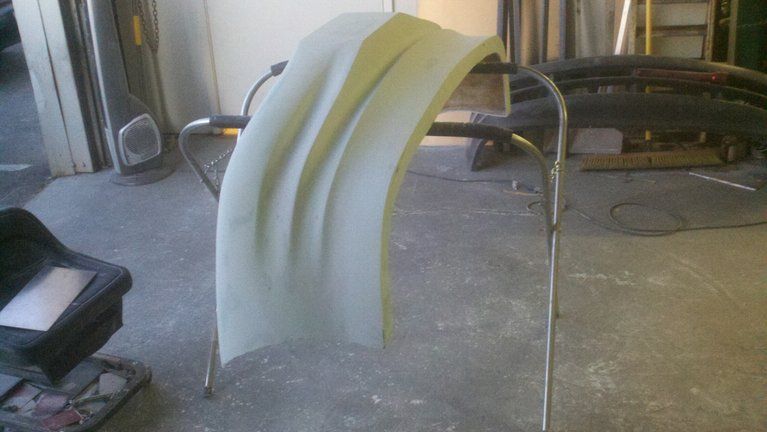
I had to block it out, apply body filler, and then block out the body filler to get it how I wanted it.
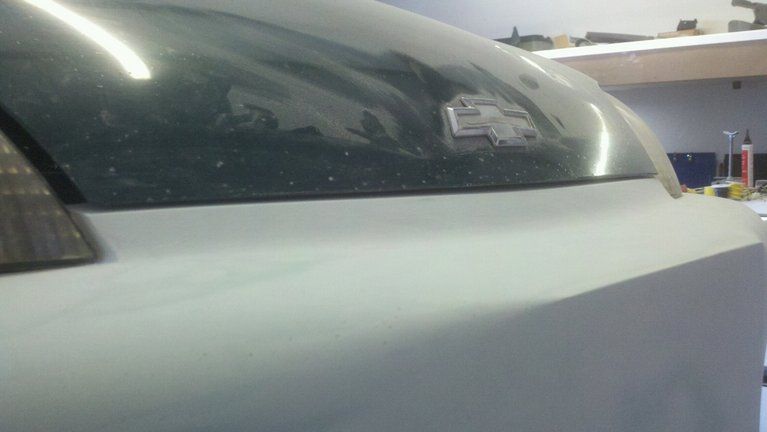
I also had to mount it and fine tune how it would fit, so that it would look good. The gap between the hood and the bumper was filled in, so I could block air from entering that grill opening. The opening used to go from the hood all the way down to the main part of the bumper.
I had to prime it as well.
Might have made me a two piece mold, but that is top secret.
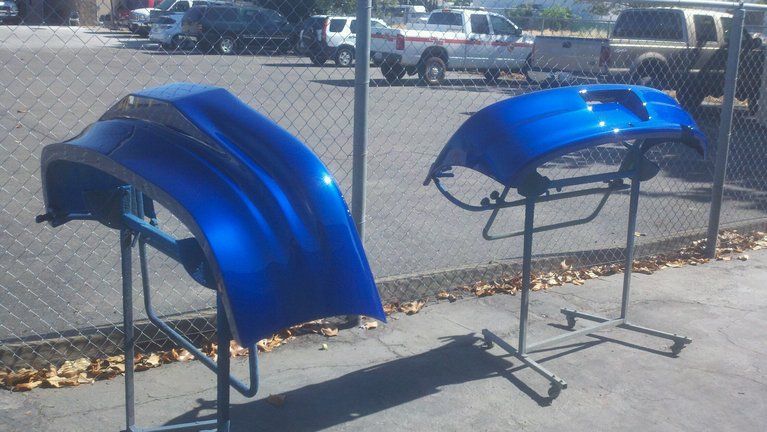
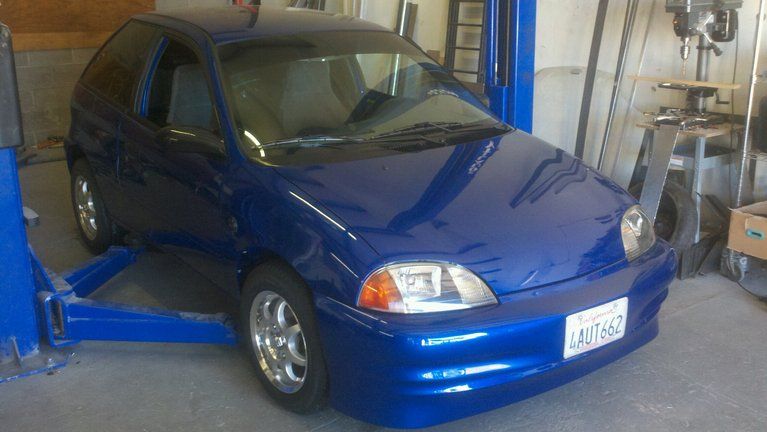
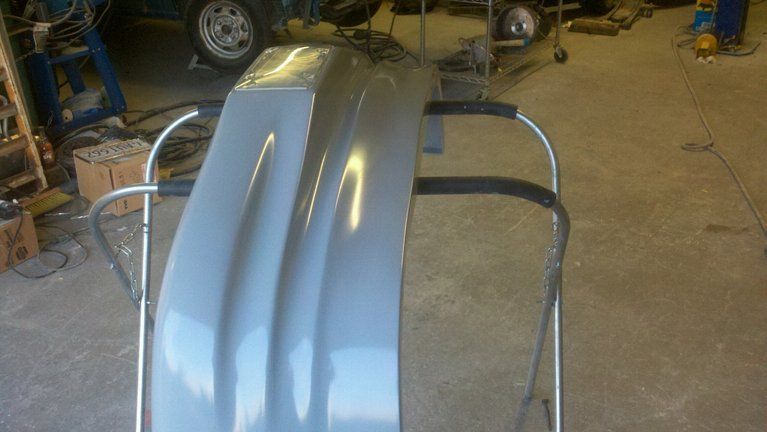
And of course, some pretty paint...