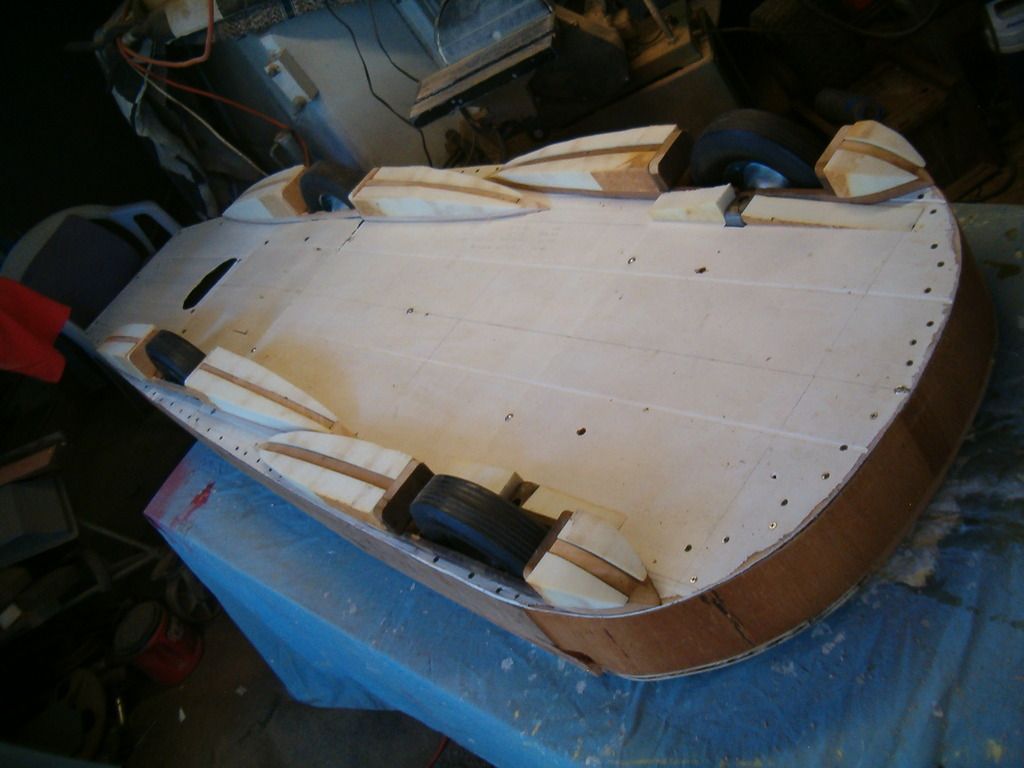
*here is the wheel fairing package roughed in
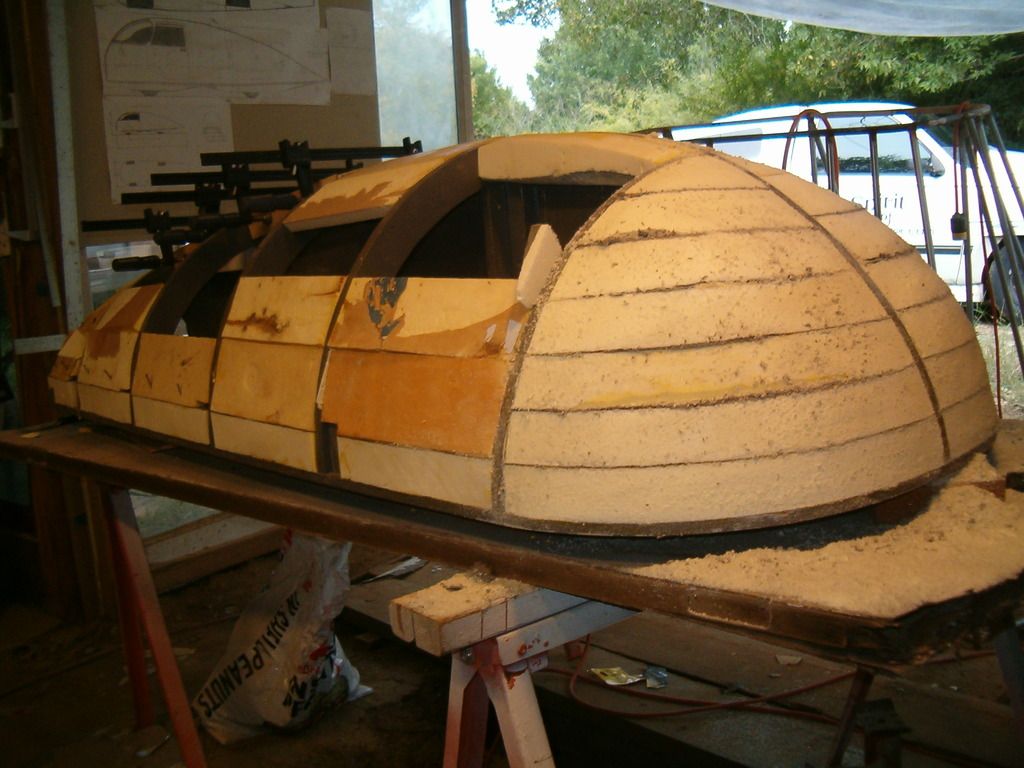
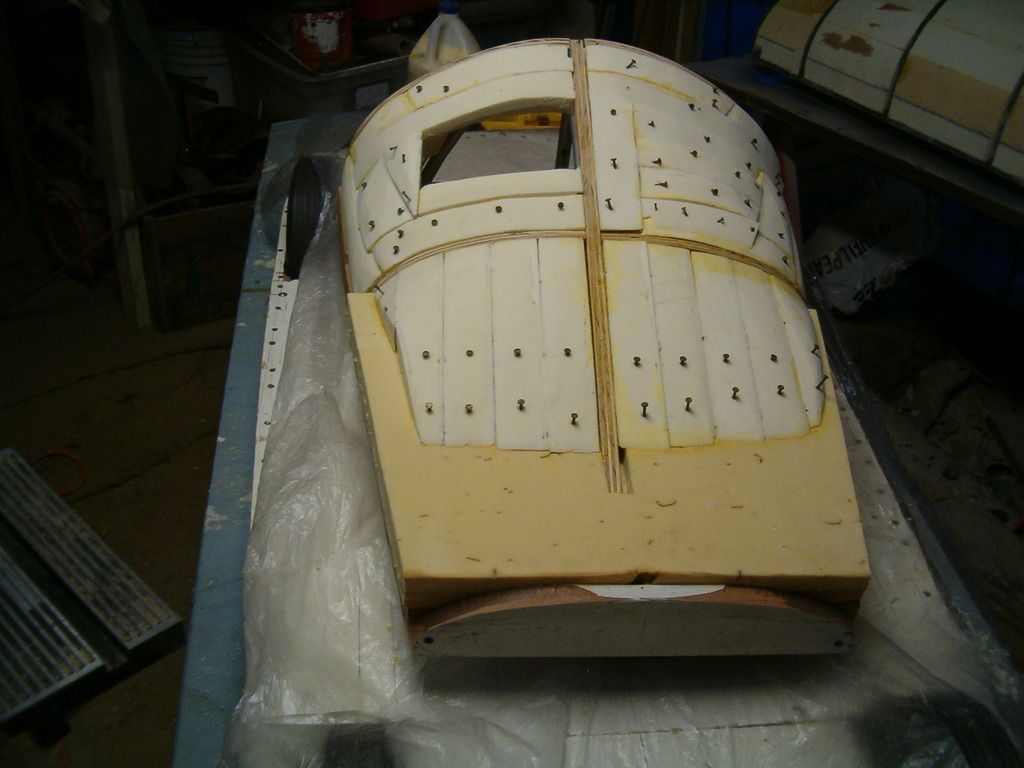
*here is foam going on.It took 103-pieces for the main body section.And the reinforced fiber cover on the 2-inch foam should all have been removed,as it is now making it very difficult to contour.
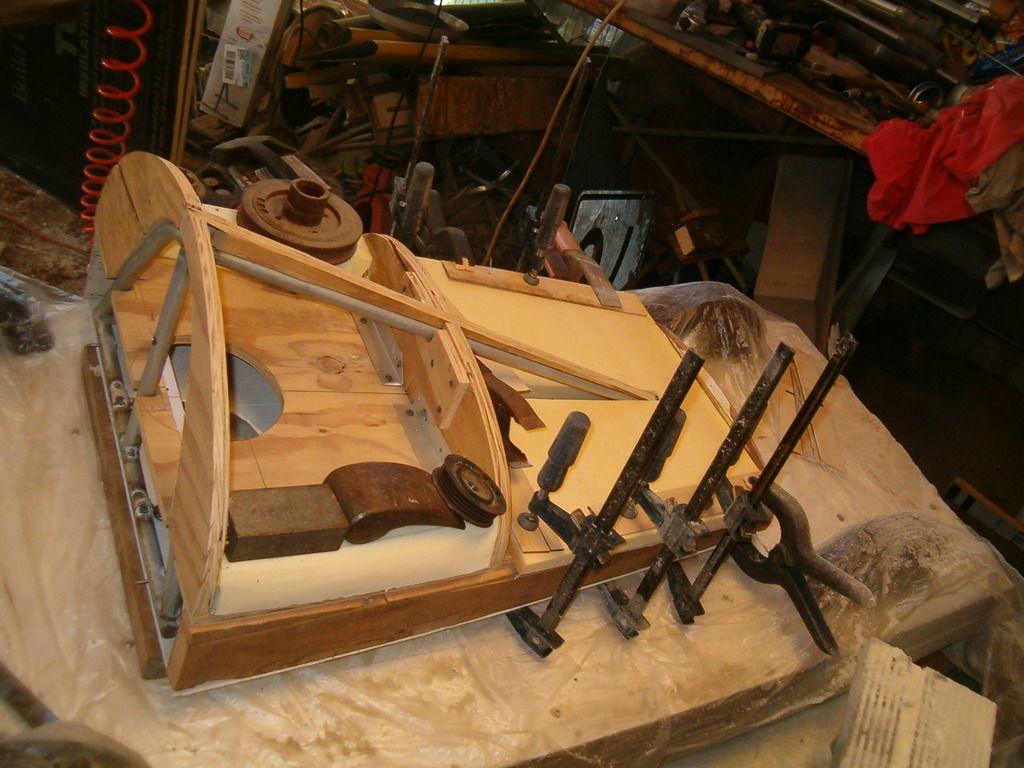
*stinger gets some foam too
*main body now filled in
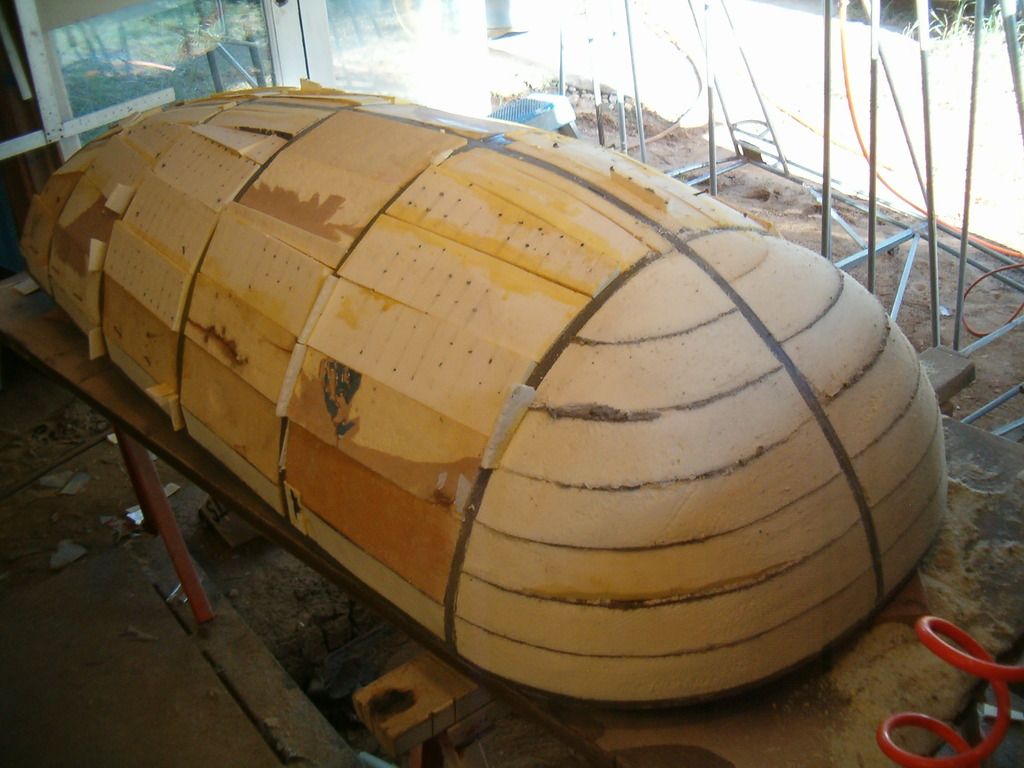
*stinger filled in.I found 8-penny nails handy for pinning the foam down until the Titebond glue went off
*roughed in using a Stanley Surform block plane
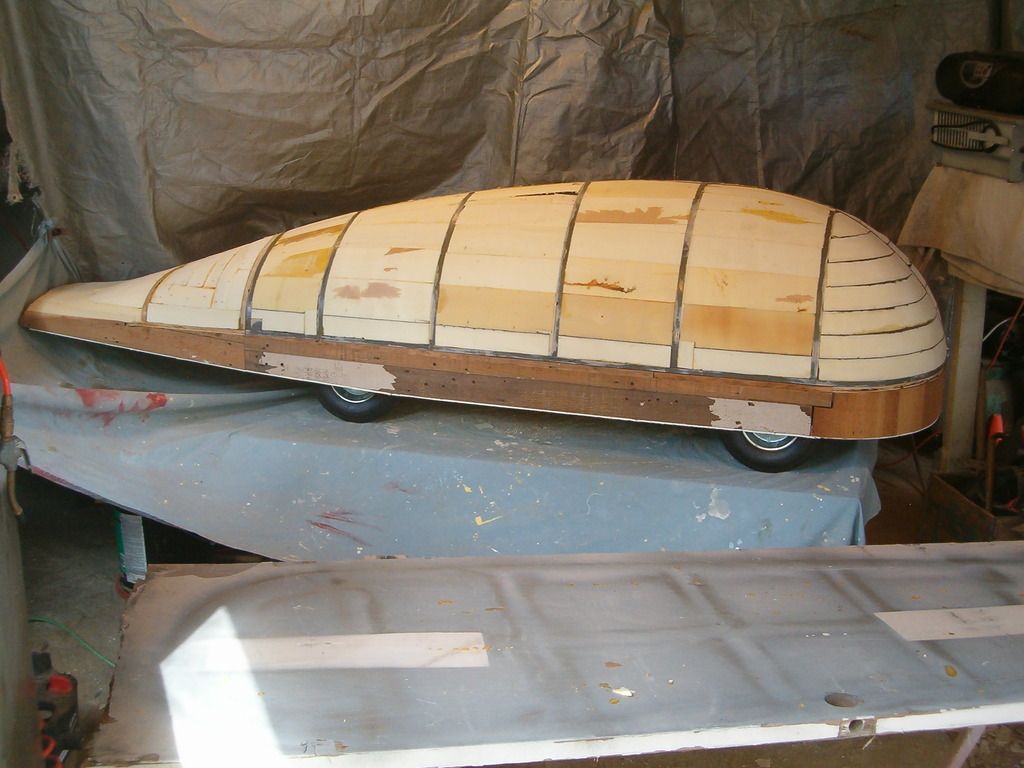
*Bare foam is doped with a liberal coat of polyester resin.
*Bondo spread on to bring the inter-rib spans up to grade.Note the access hole for attaching/removing the hand nut
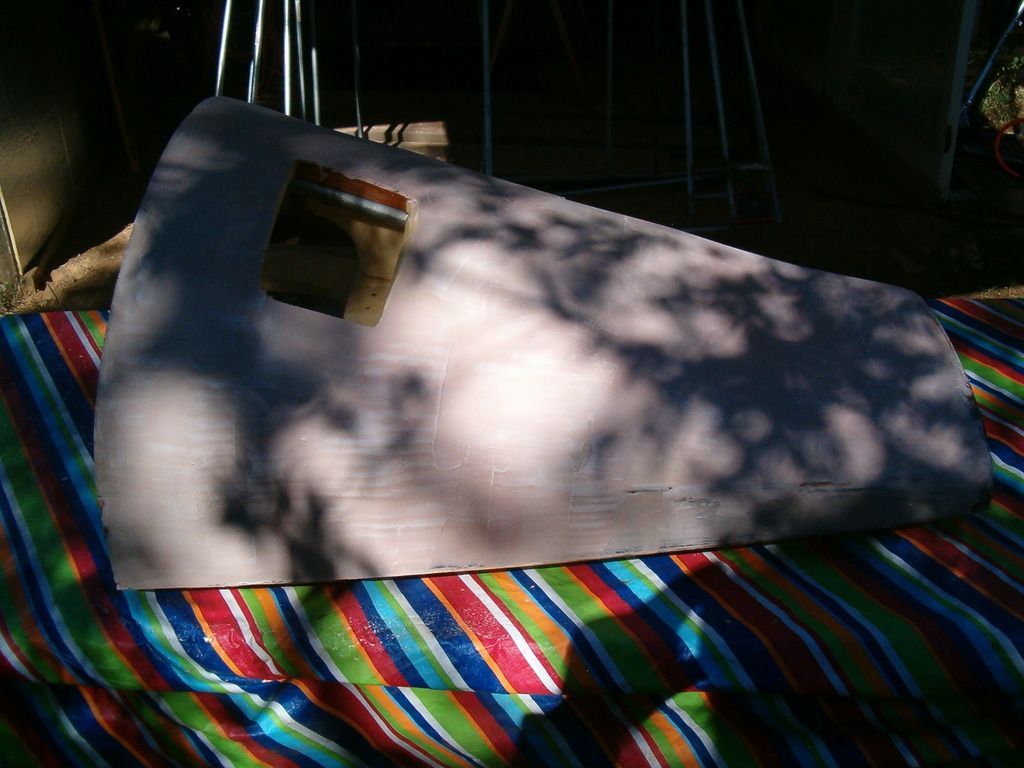
* main body gets slathered
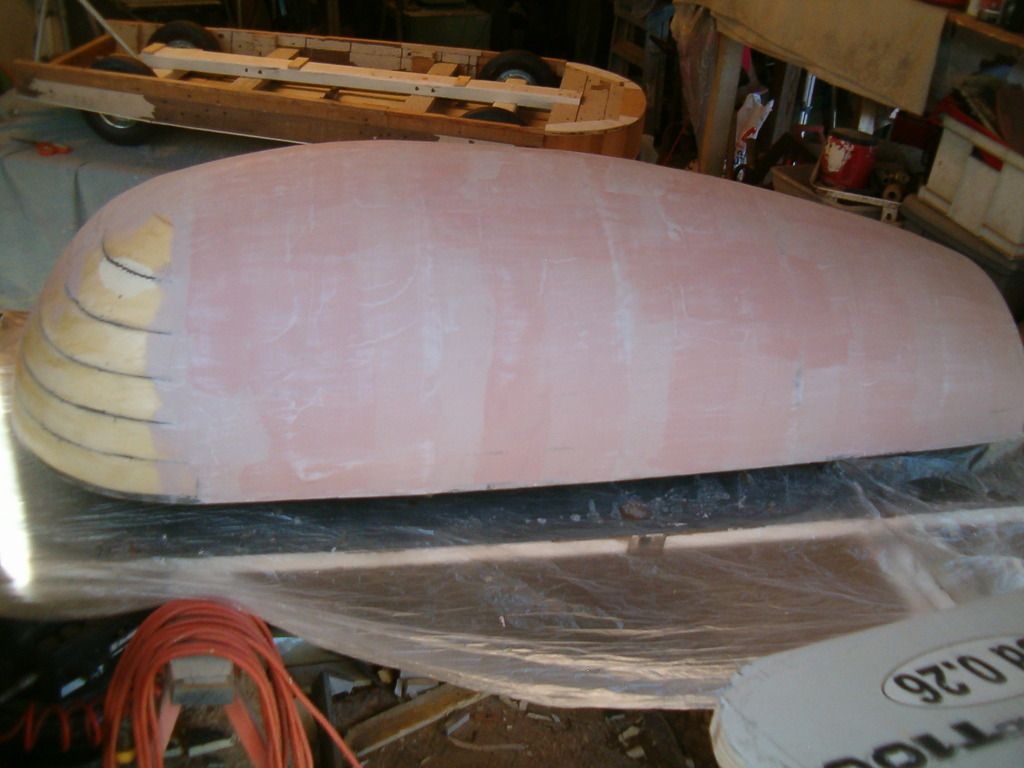
*re-assembled and with a guide coat of primer which will help reveal 'low' areas
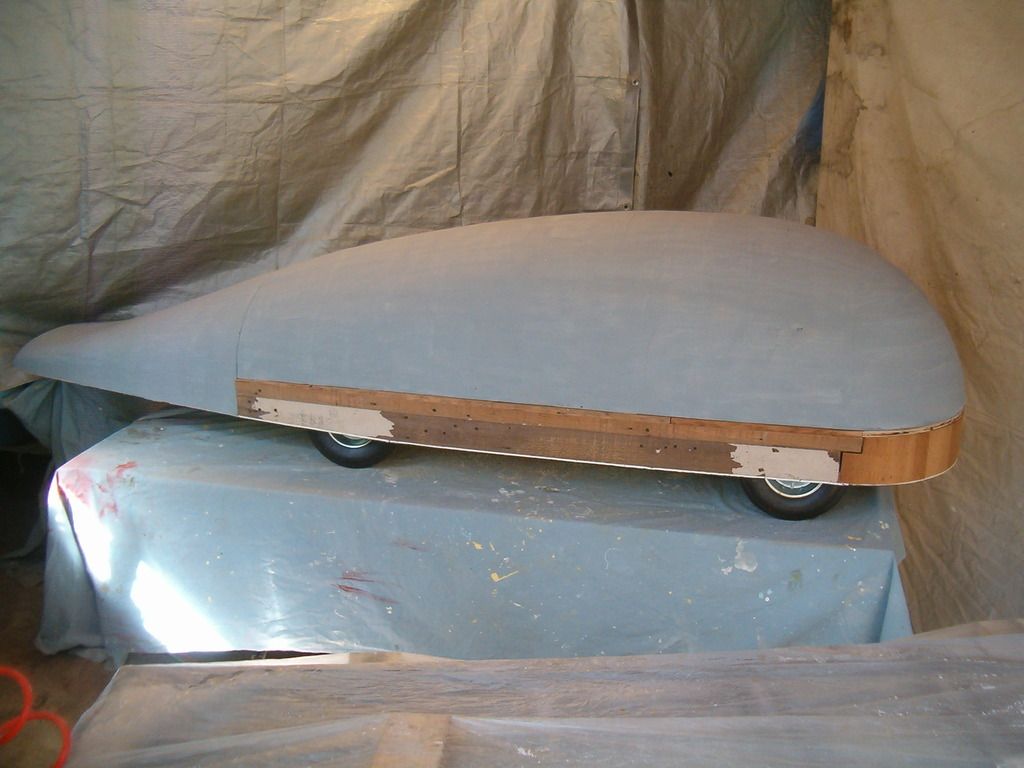
* at some point I'll have to work at night,using a single,strong light source to read shadows for imperfections,also 'feeling' the surface for imperfections with cotton gloves.From here on out you don't want to actually 'touch' any surface with your bare hands,or you'll transfer lanolin which will ruin adhesion of primer or top coats.
*here is one of the new hood extractors (soffit vent)
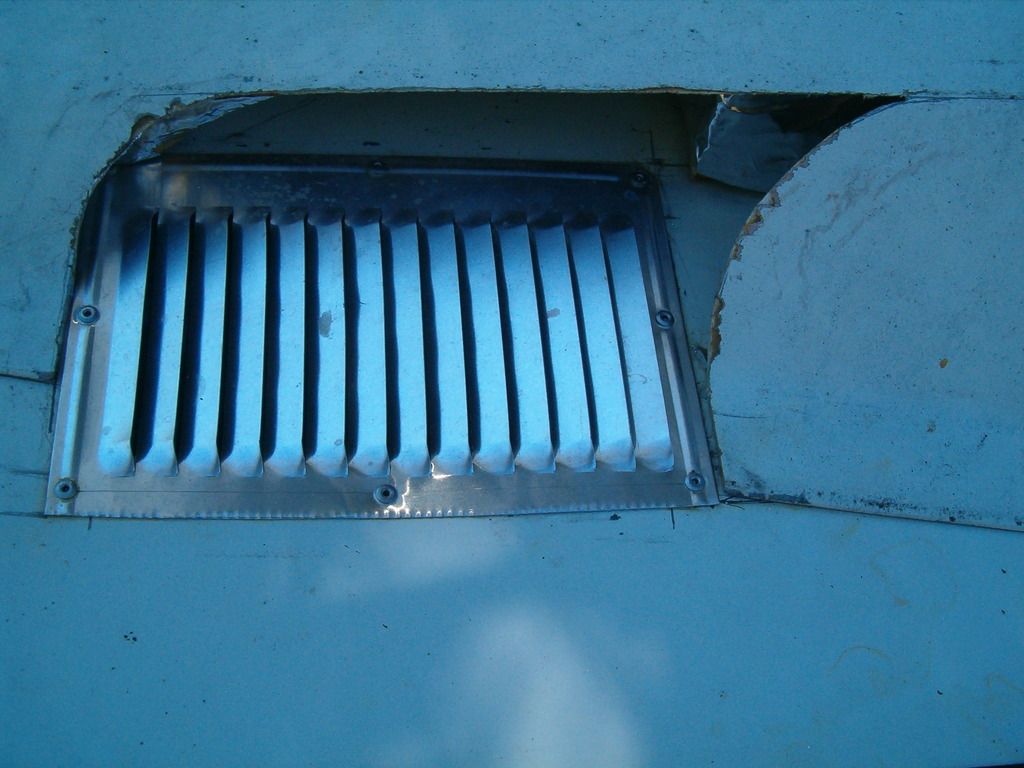
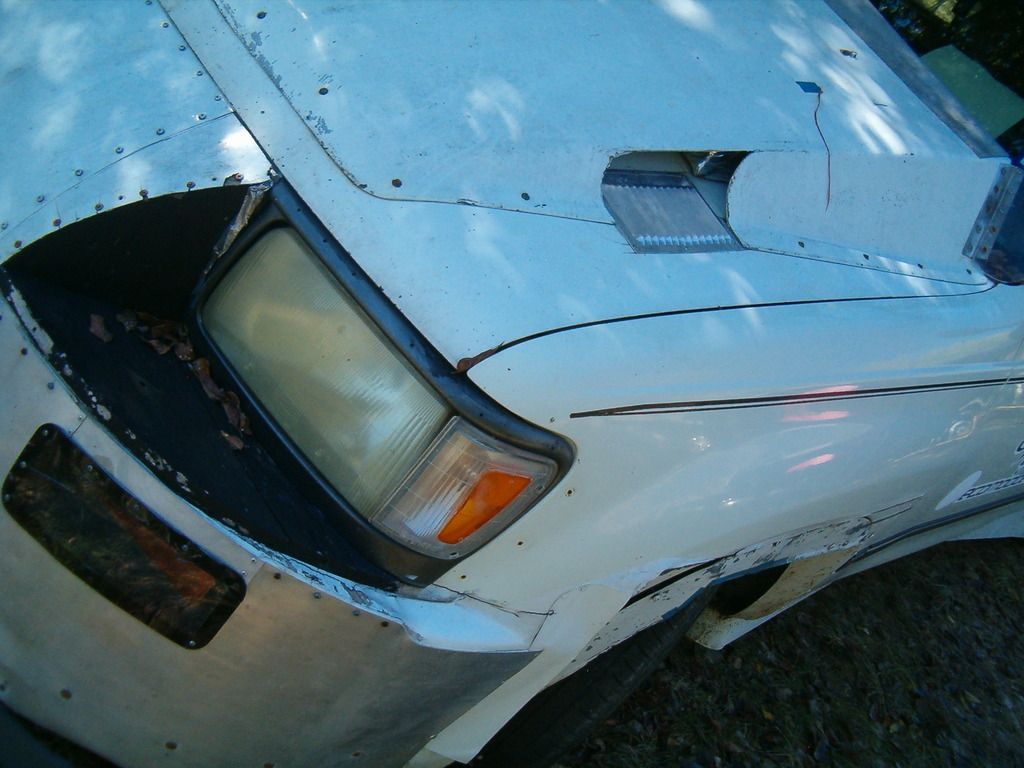
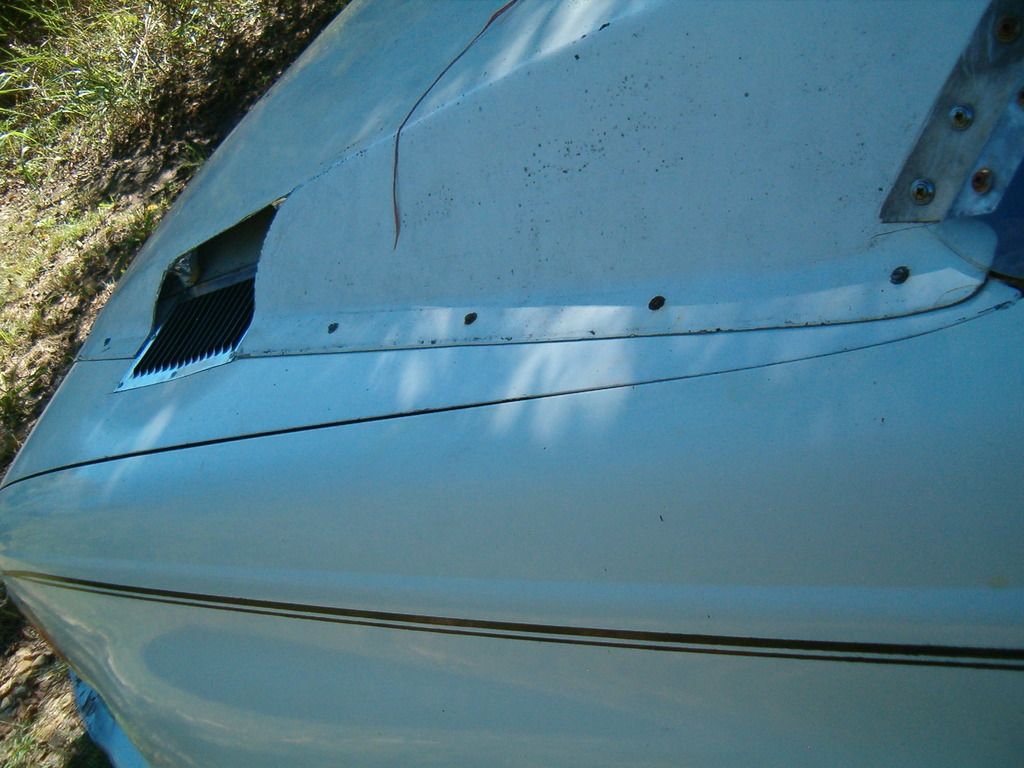
lots of detail work to finish!
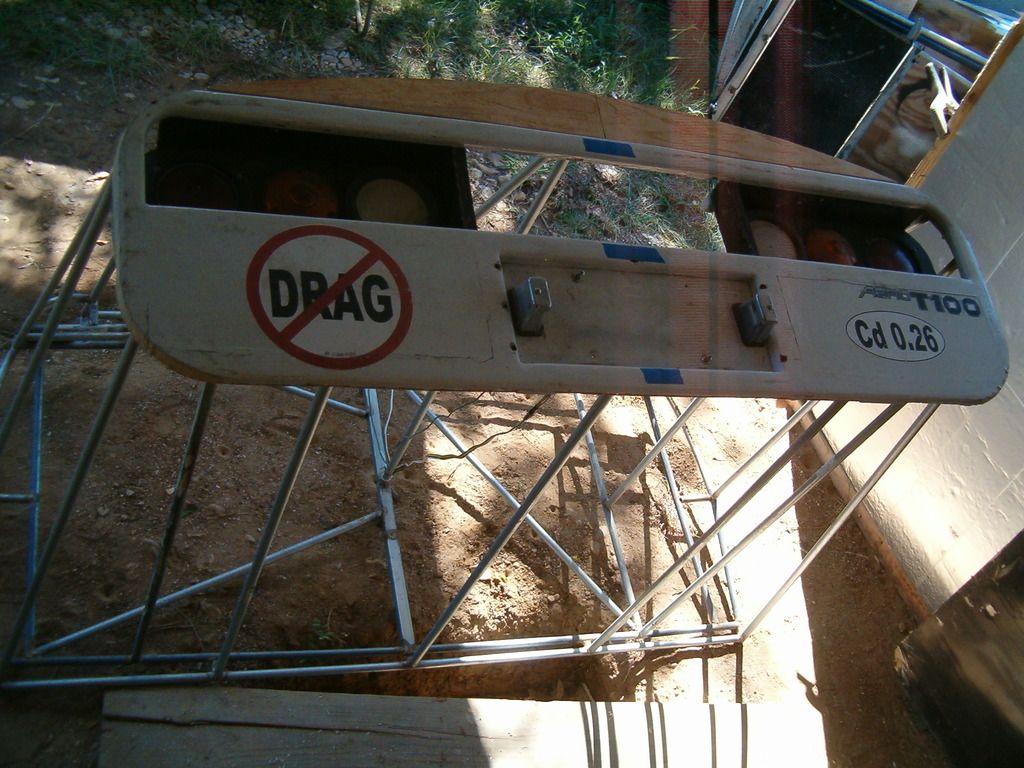
*here's the old transom being re-tasked and modified for ring-vortex/fluid tail
--------------------------------------------------------------------------
PS: the 2-inch Isocyanurate foam I found on the side of the road.It is manufactured by GAF Corp.( you may be familiar with their roof shingles and roll roofing),and is for commercial roof insulation (a local church was just remodeled using it).
It was originally a 4'x 8' sheet and it has a fiberglass-reinforced laminated skin.After realizing how difficult shaping would be with the skin in place,I subsequently band-sawed off the rest before using.
It's fully compatible with polyester resin and can be glued with simple Carpenter's glue.