Home
Forum
Blog
Store
Wiki
Garage
& Tools
Recent Posts
/
Pics
65+ Efficiency Mods
100+ Hypermiling Tips
Glossary
EcoModder Forum
>
JethroBodine's Profile
>
Albums
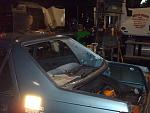
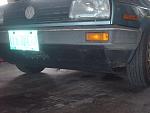
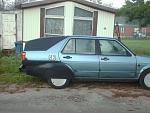
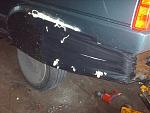
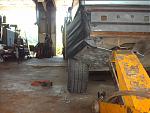
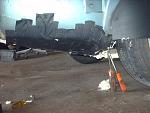
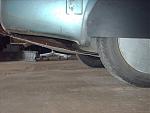
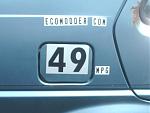
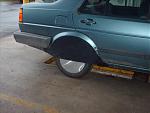
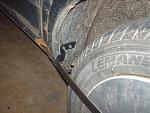
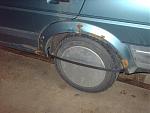
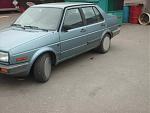
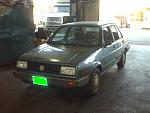
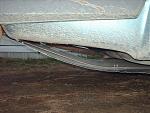
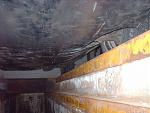
Project Jetta
Register Now
Remember
Search Forums
Show Threads
Show Posts
Advanced Search
Find All Thanked Posts
Go to Page...
Page 1 of 2
1
2
>
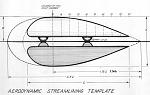
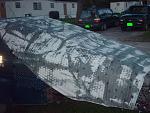
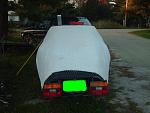
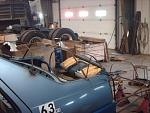
Project Jetta
The transformation of a stock, MK II Jetta into a lean, mean, mileing machine.
Page 1 of 2
1
2
>
-- EcoModder Skin
-- Mobile / Lightweight skin
Contact Us
-
EcoModder.com
-
Archive
-
Recent Posts
-
Top
Powered by vBulletin® Version 3.8.11
Copyright ©2000 - 2025, vBulletin Solutions Inc.
Content Relevant URLs by
vBSEO
3.5.2
All content copyright EcoModder.com