This is a DIY guide for creating and installing a mirror delete plate. The vehicle being modded today is a '99 Chevy Blazer 4x4.
Materials needed:
A sheet of thin polycarbonate window (Alternatively called Lexan, plexiglass)
I am using .080
Black or Clear silicone caulk
Double sided foam mounting tape
Semi gloss black or body colored paint.
This also requires:
Utility knife (Box cutter)
Scissors
Flat, thin cardboard. A cereal box works excellent.
Abrasive sandpaper
Rubber gloves
First, gather the materials.

Now, remove the door panel if applicable. This may not be required on some vehicles. With access to the mirror mounting bolts, go ahead and carefully remove them, supporting the mirror as it is removed.
This section may require patience for some. We make the pattern!
Now, go ahead and cut the cardboard out to approximately the size of the mirror attachment place on the door.
I worked one side at a time by using the utility knife to gently score the cardboard as it followed the body lines, then cutting that side flat. I placed the flat side into place and proceeded to cut the other two sides to fit.
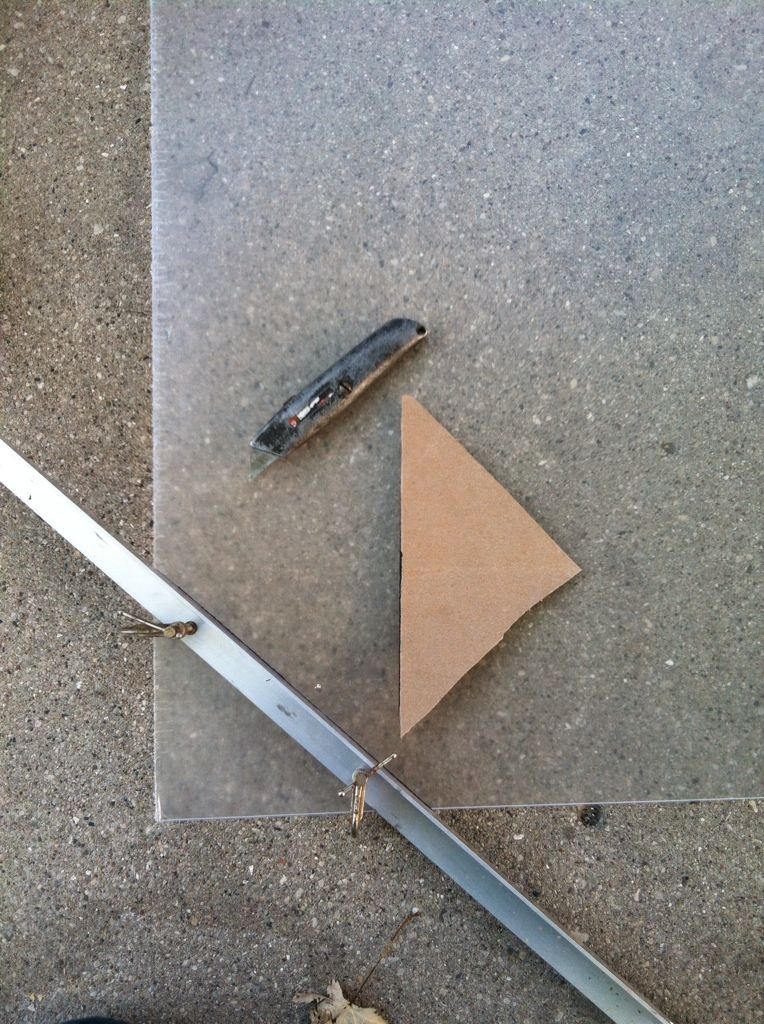
Now place the pattern on the plastic.

And secure it in place.

Then use the utility knife to score the edge. This will take several strokes of the knife to cut deep enough.

To remove the cut piece from the plastic I placed gentle downward force with both hands on the piece and it came out nicely. If you have difficulty at this step you may want to look into using a hack saw or dremel.
With the piece cut we now sand the inside of the part. The glossy, non painted side will face away from the vehicle.

And paint the panel. I used two coats of semi gloss black and it came out great.

Now after the paint has dried, go ahead and affix the foam mounting tape to the painted side. You may double the tape up as the mirror design requires. This effectively spaces the panel off of the recessed mirror attachment point as well as mounting it in place.

Now grab the caulk gun and the panel and head back to the car.
Use a wet rag to clean the mirror mounting surface with, as we are going to need this clean so the adhesive sticks.

At this point you might want to do a test fit with the panel to see if you need to remove any more material.
With a test run done and good fitment, we can run a bead of silicone around the outside of the mirror mounting surface.

Remove the backing on the foam tape and place the mirror delete panel in place. Be sure to adjust this as you see fit, it will not be moving once we fill the edges with caulk.

Use a gloved finger to spread the caulk into any recesses. This promotes smoother airflow over the panel.

Let the panel dry and affix your interior mirrors as needed. We're done!