Go Back   EcoModder Forum > EcoModding > DIY / How-to
Register Now
 Register Now
 

Reply  Post New Thread
 
Submit Tools LinkBack Thread Tools
Old 07-13-2011, 12:25 PM   #31 (permalink)
Master EcoModder
 
NeilBlanchard's Avatar
 
Join Date: May 2008
Location: Maynard, MA Eaarth
Posts: 7,907

Mica Blue - '05 Scion xA RS 2.0
Team Toyota
90 day: 42.48 mpg (US)

Forest - '15 Nissan Leaf S
Team Nissan
90 day: 156.46 mpg (US)

Number 7 - '15 VW e-Golf SEL
TEAM VW AUDI Group
90 day: 155.81 mpg (US)
Thanks: 3,475
Thanked 2,950 Times in 1,844 Posts
Here's my newest smooth wheel covers:


Aluminum "coupe" style pizza tray pop riveted to plastic wheel covers, on steel wheels. These have a small air gap at the edge.

The flatter the cover, the better. The domed ones I started with helped me ~5-6% in the winter, when air is denser and therefore when aerodynamic drag is greater.

__________________
Sincerely, Neil

http://neilblanchard.blogspot.com/
  Reply With Quote
The Following User Says Thank You to NeilBlanchard For This Useful Post:
aerohead (10-23-2013)
Alt Today
Popular topics

Other popular topics in this forum...

   
Old 08-09-2011, 08:48 PM   #32 (permalink)
EcoModding Lurker
 
Verdann's Avatar
 
Join Date: Jun 2009
Location: Wa, USA
Posts: 27

Little Red wagon - '94 Geo Metro GE
90 day: 43.71 mpg (US)

Ruber Draco - '02 Kia Rio Sedan
90 day: 25.53 mpg (US)
Thanks: 2
Thanked 7 Times in 3 Posts
I'm working on a set of these today. Waiting for the resin to finish curing, then I can cut and paint. Hopefully I'll have pics and a description tomorrow.
  Reply With Quote
Old 08-10-2011, 08:52 PM   #33 (permalink)
EcoModding Lurker
 
Join Date: Oct 2010
Location: Wells, Maine
Posts: 50
Thanks: 1
Thanked 9 Times in 8 Posts
I just picked up the materials to do mine today...hoping to start them this weekend! Definitely want to see how yours turn out; I'll be posting pictures of mine as I progress.
  Reply With Quote
Old 08-10-2011, 10:51 PM   #34 (permalink)
EcoModding Lurker
 
Join Date: Jun 2010
Location: poplar bluff, mo
Posts: 30

Cruze - '12 chevy cruze eco
90 day: 34.45 mpg (US)
Thanks: 1
Thanked 13 Times in 4 Posts
Quote:
Originally Posted by bigdogzz View Post
Is there an average mpg boost by using smooth wheel covers?
Honestly I'm not 100% sure since i did other stuff at the same time.maybe 5%?
  Reply With Quote
Old 08-10-2011, 11:08 PM   #35 (permalink)
EcoModding Lurker
 
Verdann's Avatar
 
Join Date: Jun 2009
Location: Wa, USA
Posts: 27

Little Red wagon - '94 Geo Metro GE
90 day: 43.71 mpg (US)

Ruber Draco - '02 Kia Rio Sedan
90 day: 25.53 mpg (US)
Thanks: 2
Thanked 7 Times in 3 Posts
I've just got to wait for the paint to dry then I can put them on my car. I think they turned out great. I'm gonna do a whole write up probably tomorrow (I know I said tomorrow in the last post. I forgot about work ;p) I've got tons of photos to go with it. I'll probably also post an instructable for it.
  Reply With Quote
Old 08-11-2011, 07:20 PM   #36 (permalink)
EcoModding Lurker
 
Verdann's Avatar
 
Join Date: Jun 2009
Location: Wa, USA
Posts: 27

Little Red wagon - '94 Geo Metro GE
90 day: 43.71 mpg (US)

Ruber Draco - '02 Kia Rio Sedan
90 day: 25.53 mpg (US)
Thanks: 2
Thanked 7 Times in 3 Posts
Ok, so I finally Finished and got them on the car. they Look great. I painted them black (cause that's what I had) and with the t-shirt texture they kind of look like rhino lining. Write up IS coming. Gotta resize pics. I will leave you with a couple of photos of the finished product though if it will let me.
  Reply With Quote
The Following User Says Thank You to Verdann For This Useful Post:
aerohead (10-23-2013)
Old 08-11-2011, 07:35 PM   #37 (permalink)
Enthusiastic EcoModder
 
Join Date: Dec 2010
Location: San Diego
Posts: 90

Gnatmobile - '96 Geo Metro LSI
90 day: 44.68 mpg (US)

theRAV - '01 Toyota RAV4 NV
90 day: 21.07 mpg (US)

ACCELICA - '95 Toyota Celica GT Convertible
Last 3: 23.46 mpg (US)

The Van - '05 Chevrolet Uplander LS LWB
90 day: 21.04 mpg (US)
Thanks: 4
Thanked 31 Times in 12 Posts
Thumbs up

wow, these look really great! I haven't been that happy with my homemade discs and I can handle fiberglass, I may just have to copy this technique. Nice job again!
  Reply With Quote
Old 08-11-2011, 07:43 PM   #38 (permalink)
...beats walking...
 
Join Date: Jul 2009
Location: .
Posts: 6,190
Thanks: 179
Thanked 1,525 Times in 1,126 Posts
...kinda "hard" on your T-shirts though.


Last edited by gone-ot; 08-13-2011 at 08:47 PM..
  Reply With Quote
Old 08-11-2011, 11:37 PM   #39 (permalink)
EcoModding Lurker
 
Join Date: Jun 2010
Location: poplar bluff, mo
Posts: 30

Cruze - '12 chevy cruze eco
90 day: 34.45 mpg (US)
Thanks: 1
Thanked 13 Times in 4 Posts
They look really good, just like mine. Good Job !!!! I'm glad others are following this still.
  Reply With Quote
Old 08-13-2011, 05:58 PM   #40 (permalink)
EcoModding Lurker
 
Verdann's Avatar
 
Join Date: Jun 2009
Location: Wa, USA
Posts: 27

Little Red wagon - '94 Geo Metro GE
90 day: 43.71 mpg (US)

Ruber Draco - '02 Kia Rio Sedan
90 day: 25.53 mpg (US)
Thanks: 2
Thanked 7 Times in 3 Posts
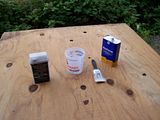
Parts:
Wheel Covers
Fiberglass resin
T-shirts x 4
Mixing Bucket
Acetone

Tools:
Mixing Stick
Paintbrush
Razor knife
Dikes

Ok, so I bought my wheel covers on ebay for a total of $15.
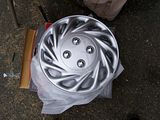
I went to Lowes and my local auto parts store for the needed Supplies. I got the Fiberglass Resin at the auto parts store for about $12. It was about $12 for the bucket, paintbrush, and acetone at Lowes.
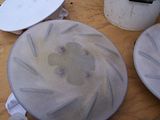
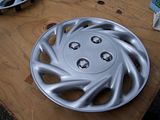
Something I didn't take a picture of was the actual sanding of the wheel covers, but I took a 150 grit foam sanding block to rough up the surface a bit to help make sure the resin would stick. Here's a pic of the after. Also make sure to clean off the dust with a damp rag.
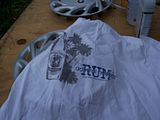
Instead of using t-shirts I had, I went to goodwill and bought 4 from their $.99 rack. Here is one of the ones that I got.
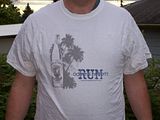
Make sure to not use shirts that you like because this is how they will end up
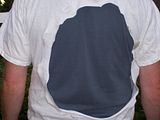
Ok, start by putting the wheel covers in the t-shirt facing the side with no printing on it. ( I say this because I don't think the resin will soak through the screen printing.)
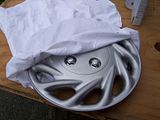
Make sure to position it so that all the holes can be gathered easily into the center.
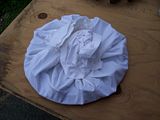
Ok, now install the tension ring
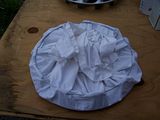
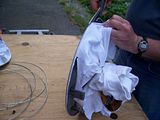
The next step is to carefully pull the shirt as tight as you can. Gotta be careful that you don't either tear the shirt or break the cover.

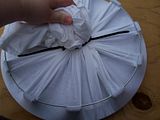
This next part is kinda difficult at first. Take all the loose t-shirt gather it up nice and tight and put either 1 or 2 zip ties around it depending on the length of your zip ties.
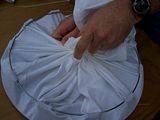
You want to get this pulled around the wheel cover as tight as you can this is what will help you get a nice smooth surface on the other side. I set it on a bucket to make it easier to work on at this point.
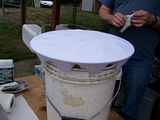
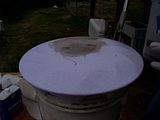
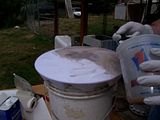
Ok, Now for the smelly part. Mix the resin according to the instructions on the can. My instructions were to mix approx 1/4 of the hardner with approx 1/4 of the can. Just make sure to follow your instructions and mix well. Also remember to work quickly.
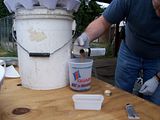
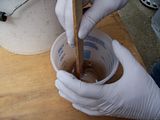
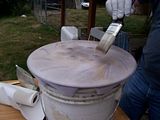
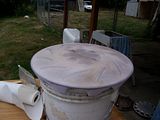
Now time to apply. I started in the center and worked my way out. just keep going and spreading until the shirt is saturated and you can kind of see the wheel cover through it. Make sure to get the edges well.
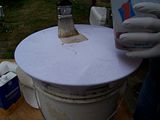
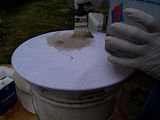
When you finish with the one, set it aside and move on, keep doing this until you have finished all 4.
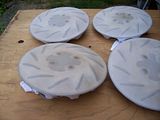
Allow the resin to set and cure for however long it says on the container. Mine said 2 hours, but due to lack of lighting working outside I let mine sit until the next day. Once it has cured remove the tension rings.
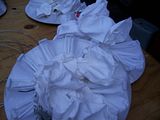
Next take a pair of scissors and work your way around the edge cutting off the shirt.
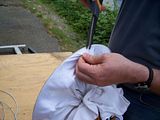
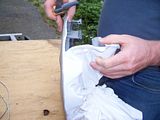
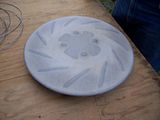
This is what you end up with after removing the shirt.
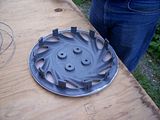
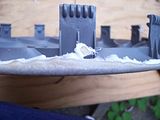
Now go around the edge with a razor knife and trim off anything that you couldn't cut through with the scissors.
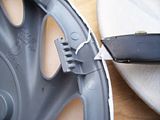
For especially thick drips you may need to use a pair of dikes.
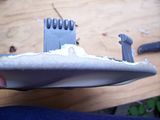
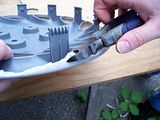
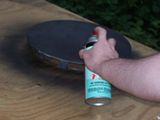
So the kinda muddy brown of the hardened resin is kinda ugly so I grabbed a can of black spray paint I had lying around.
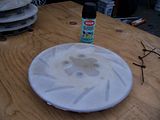
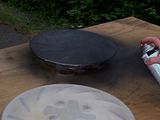
This is probably a good project for practicing your spray paint technique if you need too. I just did multiple passes until it was solid black then moved on. Don't forget to get the edges otherwise you'll have black covers with white (brownish) edges.
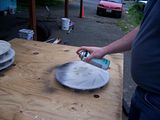
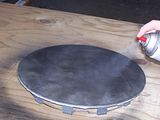
All four of them painted and waiting to dry.
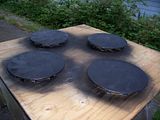
Ok, that's it. you are now the proud owner of (mostly) smooth hubcaps.
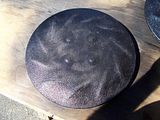
If you want them absolutely smooth you could do multiple layers so you can have enough to be sanded. I don't mind the bit of texture.

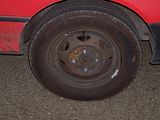
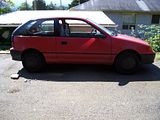
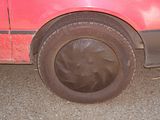
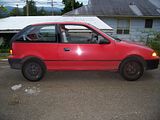
And here are the before and after pics of my car.
  Reply With Quote
The Following User Says Thank You to Verdann For This Useful Post:
aerohead (10-23-2013)
Reply  Post New Thread


Similar Threads
Thread Thread Starter Forum Replies Last Post
Smooth Wheel Covers (velcro) Luxbg Aerodynamics 35 08-27-2023 02:08 PM
Alternative to wheel spats and smooth wheel covers? ESmooth Aerodynamics 17 12-10-2013 08:26 AM
16" racing disks (smooth wheel covers) Heynow999 For Sale 7 04-26-2012 08:53 PM
Cheap-o Smooth Wheel Covers bennelson Aerodynamics 40 03-15-2009 11:55 PM
Modded wheel covers to make them smooth MetroMPG Aerodynamics 1 11-27-2007 08:43 PM


Powered by vBulletin® Version 3.8.11
Copyright ©2000 - 2024, vBulletin Solutions Inc.
Content Relevant URLs by vBSEO 3.5.2
All content copyright EcoModder.com